Pay Later / Pay Against Invoice
The Pay Later app adds a Pay Now button to the customer's order history page. When a customer places an order but does not immediately complete payment — for example, when using a bank transfer or invoice gateway — this button lets them return and pay whenever they are ready, within a time window you define.
This is especially useful for stores that offer invoice-based purchasing, bank transfers, or any payment method that is not confirmed in real time at checkout.
Prerequisites
- J2Commerce is installed and enabled
- At least one payment method plugin is installed and enabled
Purchase and Download
The Profile Order plugin is a separate add-on available from the J2Commerce Extensions Store. It is not included with the core J2Commerce 6 component.
Step 1: Go to the J2Commerce website -> Apps.
Step 2: Locate the app_profileorder package -> click View Details -> Add to cart -> Checkout.
Step 3: Go to My Downloads under your profile menu at the top right corner and search for the app. Click Available Versions -> View Files -> Download.
Install the Plugin
You can install this Profile Order/Pay Later / Pay Against Invoice App using the Joomla installer. The following steps help you with a successful installation.
In the Joomla admin, go to System -> Install -> Extensions
Upload the plugin ZIP file or use the Install from URL option.
 (1)-a6689f12b23b8e992f5c2a169737672f.webp)
The plugin installs automatically.
Enable the App
Once you have installed the App, you will need to enable it. There are two ways you can access the extension.
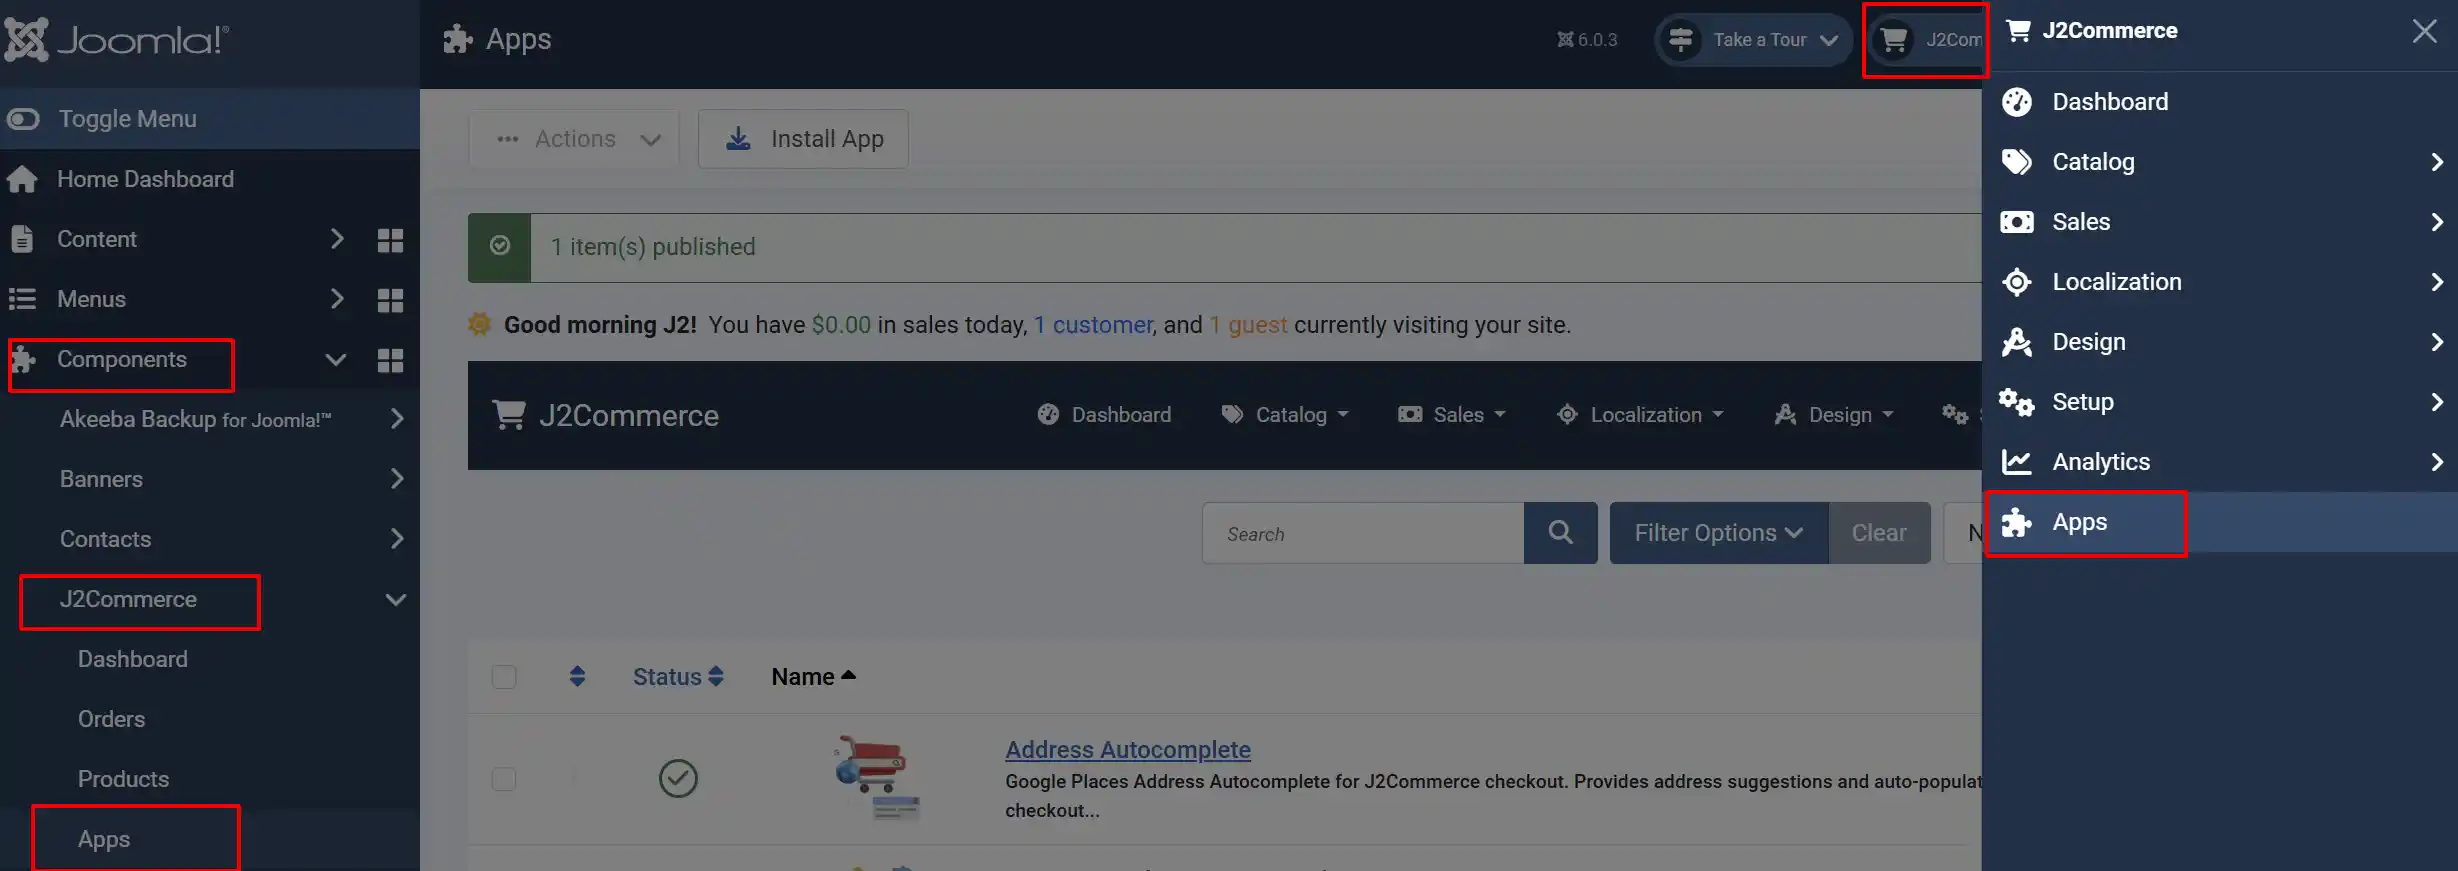
Option A: Go to the J2Commerce icon at the top right corner -> Apps
Option B: Go to Components on the left sidebar -> J2Commerce -> Apps
Look for Pay Later / Pay Against Invoice, click the X, and it will turn into a green checkmark. It is now enabled and ready for setup.
Configuration
Click the Toggle Inline Help button in the toolbar and the app will show a description below each field as you configure it.
Click the Pay Later / Pay Against Invoice title to open the plugin settings.
Basic Settings
Show Pay Button After (Seconds): How long to wait after an order is placed before showing the Pay Now button. This prevents the button from appearing while a gateway is still processing a callback.
Pay Button Expires After (Days): The number of days after the order is placed when the Pay Now button stops appearing. Set to 0 for no expiry.
Pay Button Text: Custom label for the Pay Now button. Leave blank to use the default "Pay" text.
Order Statuses: The Pay Now button only appears for orders with these statuses. Leave empty to show the button for orders in any status.
Debug Mode: Writes detailed log entries to administrator/logs/app_profileorder.php. Turn this off on a live store once you have finished testing.
Choosing Order Statuses
The Order Statuses setting is one of the most important things to configure. You almost always want to restrict the button to statuses that mean the order is genuinely unpaid — for example, Pending or Pending Payment — and exclude statuses like Completed, Processing, or Cancelled.
- Click inside the Order Statuses field.
- Select one or more statuses from the dropdown.
- Save the plugin settings.
Leaving the field empty shows the Pay Now button on orders in any status, which may not be what you want.
How It Works
The Customer Experience
- A customer places an order at checkout without completing payment — for example, they select "Bank Transfer" and close the browser, or their payment gateway session expires.
- Later, the customer logs in and goes to My Account -> My Orders to view their order history.
- For orders that meet the configured conditions, a Pay button appears next to the order.
- The customer clicks the Pay button. A payment selection page opens in a new browser tab.
- The customer selects a payment method and clicks Continue.
- An order summary is shown, along with the payment form from the selected payment plugin (for example, a Stripe credit card form).
- The customer completes payment. The order is updated in J2Commerce exactly as if the payment had been made at checkout.
When the Pay Button Appears
The Pay Now button is shown only when all three of the following conditions are met:
- The order's status matches one of the configured Order Statuses (or the setting is empty, meaning all statuses are allowed).
- The configured interval time has passed since the order was placed — this prevents the button from appearing while a gateway callback may still be in flight.
- The order was placed within the configured expiry window — the button will not appear for orders older than this limit.
With the default settings (20-second delay, 10-day expiry), the Pay Now button appears on orders that are at least 20 seconds old and no more than 10 days old.
Zero-Total Orders
If an order has a total of zero (for example, a fully discounted order), the payment selection step is skipped. The customer is taken directly to the order confirmation page and can click Place Order to complete it without entering payment details.
Tips
- Set a higher interval time if you use asynchronous payment gateways such as PayPal or Stripe Webhooks. A value of 60–300 seconds gives the gateway enough time to deliver its callback before the Pay Now button appears, reducing the risk of double payments.
- Set Pay Button Expires After to match your payment terms. For example, use
30if invoices must be paid within 30 days. - Restrict Order Statuses to only the statuses that represent genuinely unpaid orders. This prevents the Pay Now button appearing on orders that are already paid or cancelled.
- Pair this plugin with an offline or invoice payment method to create a full pay-by-invoice workflow: customers receive an invoice email at checkout and return to pay when they are ready.
Troubleshooting
The Pay Now button does not appear on any orders
Cause: The plugin may not be enabled, or no orders match the configured conditions.
Solution:
- Go to J2Commerce -> Apps and confirm Pay Later / Pay Against Invoice is enabled (green toggle).
- Check Order Statuses — if specific statuses are selected, the test order must have one of those statuses.
- Check Show Pay Button After (Seconds) — the button will not appear until that many seconds have elapsed since the order was placed.
- Check Pay Button Expires After (Days) — the order may be older than the configured expiry window.
- Clear the Joomla cache: Home Dashboard -> Manage Cache -> Delete All.
The payment page opens blank or shows an error
Cause: The CSRF security token in the link has expired, or the order ID is invalid.
Solution:
- Ask the customer to refresh the order history page to generate a fresh link, then click Pay again.
- Confirm the customer is logged in — guest users cannot use this feature.
- Enable Debug Mode in the plugin settings and check the log at
administrator/logs/app_profileorder.phpfor a detailed error message.
Clicking Pay shows "Invalid order or access denied"
Cause: The order does not belong to the currently logged-in user, or no order ID was passed to the page.
Solution:
- Confirm the customer is logged in to the correct account.
- Check that the order was originally placed by that same user account.
- Review the debug log for more details.
No payment methods appear on the payment selection page
Cause: No payment plugins are enabled, or all available plugins have filtered out this order.
Solution:
- Go to J2Commerce -> Payments -> Payment Methods and confirm at least one payment plugin is enabled.
- Check each payment plugin's own settings — some plugins restrict payments by order total, geozone, or customer group, which may exclude the order.