Algolia Search Integration
Algolia is a hosted search platform that delivers sub-10ms product search with typo-tolerance, faceted filtering, and instant autocomplete. This plugin handles the server-side side of the integration: it keeps your Algolia product index in sync with your J2Commerce catalogue, pushes index settings, and generates the search-only API key your storefront search module uses.
The plugin never sends the Admin API key to the browser. A separate, read-only Search-only key is generated and stored for the front-end module.
Prerequisites
- J2Commerce 6.0 or later
- Joomla 6.0 or later with the J2Commerce Task Scheduler cron task enabled (for batch reindexing)
- An active Algolia account (the free tier supports development)
- Your Algolia Application ID and Admin API Key (from the Algolia Dashboard)
Get Your Algolia Credentials
Before configuring the plugin, retrieve your Application ID and Admin API Key:
-
Log in to your Algolia Dashboard.
-
Click Settings (cog icon) in the left sidebar, then select API Keys.
-
On the Your API Keys tab, copy:
- Application ID — the short identifier for your Algolia app (e.g.
ABCDEF1234) - Admin API Key — the key with full read/write access (keep this secret)
- Application ID — the short identifier for your Algolia app (e.g.
The Admin API key can read, write, and delete all your Algolia data. Never paste it into JavaScript, browser consoles, or public files. The J2Commerce plugin stores it server-side only and never sends it to the browser.
Purchase and Download
Algolia Search Integration is a separate add-on available from the J2Commerce Extensions Store. It is not included with the core J2Commerce 6 component.
- Go to www.j2commerce.com and find Algolia in the Apps section.
- Complete checkout and go to My Downloads in your account.
- Click Available Versions -> View Files -> Download to get the zip file.
Installation
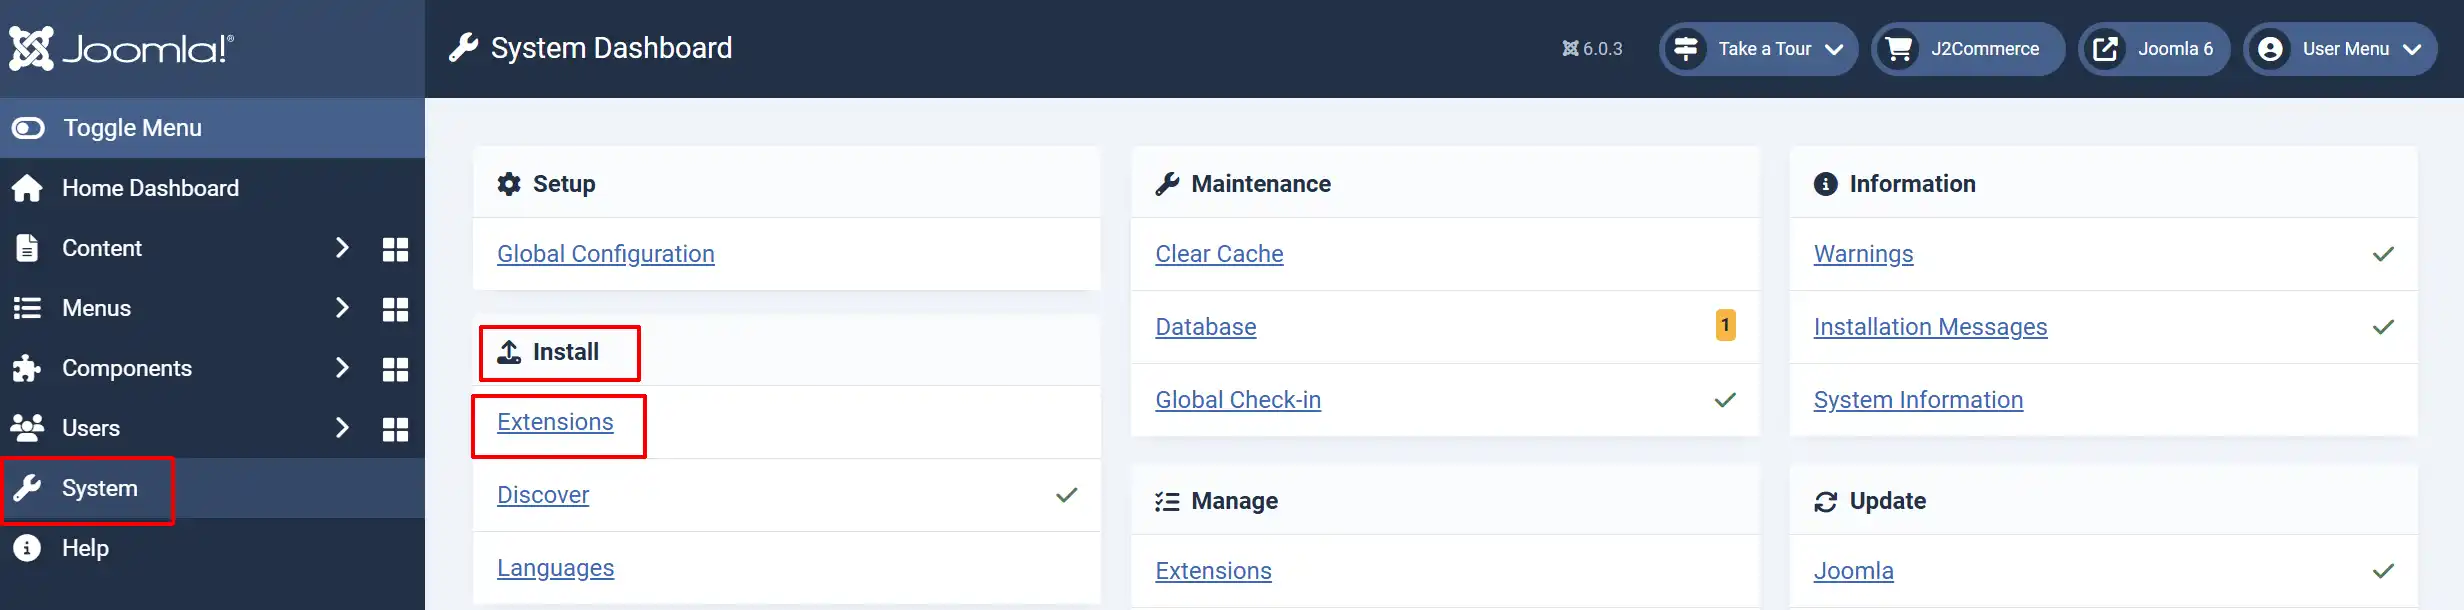
In the Joomla admin, go to System -> Install -> Extensions.
Upload the plg_j2commerce_app_algolia.zip file.
Enable the App
Once you have installed the App, you will need to enable it. There are two ways you can access the App.
Option A: Go to the J2Commerce icon at the top right corner -> Apps
Option B: Go to Components on the left sidebar -> J2Commerce -> Apps

To help you narrow down the list, you can do a search for the Algolia Search Integration app, click the X, and it will turn into a green checkmark. It is now enabled and ready for setup.
Configure the Plugin
- Go to J2Commerce -> Apps.
- Click Algolia to open the configuration form.
- Fill in the required fields described below, then click Save in the toolbar.
Connection Settings
Application ID: Your Algolia Application ID (found on the API Keys page in the Algolia Dashboard).
Admin API Key: Your Algolia Admin API Key. Stored server-side only — never exposed to the browser.
Index Prefix: A prefix applied to all indices this plugin creates. Default: j2c_. A prefix of j2c_ creates indices named j2c_products, j2c_products_price_asc, and j2c_products_price_desc. Use a unique prefix per environment (e.g. staging_ for your test site).
Search Module Settings
Search-Only API Key: A read-only key (ACL: search) used by the storefront search module. Click Generate Search-Only Key in the action panel to create this automatically. Paste the generated key here and save.
Index Content
Fields to Index: Select which product fields are sent to Algolia. Leave empty to index all available fields. Useful for reducing index size on large catalogues — for example, omit Variants if you have thousands of variant-heavy products.
Facet Attributes: The product attributes Algolia configures as facets when you click Push Index Settings. These control what appears in filter panels on the search results page.
Performance and Features
Cron Batch Size: Maximum number of products processed per cron run. Reduce this (e.g. to 100) if your server times out during reindexing.
Enable Algolia Insights: Enables click and conversion event tracking. Required for AI Re-Ranking, personalisation, and analytics features. The storefront module handles sending the events.
Enable Algolia Recommend: Enables Algolia Recommend models (Related Products, Frequently Bought Together). Requires a trained model in your Algolia account and Insights enabled.
Debug Mode: Writes detailed log entries to administrator/logs/app_algolia.php. Disable in production.
Action Panel
After saving your credentials, four action buttons appear in the plugin configuration panel.
Test Connection
Verifies that your Application ID and Admin API Key are valid by calling the Algolia API. A success message shows the ACL permissions on your key. If this fails, double-check that you copied the full key with no trailing spaces.
Push Index Settings
Sends recommended index settings to Algolia for your products index (j2c_products by default). This configures:
- Searchable attributes — name, SKU, categories, brand, description
- Facet attributes — brand (with facet-value search), categories, price, in-stock filter
- Custom ranking — products with more views (popularity) rank higher
- Sort replicas — creates
j2c_products_price_ascandj2c_products_price_descvirtual replicas for price sorting
Click Push Index Settings before running Reindex All Products for the best indexing performance.
Reindex All Products
Queues every published product in your store for indexing. The queue is processed in the background by the J2Commerce cron task — products appear in Algolia search results as each batch completes. A confirmation dialog shows the number of products queued.
Large stores (10,000+ products) should run this overnight or increase Cron Batch Size to process more products per run.
Generate Search-Only Key
Creates a new Algolia API key with read-only (search) permission, scoped to your index prefix (e.g. j2c_*). The generated key is safe to include in your storefront JavaScript — it cannot write or delete data.
After clicking Generate Search-Only Key:
- Copy the key shown in the success message.
- Paste it into the Search-Only API Key field above.
- Click Save to store it in the plugin params.
The key is then available to the Algolia search module.
New Algolia API keys take a few seconds to activate after creation. Do not use the key immediately after generating it — save it first, then configure your search module.
How Automatic Indexing Works
Below shows the Event and what happens in Algolia
Once configured, the plugin keeps your Algolia index in sync automatically:
-
Product saved (published): Product record is added or updated in the index
-
Product unpublished: Product record is deleted from the index
-
Product hard-deleted: Product record is deleted from the index
-
Cron run: Queued index jobs (from Reindex All or bulk saves) are processed
All indexing operations are queued and asynchronous — Algolia processes them in the background and the record becomes searchable once the task completes. For high-priority updates (e.g. a price change on a flash sale), the record is indexed within seconds on the next cron run.
Record Structure
Each product is stored in Algolia as a single record (one record per product). The objectID is the J2Commerce product ID. A typical record includes:
| Attribute | Source |
|---|---|
objectID | j2commerce_product_id |
name | Product name (from linked article title) |
sku | Master variant SKU |
price | Master variant price (numeric, for sorting/filtering) |
price_display | Formatted price string (e.g. $19.99) |
brand | Manufacturer company name |
description | Short description (HTML stripped, for snippets) |
categories | Category name array |
image | Main product image URL (absolute) |
in_stock | Boolean — resolves managed/unmanaged stock |
url | Absolute storefront product URL |
popularity | Number of product page views (drives ranking) |
variants | Array of non-master variant SKU/price pairs |
Cron Setup
Batch reindexing and queue processing rely on the J2Commerce cron task. Confirm it is active before running a full reindex:
- Go to System -> Manage -> Plugins.
- Search for J2Commerce Task and verify the plugin is enabled.
- Go to System -> Scheduled Tasks and confirm the J2Commerce Queue Processor task is published and has a recent Last Run time.
If the task has never run, click the play icon to trigger it manually once.
Connect the Search Module
After generating the search-only key and completing setup, install and configure the Algolia Search module to add the storefront search widget:
- Go to Content -> Site Modules -> New.
- Select Algolia Search from the module list.
- Enter your Application ID and the Search-Only API Key generated above.
- Enter the index name (e.g.
j2c_products). - Assign the module to the header position of your template.
- Save and check your storefront.
Troubleshooting
Products are not appearing in search results
Possible causes and fixes:
- Index settings not pushed — click Push Index Settings in the plugin panel, then click Reindex All Products.
- Cron not running — verify the J2Commerce Queue Processor task is active (see Cron Setup above).
- Admin key lacks write permission — click Test Connection. If the ACL list does not include
addObject, generate a new Admin key in the Algolia Dashboard with full permissions. - Wrong Application ID — confirm the Application ID matches the app your index belongs to. Each Algolia app has a separate set of indices.
Test Connection fails with "Invalid Application ID"
Your Application ID is incorrect or you are using a key from a different Algolia app. Open the Algolia Dashboard, go to Settings -> API Keys, and copy the Application ID and Admin API Key for the same app.
Reindex All Products queued 0 products
No published products exist in J2Commerce, or all products are in a disabled state. Go to J2Commerce -> Catalog -> Products and confirm at least one product shows a green published status.
Search-Only Key shows "A key is already stored"
The plugin has a key from a previous generation. To replace it:
- Clear the Search-Only API Key field.
- Click Save.
- Click Generate Search-Only Key again.
The old key remains active in Algolia until you delete it from the Algolia Dashboard under Settings -> API Keys.