Nochex Payment
The Nochex plugin connects your J2Commerce store to Nochex, a UK-based hosted payment gateway. When a customer reaches the payment step, they are redirected to the secure Nochex payment page to enter their card details. After the payment is processed, Nochex sends an Automated Payment Confirmation (APC) directly to your store's server. J2Commerce verifies that APC with Nochex and only marks the order as paid once the verification passes and the amount matches.
Nochex is a UK-based gateway primarily designed for GBP (British Pounds). Make sure your store currency and pricing are appropriate before enabling this plugin for live transactions.
Key features:
- Hosted redirect — card details are entered on Nochex's servers, not yours
- APC (Automated Payment Confirmation) — server-to-server callback securely confirms every payment
- Amount verification — the plugin checks the APC amount against the order total before marking the order paid
- Idempotent processing — duplicate APC callbacks are safely acknowledged without creating double-charges
- Sandbox / test mode for testing without processing real payments
- Send Item Details — optionally send line-item data to Nochex for display on their payment page
- Geozone restriction — limit Nochex to shoppers in specific geographic regions
- Subtotal limits — set minimum and maximum order amounts for Nochex to appear at checkout
- Debug logging for troubleshooting
Limitations
- Redirect only — there is no on-site card form. The customer always leaves your site to pay on Nochex.
- No saved cards — Nochex does not provide a card vault. Returning shoppers must enter their card details every time.
- No API refunds — the Nochex API does not support programmatic refunds. To refund a customer, log in to your Nochex merchant dashboard and process the refund there. Inside J2Commerce you can manually update the order status to Refunded for your own record-keeping, but no money is moved automatically.
- No subscriptions — recurring billing is not supported through this integration.
Requirements
- PHP 8.3.0 +
- Joomla! 6.x
- J2Commerce 6.x
- A Nochex merchant account (register at nochex.com)
- Your store must be accessible over HTTPS on a publicly reachable domain (localhost cannot receive APC callbacks from Nochex)
Get Your Nochex Merchant ID
Before you can configure the plugin, you need your Nochex Merchant ID. This is the email address (or account alias) you used when you registered your Nochex account.
- Log in to your Nochex account at https://www.nochex.com.
- Go to your Account Settings or Profile to confirm your registered email address — this is your Merchant ID.
- Note it down. You will paste it into the plugin settings.
Purchase and download
This plugin is a separate add-on available from the J2Commerce Extensions Store. It is not included with the core J2Commerce 6 component.
- Go to the J2Commerce website and locate Nochex.
- Add it to your cart and complete checkout.
- Go to My Downloads under your account profile and find the plugin.
- Click Available Versions -> View Files -> Download Now to download the ZIP file.
Install the plugin
In the Joomla Administrator, go to System -> Install -> Extensions.
Upload the plg_j2commerce_payment_nochex.zip file.

Enable the Plugin
Once you have installed the App, you will need to enable it. There are two ways you can access the App.
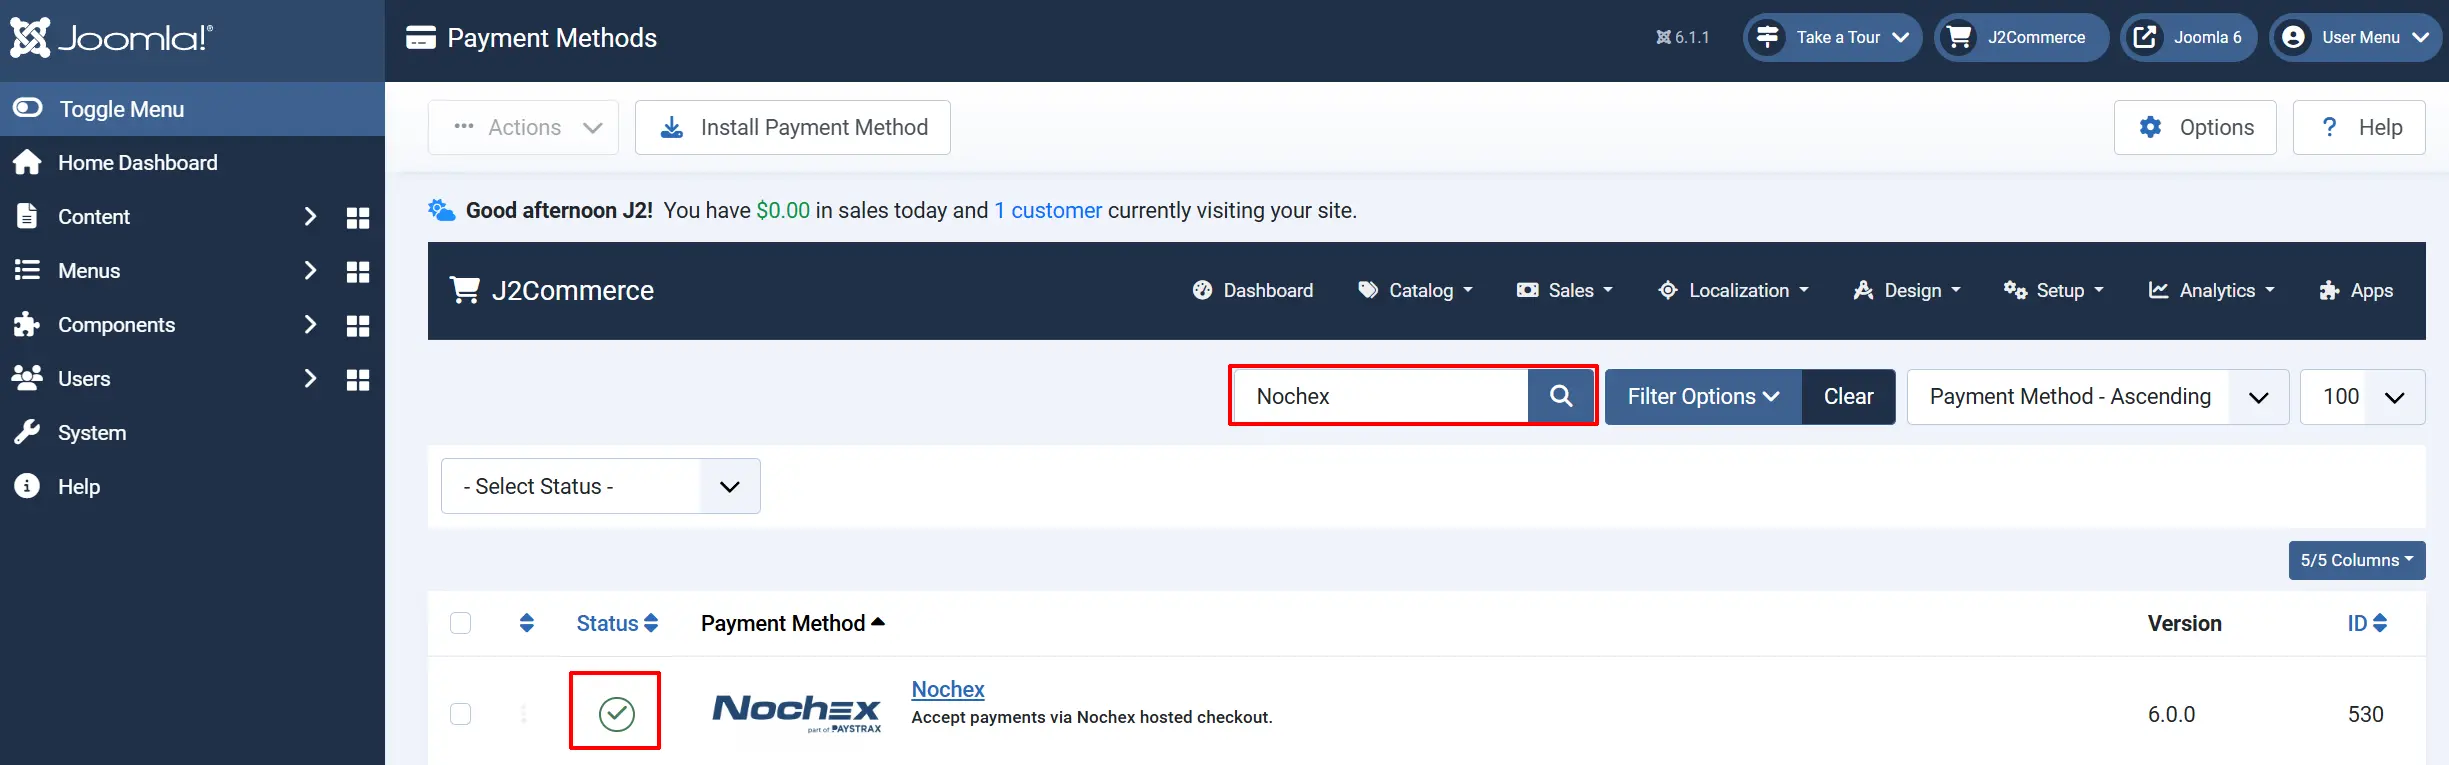
Option A: Go to the J2Commerce icon at the top right corner -> Setup -> Payment Methods
Option B: Go to Components on the left sidebar -> J2Commerce -> Dashboard -> Setup -> Payment Methods

To help you narrow down the list, you can do a search for Nochex, click the X, and it will turn into a green checkmark. It is now enabled and ready for setup.
Configure the plugin
Click the Nochex title next to the green checkmark to open the configuration screen.
Click the Toggle Inline Help button at the top of any plugin configuration page to show a short description beneath each field.

Credential tab
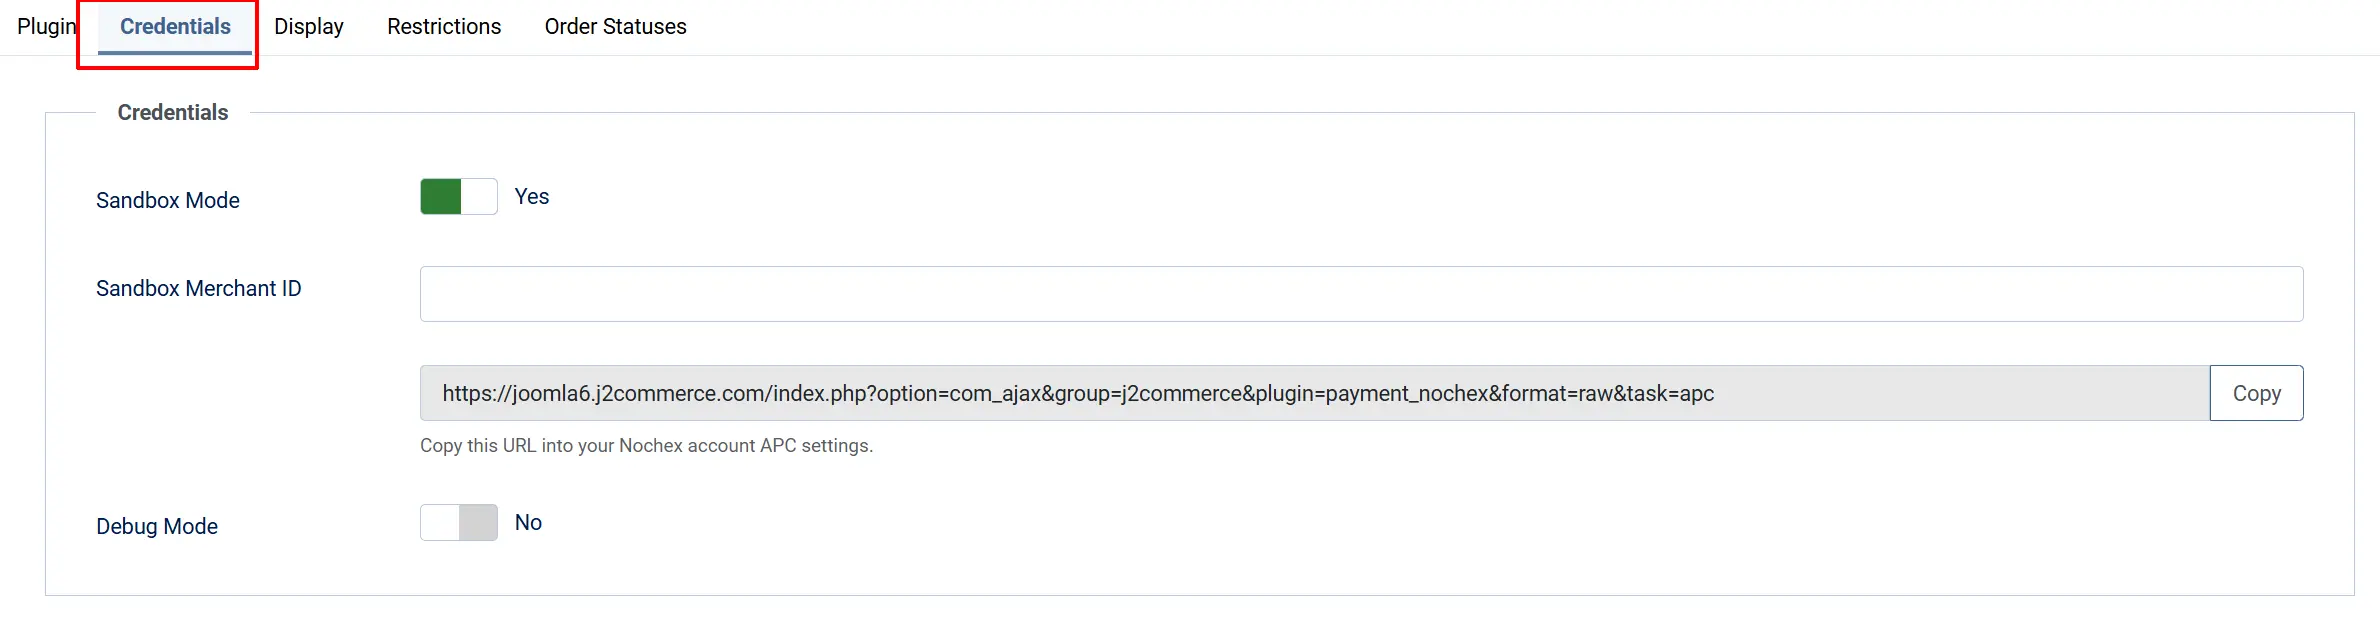
Sandbox Mode: Set to Yes while testing. In this mode, payments are processed as sandbox transactions and no real money moves. Set to No when you are ready to accept real payments.
Sandbox Merchant ID: Your sandbox Nochex merchant email address for testing. Shown only when Sandbox Mode is Yes.
Merchant ID: Your live Nochex merchant email address. Shown only when Sandbox Mode is No.
APC Callback URL: Read-only. This is the URL Nochex will POST payment confirmations to. Copy this value and paste it into your Nochex account APC settings.
The APC Callback URL must be entered into your Nochex account before you go live. Without it, Nochex cannot confirm payments and orders will stay in a pending state. See Register the Callback URL below.
Debug Mode: Set to Yes to log APC requests and responses to the Joomla log file. Turn on only when troubleshooting — disable on live stores.
Display Tab
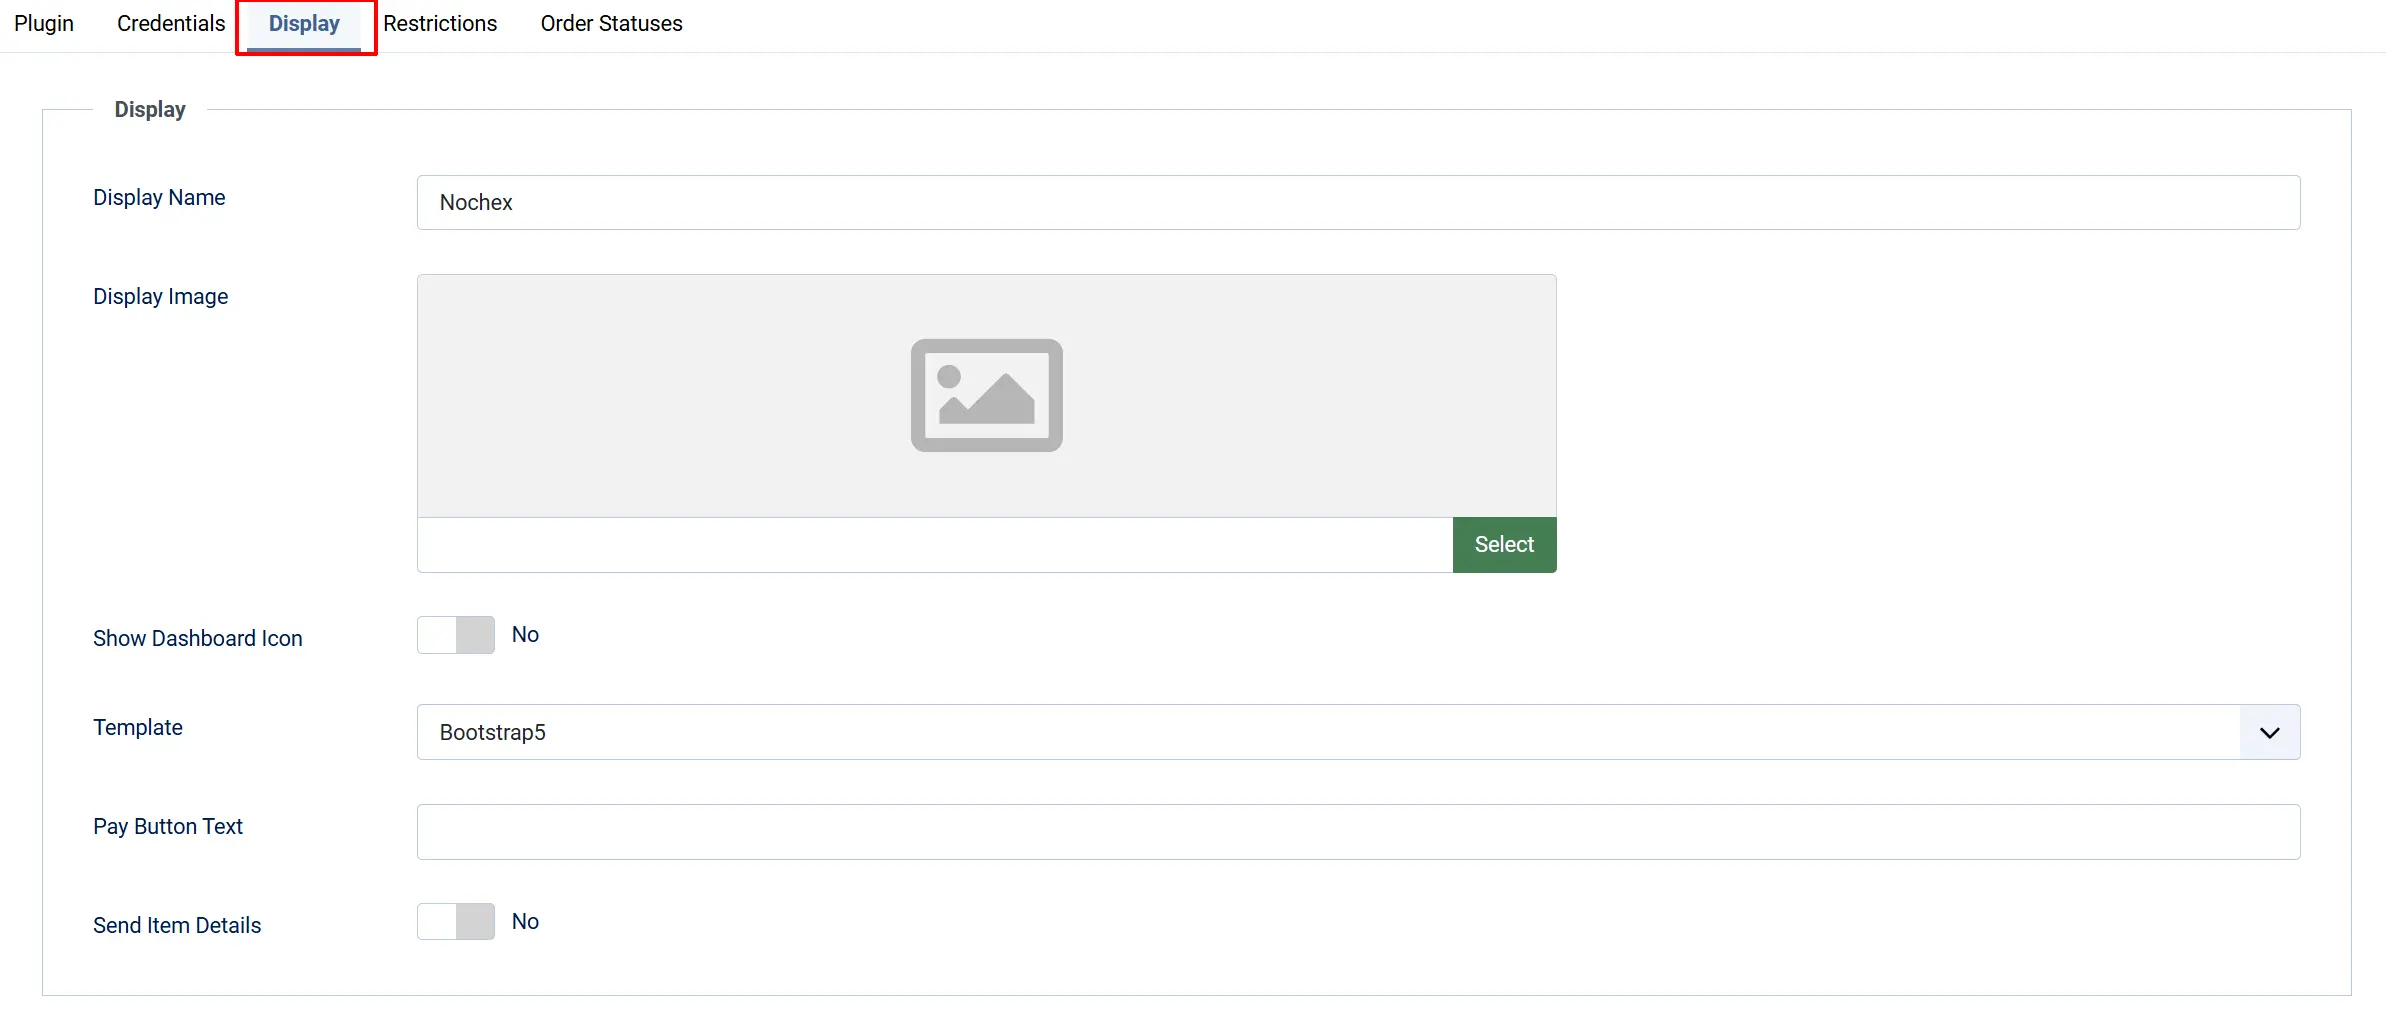
Display Name: The name shown to shoppers at checkout (for example, "Credit / Debit Card" or "Nochex").
Display Image: An optional logo shown next to the method at checkout. Upload via the Joomla Media Manager.
Show Dashboard Icon: Set to Yes to show a shortcut icon on the J2Commerce dashboard.
- Icon Label: Custom label for the dashboard icon
Template: The checkout layout style. Leave this on Bootstrap5 unless your store template uses UIkit.
Pay Button Text: Override the default "Pay Now" button label shown on the pre-redirect step. Leave blank to use the default.
Send Item Details: Set to Yes to send a line-item XML collection to Nochex so your product names, quantities, and amounts appear on their payment page.
Leave Template set to a value (the default is Bootstrap5). If it is left blank, the pre-redirect form will not display correctly at checkout.
Restrictions Tab
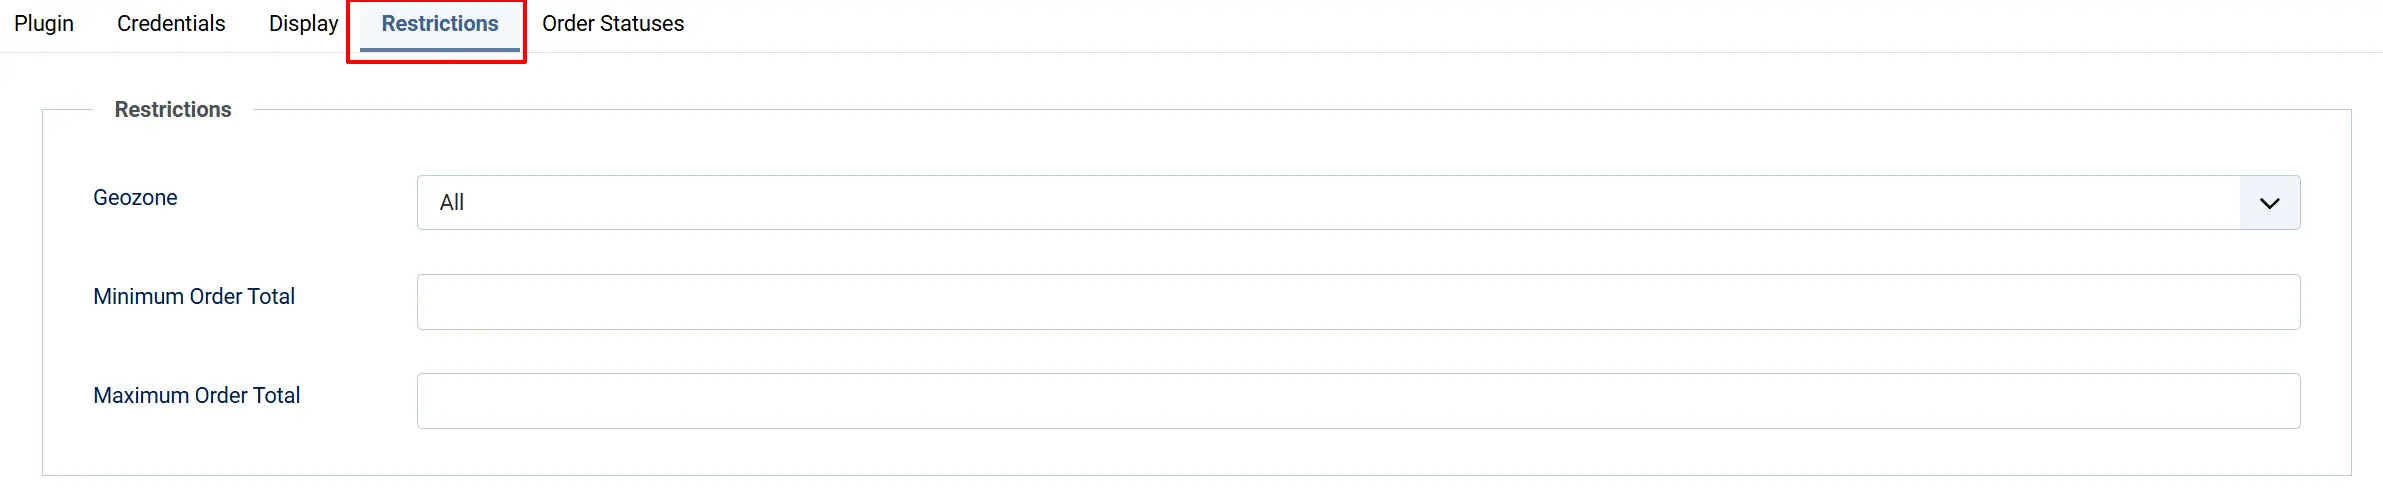
Geozone: Limit Nochex to shoppers within a specific geozone. Leave blank to offer it to everyone.
Minimum Order Total: Hide this method when the order total is below this amount. Leave blank for no minimum.
Maximum Order Total: Hide this method when the order total exceeds this amount. Leave blank for no maximum.
Order Statuses Tab
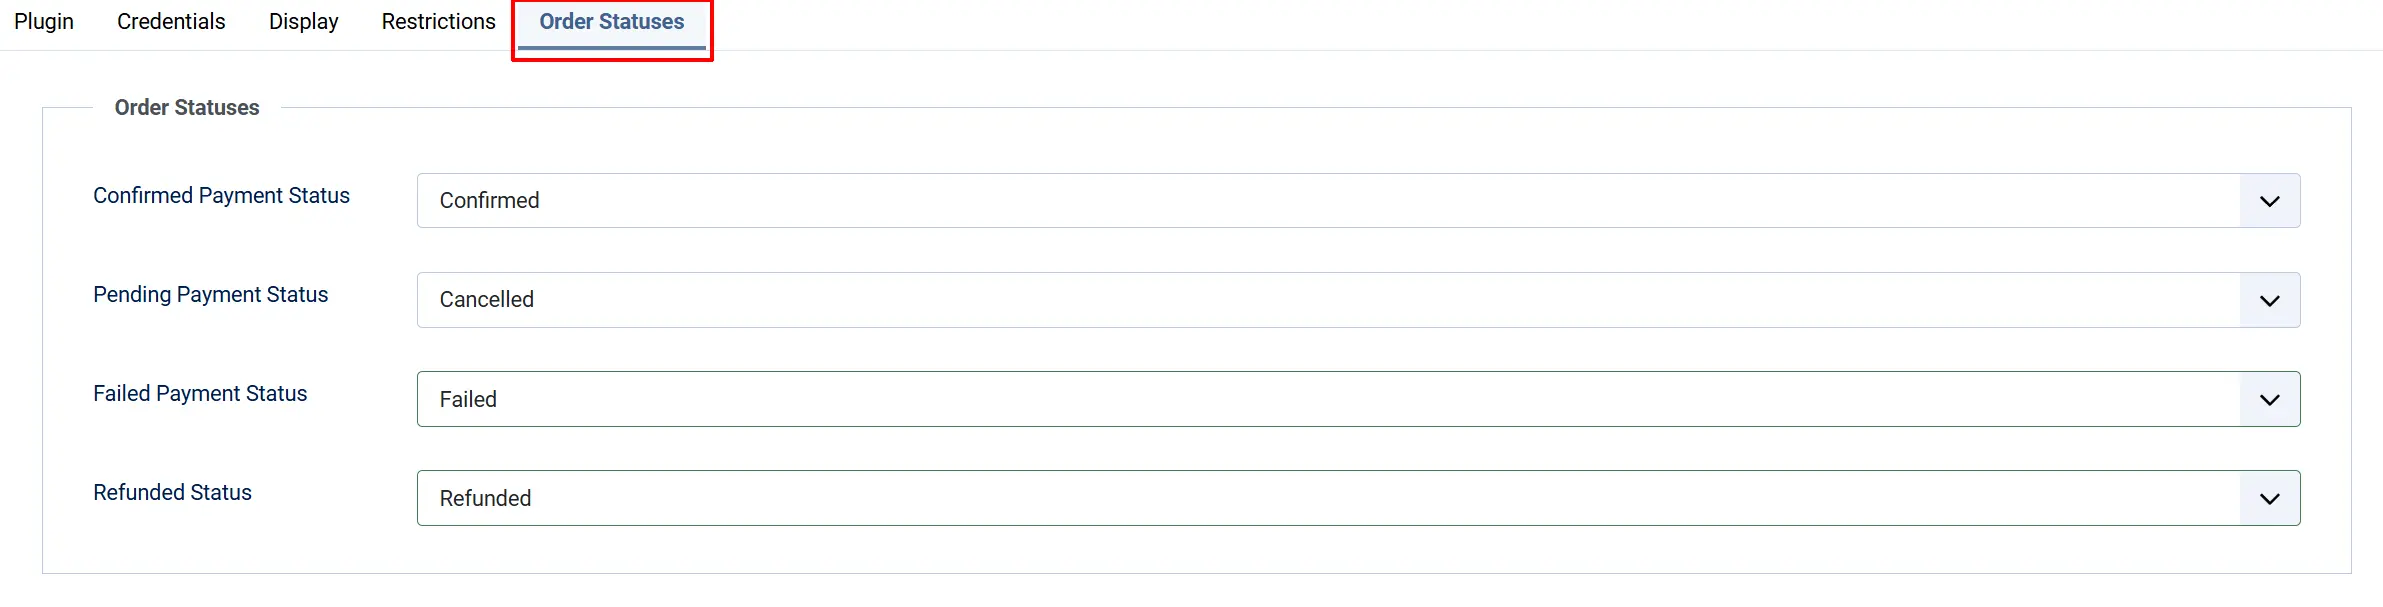
These settings control which J2Commerce order status is applied at each stage of the payment.
Confirmed Payment Status: Applied when the Nochex APC confirms the payment as AUTHORISED.
Pending Payment Status: Applied immediately after the shopper is redirected to Nochex, before payment is confirmed.
Failed Payment Status: Applied when the APC verification fails or Nochex returns a non-authorised response.
Refunded Status: Applied manually when you mark an order as refunded in J2Commerce after processing the refund in the Nochex dashboard.
Register the Callback URL
The APC Callback URL is how Nochex tells your store that a payment was completed. You must add this URL to your Nochex account settings, otherwise payments will never be confirmed automatically.
Step 1: In the plugin Credentials tab, find the APC Callback URL field. It looks similar to:
https://yourstore.com/index.php?option=com_ajax&format=raw&group=j2commerce&plugin=Payment_nochex&task=apc
Step 2: Select the entire URL and copy it (or click the Copy button next to the field).
Step 3: Log in to your Nochex merchant account at https://www.nochex.com.
Step 4: Navigate to your account settings and find the APC / Callback URL or Automated Payment Confirmation section.
Step 5: Paste the copied URL and save your Nochex settings.
The exact location of the APC URL setting inside Nochex depends on your account type. Check Nochex's own help documentation if you cannot find it, or contact Nochex support directly — they may need to enable the APC feature for your account.
How Checkout Works
- The shopper adds products to the cart and goes to checkout.
- They choose Nochex (or whatever you set as the Display Name) as the payment method.
- A brief redirect page appears with a Pay Now button.
- The shopper clicks Pay Now and is taken to the secure Nochex payment page.
- The shopper enters their card details and completes the payment on Nochex's servers.
- Nochex sends a server-to-server APC callback to your store. J2Commerce verifies it, checks the amount, and updates the order status.
- The shopper is returned to your store and sees the order confirmation.
NOTE: The shopper's card details never reach your website. They are entered directly on Nochex's PCI-compliant payment page.
Processing Refunds
Nochex does not provide an API for refunds. To refund a customer:
- Log in to your Nochex merchant dashboard at https://www.nochex.com.
- Find the transaction and process the refund there.
- Once the refund is complete in Nochex, return to J2Commerce.
- Open the order in J2Commerce -> Sales -> Orders.
- Click Mark as Refunded to update the order status for your own records.
J2Commerce does not initiate the refund — it only lets you update the order status after you have completed the refund in the Nochex dashboard.
Testing Before Going Live
Before accepting real payments, test the complete checkout flow in sandbox mode.
Step 1: In the plugin Credentials tab, switch Sandbox Mode to Yes.
Step 2: Enter your Nochex email in the Sandbox Merchant ID field.
Step 3: Save the plugin settings.
Step 4: Place a test order on your store. At checkout, select Nochex and proceed. You will be redirected to the Nochex payment page.
Step 5: Complete the payment using Nochex's test card details (available from your Nochex merchant dashboard or Nochex support documentation).
Step 6: After the payment, return to J2Commerce and check that the order status updated to your configured Confirmed Payment Status.
Step 7: If the status did not update, confirm the APC URL is registered in your Nochex account and that your site is publicly accessible over HTTPS.
Step 8: Once testing is complete, switch Sandbox Mode back to No and save.
Always complete at least one successful test in Sandbox Mode before switching to live payments.
Tips
- Register the APC URL first — Nothing will work until the Callback URL is saved in your Nochex account. Do this before testing.
- Use HTTPS — Nochex's servers cannot reach a plain HTTP or localhost address. Your store must be live on a public HTTPS domain.
- Set min/max subtotals — If you offer other payment methods, use the subtotal limits to control when Nochex appears.
- Enable Debug Mode during testing — The Joomla log will show exactly what Nochex sent and whether the APC verification passed.
- Test with the exact amount — Nochex verifies the amount to the penny. Make sure your store prices in GBP match what Nochex expects.
Troubleshooting
Orders Stay in Pending Status After the Shopper Pays
Cause: Nochex cannot reach your store's APC Callback URL to send the payment confirmation.
Solution:
- Open the plugin Credentials tab and copy the APC Callback URL.
- Log in to your Nochex account and confirm this URL is saved in your APC settings.
- Confirm your store is accessible over HTTPS from a public URL — Nochex cannot reach a localhost or intranet address.
- Enable Debug Mode in the plugin Credentials tab, place a test order, and check the Joomla log (System -> Logs) for APC-related entries.
The Order Status Is Set to Failed Even Though I Completed the Payment
Cause: The APC verification may have failed because the re-POST check was not authorised by Nochex, or the amount returned by Nochex did not match the order total.
Solution:
- Enable Debug Mode in the plugin Credentials tab.
- Place a new test order and check the Joomla log for APC detail messages including the amount Nochex returned and the amount J2Commerce expected.
- Confirm there are no currency conversion discrepancies — Nochex is GBP-centric and the amounts must match within £0.01.
- If the amounts do not match, check that your store's displayed prices match what Nochex was sent.
Nochex Does Not Appear at Checkout
Cause: The geozone restriction, subtotal limits, a missing Merchant ID, or the method being disabled may be hiding the payment option.
Solution:
- Go to J2Commerce -> Setup -> Payment Methods and confirm Nochex shows a green checkmark.
- Open the method and check the Restrictions tab — confirm the geozone includes the customer's billing country, and that the order subtotal is within any configured min/max limits.
- Check the Credentials tab — confirm the Merchant ID field is not empty.
- If Sandbox Mode is on, confirm the Sandbox Merchant ID is also filled in.
The APC URL Cannot Be Reached from a Local Development Environment
Cause: Nochex's servers cannot POST to localhost or a private IP address.
Solution: Use a tunnelling service such as ngrok to create a public HTTPS URL pointing to your local site. Enter the ngrok URL as the APC Callback URL in your Nochex account for testing only. Switch back to your real site URL before going live.
I Cannot Find Where to Add the APC URL in My Nochex Account
Solution: Log in to https://www.nochex.com and look under your Account Settings for a section labelled APC, Callback URL, or Automated Payment Confirmation. If you cannot find it, contact Nochex support directly — the exact location varies by account type and Nochex may need to enable the APC feature for your account.