MultiSafepay
MultiSafepay is a Dutch payment service provider that processes iDEAL, Bancontact, Visa, Mastercard, American Express, and more than 30 other payment methods through a single integration. When a customer places an order, they are redirected from your J2Commerce checkout to the MultiSafepay hosted payment page, complete their payment there, and return to your store. MultiSafepay then sends your store a server-to-server notification confirming the result — so orders are confirmed even if the customer closes the browser before returning.
Important: MultiSafepay settles all transactions in Euros (EUR). If your store uses a different currency, J2Commerce automatically converts the cart total to EUR when sending the order to MultiSafepay, using the exchange rate configured in your currency settings.
Prerequisites
- J2Commerce installed and active on Joomla 6
- An active MultiSafepay merchant account — register at multisafepay.com
- A live API key from your MultiSafepay dashboard (and a sandbox/test API key if you want to test first)
- Your store running over HTTPS (MultiSafepay requires a valid SSL certificate)
- EUR configured as a currency in J2Commerce (go to J2Commerce -> Localization -> Currencies and verify EUR is present)
- The MultiSafepay payment plugin purchased from the J2Commerce Extensions Store
Setup Before Configuration
Get Your API Key from MultiSafepay
- Log in to your MultiSafepay dashboard.
- Go to Settings -> API keys.
- Copy the Live API Key — you will paste this into the plugin.
- If you want to test first, also note the Test API Key from the sandbox environment at testmerchant.multisafepay.com.
Purchase and download
This plugin is a separate add-on available from the J2Commerce Extensions Store. It is not included with the core J2Commerce 6 component.
- Go to the J2Commerce website and locate MultiSafepay.
- Add it to your cart and complete checkout.
- Go to My Downloads under your account profile and find the plugin.
- Click Available Versions -> View Files -> Download Now to download the ZIP file.
Install the plugin
In the Joomla Administrator, go to System -> Install -> Extensions.
Upload the plg_j2commerce_payment_multisafepay.zip file.

Enable the Plugin
Once you have installed the App, you will need to enable it. There are two ways you can access the App.
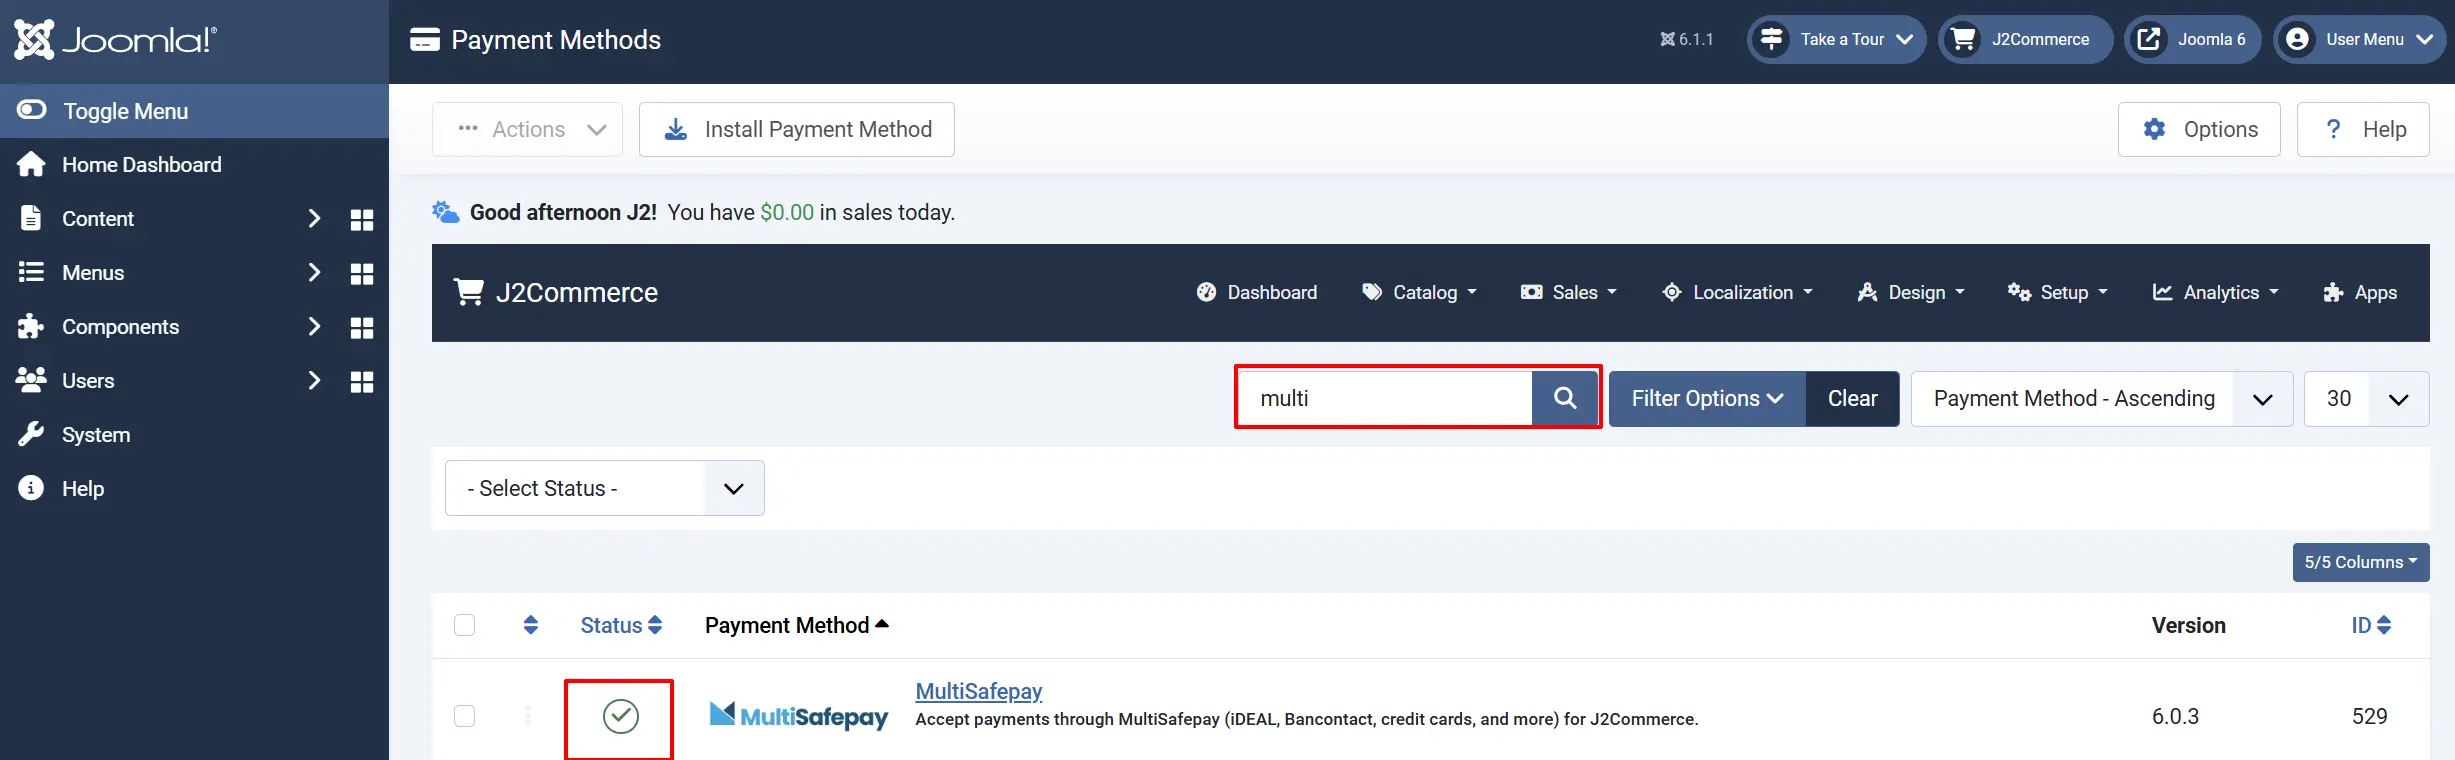
Option A: Go to the J2Commerce icon at the top right corner -> Setup -> Payment Methods
Option B: Go to Components on the left sidebar -> J2Commerce -> Dashboard -> Setup -> Payment Methods

To help you narrow down the list, you can do a search for MultiSafepay, click the X, and it will turn into a green checkmark. It is now enabled and ready for setup.
Configure the Plugin
Click the Toggle Inline Help button at the top of any plugin configuration page to show a short description beneath each field.

Display
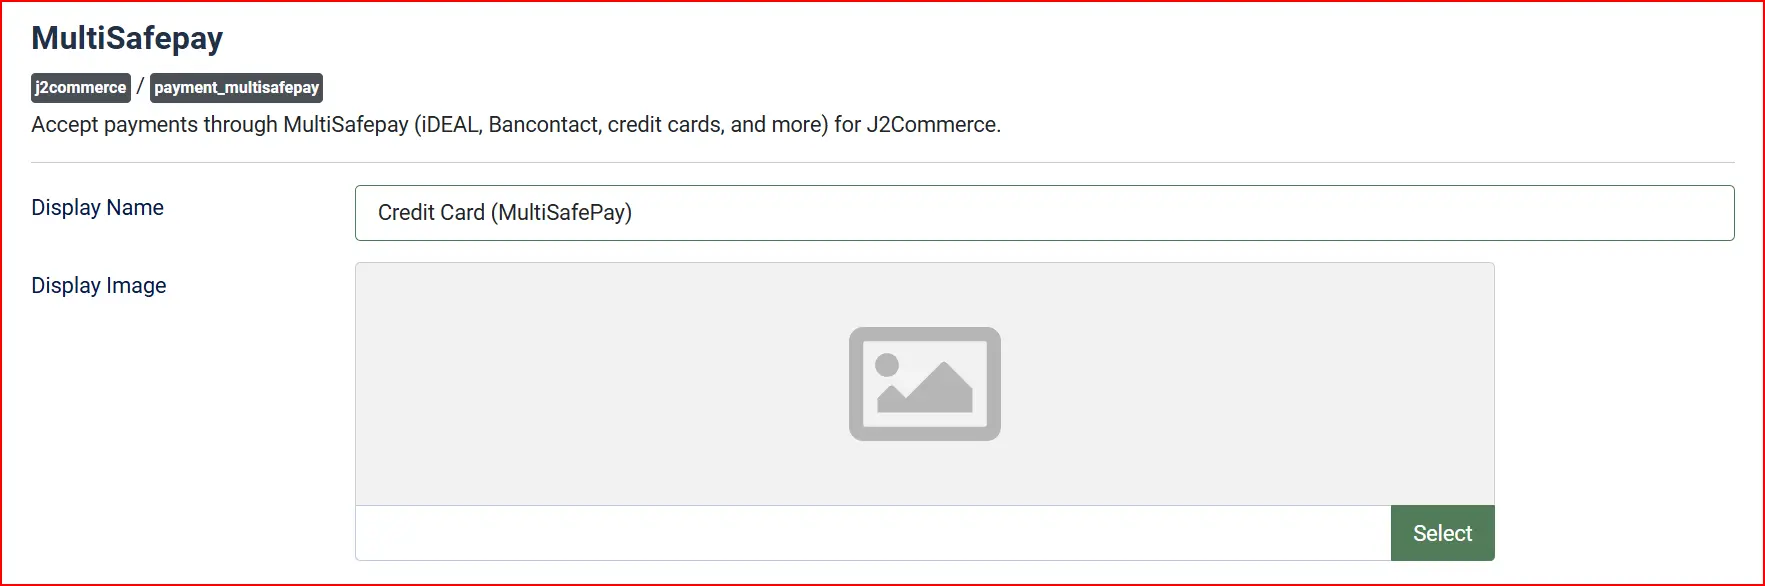
- Display Name — the label customers see at checkout (default: "MultiSafepay"). You can change this to "Online Payments", "iDEAL and more", or any name that suits your store.
- Display Image — upload a logo or payment method icon to show alongside the name at checkout.
- Description Prefix: A short label prepended to the order description sent to MultiSafepay (e.g. "Order#")

Credentials

When sandbox mode is active, all checkouts redirect to testapi.multisafepay.com instead of the live gateway. Use the test card numbers and test iDEAL bank listed in the MultiSafepay test documentation to simulate different payment outcomes.
Remember to switch sandbox back to No and verify your live API Key is set before going live.
In the Basic configuration tab, fill in the following required fields:
API Key: Your live API key from the MultiSafepay dashboard
Use Sandbox: Toggle Yes to switch to the test environment
Sandbox API Key: Your test API key (only visible when Use Sandbox is Yes)
Order Status
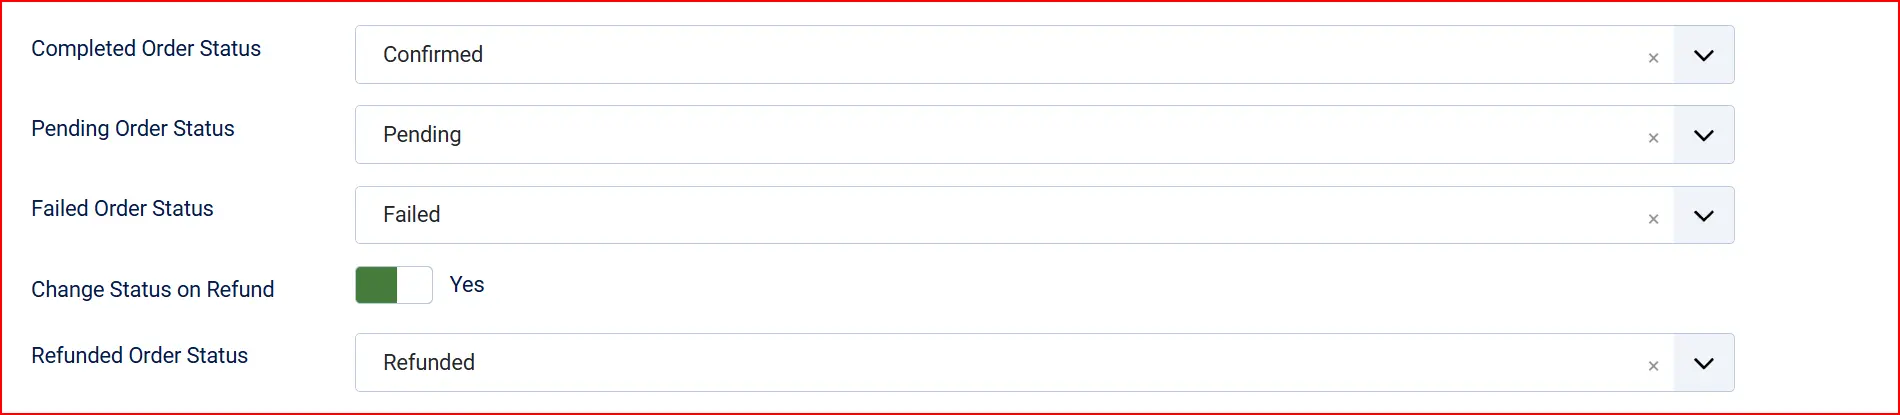
MultiSafepay sends your store a status for every payment. The plugin maps those statuses to your J2Commerce order statuses:
To set these:
Completed Order Status: Status applied when MultiSafepay reports completed
Pending Order Status: Status applied for initialized or uncleared payments
Failed Order Status: Status applied for void, declined, expired, refunded, or cancelled
If the status you want is not listed in a dropdown, create a new one first by going to J2Commerce -> Setup -> Order Statuses.

Surcharge (Optional)
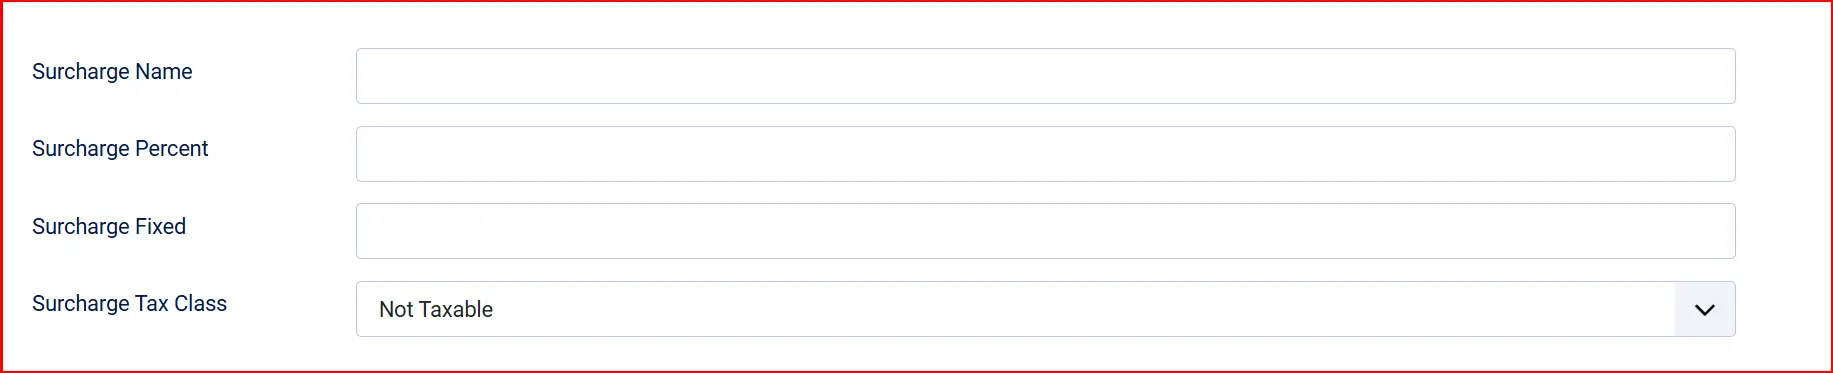
Add an optional payment surcharge to cover gateway fees. Leave all fields empty if you do not want a surcharge.
Surcharge Name: Label shown to customers for the surcharge line (e.g. "Payment fee")
Surcharge Percent: Percentage of the order total to add as a surcharge (e.g. 1.5 for 1.5%)
Surcharge Fixed: Fixed amount to add as a surcharge (e.g. 0.50 for €0.50)
Surcharge Tax Class: Tax profile to apply to the surcharge amount
Both a percentage and a fixed amount can be active at the same time — they are added together.
Restrictions

Geozone Restriction: Limit this payment method to customers in a specific geozone. Leave blank to show to all customers.

Minimum Subtotal: Leave empty or set to 0 to allow all order amounts. Set a minimum subtotal required for this payment method to be available.
Maximum Subtotal: Leave empty or set to -1 to allow all order amounts. Set a maximum subtotal limit for this payment method to be available.
Customer-Facing Messages
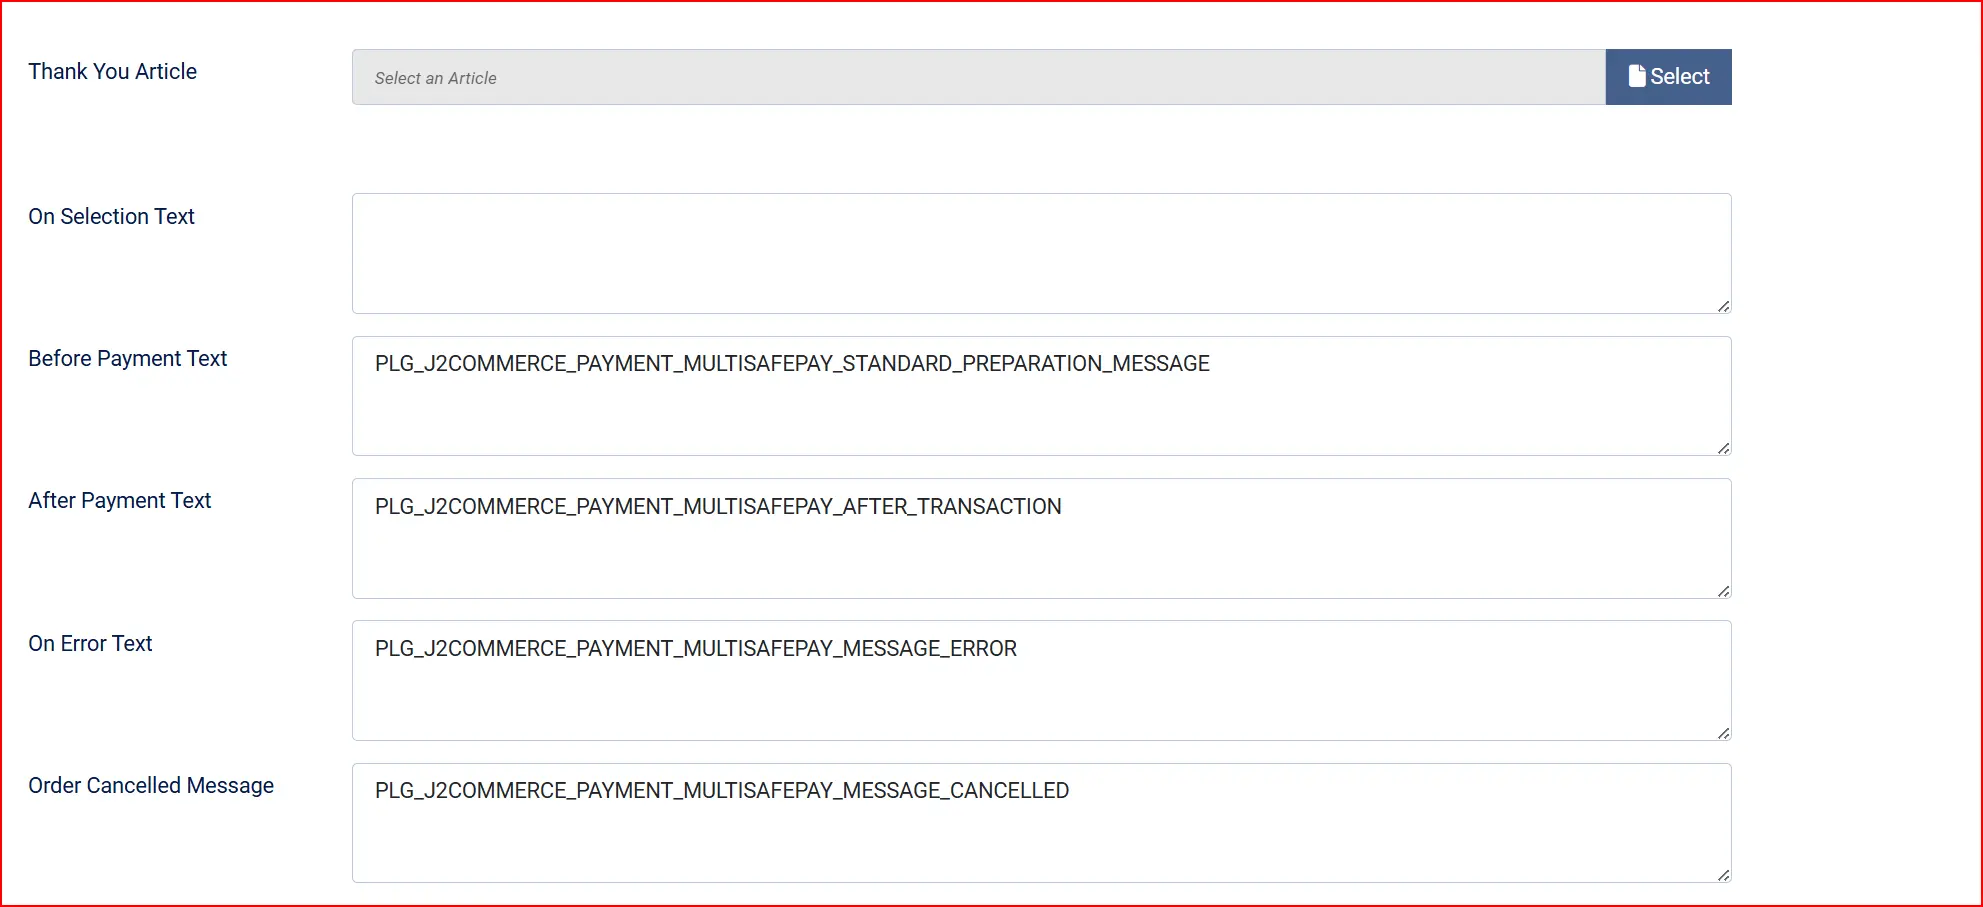
These text fields let you customize what customers read at each stage of the payment flow. The defaults are suitable for most stores.
Thank-You Article: Select a Joomla article to display on the order confirmation page after a successful payment
On Selection: When the customer selects MultiSafepay at checkout (before clicking Pay)
Before Payment: On the redirect button page, just before the customer is sent to MultiSafepay
- "You will be redirected to MultiSafepay to complete your payment."
After Payment: When the customer returns from MultiSafepay after a successful payment
- "Thank you for your order. Your payment has been received."
On Error: When a gateway or configuration error occurs
- "An error occurred. Please try again."
On Cancel: When the customer clicks Cancel on the MultiSafepay payment page
- "Your payment was cancelled. Your order has been saved — please try again."
Advanced
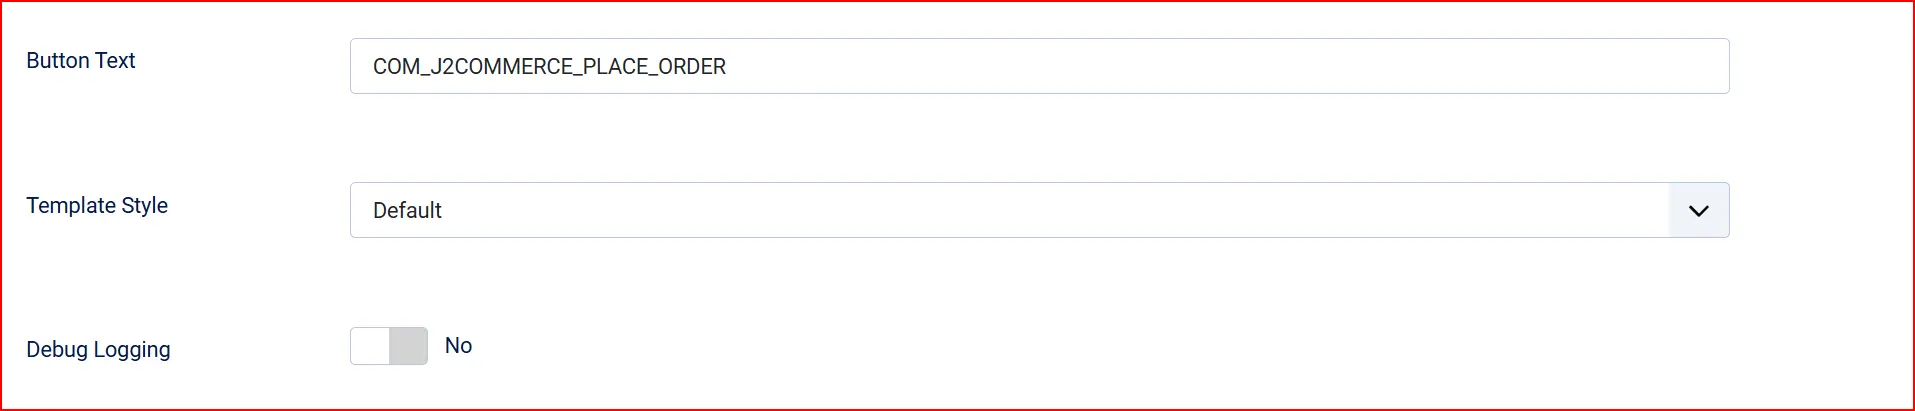
Button Text: The text on the Pay button shown before the redirect. Example: "Place Order"
Debug Logging: When set to Yes, the plugin writes detailed gateway request/response information to the Joomla log. Enable only while troubleshooting — disable on live stores.
Template Style: Choose bootstrap5 or uikit to match your store's front-end framework.
How Payments Are Confirmed
Understanding this flow helps you troubleshoot payment issues without needing developer access.
- The customer clicks Place Order on your checkout.
- J2Commerce creates a redirect order at MultiSafepay via its API and receives a
payment_url. - The customer's browser is redirected to the MultiSafepay hosted payment page.
- The customer chooses their payment method (iDEAL, Bancontact, credit card, etc.) and pays.
- MultiSafepay sends a server-to-server notification (IPN) directly to your store. This is the authoritative confirmation — it happens behind the scenes and does not depend on the customer's browser.
- J2Commerce receives the notification, looks up the order, and updates the order status automatically.
- The customer's browser is redirected back to your store's confirmation page.
Because confirmation happens server-to-server, orders are confirmed even if the customer closes their browser after paying. You do not need to check payment status manually.
Testing with the Sandbox
MultiSafepay provides a full test environment where no real money moves.
- Open the plugin configuration (J2Commerce -> Setup -> Payment Methods -> MultiSafepay).
- Set Use Sandbox to Yes. A new field appears: Sandbox API Key.
- Paste your test API key (from testmerchant.multisafepay.com) into Sandbox API Key.
- Click Save.
Currency Conversion
MultiSafepay settles in EUR. If your store's active currency is something other than EUR, J2Commerce automatically calculates the EUR equivalent using the exchange rate you have configured in J2Commerce -> Localization -> Currencies.
To ensure accurate conversions, keep your EUR exchange rate up to date. The Currency Updater app can automate this.
Troubleshooting
Orders stay in "Pending" indefinitely after payment
Cause: The server-to-server notification from MultiSafepay could not reach your store, so the order status was never updated.
Solutions:
- Confirm your store is accessible over a public HTTPS URL. MultiSafepay cannot send notifications to
localhost, private IP addresses, or sites behind basic HTTP authentication. - Check that no firewall or security plugin is blocking POST requests from MultiSafepay's IP ranges. MultiSafepay publishes their notification IP ranges in their documentation.
- Enable Debug Logging in the plugin configuration, recreate a test payment in sandbox mode, then check the Joomla log (System -> Maintenance -> Joomla Logs) for entries from
plg_j2commerce_payment_multisafepay. - If the log shows a gateway error, verify your API key is correct and has not been rotated in the MultiSafepay dashboard.
"An error occurred" appears on the redirect button page
Cause: The plugin could not create the order at MultiSafepay, usually due to an incorrect API key or a connectivity issue.
Solutions:
- Double-check that you are using the correct key type — live key for live mode, test key for sandbox mode.
- Enable Debug Logging and retry. The log entry will contain the exact error message returned by the API.
- Check the Notification User Group setting. If an admin email address is configured, an error notification email was sent — check that inbox.
Payments succeed in sandbox but fail in live mode
Cause: Sandbox mode is still enabled, or the live API key is missing.
Solution: Open the plugin configuration, set Use Sandbox to No, confirm the API Key field contains your live key (not the test key), and click Save.
Customers see the wrong price on the MultiSafepay payment page
Cause: Your store currency is not EUR and the EUR exchange rate is outdated or missing.
Solution: Go to J2Commerce -> Localization -> Currencies, find EUR, and update the exchange rate. Consider using the Currency Updater app to keep rates current automatically.
What Is New in J2Commerce 6
The J2Commerce 6 version of this plugin is a complete rebuild from the original J2Store v4 integration. If you are migrating from J2Store, the key improvements are:
- TLS-secured API client. The original plugin disabled SSL certificate verification (
CURLOPT_SSL_VERIFYPEER=0), leaving your store's gateway communication unprotected. The new client enforces TLS verification on every request. - Privacy-safe logging. The original plugin logged the full customer payload (name, address, email, IP address) to disk. The new plugin logs only non-personal transaction fields: transaction ID, order ID, status, amount, currency, and timestamps. Customer data never appears in logs.
- IPN replay protection. MultiSafepay retries its server-to-server notification up to 8 times. The new plugin includes a terminal-state guard that ignores duplicate notifications for orders already in a confirmed or failed state, preventing accidental double-updates.
- Native Joomla 6 architecture. No FOF framework dependency. No jQuery. Pure Joomla 6 MVC with a namespaced service class and vanilla JavaScript in the templates.
- Configurable admin user group. The original plugin hardcoded administrator emails. You can now select any Joomla user group to receive payment error notifications.
- New: surcharge support. Add an optional payment fee (percentage, fixed, or both) directly in the plugin configuration.
- New: geozone restriction. Limit MultiSafepay to customers in specific countries or regions without a separate rule.
- New: order status dropdowns. Choose which of your J2Commerce order statuses maps to completed, pending, and failed — no more guessing at hardcoded status IDs.