Elavon Converge Payment
Elavon is one of the largest payment processors in North America, serving hundreds of thousands of merchants across the United States and Canada. This plugin connects your J2Commerce store to the Elavon Converge gateway so customers can pay by credit or debit card at checkout.
The plugin uses Converge Checkout.js, Elavon's secure hosted Lightbox. When a customer chooses to pay by card, a branded Elavon-hosted overlay opens directly in the browser. The customer enters their card details there — the card number, expiry, and CVV are handled entirely by Elavon's servers and never pass through your website. This dramatically reduces your PCI compliance burden to PCI SAQ-A, the simplest and least expensive compliance level available.
The Elavon Converge plugin is a separate add-on available from the J2Commerce Extensions Store. It is not included with the core J2Commerce component.
Who This Is For
This plugin is for merchants who:
- Are based in the United States or Canada and process payments through Elavon Converge (formerly VirtualMerchant)
- Want to accept Visa, Mastercard, American Express, and Discover cards
- Want to offer customers the option to save their card for faster future checkouts
- Need subscription or recurring billing support
- Want the security and simplicity of a PCI SAQ-A hosted payment form
What You Get
| Feature | Details |
|---|---|
| Accepted cards | Visa, Mastercard, American Express, Discover |
| Card capture method | Elavon Checkout.js Lightbox — card data never touches your server |
| PCI scope | SAQ-A (lowest compliance burden) |
| Transaction modes | Sale (charge immediately) or Authorize (hold funds, capture later) |
| Saved cards | Customers can save cards to their account for one-click checkout |
| Subscriptions | Automatic recurring billing for subscription products |
| Refunds | Issue full or partial refunds from the order screen |
| Void | Cancel a transaction before it settles |
| Admin charge | Charge a customer's saved card directly from the admin order screen |
| Sandbox mode | Test with Elavon demo credentials before going live |
Prerequisites
Before installing, confirm that your environment meets these requirements:
- J2Commerce 6 installed and active on your Joomla site
- An active Elavon Converge merchant account (US or Canada)
- HTTPS enabled on your site — Elavon's production environment requires TLS-secured URLs
- Your server must be able to make outbound HTTPS connections to
api.convergepay.com(live) orapi.demo.convergepay.com(sandbox) - The API user on your Converge account must be enabled for Hosted Payments / Checkout.js access (see below)
Getting Your Converge Credentials
You need three values from your Converge merchant account: a Merchant ID, a User ID, and a PIN. These are your API credentials — different from any web login password.
- Log in to your Converge merchant portal.
- Go to Terminal -> Users and open or create the API user account you want to use.
- Make sure the user has the Hosted Payments permission (sometimes called Checkout.js or API access) enabled. If you are not sure, contact your Elavon account representative to confirm.
- From the user detail screen, note the User ID and the PIN (also called the "Vendor PIN" or "API PIN").
- Your Merchant ID (also called SSL Merchant ID) appears on the main terminal settings or at the top of your Converge account. It is typically a 6- to 9-digit number.
Keep these three values handy — you will paste them into the plugin settings.
For sandbox testing, Elavon provides a separate demo environment with its own credentials. Contact your Elavon representative or Elavon's developer support to obtain sandbox Merchant ID, User ID, and PIN.
If the plugin reports a "could not communicate with gateway" error immediately after saving credentials, the most common cause is that the API user does not have the Hosted Payments permission enabled on the Converge side. Contact Elavon to enable it.
Purchase and Download
Step 1: Go to our J2Commerce website -> Apps
Step 2: Locate the Payment - Elavon Converge app -> click View Details -> Add to cart -> Checkout.
Step 3: Go to your My Downloads under your profile button at the top right corner and search for the app. Click Available Versions -> View Files -> Download Now
Install the App
In the Joomla Administrator, go to System -> Install -> Extensions.
Upload the payment_elavon.zip file or use the Install from URL option.

Enable the App
Once you have installed the app, you will need to enable it. There are two ways you can access the extension.
Option A: Go to the J2Commerce icon at the top right corner -> Apps
Option B: Go to Components on the left sidebar -> J2Commerce -> Apps

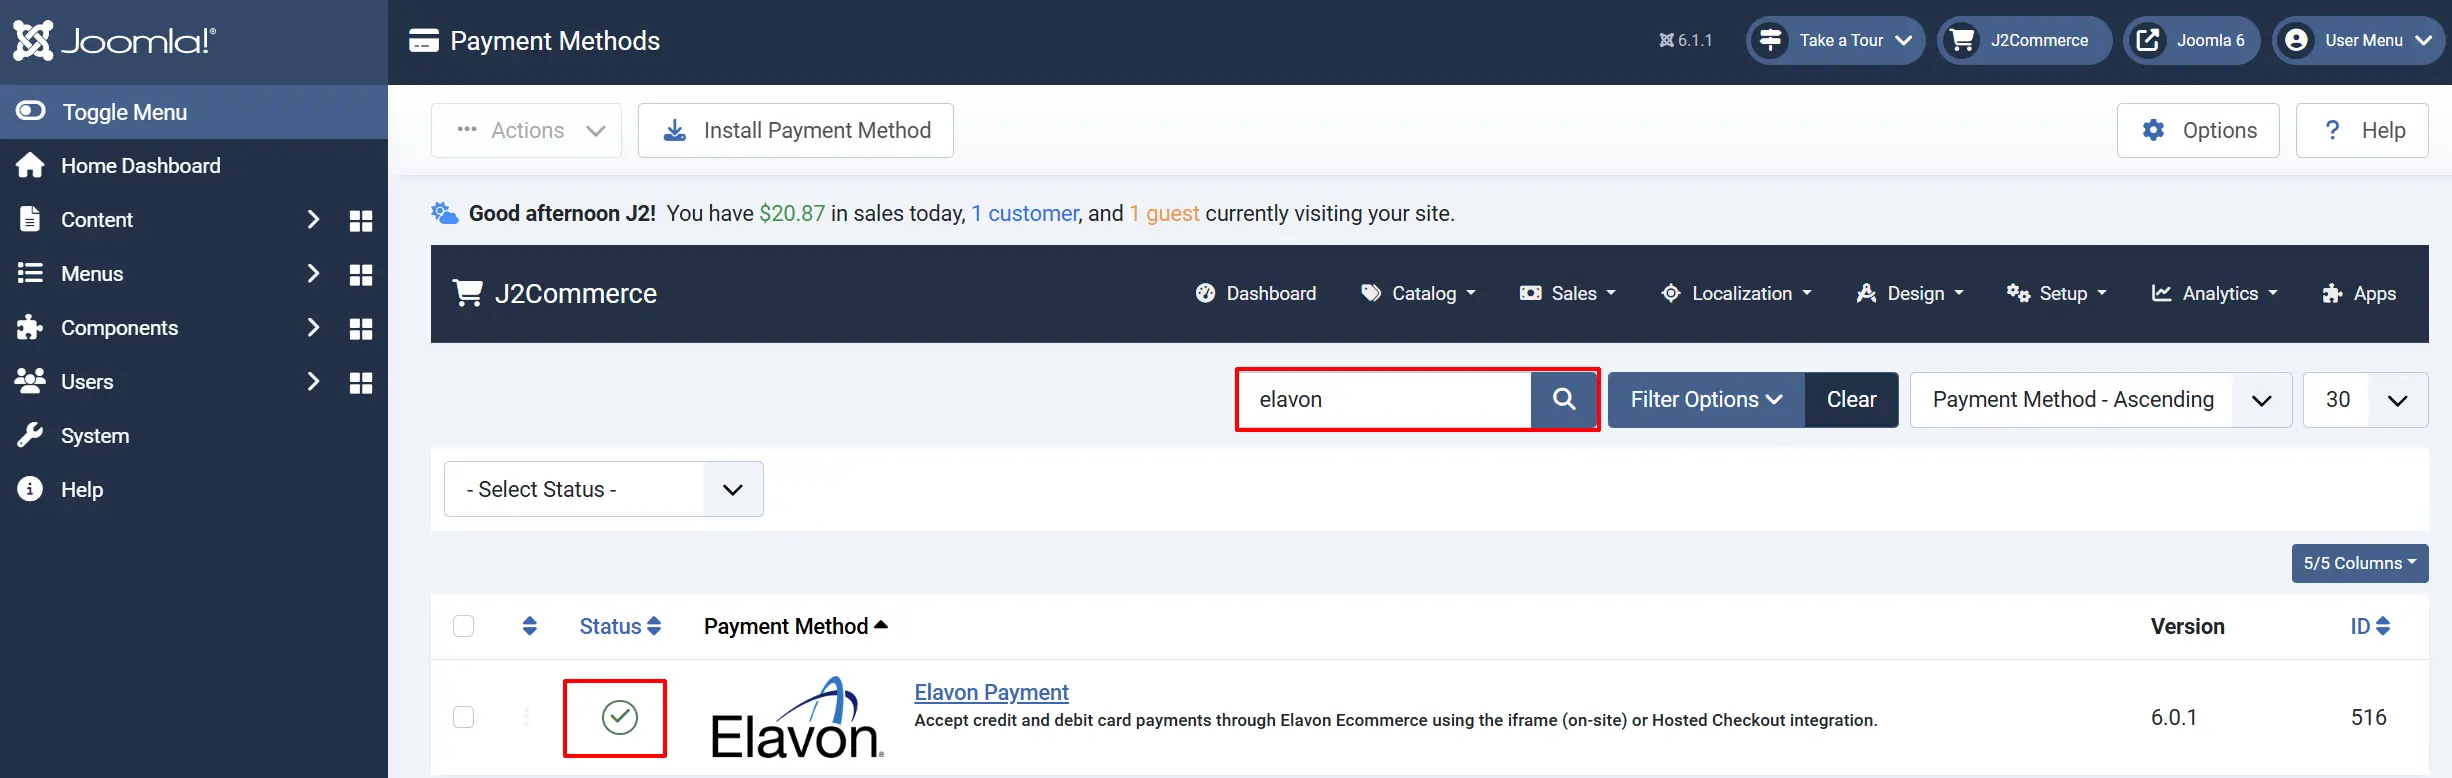
Look for Payment - Elavon Converge, click the X, and it will turn into a green checkmark. It is now enabled and ready for setup.
Configure the App
Click the Toggle Inline Help button in the toolbar and the app will show a description below each field as you configure it.

Display Settings
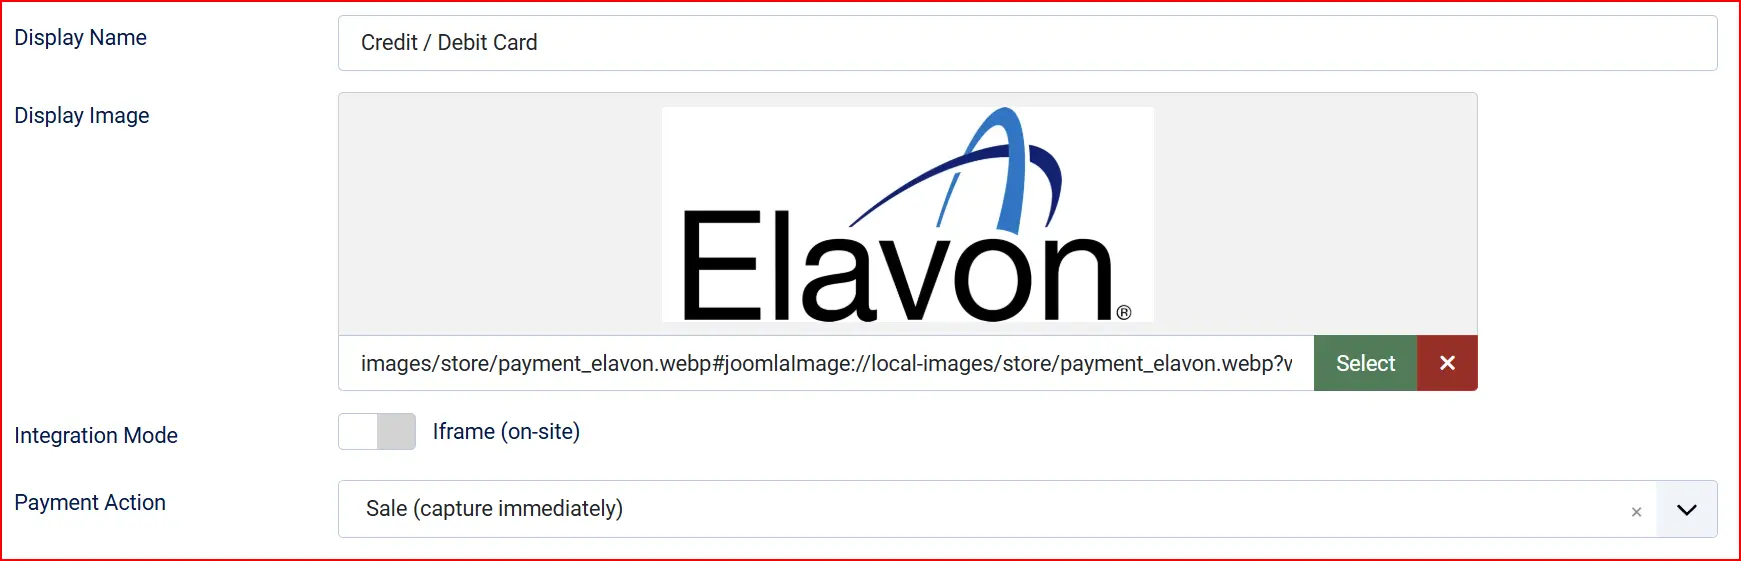
Display Name: The name shown to customers at checkout, e.g. "Credit Card" or "Pay by Card".
Display Image: Optional logo or card brand image shown next to the payment option. Leave empty to show text only.
Transaction Type:
-
Sale charges the customer's card immediately when the order is placed.
-
Authorize places a hold on the funds without capturing them — you must manually capture the payment later from your Converge terminal. Choose Sale for most stores.
Sandbox Mode
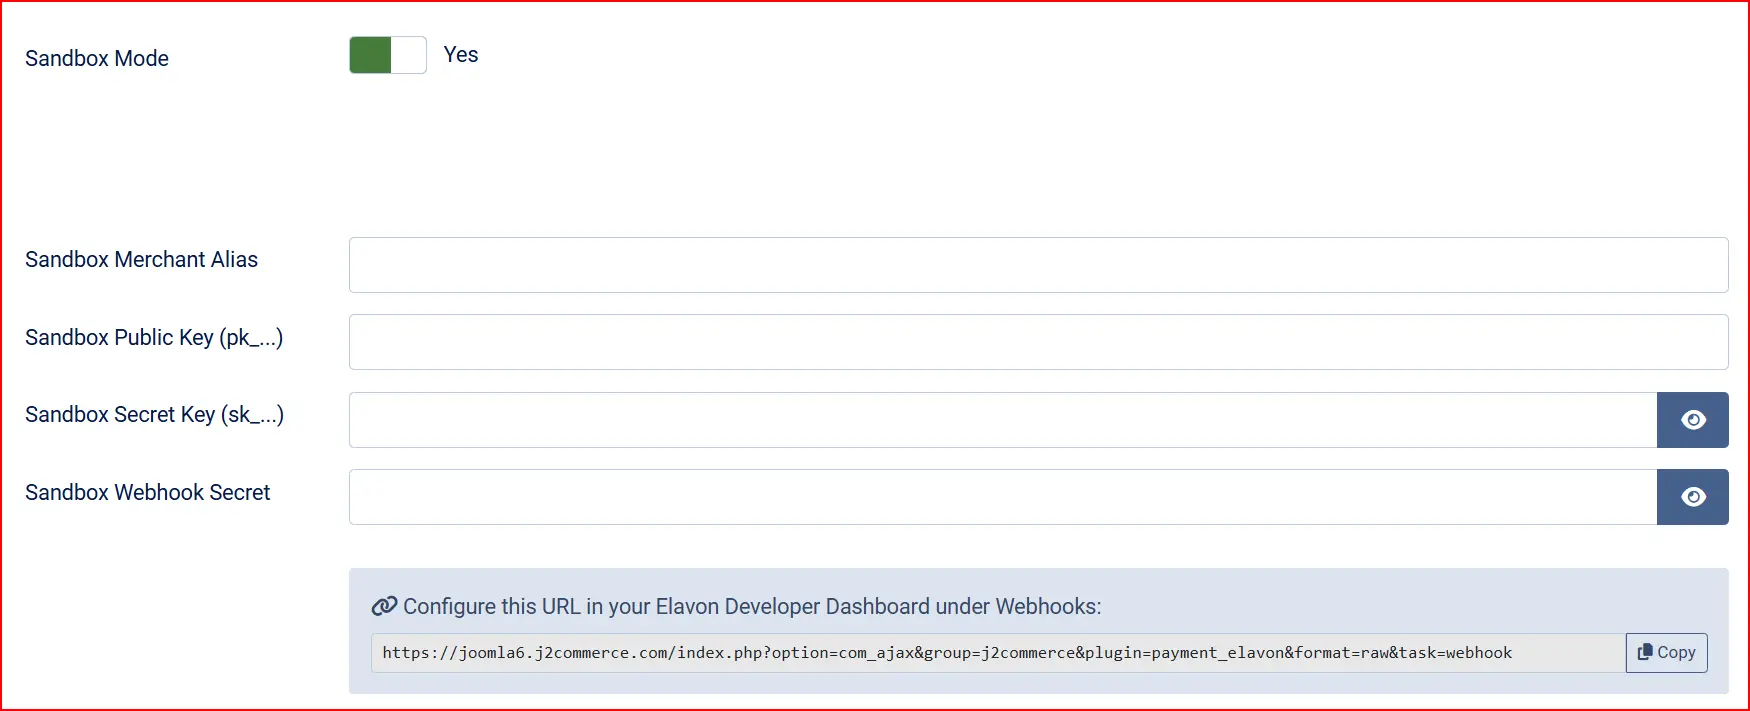
Sandbox: Toggle to Yes to use Elavon's demo environment for testing. The plugin will use your sandbox credentials and connect to api.demo.convergepay.com instead of the live host. A warning banner appears on your J2Commerce dashboard while sandbox is active.
When Sandbox is set to Yes, the live credential fields are hidden and sandbox credential fields appear in their place.
Live Credentials (shown when Sandbox is Off)
Merchant ID: Your Converge Merchant ID (SSL Merchant ID).
User ID: The Converge API user ID with Hosted Payments permission.
PIN: The PIN (Vendor PIN / API PIN) for the API user. This field is masked for security.
Sandbox Credentials (shown when Sandbox is On)
Sandbox Merchant ID: The demo Merchant ID from Elavon's sandbox environment.
Sandbox User ID: The sandbox API user ID.
Sandbox PIN: The sandbox API PIN.
Saved Cards

Allow Saved Cards: When enabled, logged-in customers can save their card after checkout and use it for one-click payment on future orders. Card data is stored as a secure token by Elavon — no card numbers are stored on your server.
Template Style: Choose the frontend template layout for checkout forms and saved card displays. Options depend on your site's template framework.
Available subtemplates: Bootstrap 5 and UIkit. Leave blank to use the default layout. If your Joomla template is UIkit-based (e.g., YOOtheme Pro), select the UIkit subtemplate for consistent styling.
Order Status
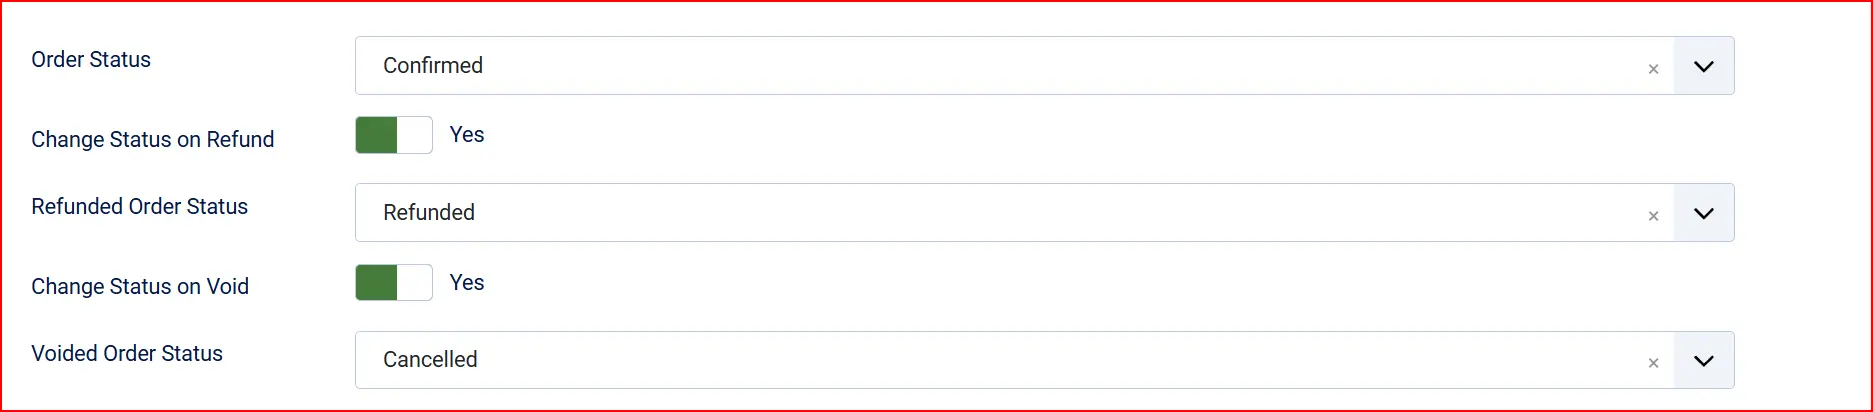
Order Status (on payment): The order status applied when a payment is successfully completed. Set this to your "Confirmed" or "Processing" status.
Change Status on Void: When enabled, voiding a transaction from the order screen also changes the order status.
- Order Status (on void): The status to apply when a void succeeds. Only shown when the above toggle is enabled.
Change Status on Refund: When enabled, issuing a refund from the order screen also changes the order status.
- Order Status (on refund): The status to apply when a refund succeeds. Only shown when the above toggle is enabled.
NOTE: If the status you want isn't listed in the dropdown menu, you can create a new one by going to J2Commerce -> Setup -> Order Statuses

Surcharge (Optional)

If your jurisdiction permits payment surcharging, you can add an automatic surcharge for customers who pay by card.
Surcharge Name: Label shown to customers, e.g. "Credit Card Surcharge". Leave empty to disable surcharging.
Surcharge Percent: Percentage of the order total to add, e.g. 2.5 for 2.5%.
Surcharge Fixed: Fixed amount to add in your store currency, e.g. 0.30.
Surcharge Tax Class: Select a tax profile to apply tax to the surcharge, or leave as "Not Taxable".
Availability Restrictions (Optional)

Use these fields to limit when this payment method appears at checkout.
Geozone Restriction: Show this payment option only for billing addresses in the selected geozone. Leave empty to show to all customers.
Minimum Subtotal: Hide this payment option if the order subtotal is below this amount. Leave empty for no minimum.
Maximum Subtotal: Hide this payment option if the order subtotal exceeds this amount. Leave empty for no maximum.
Custom Text Fields (Optional)
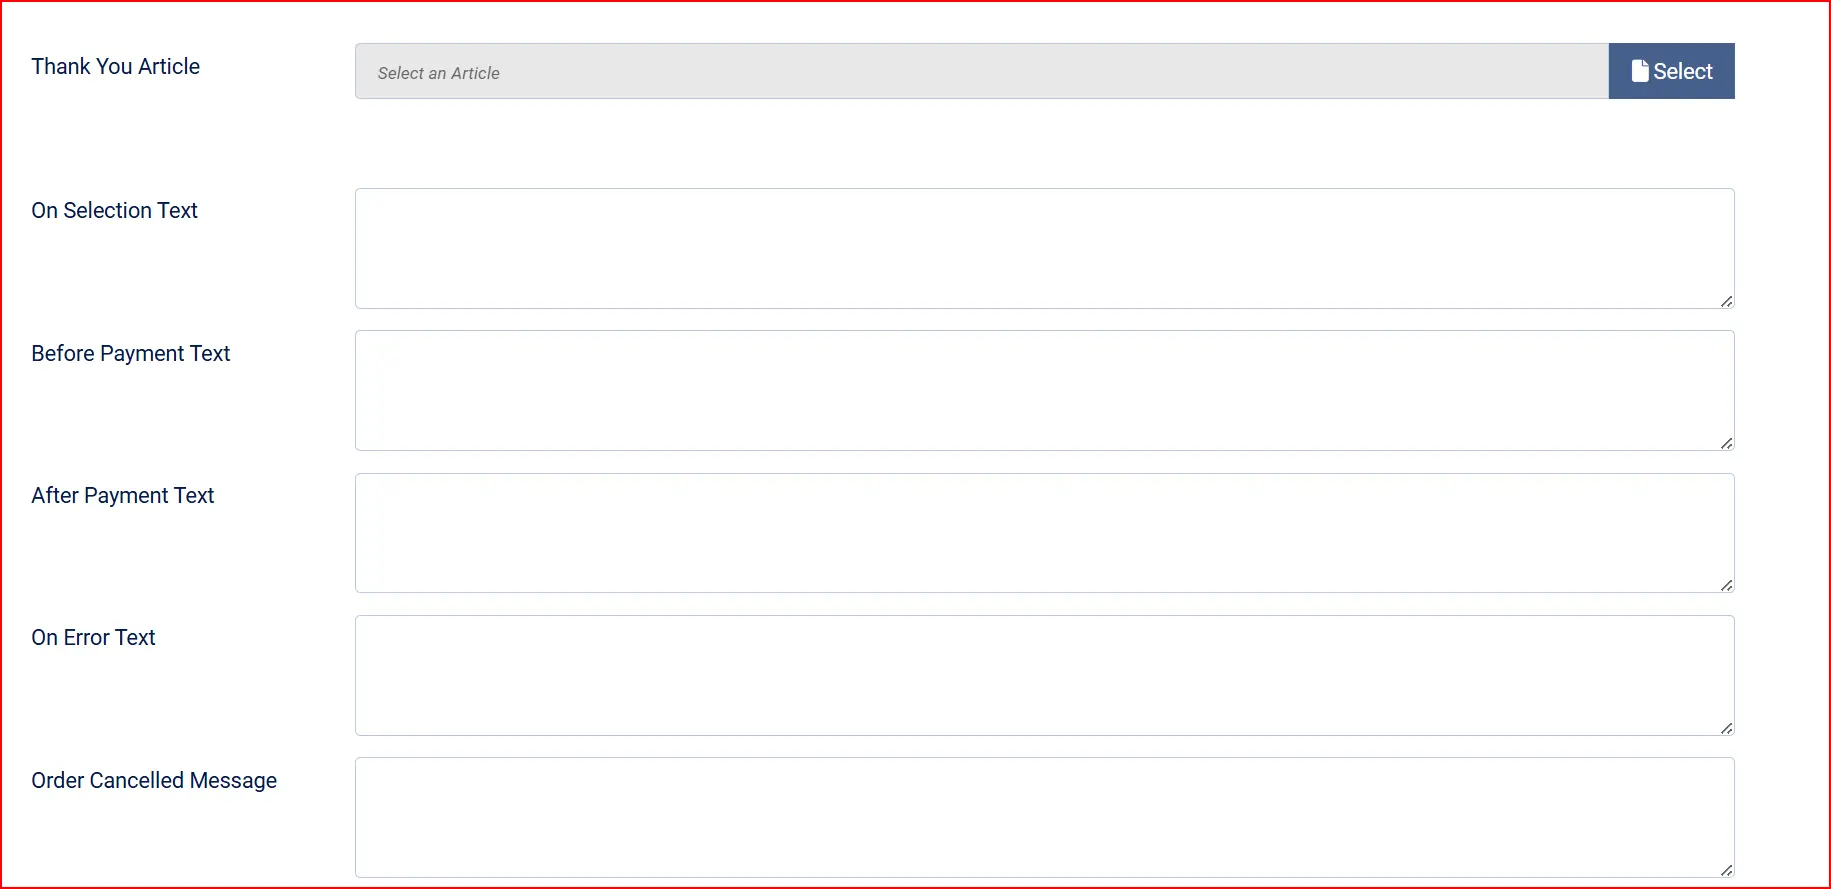
These fields accept plain text or a Joomla language key. The text is shown to customers at various points in the payment flow.
On Selection: When the customer selects Elavon Converge as their payment method.
Before Payment: On the payment form before the customer clicks the pay button.
After Payment: On the confirmation screen after a successful payment.
On Error: When a payment fails or is declined.
On Cancel: When the customer cancels out of the payment Lightbox.
Dashboard

Show Dashboard Icon: Adds a quick-link icon to the J2Commerce dashboard for fast access to these settings.
Icon Label: Label for the dashboard icon. Defaults to "Payment - Elavon Converge" if left empty.
Debug
Debug: When enabled, the plugin writes detailed request and response information from Converge to Joomla's system log. Only enable this for troubleshooting — disable it on a live store.
Testing in Sandbox Mode
Before accepting real payments, test the complete checkout flow in Elavon's demo environment.
Enable Sandbox
- Open the plugin settings.
- Set Sandbox to Yes.
- Enter your sandbox Merchant ID, User ID, and PIN in the sandbox credential fields.
- Click Save.
You will see a warning banner on your J2Commerce dashboard confirming the store is in test mode.
Obtain Test Card Numbers
Elavon provides test card numbers for use with the demo environment. Contact your Elavon representative or Elavon's developer support team to obtain the current list of approved test cards. Do not use real card numbers when testing.
Run a Test Transaction
- Open your store's frontend and add a product to the cart.
- Proceed through checkout and select Credit Card (or whatever display name you set) as the payment method.
- Click the pay button. The Elavon Checkout.js Lightbox should open.
- Enter a test card number provided by Elavon and complete the payment.
- Confirm that the order is created in J2Commerce -> Sales -> Orders with the correct status.
Check the Result
- A successful test payment sets the order to the status configured in Order Status (on payment).
- If the Lightbox does not open, check your browser console for JavaScript errors and confirm the sandbox credentials are correct.
- If the Lightbox opens but the payment fails, confirm your sandbox API user has the Hosted Payments permission enabled.
Going Live
Once testing is complete, switch the plugin to live mode.
- Open the plugin settings.
- Set Sandbox to No.
- Enter your live Merchant ID, User ID, and PIN in the live credential fields.
- Confirm Debug is set to No.
- Click Save.
The warning banner on the dashboard will disappear, confirming the store is in live mode.
Always test thoroughly in sandbox mode before switching to live. Real card charges cannot be automatically reversed — refunds must be issued manually if a test charge accidentally goes through.
Saved Cards and Subscriptions
How Customers Save a Card
When Allow Saved Cards is set to Yes and a logged-in customer completes a payment, a "Save this card for future purchases" checkbox appears in the Checkout.js flow. If the customer ticks it:
- Elavon returns a secure card token after the transaction.
- The token (not the card number) is stored against the customer's J2Commerce account.
- On future checkouts, the saved card appears as a selectable option — the customer can pay without re-entering their card details.
Customers can view and remove their saved cards from the My Account -> Payment Methods section of your store's frontend.
Subscription Renewals
If you sell subscription products using the J2Commerce Subscriptions add-on, the Elavon plugin handles automatic renewals using the stored card token. No further customer action is needed — the renewal charge runs automatically on the renewal date.
If a renewal charge fails (for example, because the card expired), the subscription plugin marks the subscription as overdue and can notify the customer by email.
Admin: Refunding and Voiding Orders
Issue a Refund
You can refund a completed Elavon transaction directly from the J2Commerce order screen, without logging in to Converge.
- Go to J2Commerce -> Sales -> Orders and open the order.
- In the payment section of the order, click the Refund button.
- Enter the amount to refund. Leave the field at the full order total for a full refund, or enter a lower amount for a partial refund.
- Click Confirm Refund.
The plugin sends a ccreturn request to Converge using the stored transaction ID. If the refund succeeds, a note is added to the order history. If Change Status on Refund is enabled in the plugin settings, the order status updates automatically.
Void a Transaction
Voiding cancels a transaction that has not yet settled. Typically you have until the end of the business day to void a transaction.
- Open the order in J2Commerce -> Sales -> Orders.
- Click the Void button in the payment section.
- Confirm the void.
The plugin sends a ccvoid request to Converge. Voiding is not the same as a refund — no funds are returned because the transaction never settled. The order history records the void.
Charge a Saved Card from Admin
If a customer has a saved card on file, you can charge it directly from the admin order screen — useful for phone orders or when a customer asks you to process a charge manually.
- Open the order in J2Commerce -> Sales -> Orders.
- Scroll to the Charge Saved Card section that appears in the order summary.
- Select the saved card from the dropdown.
- Click Charge Card and confirm.
The plugin runs the charge against Converge using the stored token and updates the order with the transaction ID and new status.
Troubleshooting
"Missing credentials" warning on the dashboard
Cause: One or more of the Merchant ID, User ID, or PIN fields is empty for the active mode (sandbox or live).
Solution: Open the plugin settings. If Sandbox is No, fill in the Merchant ID, User ID, and PIN fields in the live credentials section. If Sandbox is Yes, fill in the sandbox credential fields instead. Save the plugin.
The Checkout.js Lightbox does not open
Cause: Usually a JavaScript error or a missing Checkout.js script.
Solution:
- Open your browser's developer tools (F12) and check the Console tab for errors.
- Confirm the plugin is enabled in J2Commerce -> setup -> Payment Methods.
- If you see a network error loading
Checkout.js, check that your server can reachapi.convergepay.com(live) orapi.demo.convergepay.com(sandbox) over HTTPS. - Check that your site is served over HTTPS — Elavon does not load Checkout.js on HTTP pages.
Payment is declined with no error shown
Cause: The card was declined by Elavon's authorization network.
Solution: Ask the customer to check their card details and try again, or try a different card. In sandbox mode, confirm you are using a valid test card number supplied by Elavon — not a real card and not a made-up number.
"Could not communicate with gateway" error
Cause: The plugin could not reach the Converge API or received an unexpected response. Common causes are incorrect credentials or a Converge API user that lacks the Hosted Payments permission.
Solution:
- Double-check the Merchant ID, User ID, and PIN. Even a single character off will cause this error.
- Confirm in your Converge account that the API user has the Hosted Payments permission enabled. Contact Elavon if you are unsure.
- Enable Debug in the plugin settings, attempt a payment, then check System -> System Log in Joomla to see the full Converge response.
- Disable Debug again once the problem is resolved.
The sandbox warning banner does not go away
Cause: The Sandbox toggle is still set to Yes in the plugin settings.
Solution: Open the plugin settings, set Sandbox to No, enter your live credentials, and save.
A card is not being saved after checkout
Cause: Saved cards require the customer to be logged in AND to tick the "Save this card" checkbox in the Checkout.js Lightbox. Guest checkouts cannot save cards.
Solution:
- Confirm Allow Saved Cards is set to Yes in the plugin settings.
- Confirm the customer is logged in to a Joomla account before checking out — not checking out as a guest.
- Confirm the customer ticked the save card option inside the Lightbox before completing payment.
What Changed from the Old J2Store Elavon Plugin
If you used the Elavon payment plugin with J2Store v4, here is what is different in the J2Commerce version.
| Feature | Old J2Store Plugin | New J2Commerce Plugin |
|---|---|---|
| Card entry method | Card number entered directly into a form on your site | Elavon Checkout.js Lightbox — card data never touches your server |
| PCI compliance scope | SAQ-D (most burdensome — card data on your server) | SAQ-A (least burdensome) |
| Vendor library | Third-party markroland/converge-api package (abandoned, TLS verification disabled) | Native Joomla HTTP client with verified TLS |
| API host | Legacy myvirtualmerchant.com (deprecated) | Current api.convergepay.com |
| Saved cards | Not supported | Yes — token vault in J2Commerce |
| Subscriptions / recurring billing | Not supported | Yes — automatic renewal via stored token |
| Refund from admin | Not supported | Yes — full or partial refund from order screen |
| Void from admin | Not supported | Yes — one-click void from order screen |
| Charge saved card from admin | Not supported | Yes — admin can charge a customer's saved card |
| Framework | J2Store / FOF 2 (PHP class, jQuery) | Native Joomla 6 MVC (namespaced PHP 8.3, vanilla JS) |
The card-entry upgrade from server-side form to hosted Lightbox is the most significant change. It means your server never sees a raw card number — Elavon handles all card data. This eliminates the highest-risk PCI requirement and removes any liability associated with card data passing through your hosting environment.