Moneris Checkout
Moneris is the most widely used payment processor in Canada, handling more credit and debit card transactions than any other gateway in the country. The J2Commerce Moneris Checkout plugin uses Moneris's hosted iframe integration: when a customer reaches the payment step, a secure payment form loads directly inside your checkout page. The form is served and hosted entirely by Moneris — card details are entered there, not on your server.
SAQ-A PCI scope. Because card data is entered inside the Moneris-hosted iframe and never reaches your server, your store qualifies for the simplest PCI DSS compliance path (SAQ-A). You do not need to handle, transmit, or store card numbers.
Currency requirement: The plugin sends the order total in your store's display currency. Moneris settles in the currency configured on your Moneris merchant account. Your store's display currency must match the currency your Moneris account is set up to accept. If they differ, Moneris will either decline the transaction or settle at an unexpected rate. See Currency Mismatch in the Troubleshooting section.
Prerequisites
- J2Commerce installed and active
- A Moneris merchant account (Canadian merchants)
- A Moneris Checkout profile created in the Moneris Merchant Resource Center (MRC) — this is where you get your Checkout ID
- Your Store ID and API Token from Moneris
- Your store running over HTTPS (SSL certificate installed)
- The Moneris Checkout plugin purchased from the J2Commerce Extensions Store
Where to Find Your Moneris Credentials
Before configuring the plugin you need three values from Moneris. Log in to the Moneris Merchant Resource Center (MRC) at moneris.com (or the test MRC at esqa.moneris.com for test credentials).
| Credential | Where to find it |
|---|---|
| Store ID | Shown on the MRC home screen and in the "My Store" section |
| API Token | Admin -> Store Settings -> API Token |
| Checkout ID | Admin -> Moneris Checkout Configurator — create a new profile or copy the ID from an existing one |
The Checkout ID comes from the Checkout Configurator inside the MRC. If you have not created a profile yet, create one there first. The configurator lets you set your store logo, accepted card types, and language preferences for the hosted form. Once the profile is saved, the Configurator lists its Checkout ID — copy that value.
For test mode, Moneris provides a separate set of test credentials accessible through the test MRC at esqa.moneris.com. Test credentials are completely separate from live credentials.
Purchase and Download
This plugin is a separate add-on available from the J2Commerce Extensions Store. It does not come with the core J2Commerce 6 component.
Step 1: Go to our J2Commerce website -> Payment Plugin
Step 2: Locate the Moneris Plugin -> click View Details -> Add to cart -> Checkout.
Step 3: Go to your My Downloads under your profile button at the top right corner and search for the app. Click Available Versions -> View Files -> Download Now
Installing the Plugin
You can install this Moneris plugin using the Joomla installer. The following steps help you with a successful installation.
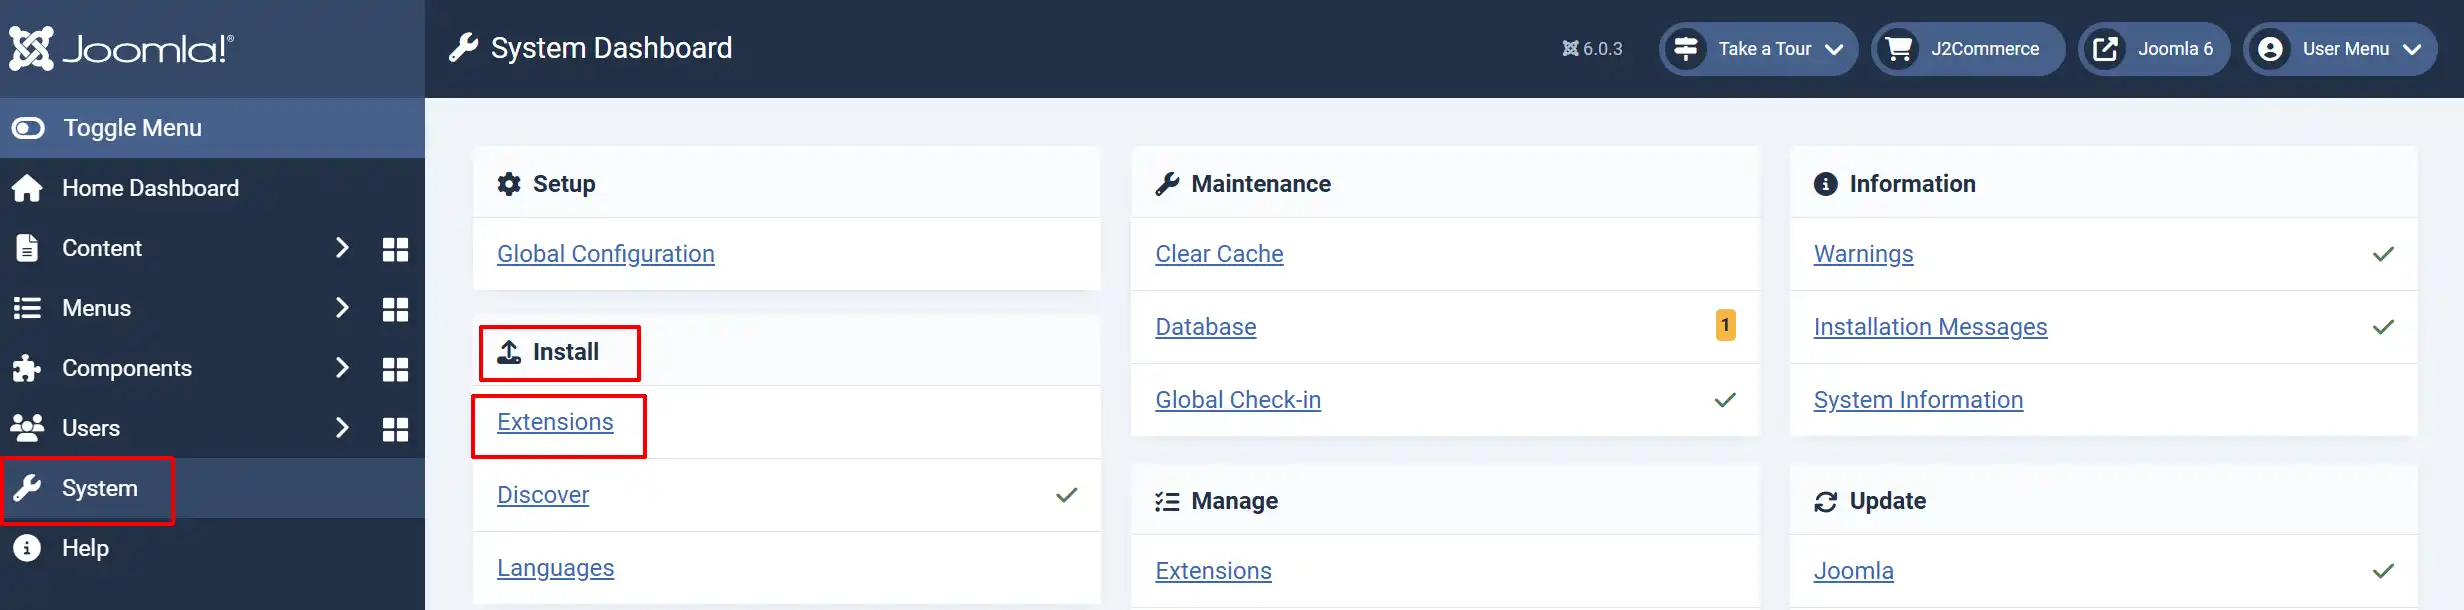
In the Joomla admin, go to System -> Install -> Extensions
Upload the payment_moneris.zip file or use the Install from URL option.
Enable the Plugin
Once you have installed the extension, you will need to enable it. There are two ways you can access the extension.
Option A: Go to the J2Commerce icon at the top right corner -> Setup -> Payment Methods
Option B: Go to Components on the left sidebar -> J2Commerce -> Dashboard -> Setup -> Payment Methods
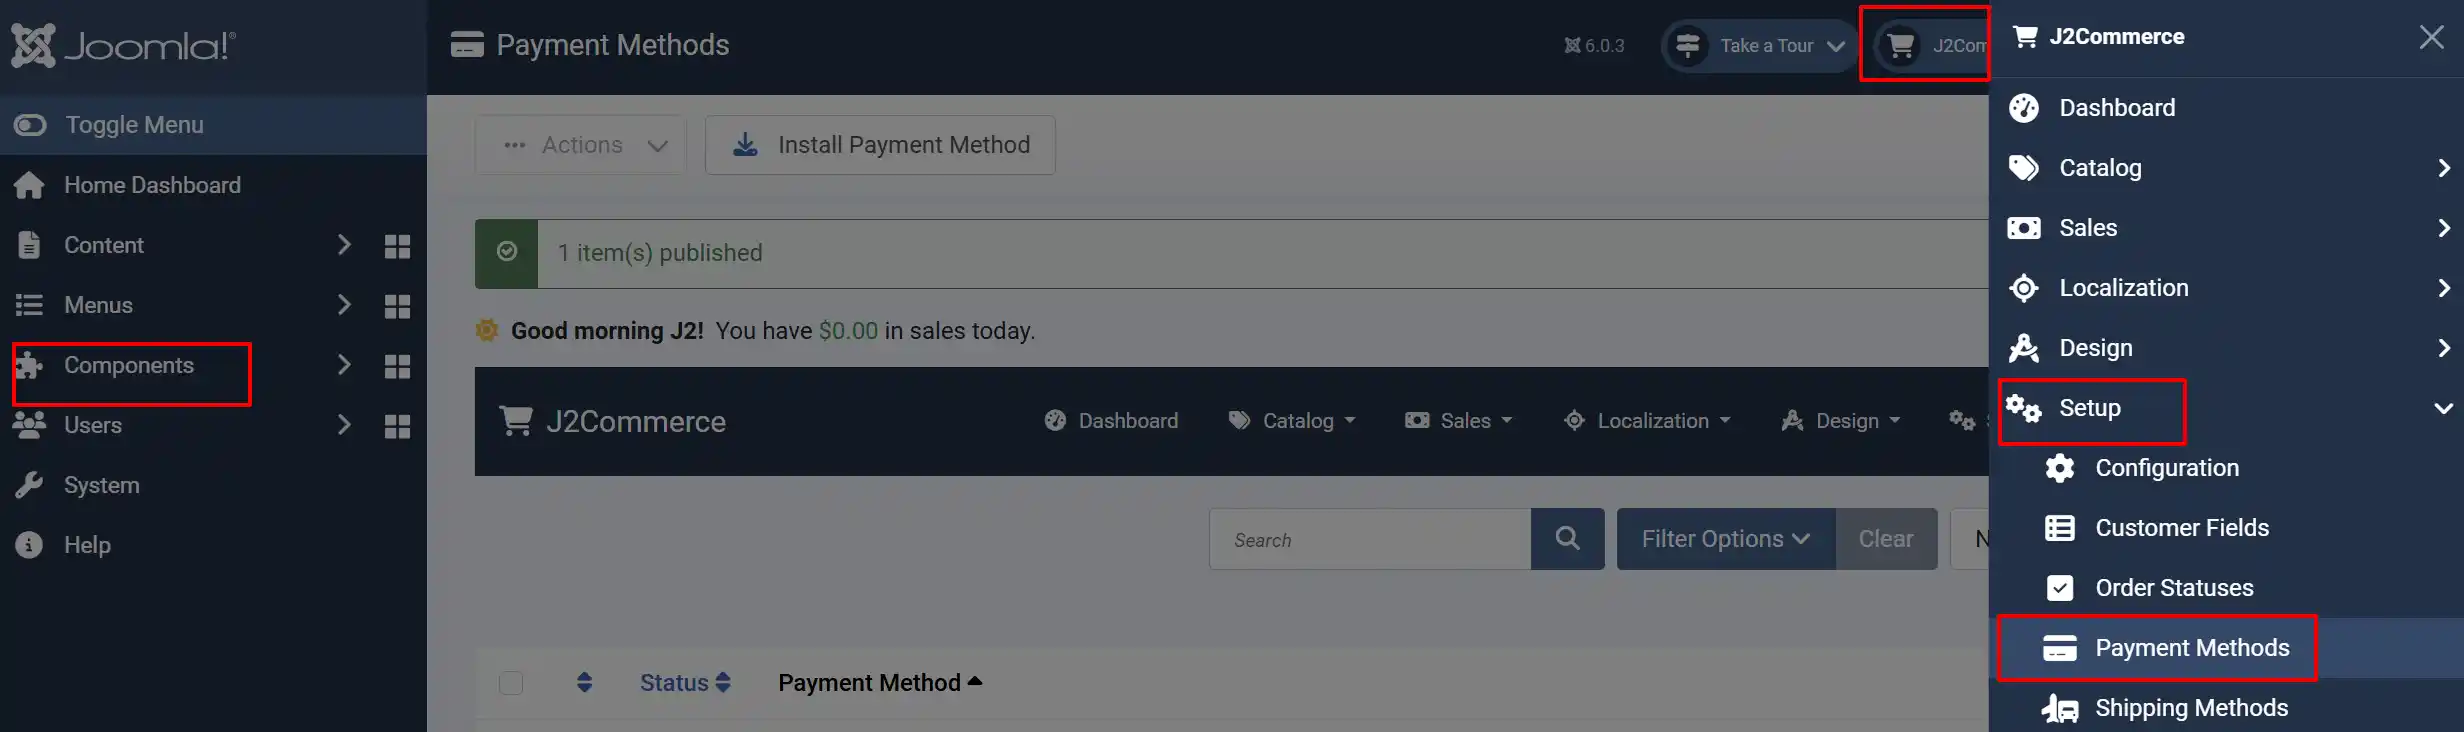
Look for Moneris, click the X, and it will turn into a green checkmark. It is now enabled and ready for setup.
Configuring the Plugin
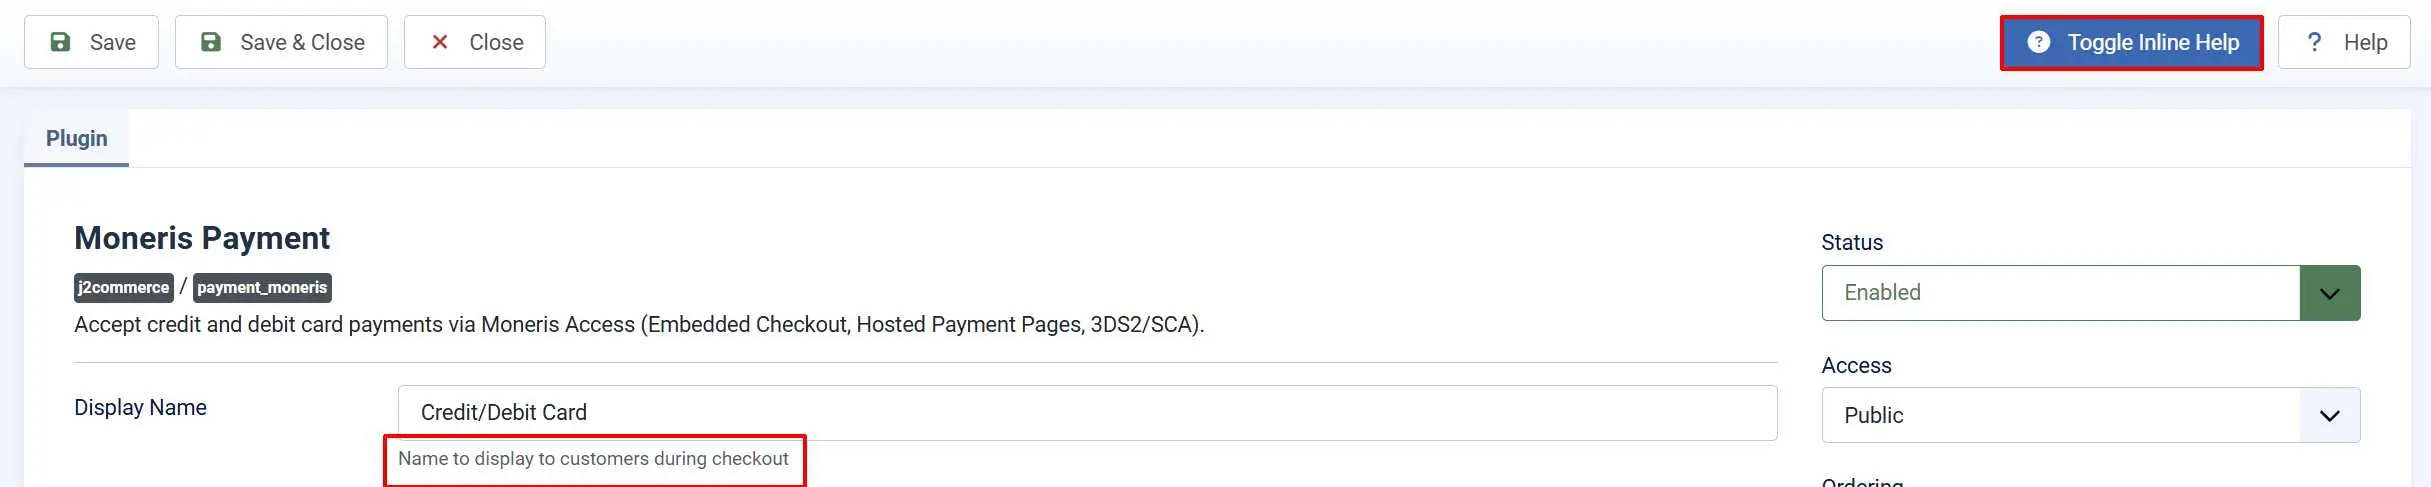
Helpful tip: Click the Toggle Inline Help button in the toolbar and the app will show a description below each field as you configure it.
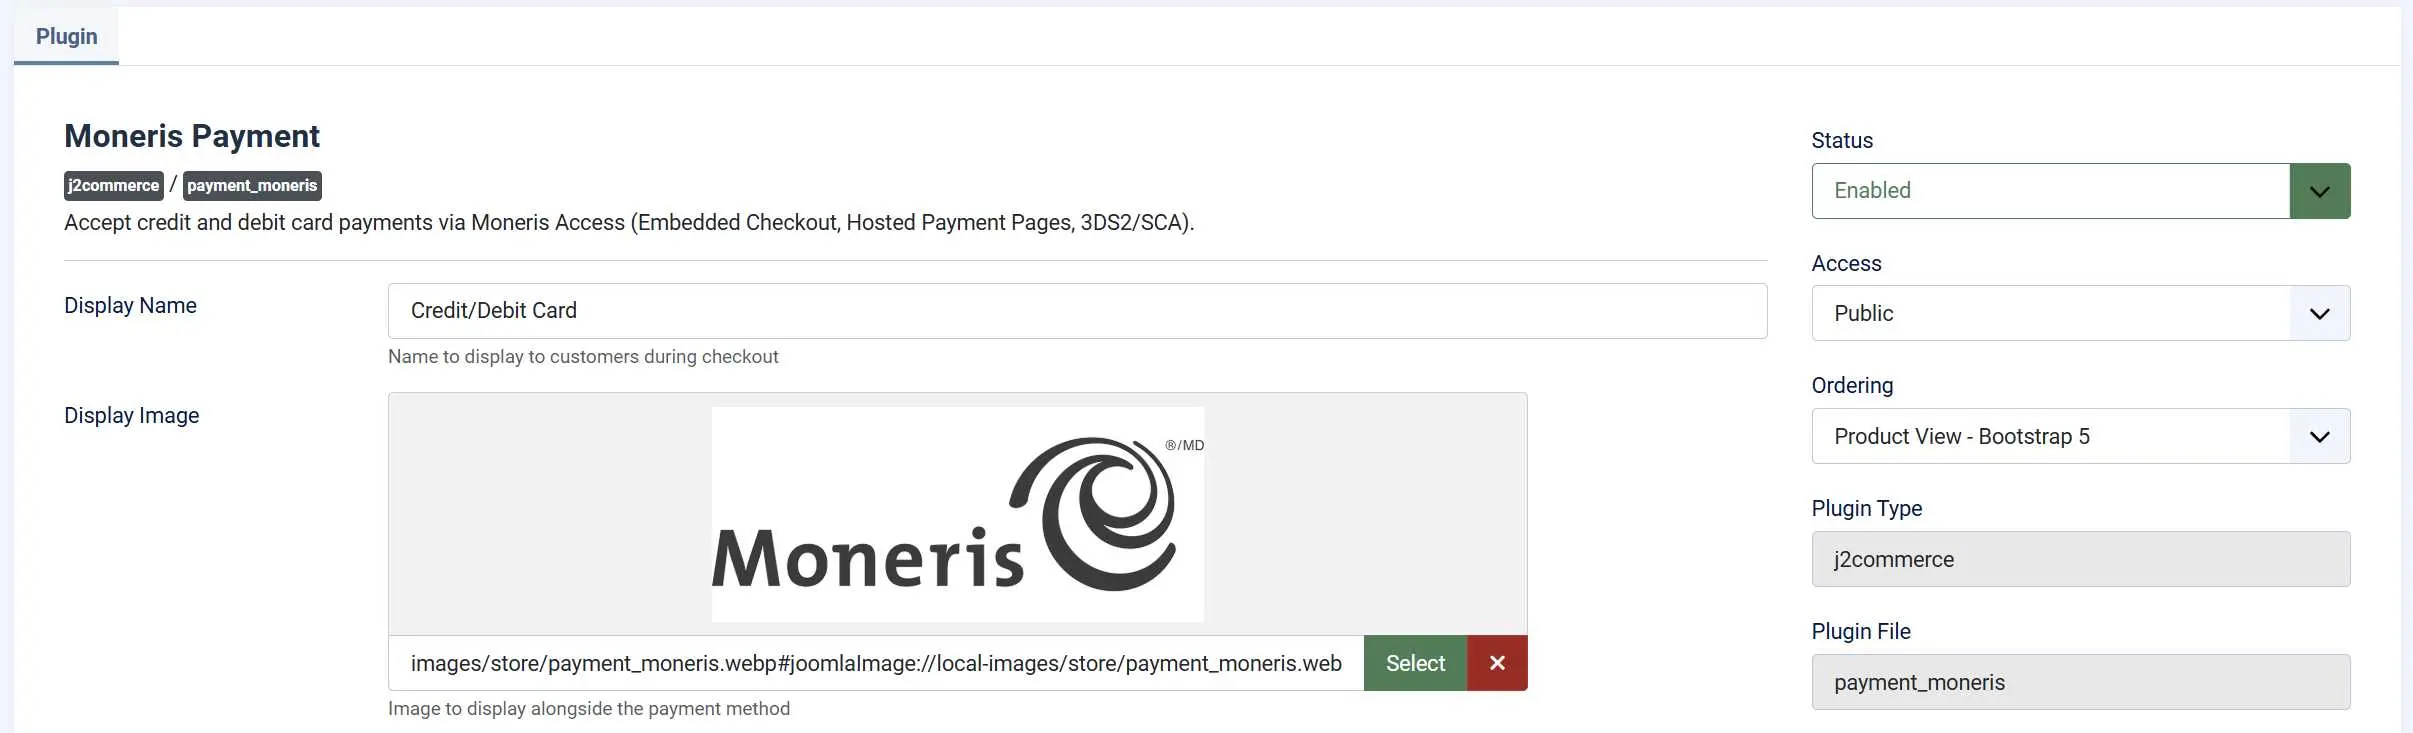
Basic Settings tab

Display Name: Payment method label shown to customers at checkout
Display Image: Optional logo or icon shown beside the payment method name

Processing Country: Select the Moneris environment that matches your merchant account.
Transaction Type:
-
Purchase (Sale): Settles the payment immediately.
-
Pre-Authorisation (Capture Later): Auth Only reserves funds until you manually settle from the order admin.
E-Commerce Indicator: The Moneris crypt_type sent with each transaction.
-
SSL-enabled merchant (non-3DS)
-
Mail / Telephone Order - Single
-
Authenticated e-Commerce (3DS)
-
Non-authenticated e-commerce (3DS attempted)
Dynamic Descriptor: Optional text shown on the cardholder statement (max 20 characters).
Sandbox Mode

When Mode is Test, all transactions go to the Moneris QA gateway (gatewayt.moneris.com) using your test credentials. Use your test Store ID, test API Token, and test Checkout ID while in Test mode — the test MRC at esqa.moneris.com provides these.
Sandbox / Test Mode: When enabled, all transactions are sent to try.access.moneris.com.
Test Store ID: Your Moneris QA/test store ID.
Test API Token: Your Moneris QA/test API token.
Test Hosted Tokenization Profile ID: The Hosted Tokenization profile ID configured in your Merchant Resource Centre.
Live Mode

When it is Live, transactions go to the production gateway (gateway.moneris.com).
Store ID: Your Moneris store ID (e.g. monca12345).
API Token: Your Moneris API token from the Merchant Resource Centre.
Hosted Tokenization Profile ID: The Hosted Tokenization profile ID configured in your Merchant Resource Centre.
Credit Cards

Allow Saved Cards: Let logged-in customers save their card for future purchases.
Accepted Card Types: Select the card brand icons to display above the payment form. Only applies in Embedded Checkout mode.
Template Style: Select the CSS framework for this plugin's customer-facing templates
-
Default
-
Bootstrap5
-
Uikit
Order Status
Order Status: Set the order status after payment
Change Status on Refund: Update the order status when a refund is processed.
- Refund Order Status: Order status to set when a refund is processed.
Change Status on Void: Change the order status when a payment is voided.
- Void Order Status: Order status to set after a payment is voided.
NOTE: If the status you want isn't listed in the dropdown menu, you can create a new one by going to J2Commerce -> Setup -> Order Statuses

Add a Surcharge (Optional)

If your payment processing agreement permits passing a fee to customers, you can add a surcharge for Moneris payments. All three surcharge fields are optional — leave them blank to charge no fee.
Surcharge Name: Label shown on the order summary (for example, "Card Processing Fee")
Surcharge Percent: Percentage of the order total added as a fee
Surcharge Fixed: Fixed dollar amount added as a fee
Surcharge Tax Class: Tax profile applied to the surcharge amount
Percentage and fixed amounts are combined: a 2% surcharge plus a $0.30 fixed fee both apply when both fields are filled in.
Before enabling a surcharge, check with your payment processor and confirm it is permitted under your merchant agreement and local regulations. In Canada, surcharging rules vary by card brand and province.
Restrict by Geo Zone (Optional)

The Geo Zone Restriction field limits which customers see Moneris as a payment option. Leave it blank to make Moneris available to all customers. To restrict it — for example, to Canadian customers only — select the appropriate geo zone from the list. Show this payment method only to customers whose billing address falls within the selected geo zone. Leave blank for all customers.
Geo zones are configured under J2Commerce -> Localization -> Geo Zones.
Minimum Subtotal: Leave empty or set to 0 to allow all order amounts. Set a minimum subtotal required for this payment method to be available.
Maximum Subtotal: Leave empty or set to -1 to allow all order amounts. Set a maximum subtotal limit for this payment method to be available.
Messages (Optional)
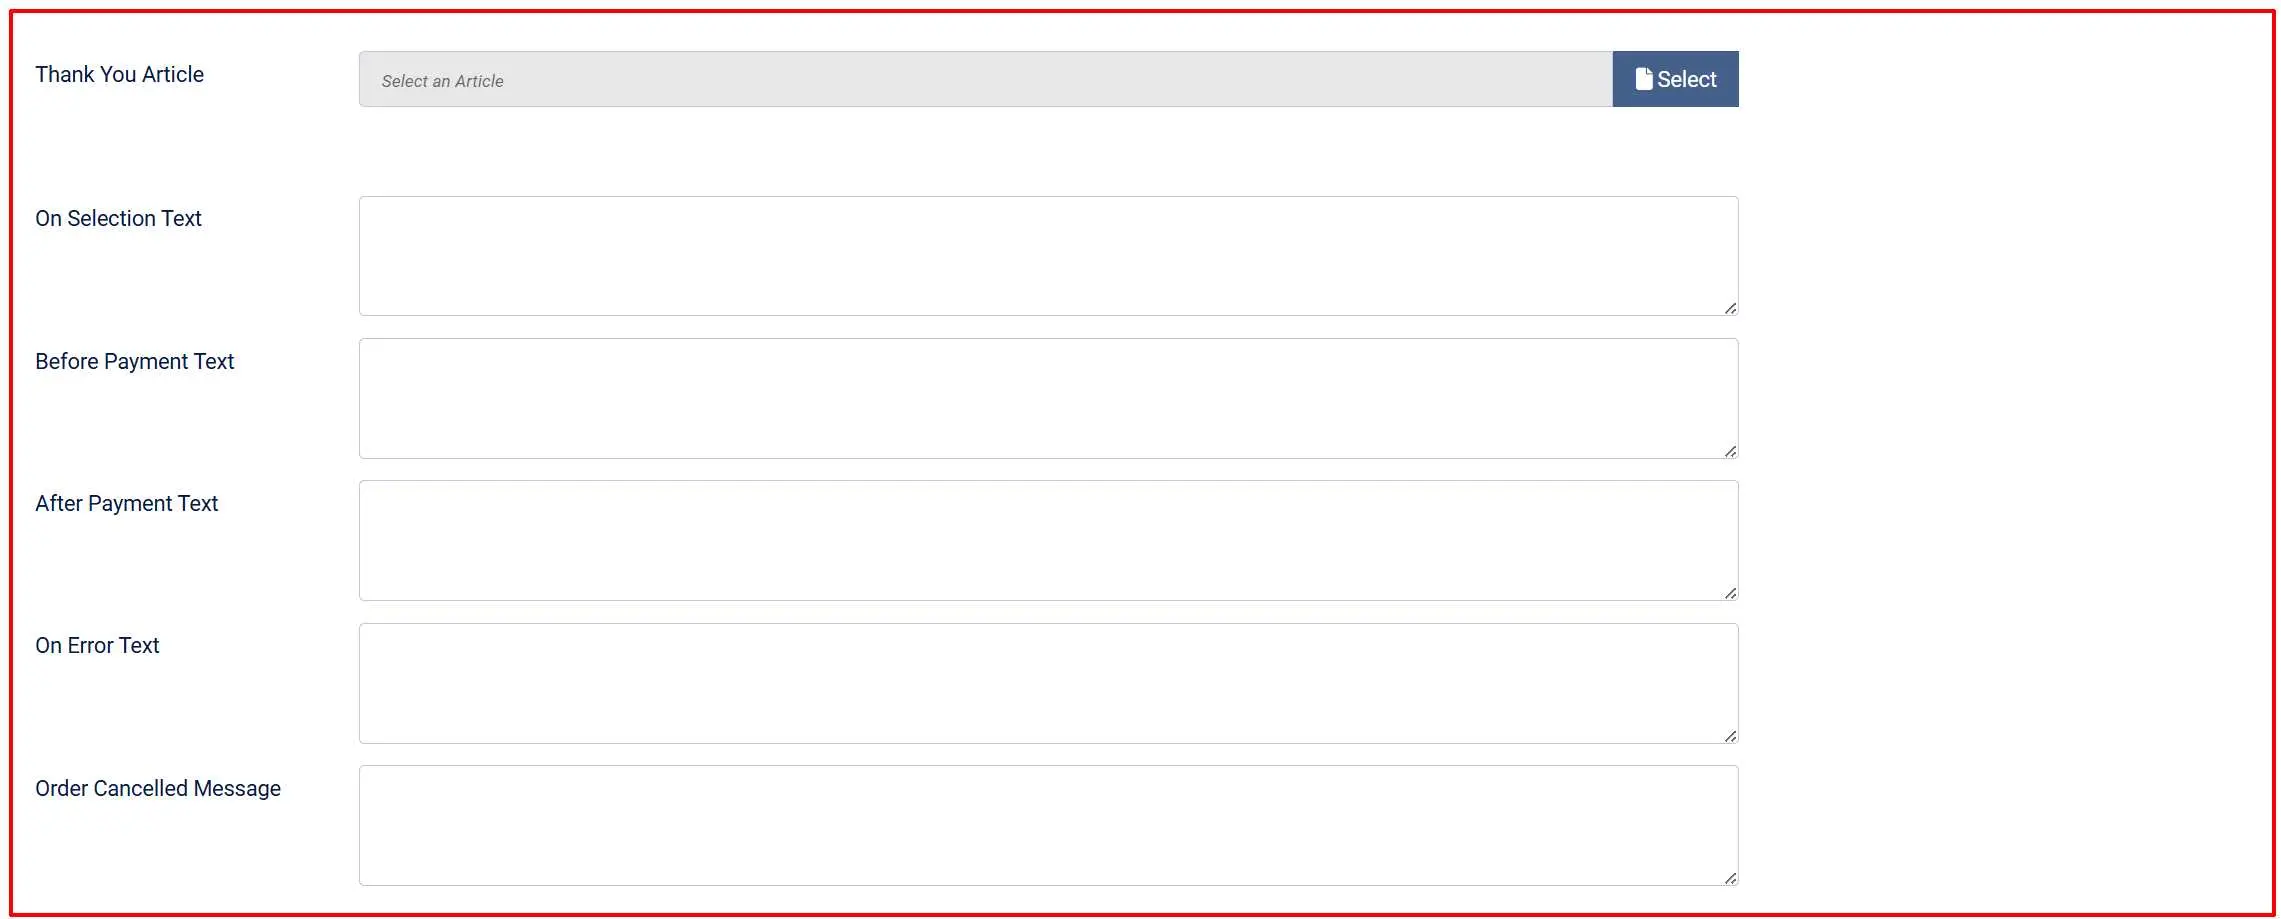
Thank You Article: The field lets you display a Joomla article on the post-payment confirmation screen alongside the order summary. This is useful for order instructions, next-step information, or a welcome message. Click the article selector to browse your Joomla articles.
Review Customer Messages
These text fields control what customers read at each stage of the payment process. The defaults are reason
On Selection: When the customer picks Moneris as their payment method in the payment list
Before Payment: Above the Moneris hosted form on the confirm step. ie: "Please complete your payment in the secure form below."
After Payment: On the confirmation screen after a successful payment. ie: "Thank you. Your payment was received."
On Error: When the gateway returns an error or the payment cannot be processed. ie: "The payment could not be processed. Please try again or choose another payment method."
Order Cancelled: When the customer cancels on the Moneris hosted form. ie: "Your payment was cancelled. Your order has not been paid."
Debug

Show Dashboard Icon: When enabled, this plugin adds an icon tile to the J2Commerce dashboard and the J2Commerce quick icons module.
- Icon Label: Override the default label shown on the icon tile. Leave empty to use the plugin default.
Debug Mode: Log API requests and responses (do not enable on live sites).
How a Customer Pays
Here is what your customers experience from the moment they reach the payment step:
The customer reaches the payment step of checkout and selects Moneris (or your configured display name) as their payment method.
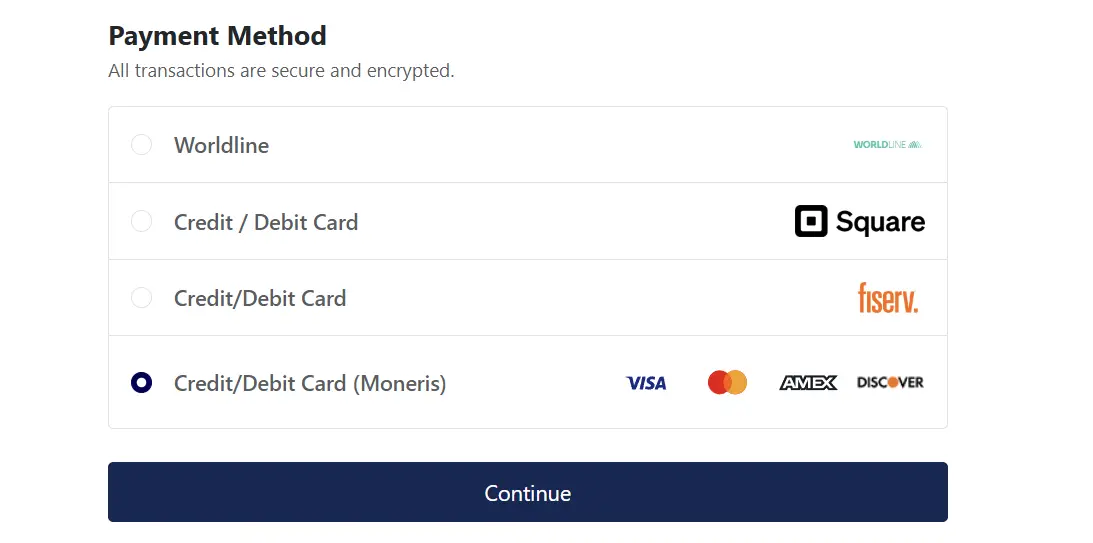
The customer proceeds to the Confirm step. J2Commerce calls the Moneris API server-side to create a payment session ticket, then injects the Moneris hosted payment form directly into the confirm page as a secure iframe.
A loading spinner appears briefly while the iframe initialises. Once ready, the Moneris-hosted card entry fields appear inside the iframe — the customer sees a clean payment form styled by Moneris.
The customer enters their card details entirely within the Moneris-hosted iframe. None of this information reaches your server.
The customer clicks Place Order (or your configured button text). The Moneris iframe submits the card details directly to Moneris.
Moneris processes the payment and signals the result back to the page. Your store's JavaScript picks this up and calls J2Commerce server-side to verify the result with Moneris directly.
J2Commerce calls the Moneris API a second time to fetch the authoritative payment receipt. The result is confirmed server-side — the order status is never set based on what the browser reports alone.
If approved, J2Commerce updates the order to your Payment Received Status, clears the cart, sends the confirmation email, and redirects the customer to the confirmation page.
If declined, J2Commerce updates the order to your Payment Failed Status, sends an admin error notification if configured, and shows the On Error message.
You do not need to configure any return URLs in your Moneris Checkout profile — the plugin generates them automatically for each transaction.
Security
Card data is entered entirely on Moneris infrastructure. The Moneris Checkout integration uses a hosted iframe, which means:
- The card number, expiry date, and CVV are typed into a page served by Moneris, not your Joomla server.
- Your server never receives, processes, or stores card data.
- Your store qualifies for SAQ-A PCI scope — the least burdensome PCI DSS compliance tier for card-not-present merchants.
Additional security measures built into the plugin:
- Server-authoritative receipt verification. After Moneris processes the payment, J2Commerce calls the Moneris API directly to retrieve the official receipt. The order status is only updated based on this verified server response — not on anything the browser sends.
- Amount cross-check. When the Moneris receipt includes the charged amount, the plugin verifies it matches the order total (within $0.01). A mismatch rejects the payment and alerts the admin group you configured.
- Safe logging. When Debug Logging is enabled, only safe response fields (ticket ID, result code, response message) are written to the Joomla log. Your Store ID, API Token, and any card data are never logged.
- Session token protection. The payment confirmation call is protected by a Joomla session token generated at preload time, providing defence in depth against cross-site request forgery.
Test Mode and Test Cards
Moneris provides a fully functional QA (test) environment. Set Mode to Test and use your test credentials from the Moneris test MRC at esqa.moneris.com.
Moneris publishes test card numbers in their developer documentation. Common ones include:
| Card Number | Result |
|---|---|
4242424242424242 | Approved (Visa) |
5454545454545454 | Approved (Mastercard) |
4242424242424291 | Declined |
Use any future expiry date (for example, 12/27) and any three-digit CVV. For the current complete list of Moneris test cards and response codes, refer to the Moneris Developer Centre documentation for Moneris Checkout.
Always run several test transactions — at least one approval and one decline — before switching to Live mode. Verify the correct order status appears in J2Commerce -> Orders for each result.
What Is New vs the J2Store Version
The J2Commerce 6 version of this plugin is a full rewrite, not a port. Notable improvements include:
- Native Joomla 6 MVC architecture. No more FOF 2 dependency — the plugin uses namespaced classes, Joomla's service container, and the event subscriber interface.
- Vanilla JavaScript. jQuery has been removed. The iframe boot script is plain ES6, loaded via the Joomla Web Asset Manager with proper
deferhandling. The inline script workaround from J2Store (which did not work on J2Commerce's checkout because the confirm step is injected via innerHTML) is replaced with aMutationObserverpattern that reliably boots the Moneris SDK even after the step is dynamically inserted. - Configurable order statuses. The J2Store version had hardcoded status IDs. You can now choose your Payment Received Status and Payment Failed Status from a dropdown of all your J2Commerce order statuses.
- Optional surcharge. The J2Store version had no surcharge support. You can now optionally pass a percentage fee, a fixed fee, or both to customers who pay by Moneris.
- Geo zone restriction. Limit Moneris to customers in specific countries or regions using J2Commerce geo zones.
- Server-side receipt re-verification. Every payment result is confirmed by a server-to-server Moneris API call, not by the browser-reported outcome alone.
- Amount cross-check. Detects and rejects payments where the Moneris receipt reports a different amount than the order total.
- Safe logging. Debug mode logs gateway communication details with no card data or API secrets included.
- Bootstrap 5 and UIkit templates. Both front-end framework templates are included. Select the one that matches your active J2Commerce app.
Troubleshooting
Payment form does not load
The Moneris iframe appears as a blank area, a loading spinner that never disappears, or does not appear at all.
Cause: The Moneris Checkout preload request failed — usually because one or more credentials are incorrect, the Mode is set to Test but you are using live credentials (or vice versa), or the Checkout ID does not match an active profile on the selected environment.
Solution:
- Go to J2Commerce -> Payments -> Payment Methods and open the Moneris configuration.
- Enable Debug Logging and click Save.
- Attempt a checkout. Then go to System -> Logs and look for the log category
plg_j2commerce_payment_moneris. - The log will show the preload request outcome. Look for a message saying "Preload failed" — the details alongside it will indicate whether the credentials were rejected.
- Double-check that your Store ID, API Token, and Checkout ID exactly match what is shown in the Moneris Merchant Resource Center.
- Confirm Mode is set correctly: Test credentials only work against the Moneris QA gateway (
esqa.moneris.com); Live credentials only work against the production gateway (gateway.moneris.com). - Log in to the Moneris MRC (or test MRC) and confirm the Checkout profile tied to your Checkout ID is active and published.
Payment not approved (card declined)
The customer submits the form and sees the On Error message, or the order is moved to the failed status.
Cause: Moneris declined the transaction. This can happen for many reasons — insufficient funds, an expired card, an incorrect CVV, or AVS address mismatch.
Solution:
- In Test mode, verify you are using the correct test card numbers from the Moneris developer documentation. Not all random card numbers produce approvals in the QA environment.
- Enable Debug Logging and review the
plg_j2commerce_payment_monerislog for theresultandresponse_codefields. Moneris result codes are documented in the Moneris Developer Centre. - In Live mode, the customer should try a different card or contact their bank.
Currency mismatch
Customers see a gateway error, or payments are approved but for an unexpected amount.
Cause: Your store's display currency does not match the currency configured on your Moneris merchant account. The plugin sends the order total in your store's display currency — it does not perform any currency conversion. Moneris expects the amount in the settlement currency of the account.
Solution:
- Log in to your Moneris MRC and confirm the settlement currency of your account (typically CAD for Canadian merchants).
- In J2Commerce, go to J2Commerce -> Localization -> Currencies and verify that the currency set as Default matches the Moneris settlement currency.
- If your store displays prices in a currency other than your Moneris settlement currency, you must either reconfigure the store default currency or use a gateway that supports multi-currency settlement.
Checkout redirects back with an error after the payment form
The customer completes the Moneris form but is redirected back to the checkout with an error message instead of the confirmation page.
Cause: The receipt verification step failed. This can happen if the session expired between preload and the return call, or if the Moneris API returned an unexpected response shape.
Solution:
- Enable Debug Logging, attempt the transaction again, and review the
plg_j2commerce_payment_monerislog. - Look for a "Process" log entry — the details will indicate whether the receipt call returned an error or an unexpected result code.
- Check that your server can reach
gateway.moneris.com(orgatewayt.moneris.comin test mode) over port 443. Some hosting environments block outbound cURL connections to external servers. Ask your host to confirm outbound HTTPS connections are permitted. - If the log shows an amount mismatch error, see Currency Mismatch above.
Debug log location
When Debug Logging is enabled, log entries are written to the Joomla log system under the category plg_j2commerce_payment_moneris.
To view them:
- Go to System -> Logs in the Joomla administrator.
- Filter by Category =
plg_j2commerce_payment_moneris.
Alternatively, Joomla log files are written to the logs directory configured in your Joomla Global Configuration (by default [joomla_root]/logs/). Look for a file named plg_j2commerce_payment_moneris.php.
No card data, Store ID, or API Token is ever included in debug log entries. It is safe to share log output with support staff.