PayTrace
PayTrace is a US-based payment processor built for both brick-and-mortar and online merchants. It offers end-to-end encryption (E2EE) on card data before it ever leaves the customer's browser, supports a Customer Vault for storing cards securely, and lets admins void, refund, or charge saved cards directly from the order screen.
This plugin connects your J2Commerce store to the PayTrace REST API v3. Once configured, customers can pay by credit card at checkout, optionally save their card for faster repeat purchases, and you can manage transactions without leaving Joomla.
Requirements
- PHP 8.3 or higher
- Joomla 6.x
- J2Commerce 6.x
- An active PayTrace merchant account with a US bank
- cURL enabled on your PHP installation
Purchase and Download
Step 1: Go to the J2Commerce website -> Payment Gateways
Step 2: Locate PayTrace -> click View Details -> Add to Cart -> Checkout
Step 3: Go to My Downloads under your profile button at the top right corner and search for PayTrace. Click Available Versions -> View Files -> Download Now
Install the Plugin
In the Joomla Administrator, go to System -> Install -> Extensions.
Upload the payment_paytrace.zip package ZIP file or use the Install from URL option.

Enable the Plugin
Once you have installed the App, you will need to enable it. There are two ways you can access the App.
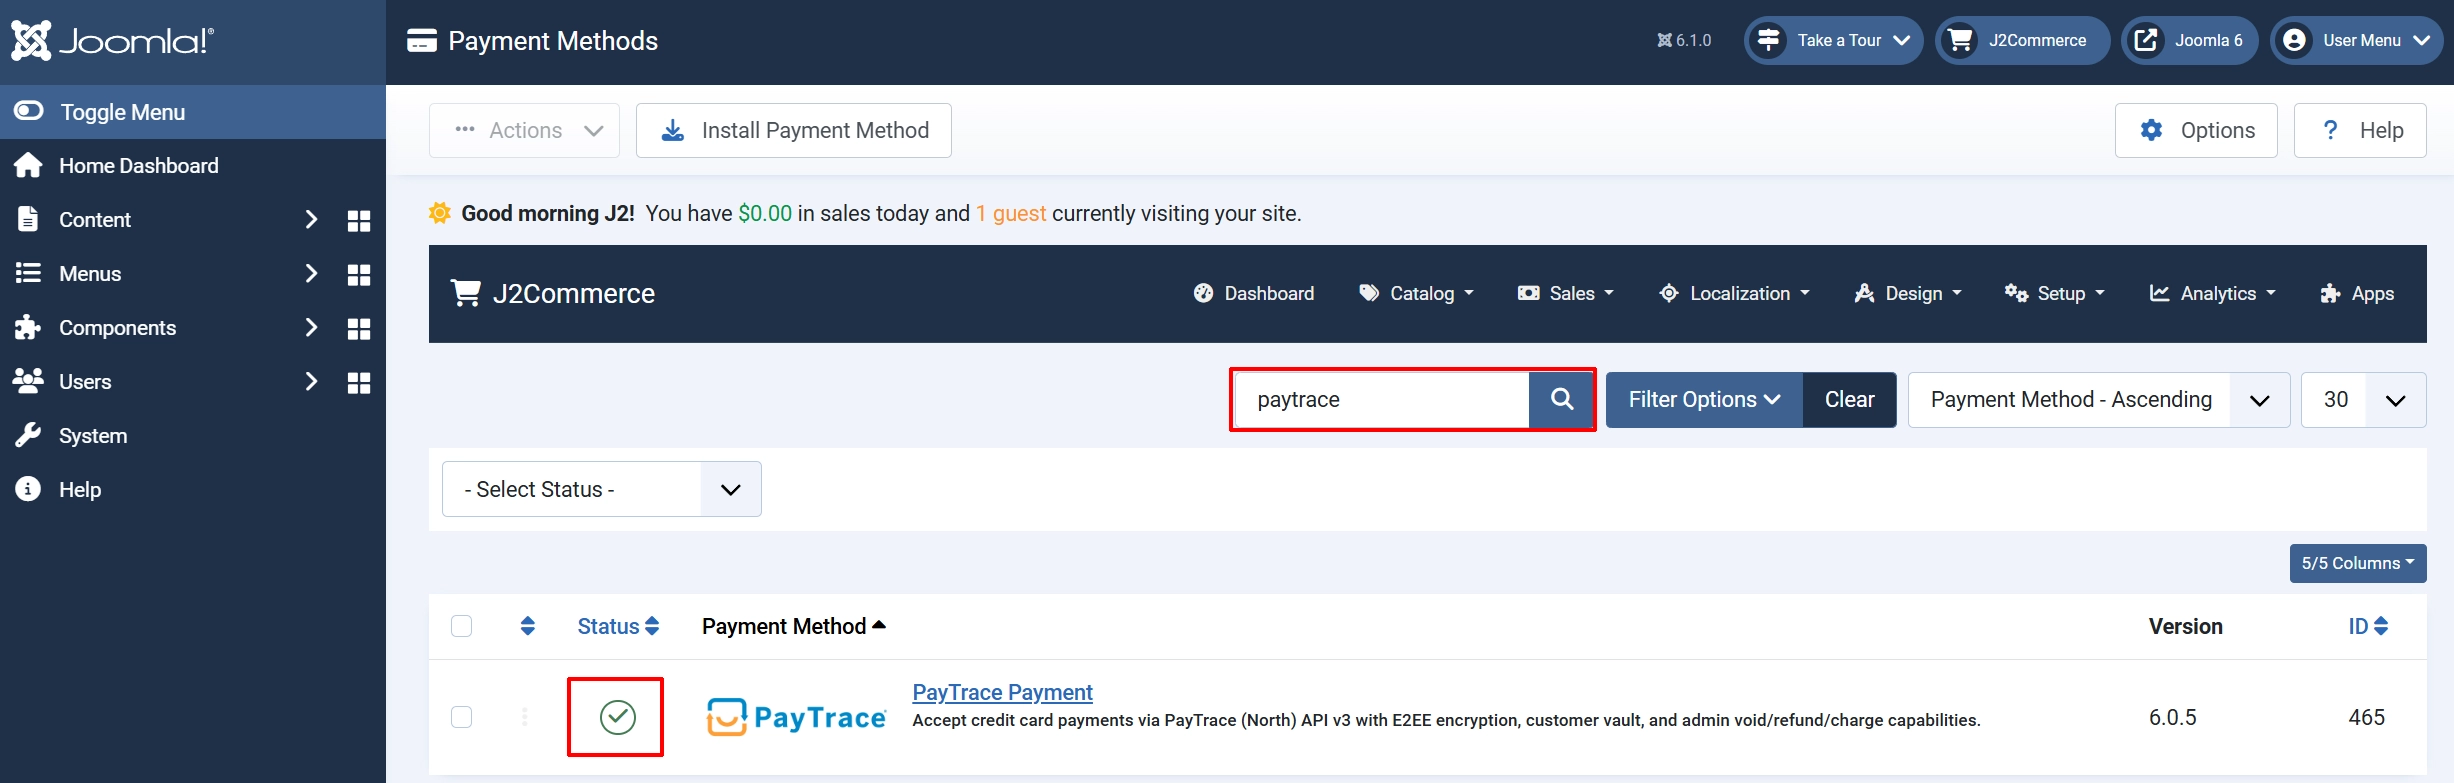
Option A: Go to the J2Commerce icon at the top right corner -> Setup -> Payment Methods
Option B: Go to Components on the left sidebar -> J2Commerce -> Dashboard -> Setup -> Payment Methods

To help you narrow down the list, you can do a search for PayTrace, click the X, and it will turn into a green checkmark. It is now enabled and ready for setup.
Configure the Plugin
Click the PayTrace title next to the green checkmark to open the configuration screen.
Click the Toggle Inline Help button at the top of any plugin configuration page to show a short description beneath each field.

Basic Settings tab
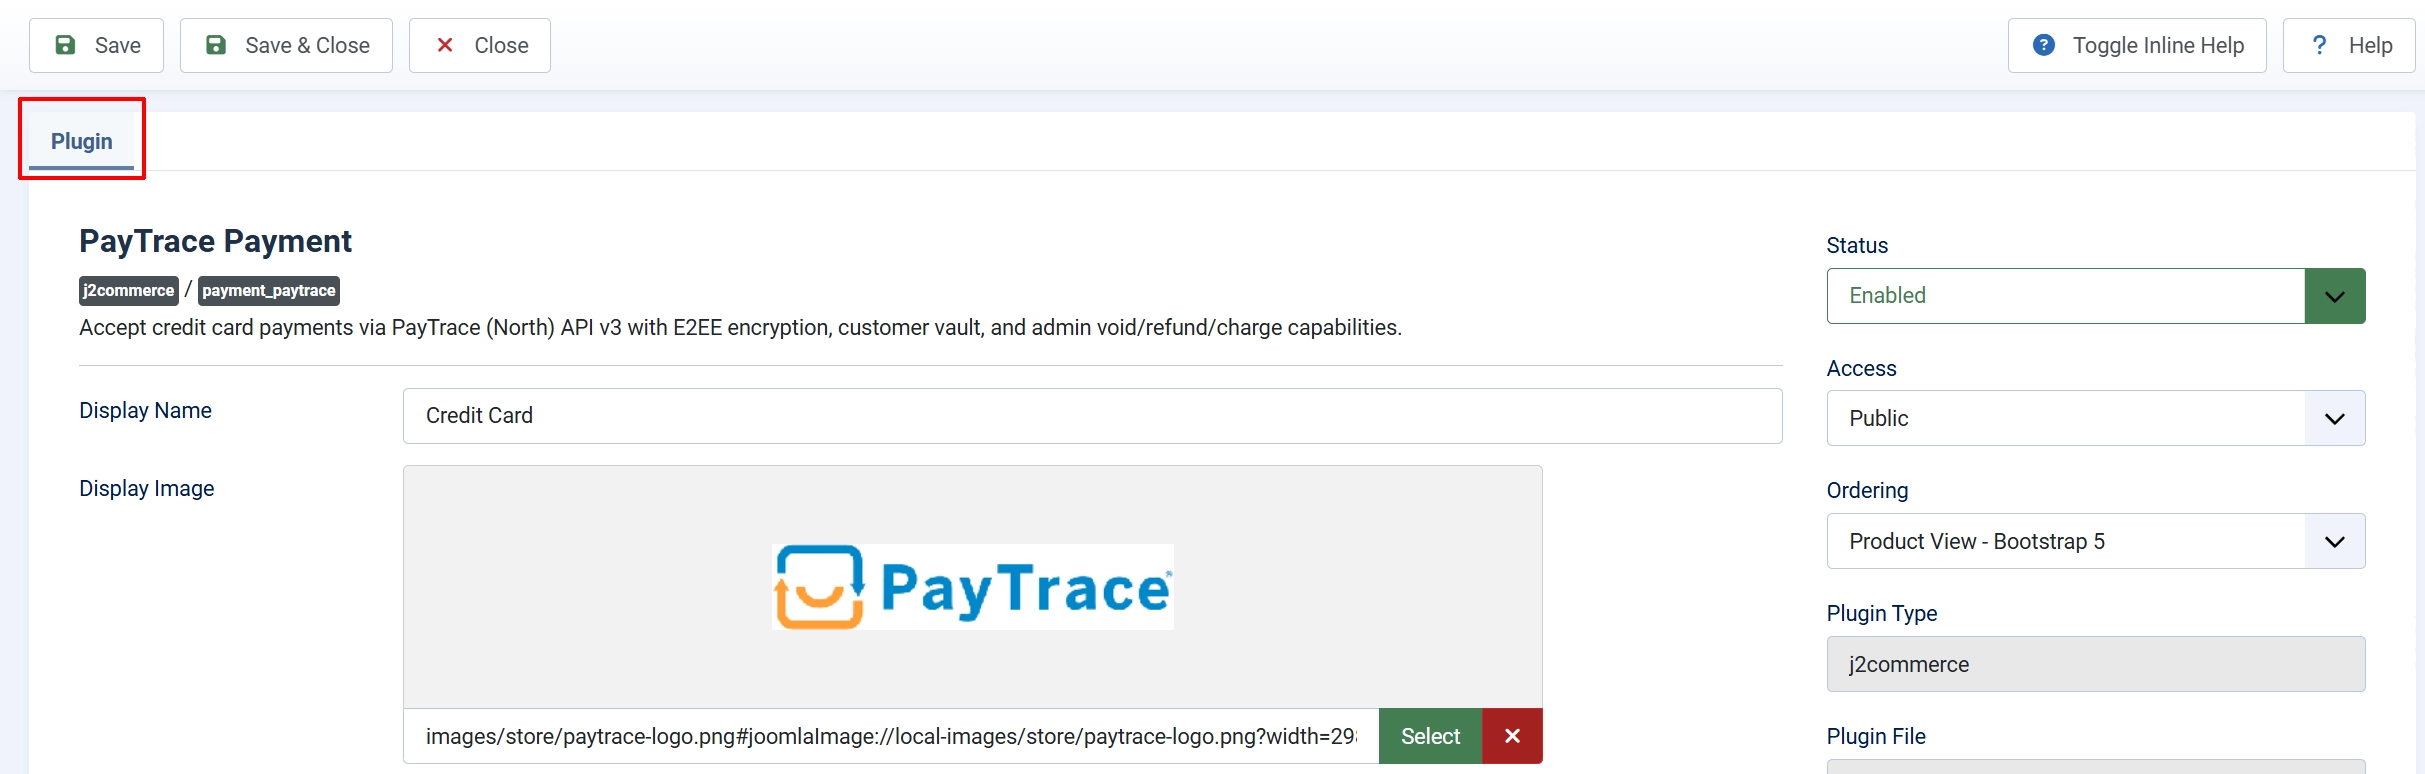
Display Name: The label customers see at checkout when selecting this payment method
Display Image: Optional logo or card image shown alongside the payment option at checkout
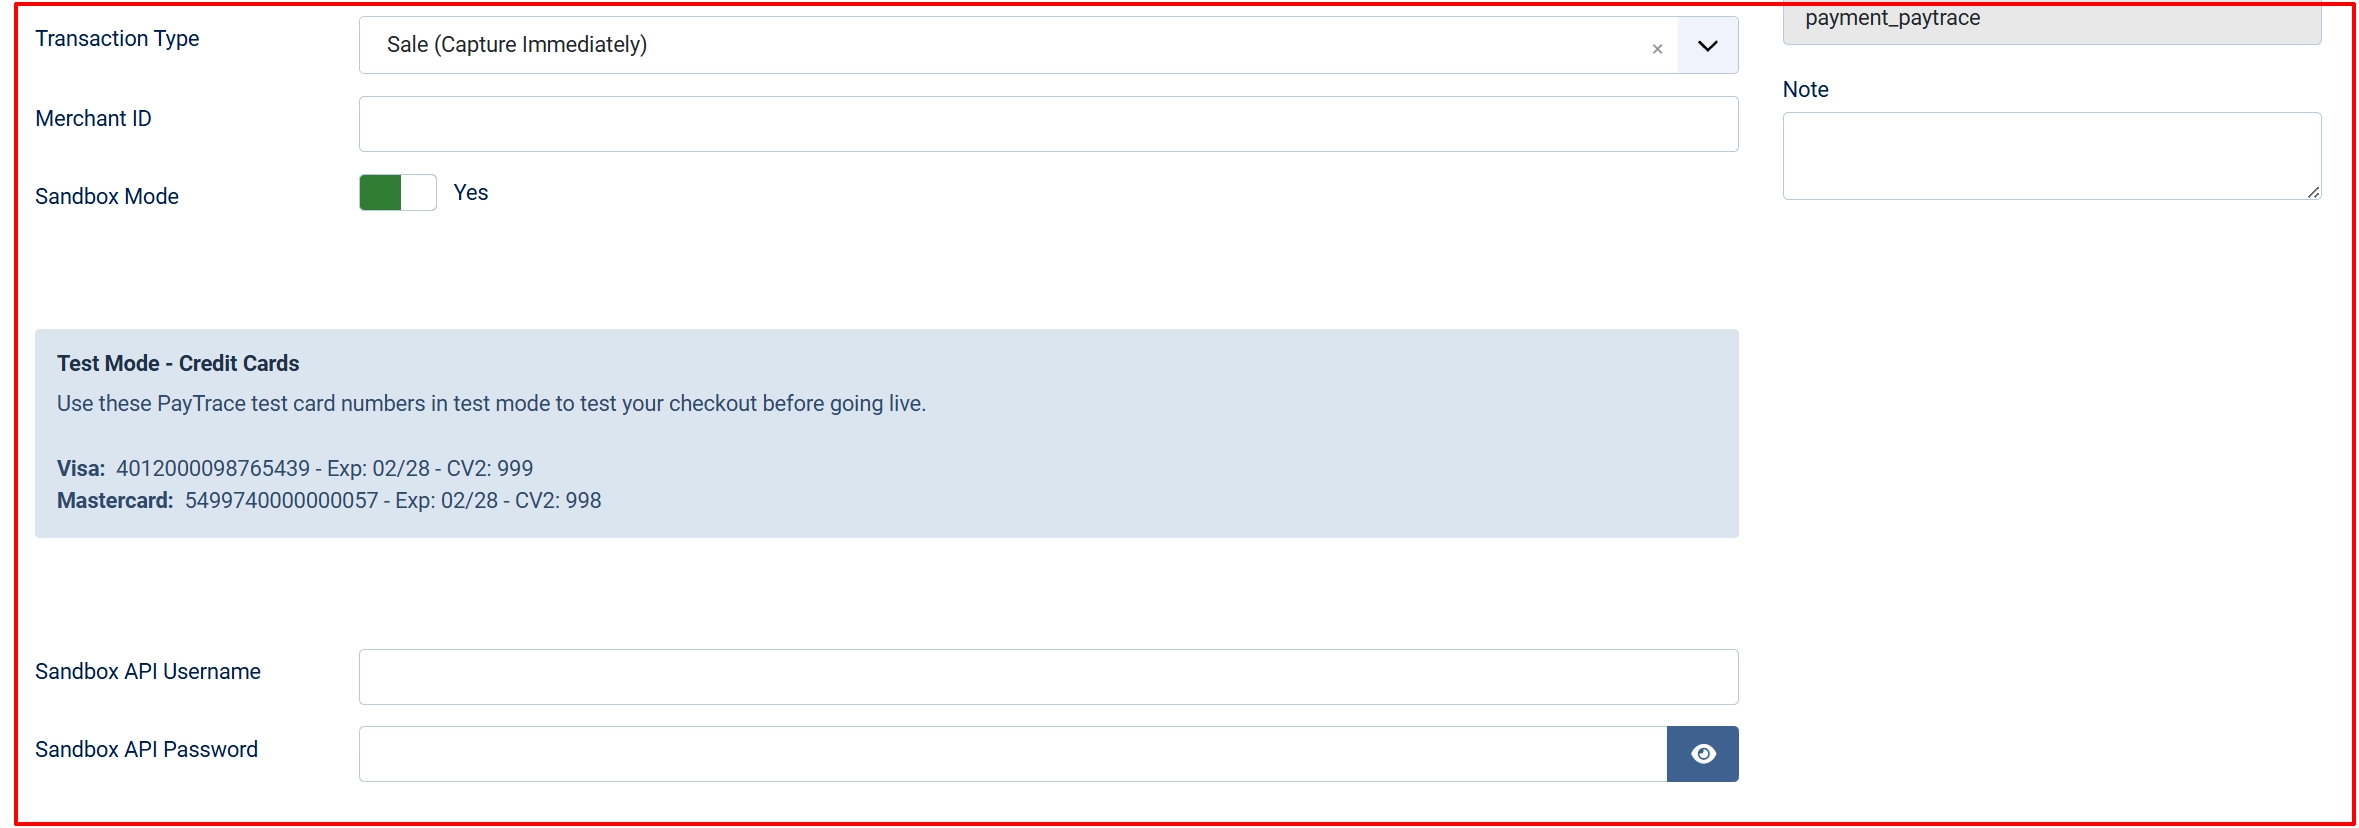
Transaction Type:
-
Sale (Capture Immediately): When to use it: Charges the customer's card in full at the moment they place the order. Use this for most stores — physical goods, digital downloads, services.
-
Authorize Only: When to use it: Places a hold on the customer's card without capturing the funds. You capture (charge) the card later from the order screen in the admin. Use this when you ship goods from inventory or need to verify stock before charging.
If you choose Authorize Only, remember to capture each order manually from the admin panel. Authorizations expire after a set number of days depending on the card network — typically 7 days for Visa and Mastercard.
| Field | When shown | Description |
|---|---|---|
| Merchant ID | Always | Your numeric PayTrace Merchant ID. Required for transaction query endpoints. |
| Sandbox Mode | Always | Toggle between the test (sandbox) and live environments. |
| Sandbox API Username | When Sandbox = Yes | Your PayTrace sandbox API username. |
| Sandbox API Password | When Sandbox = Yes | Your PayTrace sandbox API password. |
| API Username | When Sandbox = No | Your PayTrace live API username. |
| API Password | When Sandbox = No | Your PayTrace live API password. |
Credentials: PayTrace uses an OAuth2 username and password for API access. Keep sandbox and live credentials separate — the plugin shows the correct pair based on your Sandbox Mode setting.
To find your API credentials, log in to the PayTrace portal at paytrace.net, go to Merchant Settings, and look under API / Integration. If you do not see API credentials, contact PayTrace support to have them enabled on your account.

Accepted Card Types: Select which card brands customers can use at checkout. Only the selected brands are displayed on the card form.
Available options: Visa, Mastercard, Discover, American Express
The default selection is Visa and Mastercard.
Allow Saved Cards: When set to Yes, logged-in customers can save their card to the PayTrace Customer Vault during checkout. On future orders, they can select a saved card instead of typing their details again.
Saved cards are stored as secure tokens in PayTrace — your server never holds raw card numbers. This feature only works for registered (non-guest) customers.
Template Style: Choose the visual style for the card form at checkout: Match this setting to the template framework your site uses.
-
(blank): Default layout
-
bootstrap5: Bootstrap 5-based J2Commerce templates
-
uikit: UIkit-based J2Commerce templates
Order Status

Order Status Settings: Control which order status is applied when payments succeed, and optionally change statuses automatically when you void or refund a transaction.
- Payment Status: The order status set when a payment succeeds (sale or authorized capture).
Change Order Status on Void: Toggle on to automatically update the order status when you void a transaction.
- Void Order Status: The order status to apply after a successful void. Only visible when the toggle above is on.
Change Order Status on Refund: Toggle on to automatically update the order status when a refund is processed.
- Refund Order Status: The order status to apply after a successful refund. Only visible when the toggle above is on.
NOTE: If the status you want isn't listed in the dropdown menu, you can create a new one by going to J2Commerce -> Setup -> Order Statuses

Surcharge Name

Surcharge Name: Label displayed to customers at checkout (for example, Credit Card Fee).
Surcharge Percent: Percentage of the order subtotal to add (for example, 2.5 for 2.5%).
Surcharge Fixed: A flat dollar amount added to every order (for example, 0.30).
Surcharge Tax Class: Tax profile to apply to the surcharge amount. Leave blank if the surcharge is not taxable.
Many US states have specific laws about credit card surcharging — some prohibit it for debit cards, and others require disclosure at the point of sale. Review your state's regulations and consult PayTrace's merchant agreement before enabling surcharges.
Restrictions
Limit when PayTrace appears as a payment option.

Geozone Restriction: Select a J2Commerce geozone. PayTrace will only appear for customers whose billing address falls within that zone. Leave blank to allow all locations.
Min Subtotal: The minimum order subtotal (before tax and shipping) required for PayTrace to appear. Leave blank for no minimum.
Max Subtotal: The maximum order subtotal allowed for PayTrace to appear. Leave blank for no maximum.
Since PayTrace is a US-based processor, you may want to restrict it to a geozone covering the United States and Canada.
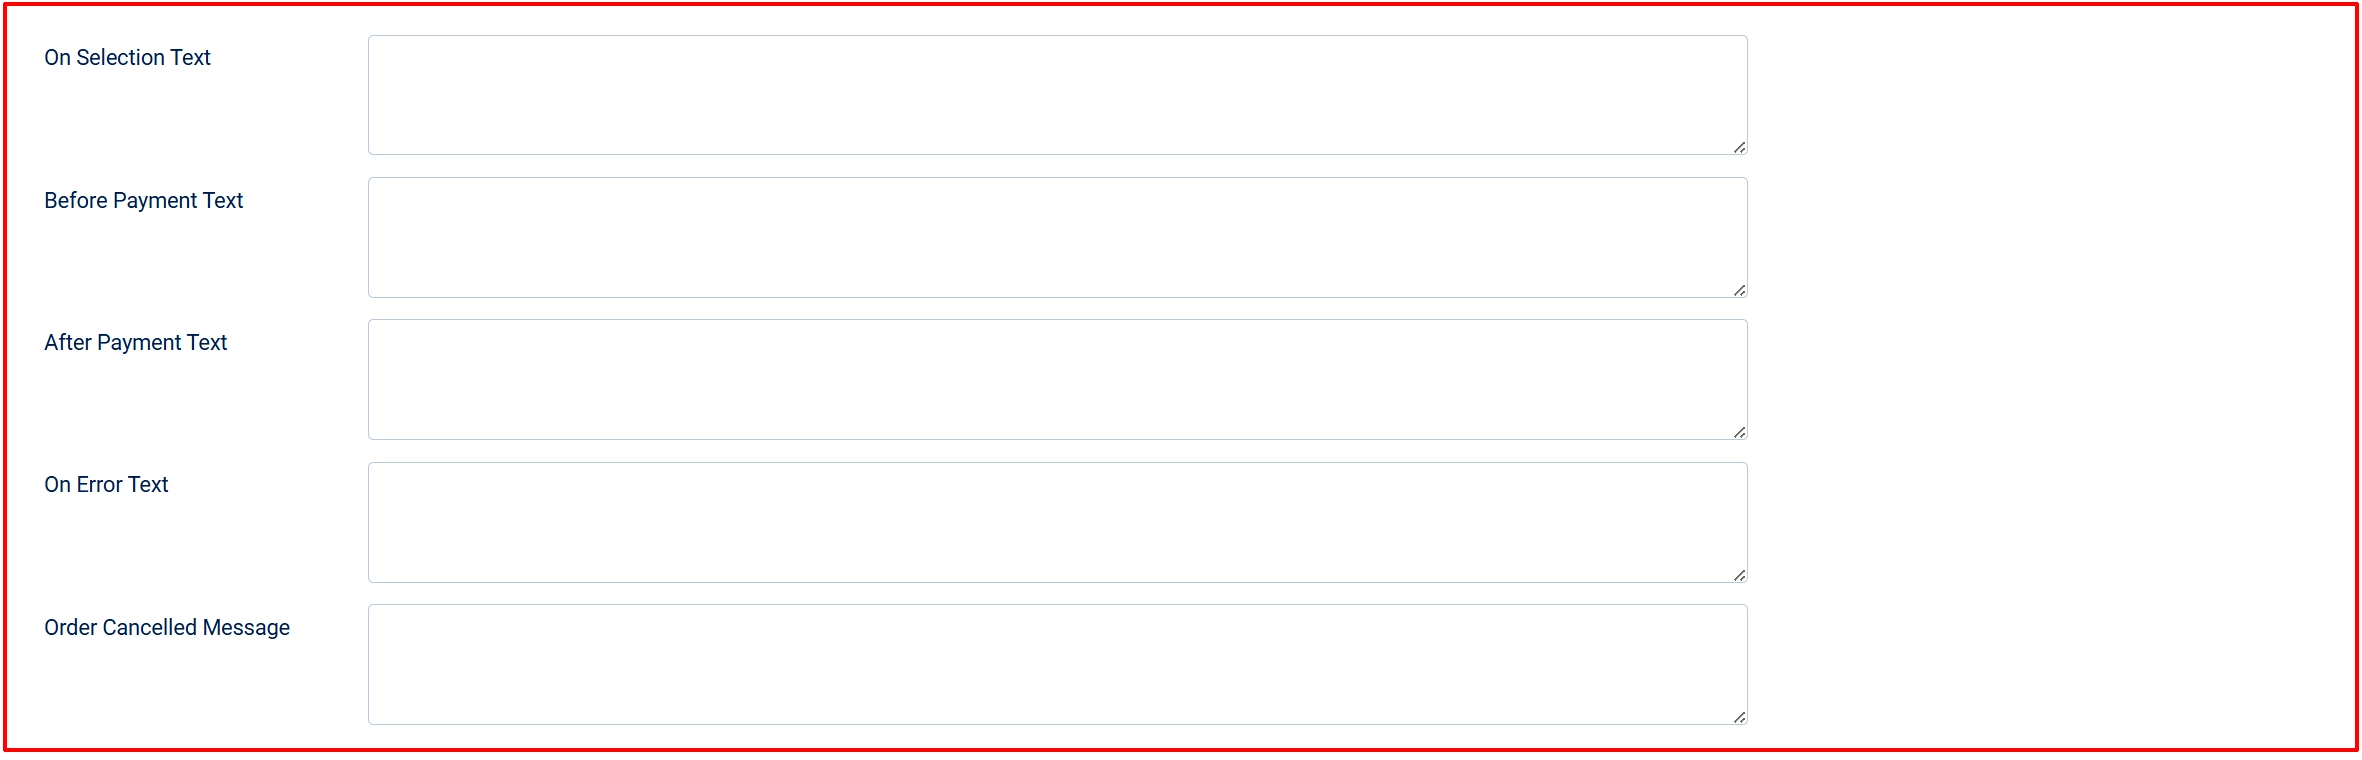
Custom Messages: You can add custom text messages at five points in the payment process. All fields accept plain text or basic HTML.
On Selection Text: Shown when the customer selects PayTrace as their payment method at checkout.
On Before Payment: Shown on the payment step before the customer submits their card.
On After Payment: Shown on the order confirmation page after a successful payment.
On Error Payment: Shown when the payment attempt fails.
On Cancel Payment: Shown if the customer cancels or leaves the payment step.
Leave any field blank to show no message at that point.

Show Dashboard Icon: Display a shortcut icon for PayTrace on the J2Commerce dashboard.
- Icon Label: The label shown under the icon. Uses the plugin name if left blank.
Debug Mode: Write detailed API request and response data to the Joomla log directory.
When Debug Mode is enabled, logs are written to your Joomla logs folder (typically administrator/logs/) as payment_paytrace.log. Only enable this while troubleshooting — debug logs can grow large and may contain sensitive request metadata.
How It Works
When a customer completes checkout with PayTrace, this is the sequence of events:
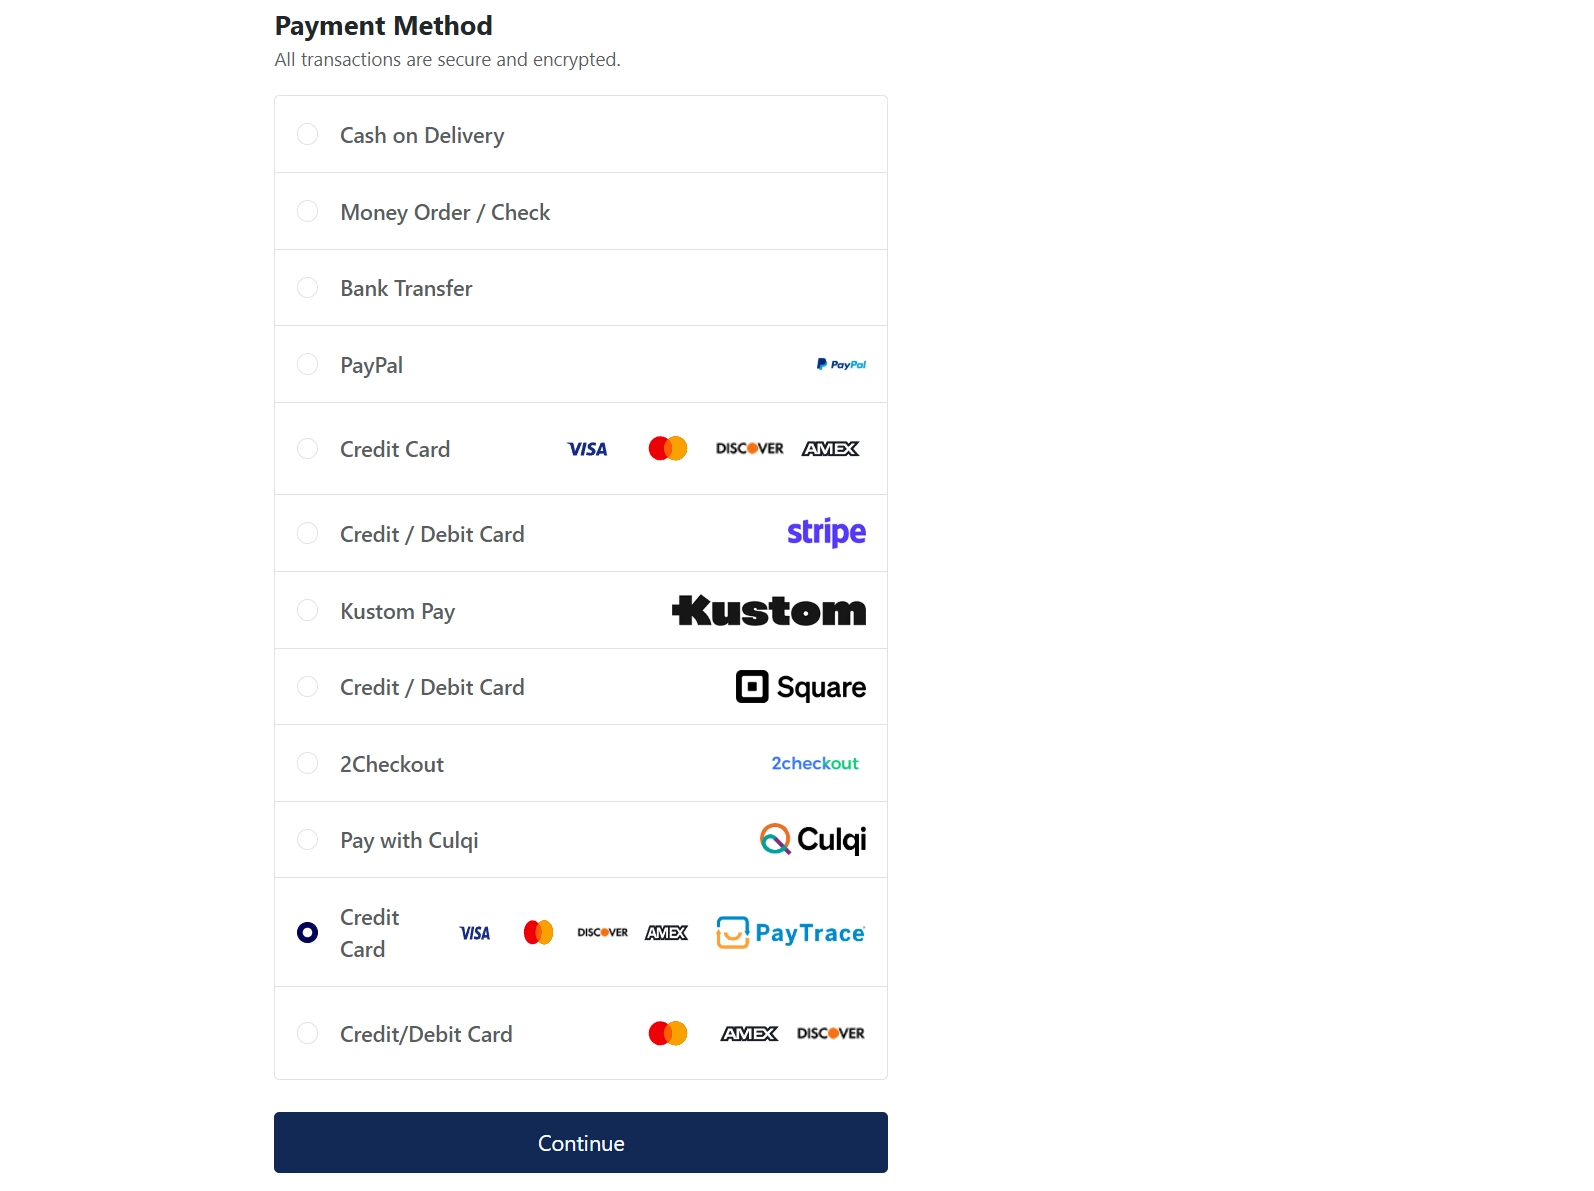
- The customer selects Credit Card (or your custom display name) as the payment method at checkout.
- The card entry form renders, loading the PayTrace E2EE JavaScript library (
paytrace-e2ee.js) directly from the PayTrace CDN. - If the customer has saved cards and Allow Saved Cards is enabled, they can choose a saved card from a dropdown instead of entering new card details.
- When the customer submits the form, the card number and CVV are encrypted in the browser by the PayTrace E2EE library before leaving the page. The raw card data never passes through your server.
- The encrypted card token is submitted to your Joomla site alongside the order.
- J2Commerce calls the PayTrace REST API using your credentials to process a Sale (immediate charge) or Authorize Only transaction, depending on your configuration.
- If PayTrace approves the transaction, the order status is updated to your configured Payment Status and the customer is redirected to the order confirmation page.
- If PayTrace declines the transaction, an error message is shown and the order remains unpaid.
Admin Actions on Orders
When you open a paid order in J2Commerce -> Sales -> Orders and the order was paid through PayTrace, the order edit screen shows additional action buttons.
Void Transaction

Cancels a transaction that has been authorized but not yet settled by the bank. Voiding is only possible while the transaction is still in Approved or Pending Settlement status. Once the batch settles overnight, you must use Refund instead.
Click Void Transaction and confirm the prompt. If successful, the transaction status updates to Voided and an entry is added to the order history. If Change Order Status on Void is enabled, the order status also changes automatically.
Refund
Issues a refund against a settled transaction. You can refund the full amount or a partial amount up to the original charge. Refunds are only available after the transaction has settled.
Click Refund, enter the amount to refund (the maximum refundable amount is shown), and confirm. A successful refund adds a history entry and optionally changes the order status if Change Order Status on Refund is enabled.
Charge Saved Card
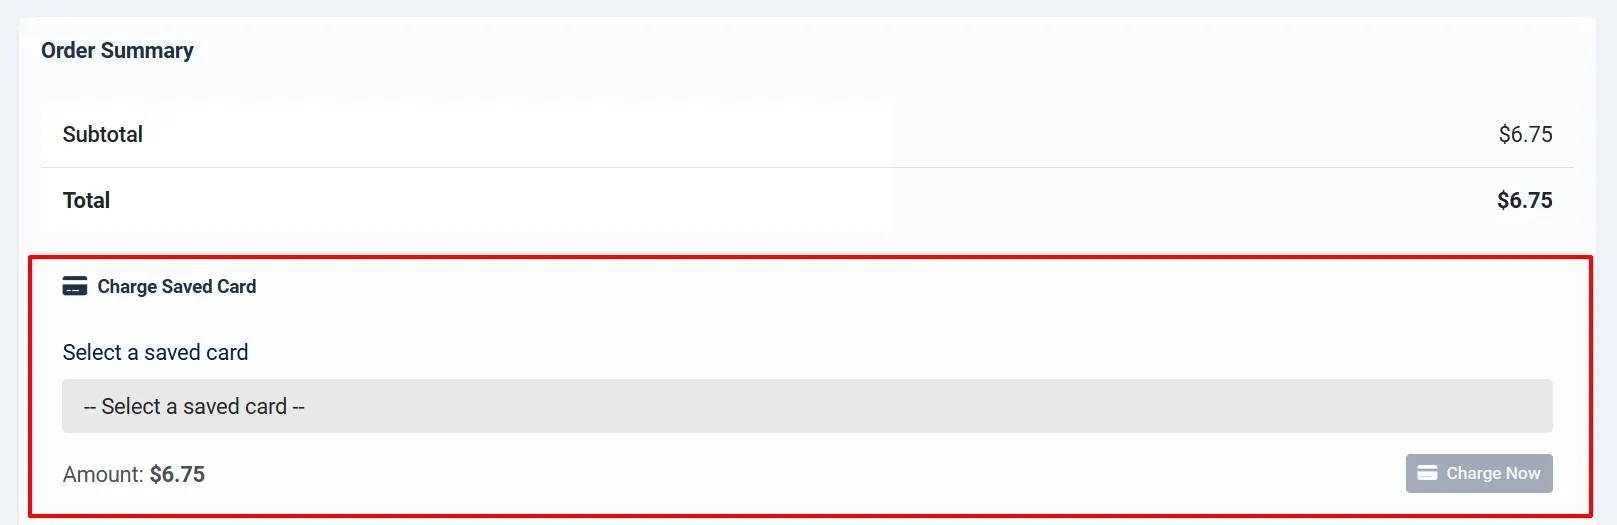
If the customer has saved cards in the PayTrace Customer Vault and the order has no transaction yet (for example, an invoice order or an Authorize Only order that was never captured), the Charge Saved Card panel appears below the order summary.
Select a card from the customer's saved cards and click Charge Card. The plugin runs a Sale or Authorize transaction (matching your Transaction Type setting) and records the result against the order.
The Charge Saved Card panel only appears when the customer is a registered user with at least one saved card on file. It will not appear for guest orders.
Sandbox Testing
Before going live, use the PayTrace sandbox environment to verify the full checkout flow without processing real charges.
-
In the plugin configuration, set Sandbox Mode to Yes.
-
Enter your Sandbox API Username and Sandbox API Password (provided by PayTrace when you sign up for a developer account at paytrace.net).
-
Save the plugin configuration.
-
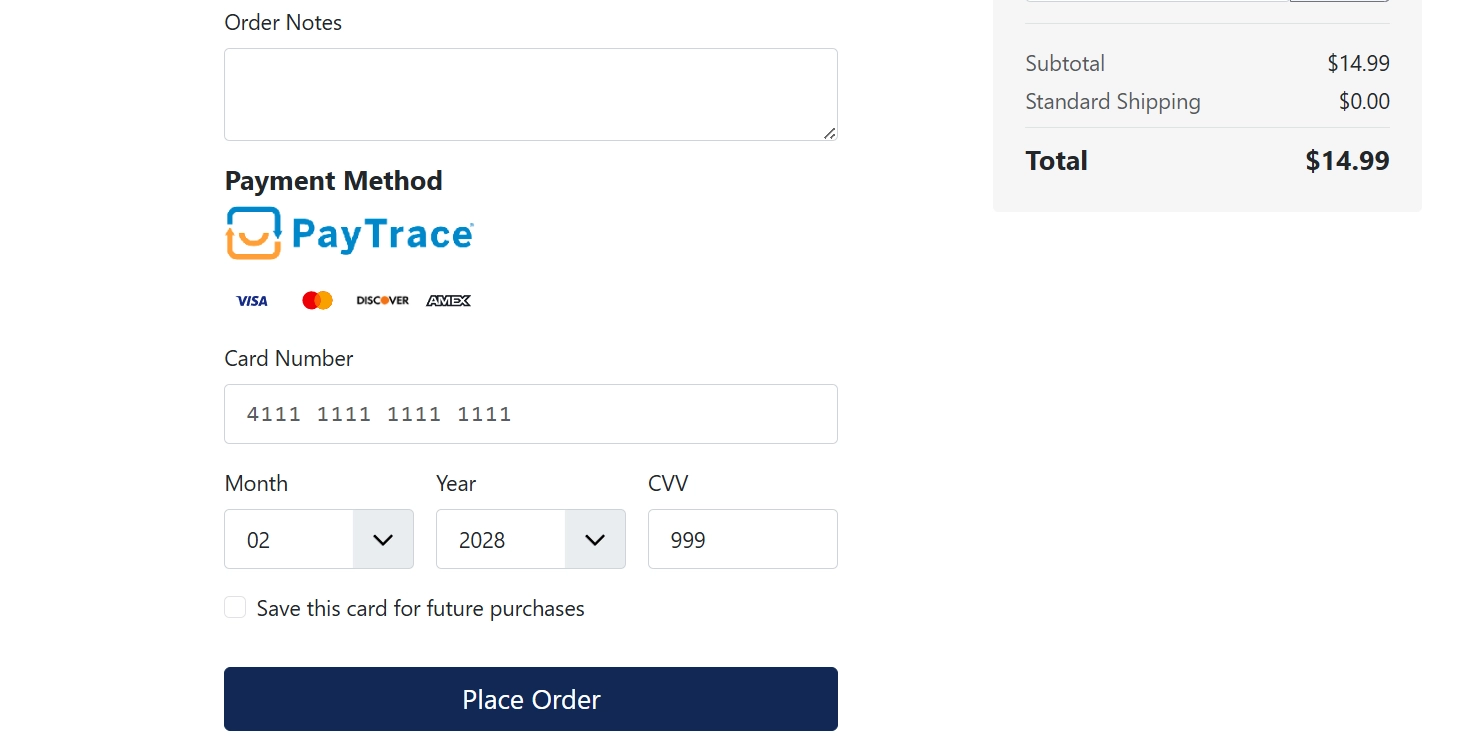
Place a test order on your storefront using one of the test card numbers shown in the Test Mode - Credit Cards notice:
- Visa:
4012000098765439— Exp:02/28— CVV:999 - Mastercard:
5499740000000057— Exp:02/28— CVV:998
- Visa:
-
After checkout, check your PayTrace sandbox dashboard at api.sandbox.paytrace.com to verify the transaction appeared.
-
Test void and refund actions from the order edit screen in the J2Commerce admin.
-
When testing is complete, set Sandbox Mode back to No and enter your live credentials.
Tips
- Test every scenario in sandbox before going live. Run a Sale, an Authorize, a Void, and a Refund to confirm each flow works end to end.
- Enable saved cards for returning customers. The Customer Vault significantly speeds up repeat purchases and reduces cart abandonment for loyal buyers.
- Use Authorize Only for high-risk or made-to-order goods. If an order turns out to be fraudulent or out of stock, you can void the authorization without ever charging the customer.
- Keep Debug Mode off in production. Debug logs record every API request and response. While sensitive values like card numbers are redacted, the logs still grow quickly and should only be enabled when actively diagnosing a problem.
- Restrict to a geozone if your account only supports US billing. PayTrace accounts are issued by US banks. If your store sells internationally, configure a geozone so PayTrace is hidden for customers with non-US billing addresses.
- Set a meaningful Display Name. Many customers are not familiar with the name "PayTrace." Using Credit Card or Visa / Mastercard as the display name is less confusing on the checkout page.
Troubleshooting
PayTrace Does Not Appear at Checkout
Cause: A geozone restriction is set and the customer's billing address is not in that zone, or the order subtotal falls outside the min/max range.
Solution:
- Go to J2Commerce -> Payments and open the PayTrace configuration.
- Check the Geozone Restriction field. If a geozone is selected, verify that the customer's billing country and state fall within that zone under J2Commerce -> Setup -> Geozones.
- Check the Min Subtotal and Max Subtotal fields. If the order value is outside these limits, PayTrace is intentionally hidden.
- Set both restriction fields to blank to allow PayTrace for all customers and orders.
"Invalid Credentials" Error at Checkout
Cause: The Sandbox Mode toggle does not match the credentials you have entered, or the credentials contain a copy-paste space.
Solution:
- Open the PayTrace plugin configuration.
- Check whether Sandbox Mode is Yes or No.
- If Sandbox Mode is Yes, verify the Sandbox API Username and Sandbox API Password are filled in correctly with your sandbox credentials.
- If Sandbox Mode is No, verify the API Username and API Password match your live PayTrace account credentials.
- Copy your credentials directly from the PayTrace portal to avoid invisible characters.
Saved Card Option Not Shown at Checkout
Cause: Allow Saved Cards is disabled, or the customer is checking out as a guest.
Solution:
- Open the PayTrace plugin configuration and confirm Allow Saved Cards is set to Yes.
- Verify the customer is logged in to a registered account. Saved cards are not available for guest checkout.
- If the customer is logged in and has saved a card previously, but it does not appear, enable Debug Mode temporarily and check the Joomla log for any vault errors.
Surcharge Is Not Added to the Order
Cause: The Surcharge Percent or Surcharge Fixed field is blank, or the Surcharge Name field is empty.
Solution:
- Open the PayTrace plugin configuration and scroll to the Surcharge Settings section.
- Ensure the Surcharge Name is not blank — a name is required for the surcharge to appear.
- Enter a value in at least one of Surcharge Percent or Surcharge Fixed.
- If you want the surcharge taxed, assign a Surcharge Tax Class to a valid tax profile.
Void or Refund Button Does Nothing
Cause: The transaction is not in the correct state for that action, or the Change Order Status toggles are misconfigured.
Solution:
- For Void: The transaction must still be in Approved or Pending Settlement status. If it has already settled, you must use Refund instead.
- For Refund: The transaction must have settled. If you just processed the payment moments ago, wait until the next batch settlement (typically overnight) before refunding.
- Open the PayTrace plugin configuration and verify that Change Order Status on Void or Change Order Status on Refund is set to Yes if you want the order status to change automatically. Confirm the target status is selected in Void Order Status or Refund Order Status.
- Enable Debug Mode and retry the action to capture the full API response in the log file. Check
administrator/logs/for thepayment_paytrace.logfile.
PayTrace API Credentials Are Not Configured (Dashboard Warning)
Cause: The plugin is enabled but the API credentials are missing, or the Integrator ID stored internally is blank.
Solution:
- Open the PayTrace plugin configuration.
- Fill in Merchant ID, and either the live or sandbox API Username and API Password matching your current Sandbox Mode setting.
- Save the configuration. The warning on the J2Commerce dashboard will clear automatically once credentials are detected.