QuickBooks Payments
The QuickBooks Payments plugin connects your J2Commerce store to Intuit QuickBooks Payments so customers can pay by credit or debit card at checkout. Card details are collected through a secure, tokenized form — your server never receives raw card numbers, which qualifies your store for the simplest PCI compliance level (SAQ-A).
The plugin also supports saving cards for faster repeat purchases, an authorize-before-capture workflow, and managing payments — capture, void, and refund — directly from the J2Commerce order admin screen.
Requirements
- Joomla 6.x
- J2Commerce 6.x
- PHP 8.3 or later
- An Intuit QuickBooks Payments merchant account
- OAuth2 credentials from the Intuit Developer Portal
- Your store must be accessible over HTTPS
Prerequisites
Before installing the plugin, you need a set of OAuth2 credentials from Intuit.
Obtaining Your Credentials
- Sign in to the Intuit Developer Portal and open (or create) your app.
- Under Keys & credentials, copy your Client ID and Client Secret.
- Connect your QuickBooks company to the app and complete the OAuth2 authorization flow to obtain a Refresh Token. The plugin will keep this token current automatically.
- Note your Realm ID (Company ID) — visible in your QuickBooks Online URL or the developer portal.
The OAuth2 refresh token rotates every time it is used. The plugin detects the new token and saves it back to the plugin settings automatically, so you will not need to update it manually after the initial setup.
Purchase and Download
This plugin is a separate add-on available from the J2Commerce Extensions Store. It is not included with the core J2Commerce 6 component.
Step 1: Go to the J2Commerce website -> Apps
Step 2: Locate QuickBooks Payments -> click View Details -> Add to cart -> Checkout
Step 3: Go to My Downloads under your profile button at the top right corner and search for the plugin. Click Available Versions -> View Files -> Download Now
Installing the Plugin
You can install this QuickBooks Payments plugin using the Joomla installer. The following steps help you with a successful installation.
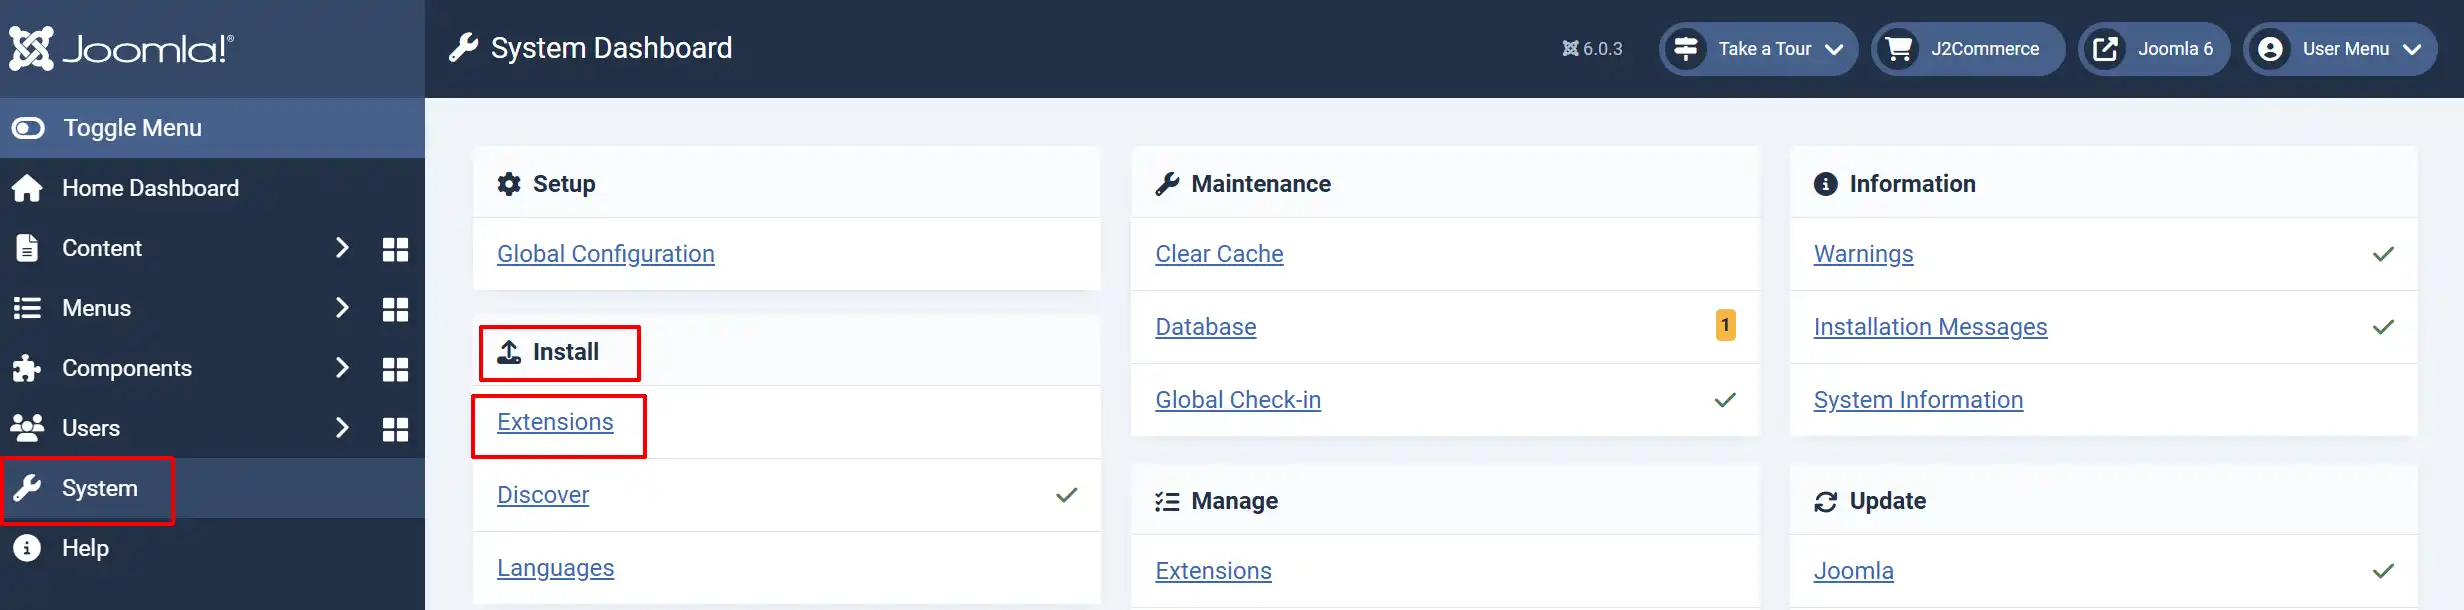
In the Joomla admin, go to System -> Install -> Extensions
Upload the QuickBooks Payments ZIP file or use the Install from URL option.
Enable the Plugin
Once you have installed the extension, you will need to enable it. There are two ways you can access the extension.
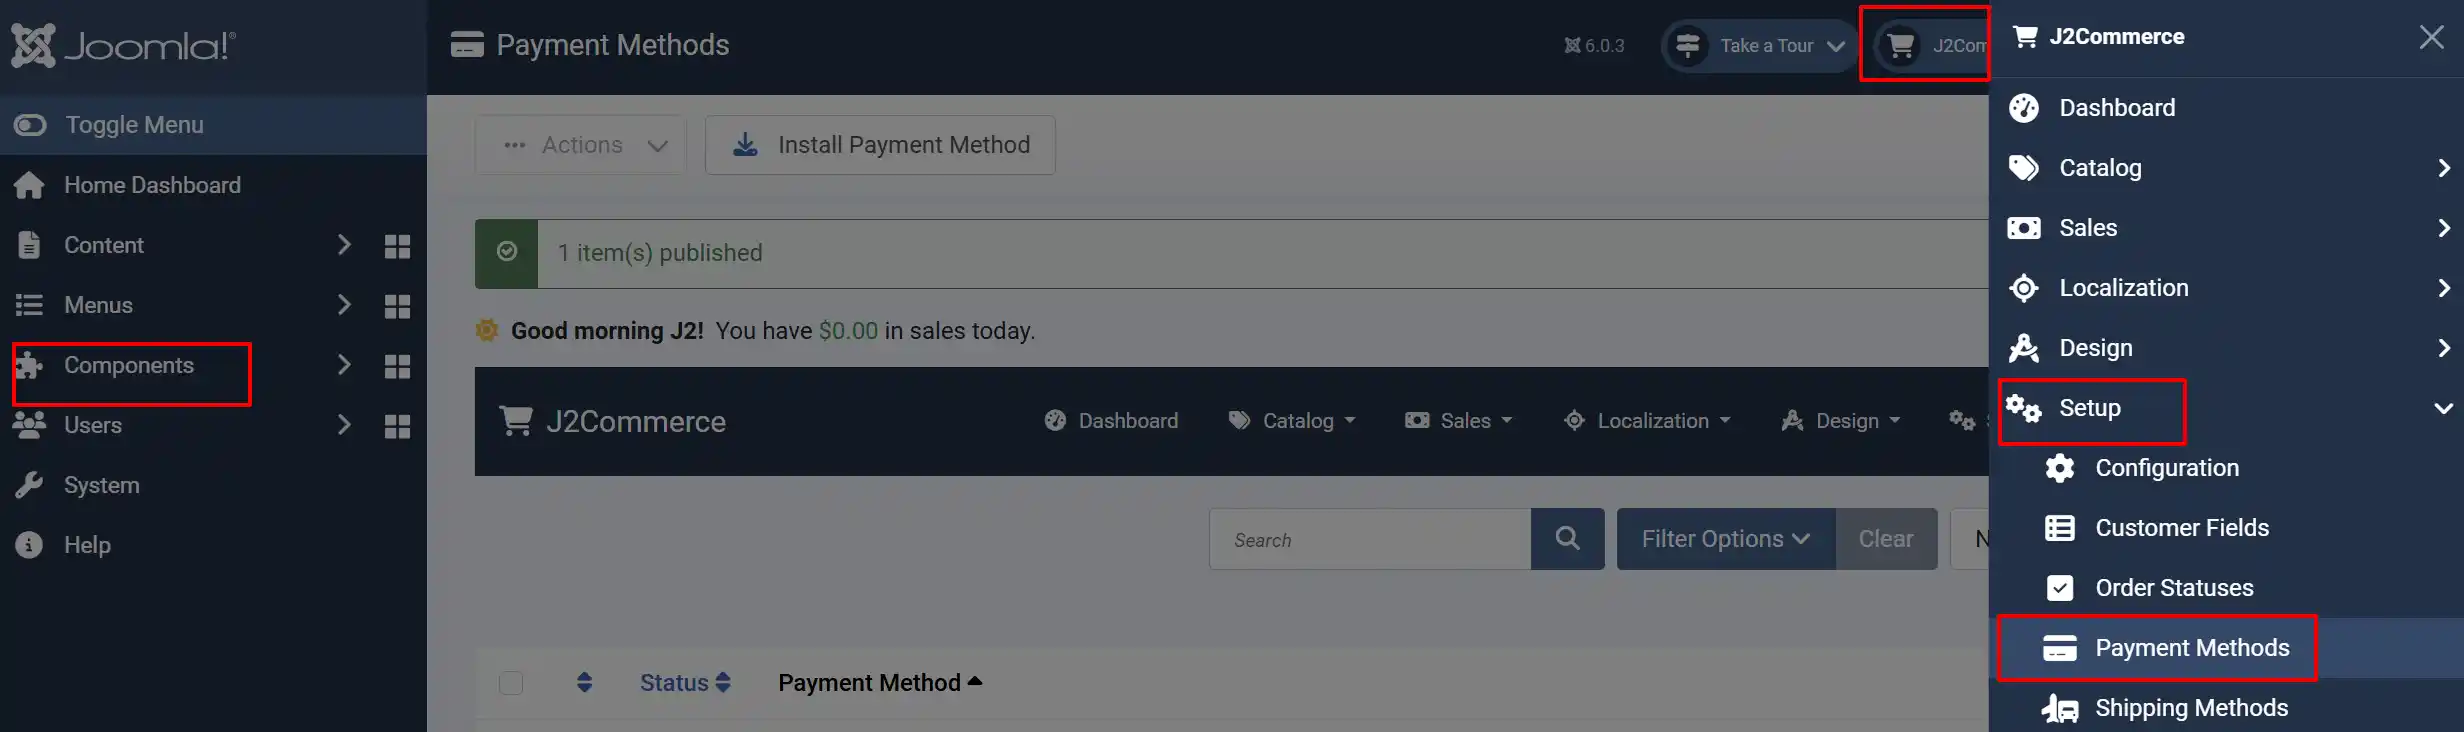
Option A: Go to the J2Commerce icon at the top right corner -> Setup -> Payment Methods
Option B: Go to Components on the left sidebar -> J2Commerce -> Dashboard -> Setup -> Payment Methods
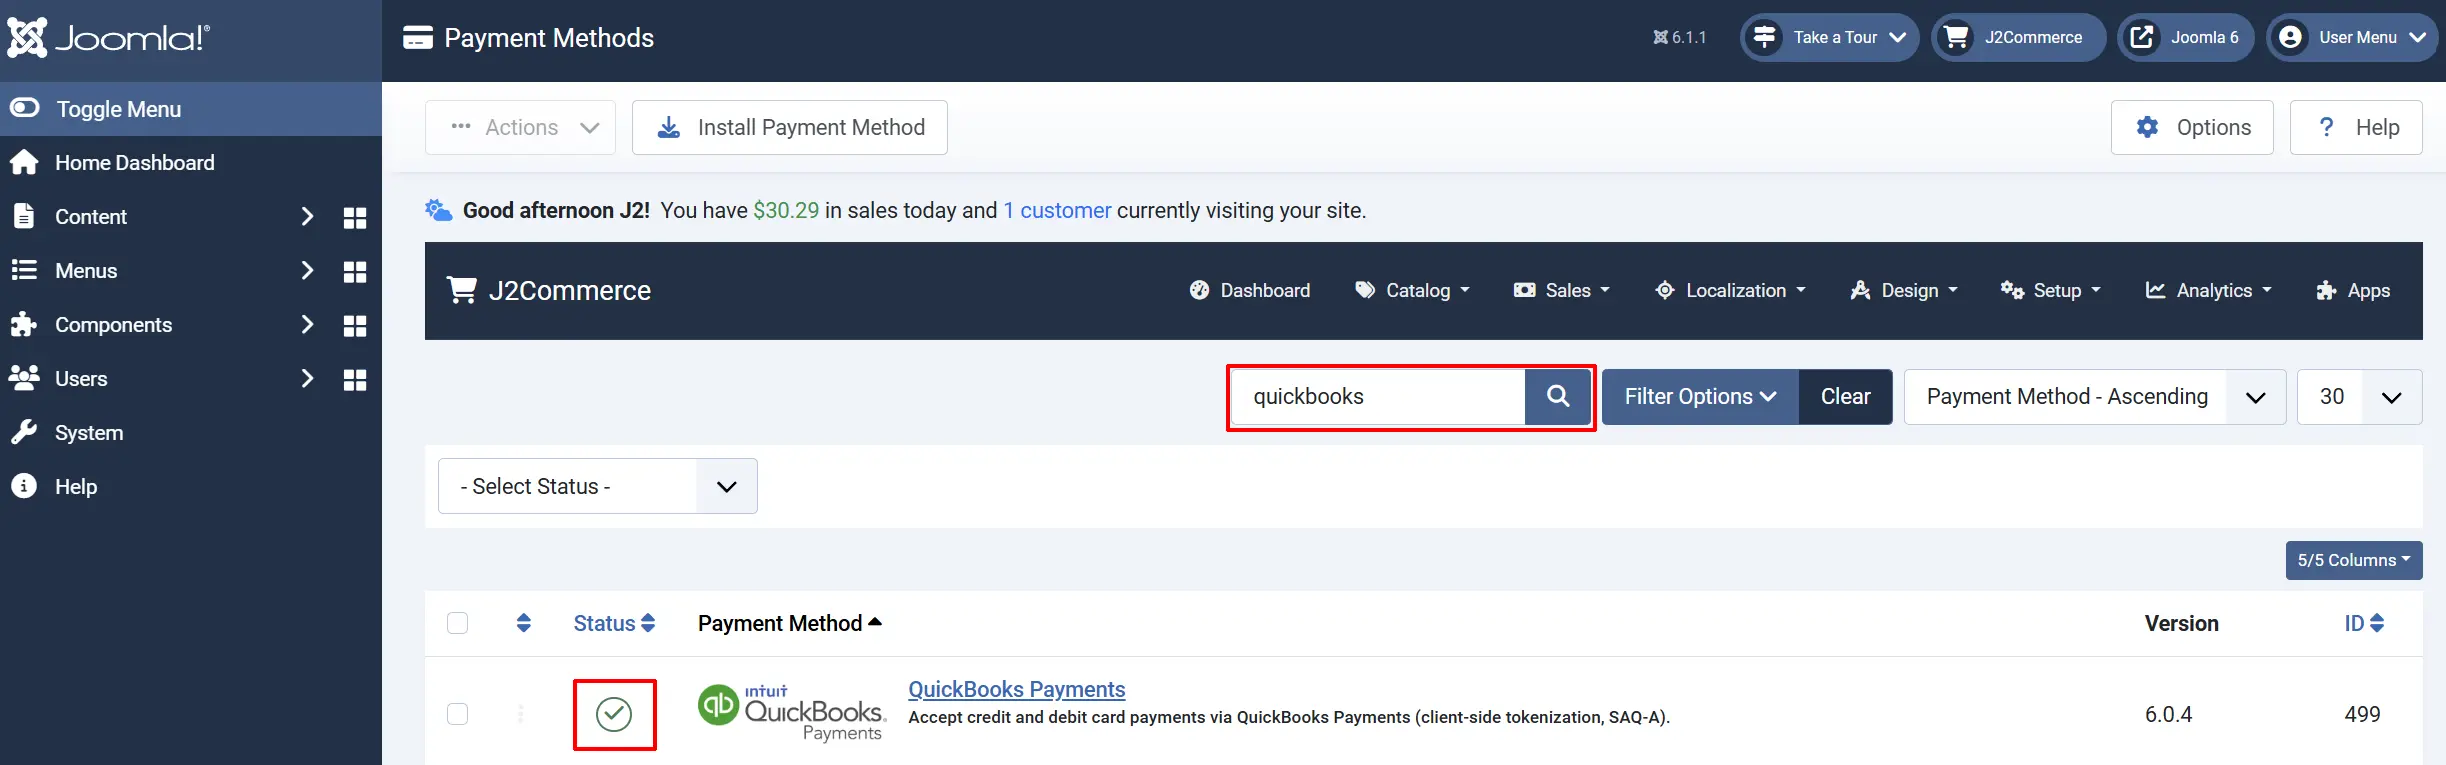
Look for QuickBooks Payments, click the X, and it will turn into a green checkmark. It is now enabled and ready for setup.
Configure the Plugin
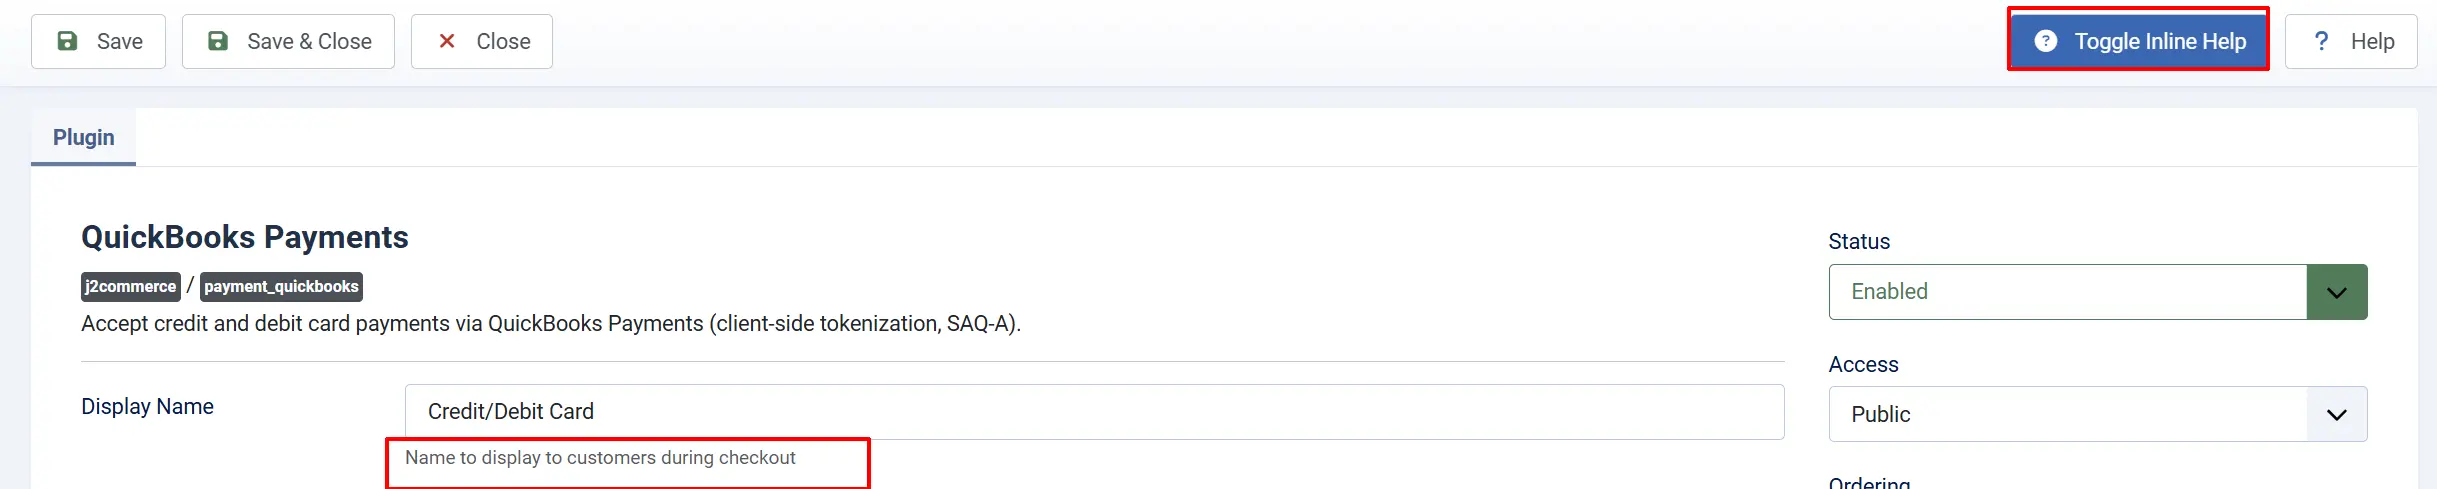
Click the QuickBooks Payments title to open the settings screen.
Click the Toggle Inline Help button in the toolbar and the plugin will show a description below each field as you configure it.
Display Settings
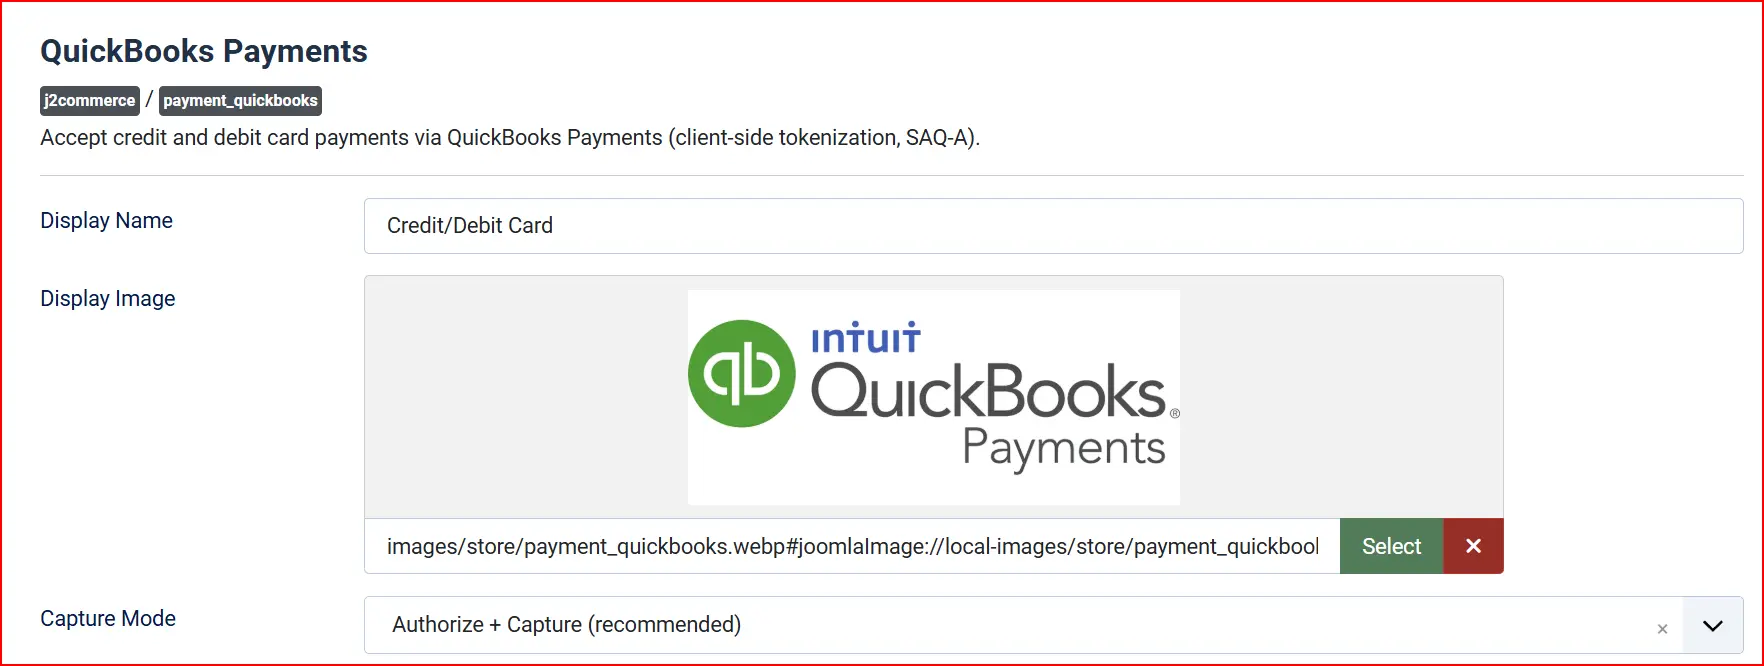
Display Name: The label shown to customers at checkout (e.g., "Credit/Debit Card")
Display Image: Optional image or logo to show beside the payment method name at checkout
Capture Mode
Capture Mode:
-
Authorize + Capture (recommended): funds are collected immediately at checkout.
-
Authorize Only: a hold is placed on the customer's card; you collect the funds manually from the order admin screen.
Use Authorize Only when you ship physical goods and want to verify the order before charging the card. The authorization hold typically remains valid for a few days — capture before it expires.
Credentials
Sandbox / Test Mode
When enabled, all transactions are sent to sandbox.api.intuit.com. No real payments are processed.
Use sandbox mode with your Intuit sandbox credentials to verify your setup before going live. When sandbox is active, a warning banner appears on your J2Commerce dashboard.
Live Credentials
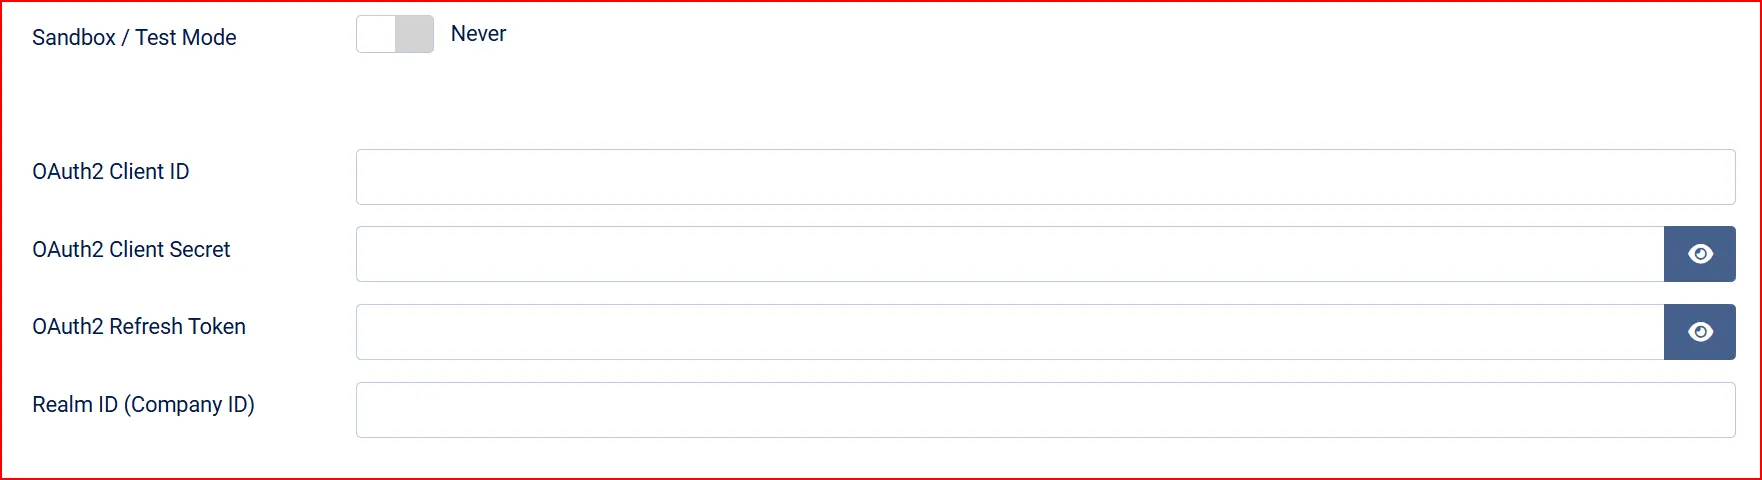
These fields appear when Sandbox / Test Mode is set to No.
OAuth2 Client ID: Your Intuit app Client ID for live transactions.
OAuth2 Client Secret: Your Intuit app Client Secret. Keep this private.
OAuth2 Refresh Token: The refresh token obtained when you authorized your QuickBooks company. The plugin updates this value automatically each time it refreshes the access token.
Realm ID (Company ID): Your QuickBooks company ID. Used to scope saved card storage to your account.
Sandbox Credentials
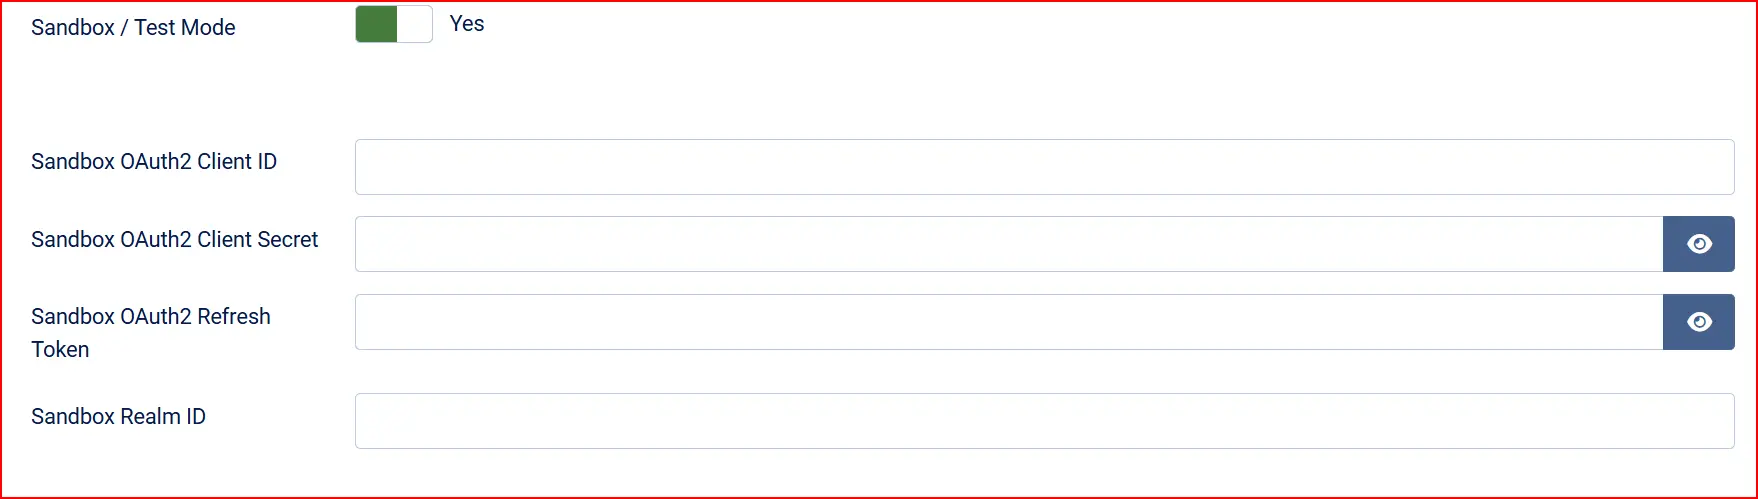
These fields appear when Sandbox / Test Mode is set to Yes.
Sandbox OAuth2 Client ID: Client ID from your Intuit sandbox app.
Sandbox OAuth2 Client Secret: Client Secret from your Intuit sandbox app.
Sandbox OAuth2 Refresh Token: Refresh token for sandbox authorization.
Sandbox Realm ID: Your sandbox company Realm ID.
Saved Cards

Allow Saved Cards: Let logged-in customers save their card details for faster repeat checkout. Saved cards are stored securely in your QuickBooks Payments vault.
Accepted Card Types: Select which card brand icons appear above the checkout form (Visa, Mastercard, American Express, Discover, Diners Club, JCB). This controls the display only — actual card acceptance depends on your QuickBooks Payments account settings.
Template Style: Choose the frontend template layout for checkout forms and saved card displays. Options depend on your site's template framework.
Available subtemplates: Bootstrap 5 and UIkit. Leave blank to use the default layout. If your Joomla template is UIkit-based (e.g., YOOtheme Pro), select the UIkit subtemplate for consistent styling.
Order Status Settings
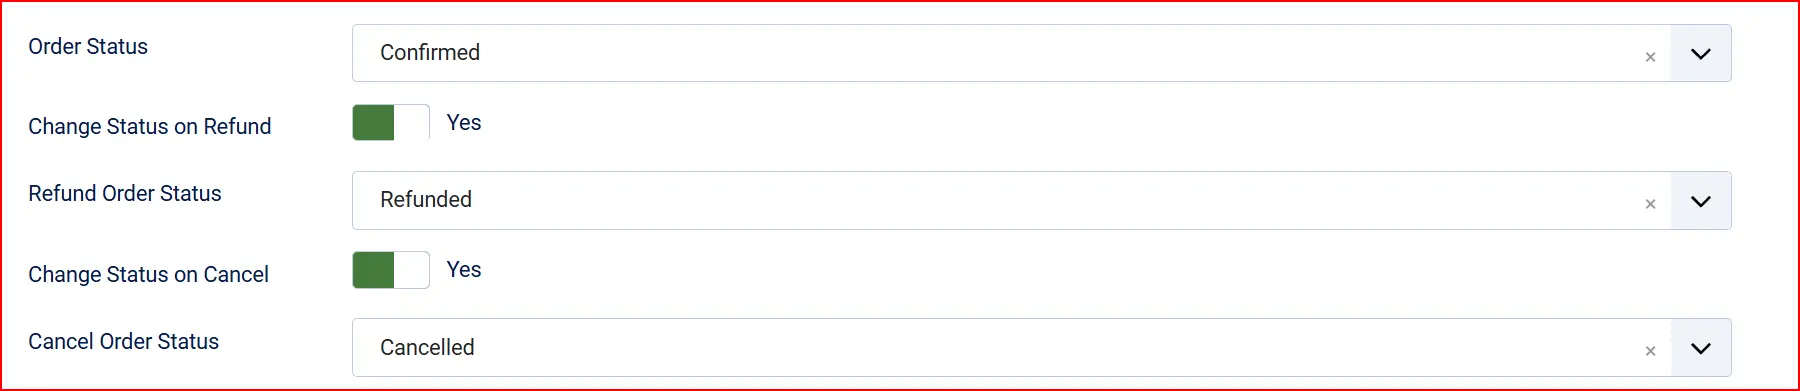
Payment Successful Status: Order status to set after a successful payment.
Authorized Status: Order status to set when a card is authorized but not yet captured.
Change Status on Refund: Automatically update the order status when a refund is processed.
- Refund Order Status: Order status to apply after a refund.
Change Status on Cancel: Automatically update the order status when a payment is voided.
- Cancel Order Status: Order status to apply after a void.
If the status you want is not listed in a dropdown, create a new one first by going to J2Commerce -> Setup -> Order Statuses.

Surcharge Settings

You can add an optional surcharge to orders paid by this method. Leave all fields empty if you do not want to apply a surcharge.
Surcharge Name: Label shown to customers for the surcharge line item (e.g., "Card processing fee").
Surcharge Percent: Surcharge as a percentage of the order total (e.g., 2.5 for 2.5%).
Surcharge Fixed: Fixed surcharge amount added to every order (e.g., 0.30).
Surcharge Tax Class: Tax profile to apply to the surcharge amount.
Availability Restrictions

Geozone Restriction: Limit this payment method to customers in a specific geozone. Leave empty to allow all locations.
Minimum Subtotal: Hide this payment method if the cart subtotal falls below this amount. Leave empty for no minimum.
Maximum Subtotal: Hide this payment method if the cart subtotal exceeds this amount. Leave empty for no maximum.
Messaging
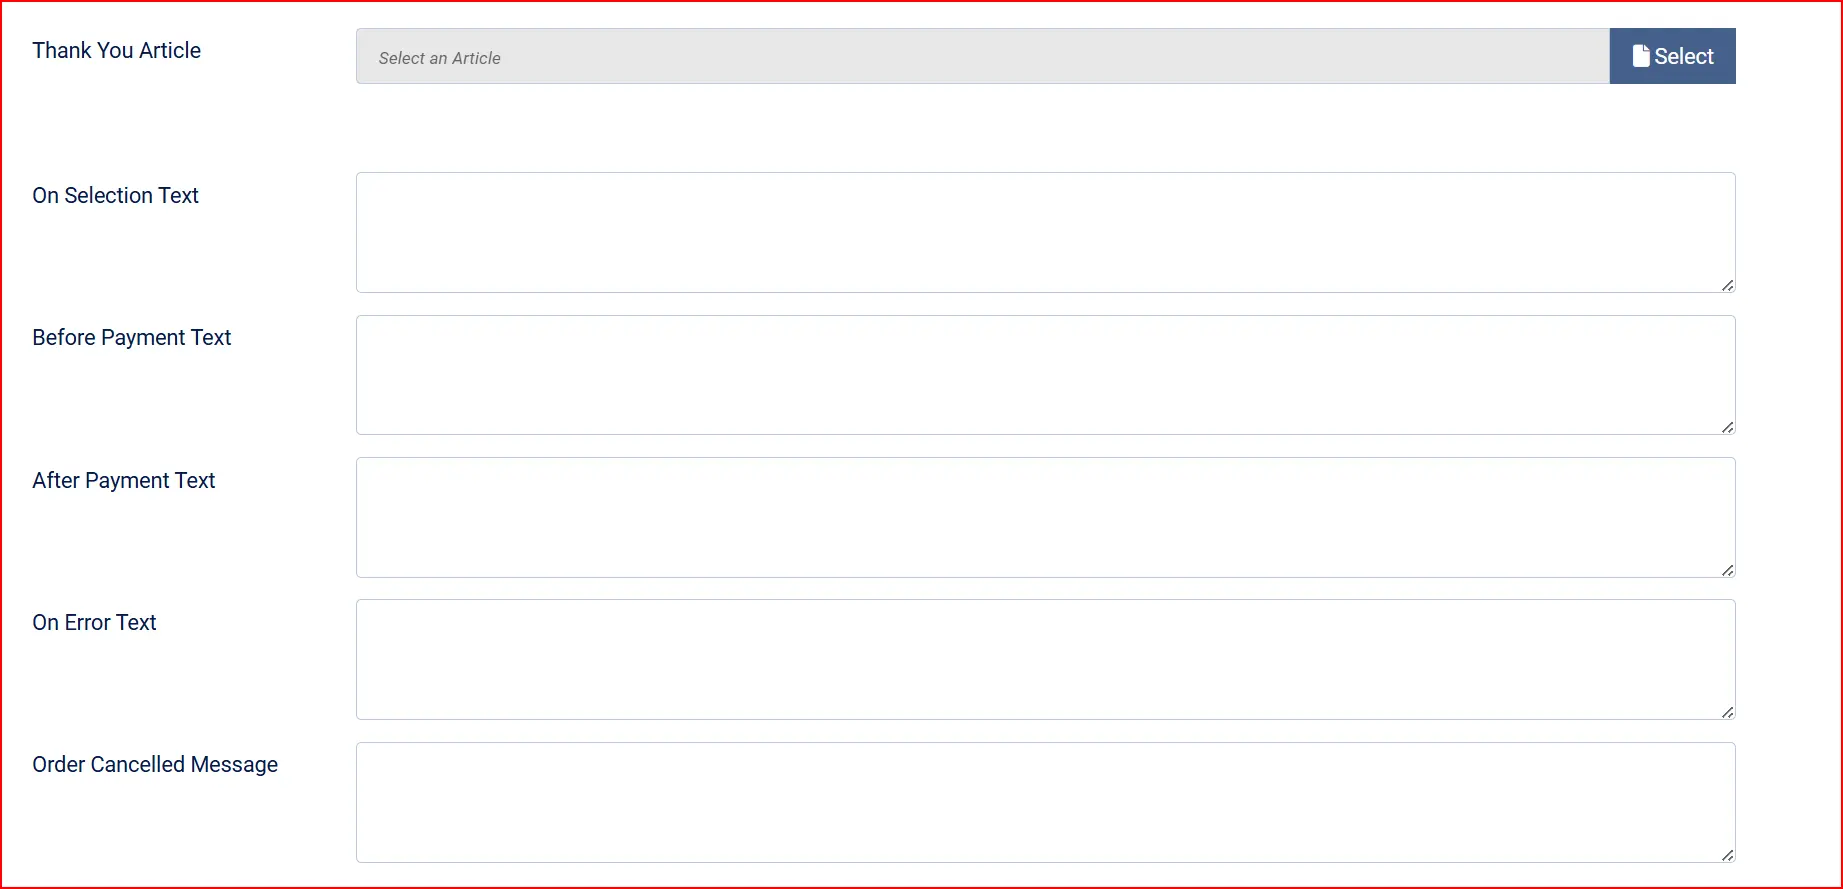
Thank You Message Article: Select a Joomla article to display as a thank-you message after a successful payment.
On Selection: Custom HTML or text shown when the customer selects this payment method at checkout.
On Before Payment: Content shown on the checkout confirmation step before the customer submits payment.
On After Payment: Content shown on the order confirmation page after a successful payment.
On Error Payment: Content shown when a payment error occurs.
On Cancel Payment: Content shown if the customer cancels before completing payment.
Dashboard Icon

Show Dashboard Icon: Add a QuickBooks Payments shortcut icon to the J2Commerce admin dashboard.
- Icon Label: Custom label for the dashboard icon. Defaults to "QuickBooks Payments".
Debug Mode
Debug Mode: Log API requests and responses to payment_quickbooks.php in the Joomla logs directory. Do not enable on a live site — logs may contain sensitive request details.
How It Works
When a customer reaches the checkout confirmation step:
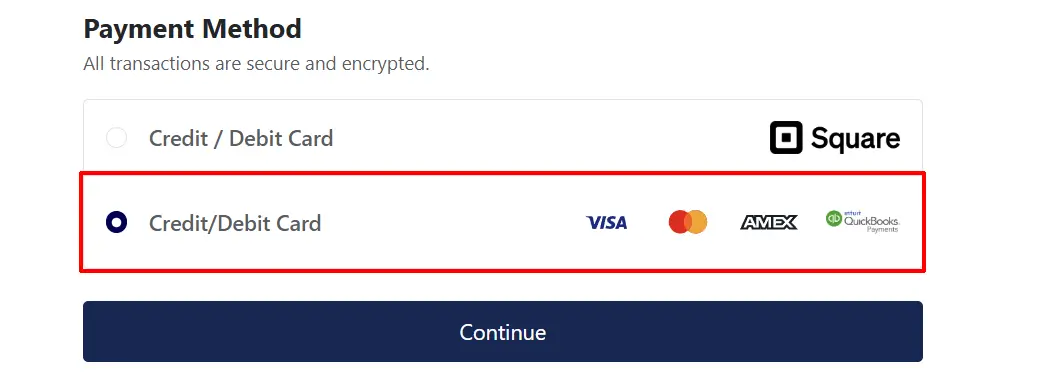
The customer selects Credit/Debit Card (or your configured display name) as their payment method.
If the customer is logged in and has saved cards on file, they can choose a saved card or enter a new one.
The customer enters their card details — card number, expiry date, security code, and name on card — directly into the secure QuickBooks Payments hosted fields. Card data never passes through your server.
The customer clicks to confirm the order. The plugin tokenizes the card via QuickBooks Payments and submits the charge.
If Capture Mode is set to Authorize + Capture, the payment is collected immediately and the order moves to the configured successful payment status.
If Capture Mode is set to Authorize Only, the card is placed on hold and the order is set to the configured authorized status. You capture the payment from the order admin screen when you are ready.
If the customer checked Save this card for future purchases, the tokenized card is stored in the QuickBooks Payments vault and linked to their account for future use.
Order Management
After an order is placed, you can perform capture, void, and refund actions directly from the J2Commerce order view — no need to log in to your QuickBooks Payments account.
Go to J2Commerce -> Orders and open the order. The payment action buttons appear in the order detail panel.
Capture a Payment
Applies to Authorize Only mode only.
Click Capture Payment to collect the funds from the customer's authorized card. The order status moves to your configured payment successful status.
Void a Payment
Click Void Payment to cancel the authorization or captured charge. A confirmation prompt prevents accidental voids. Voiding is only possible while the charge is in an Authorized or Captured state — once a payment has settled, use Issue Refund instead.
If a void fails with "This payment has already settled — use Refund instead," it means the payment completed the settlement window at the card network. Switch to the Refund action.
Issue a Refund
Click Issue Refund to return funds to the customer. You can choose:
- Full refund — returns the entire order total.
- Partial refund — enter a specific amount (up to the remaining refundable balance).
The plugin tracks all refunds and prevents the total refunded amount from exceeding the original order total.
How a Customer Pays
- At checkout, the customer selects the credit/debit card payment option.
- If they have saved cards, they see a list of their stored cards and can select one or choose "Use a New Card."
- For a new card, they enter their card number, expiry date, security code, and the name on the card.
- If Allow Saved Cards is enabled, a checkbox lets them save the card for future use.
- They click to confirm the order. A processing indicator appears while the payment is submitted.
- On success, they are redirected to the order confirmation page. If you have configured a thank-you article, it appears there.
Tips
- Start in sandbox mode — set Sandbox / Test Mode to Yes and enter your sandbox credentials to test the full checkout flow before going live. The dashboard will show a warning reminder while sandbox is active.
- Authorize Only for physical goods — if you fulfill orders manually or need to verify stock before charging, use Authorize Only mode. Remember to capture before the authorization expires at the card network.
- Geozone restrictions — if QuickBooks Payments is only available in certain countries, set up a geozone under J2Commerce -> Setup -> Geozones and apply it in the Geozone Restriction field. The payment option will be hidden for customers outside that zone.
- Surcharge labeling — if your region allows payment surcharges, give the surcharge a clear name like "Card processing fee (2.5%)" so customers understand the charge before they pay.
- Saved card privacy — customers can remove their saved cards from their account profile. The plugin removes the card from the QuickBooks Payments vault at the same time.
Troubleshooting
The QuickBooks Payments option does not appear at checkout
Cause: The plugin is disabled, credentials are missing, or a geozone or subtotal restriction is hiding it.
Solution:
- Go to J2Commerce -> Setup -> Payment Methods and confirm QuickBooks Payments shows a green enabled toggle.
- Open the plugin settings and verify that OAuth2 Client ID, OAuth2 Client Secret, and OAuth2 Refresh Token are all filled in for the active mode (live or sandbox). A missing credentials warning also appears on the J2Commerce dashboard.
- Check whether a Geozone Restriction or Minimum/Maximum Subtotal is filtering out the method for the current order.
Checkout fails with "QuickBooks Payments credentials are not configured"
Cause: One or more of the OAuth2 credential fields is empty.
Solution:
- Open the plugin settings.
- Confirm that OAuth2 Client ID, OAuth2 Client Secret, and OAuth2 Refresh Token are all populated for the correct mode (live or sandbox).
- If you recently re-authorized your Intuit app, paste the new refresh token into the OAuth2 Refresh Token field and save.
Card declined
Cause: The card network rejected the transaction. This is separate from a plugin or configuration issue.
Solution:
- Ask the customer to check their card number, expiry date, and security code for typos.
- Suggest the customer contact their bank if the card details are correct.
- If the problem persists across multiple cards, enable Debug Mode (test environment only) and check
logs/payment_quickbooks.phpfor the API error detail.
Void fails — "This payment has already settled"
Cause: The authorization or captured charge completed the card network settlement window and can no longer be cancelled.
Solution: Use Issue Refund instead of Void Payment.
OAuth2 token errors or 401 responses
Cause: The refresh token has expired or become invalid — for example, if the Intuit app was re-authorized from a different session.
Solution:
- Return to the Intuit Developer Portal and re-run the OAuth2 authorization flow for your app.
- Paste the new refresh token into OAuth2 Refresh Token in the plugin settings.
- Save the settings. The plugin will immediately use the new token and keep it current going forward.
Debug logs are not appearing
Cause: Debug Mode is disabled, or the Joomla logs directory is not writable.
Solution:
- Enable Debug Mode in the plugin settings (test environment only).
- Verify that the Joomla logs directory (configured in System -> Global Configuration -> System -> Log Path) exists and is writable.
- Check
logs/payment_quickbooks.phpafter triggering a checkout action.