PayGate Payment
The PayGate plugin connects your J2Commerce store to PayGate, one of South Africa's leading online payment gateways. When a customer checks out, they are redirected to a PayGate-hosted payment page where they enter their card details securely. Once payment is complete, PayGate returns the customer to your store, and J2Commerce verifies the result with an authoritative server-to-server query before finalizing the order.
PayGate uses the PayWeb3 hosted-redirect protocol. Unlike some gateways, no card data ever passes through your server — all card entry happens on PayGate's PCI-compliant pages.
Key features:
- Hosted redirect — card details are entered on PayGate's secure servers, not yours
- Multi-currency support (ZAR, USD, GBP, EUR, and more — currency is set per order)
- Server-side verification via
query.transplus double checksum validation before the order is finalized - Sandbox (test) mode with PayGate's public test credentials built in
- Configurable order statuses for approved, pending, and failed payments
- Geo zone and subtotal restrictions to control when this payment method appears
- Optional dashboard quick icon and on-screen messages for each payment state
- Debug logging for troubleshooting
There is no built-in refund button for PayGate in J2Commerce. Refunds must be processed directly in the PayGate Back Office portal. Future versions may add API-based refund support.
Requirements
- PHP 8.3.0 or later
- Joomla 6.x
- J2Commerce 6.x
- A PayGate merchant account with PayWeb3 enabled
- Your store must be accessible over HTTPS
Get Your PayGate Credentials
Before configuring the plugin you need two values from the PayGate Back Office.
-
Log in to the PayGate Back Office at https://bo.paygate.co.za.
-
Navigate to Configuration -> PayWeb3 Settings.
-
Note down your:
- PayGate ID — your unique merchant identifier (numeric)
- Encryption Key — your secret key used to sign and verify requests. This value is sometimes called the "secret key" in PayGate documentation.
Keep the Back Office tab open while you configure the plugin in Joomla.
Never share your Encryption Key. Treat it as you would a password. If you suspect it has been compromised, regenerate it in the PayGate Back Office immediately.
Purchase and Download
This plugin is a separate add-on available from the J2Commerce Extensions Store. It is not included with the core J2Commerce 6 component.
Step 1: Go to https://www.j2commerce.com and locate the PayGate Payment plugin.
Step 2: Click View Details -> Add to Cart -> Checkout.
Step 3: Go to My Downloads under your account profile, find the plugin, click Available Versions -> View Files -> Download Now.
Install the Plugin
In the Joomla Administrator, go to System -> Install -> Extensions.
Upload the payment_paygate.zip file downloaded from the J2Commerce website.

Enable the Plugin
After installation, enable the plugin to make it available as a payment method.
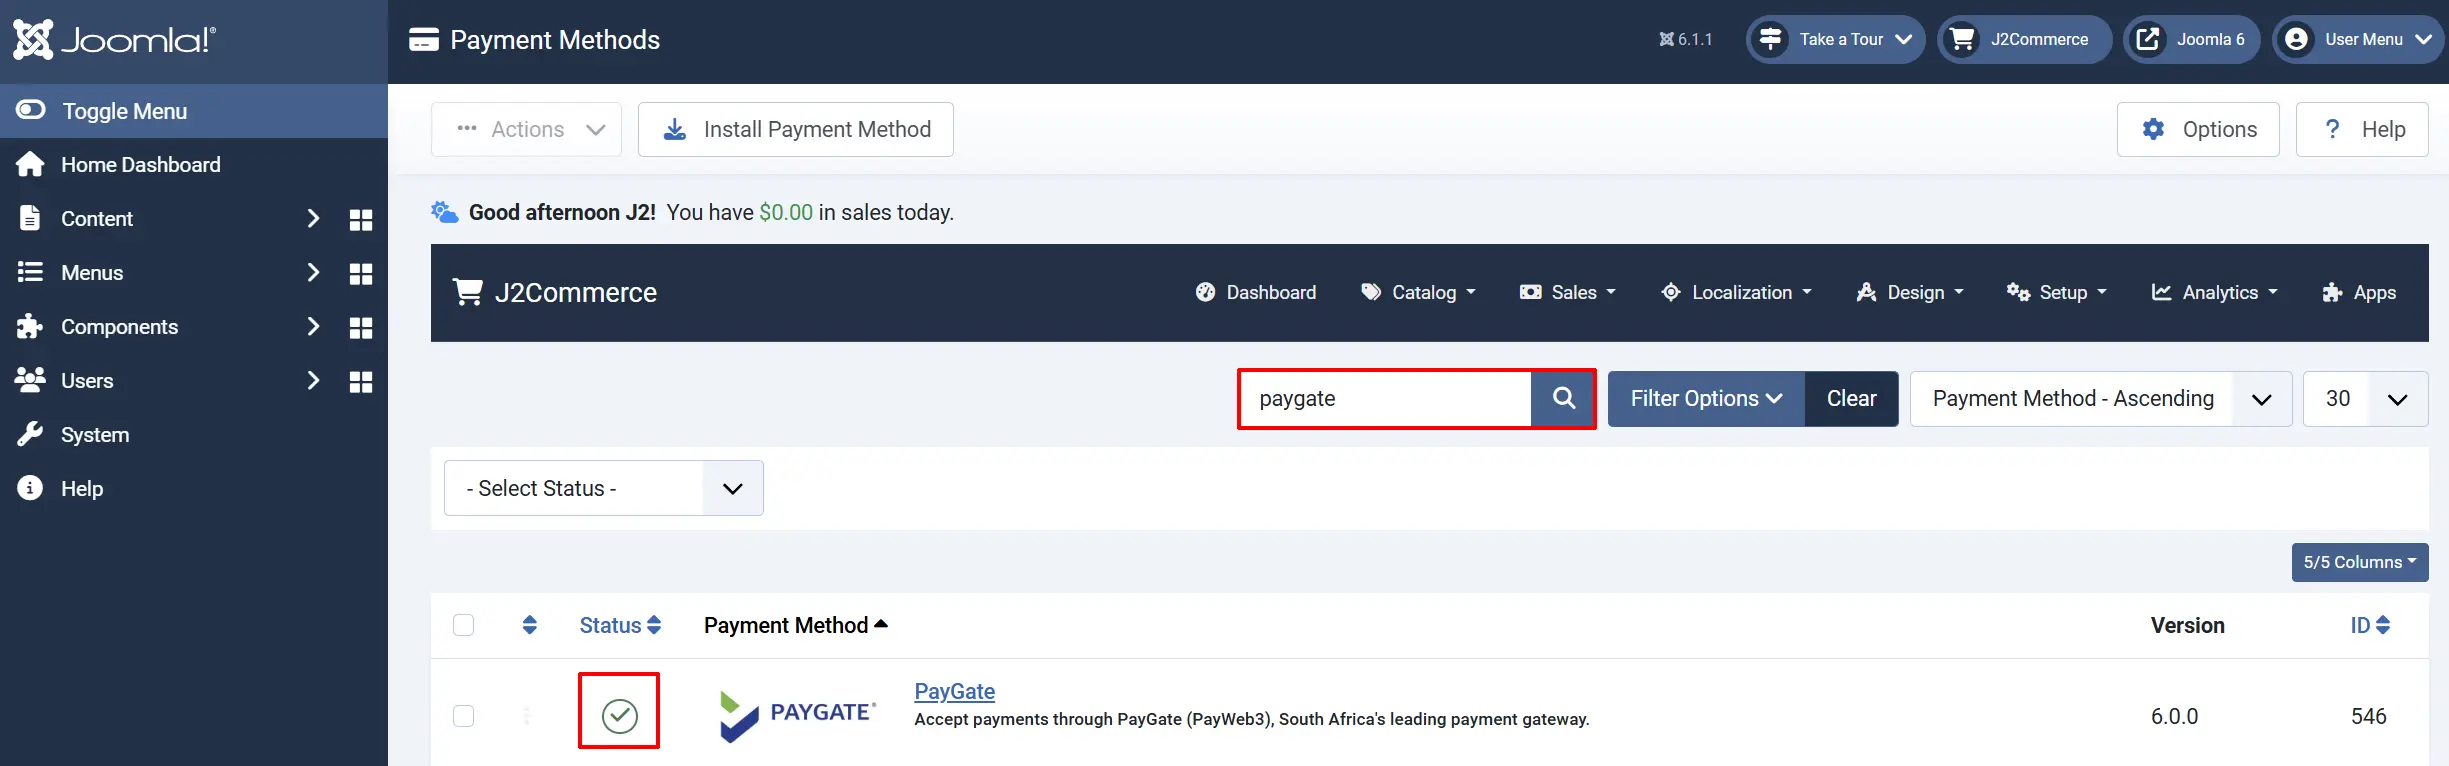
Option A: Go to the J2Commerce icon at the top right corner -> Setup -> Payment Methods.
Option B: Go to Components on the left sidebar -> J2Commerce -> Dashboard -> Setup -> Payment Methods.

Find PayGate in the list, click the status toggle (red X), and it turns into a green checkmark. The plugin is now active.
Configure the Plugin
Click the PayGate title to open its settings.
Click the Toggle Inline Help button at the top of the settings screen to display a description beneath each field.

Credentials tab
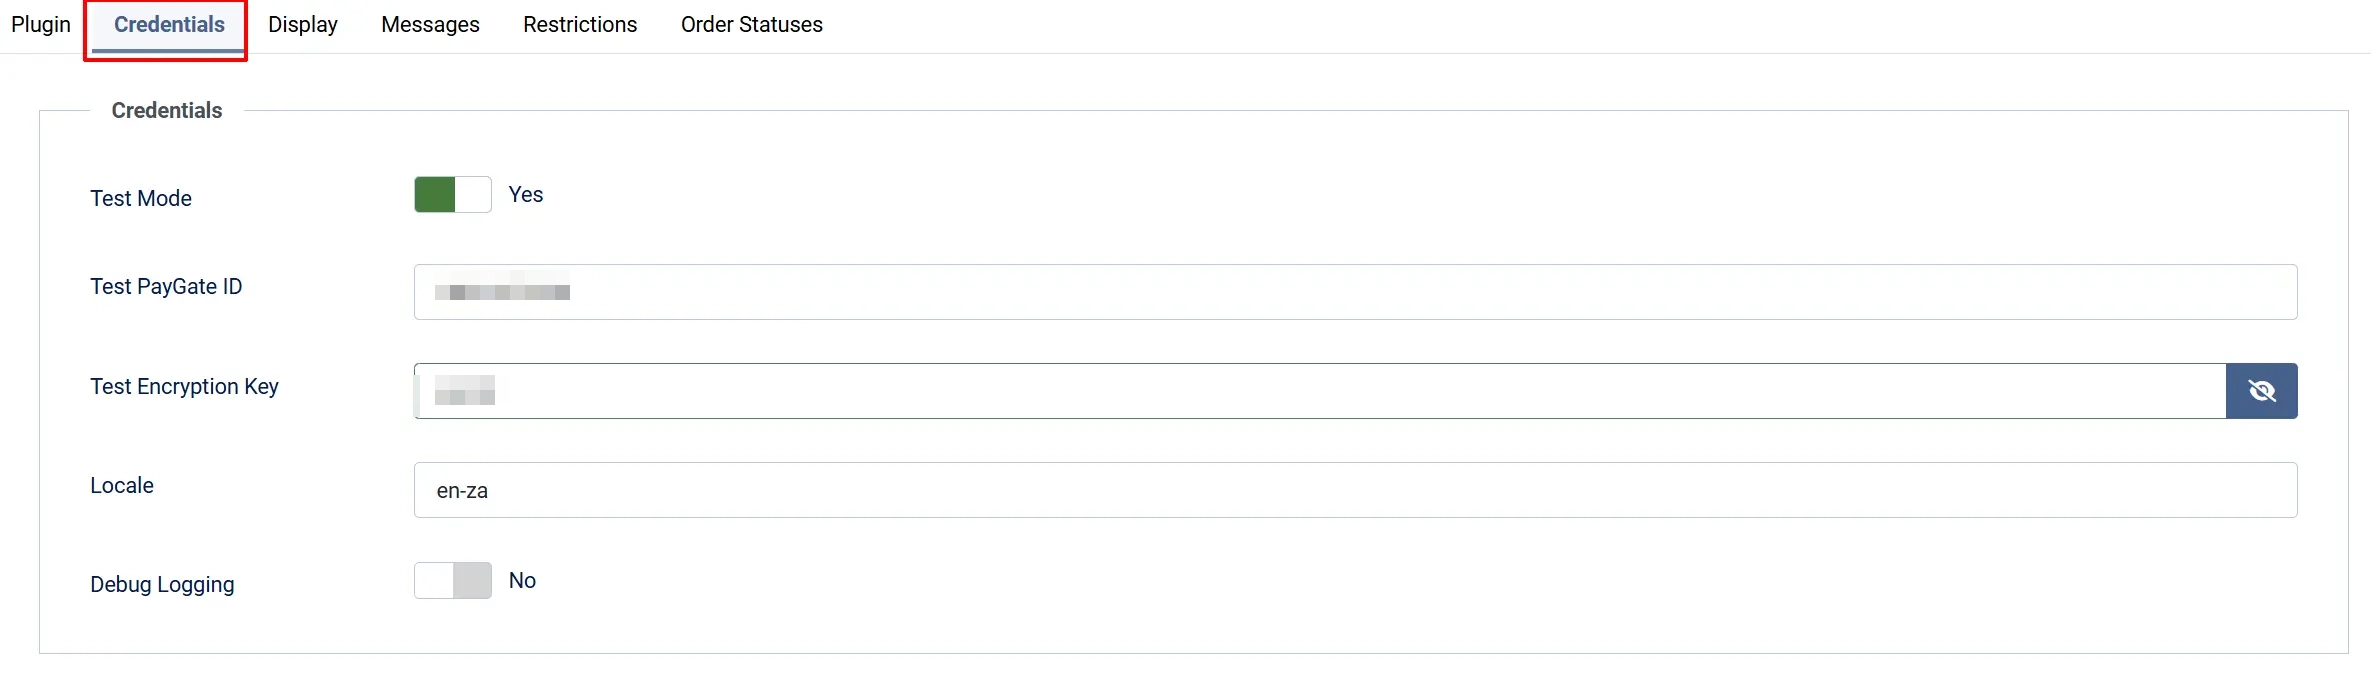
Test Mode: When enabled, transactions go to PayGate's test environment. No real payments are processed.
PayGate ID: Your live PayGate merchant ID from the Back Office. Only shown when Test Mode is off.
Encryption Key: Your live encryption (secret) key from PayWeb3 settings. Only shown when Test Mode is off.
Test PayGate ID: PayGate's public sandbox PayGate ID. The default 10011072130 works for all sandbox testing.
Test Encryption Key: PayGate's public sandbox encryption key. The default secret works for all sandbox testing.
Locale: Language code for the PayGate hosted payment page.
Debug Logging: Writes gateway request and response details to the Joomla log. Disable on production once everything is working.
Display tab
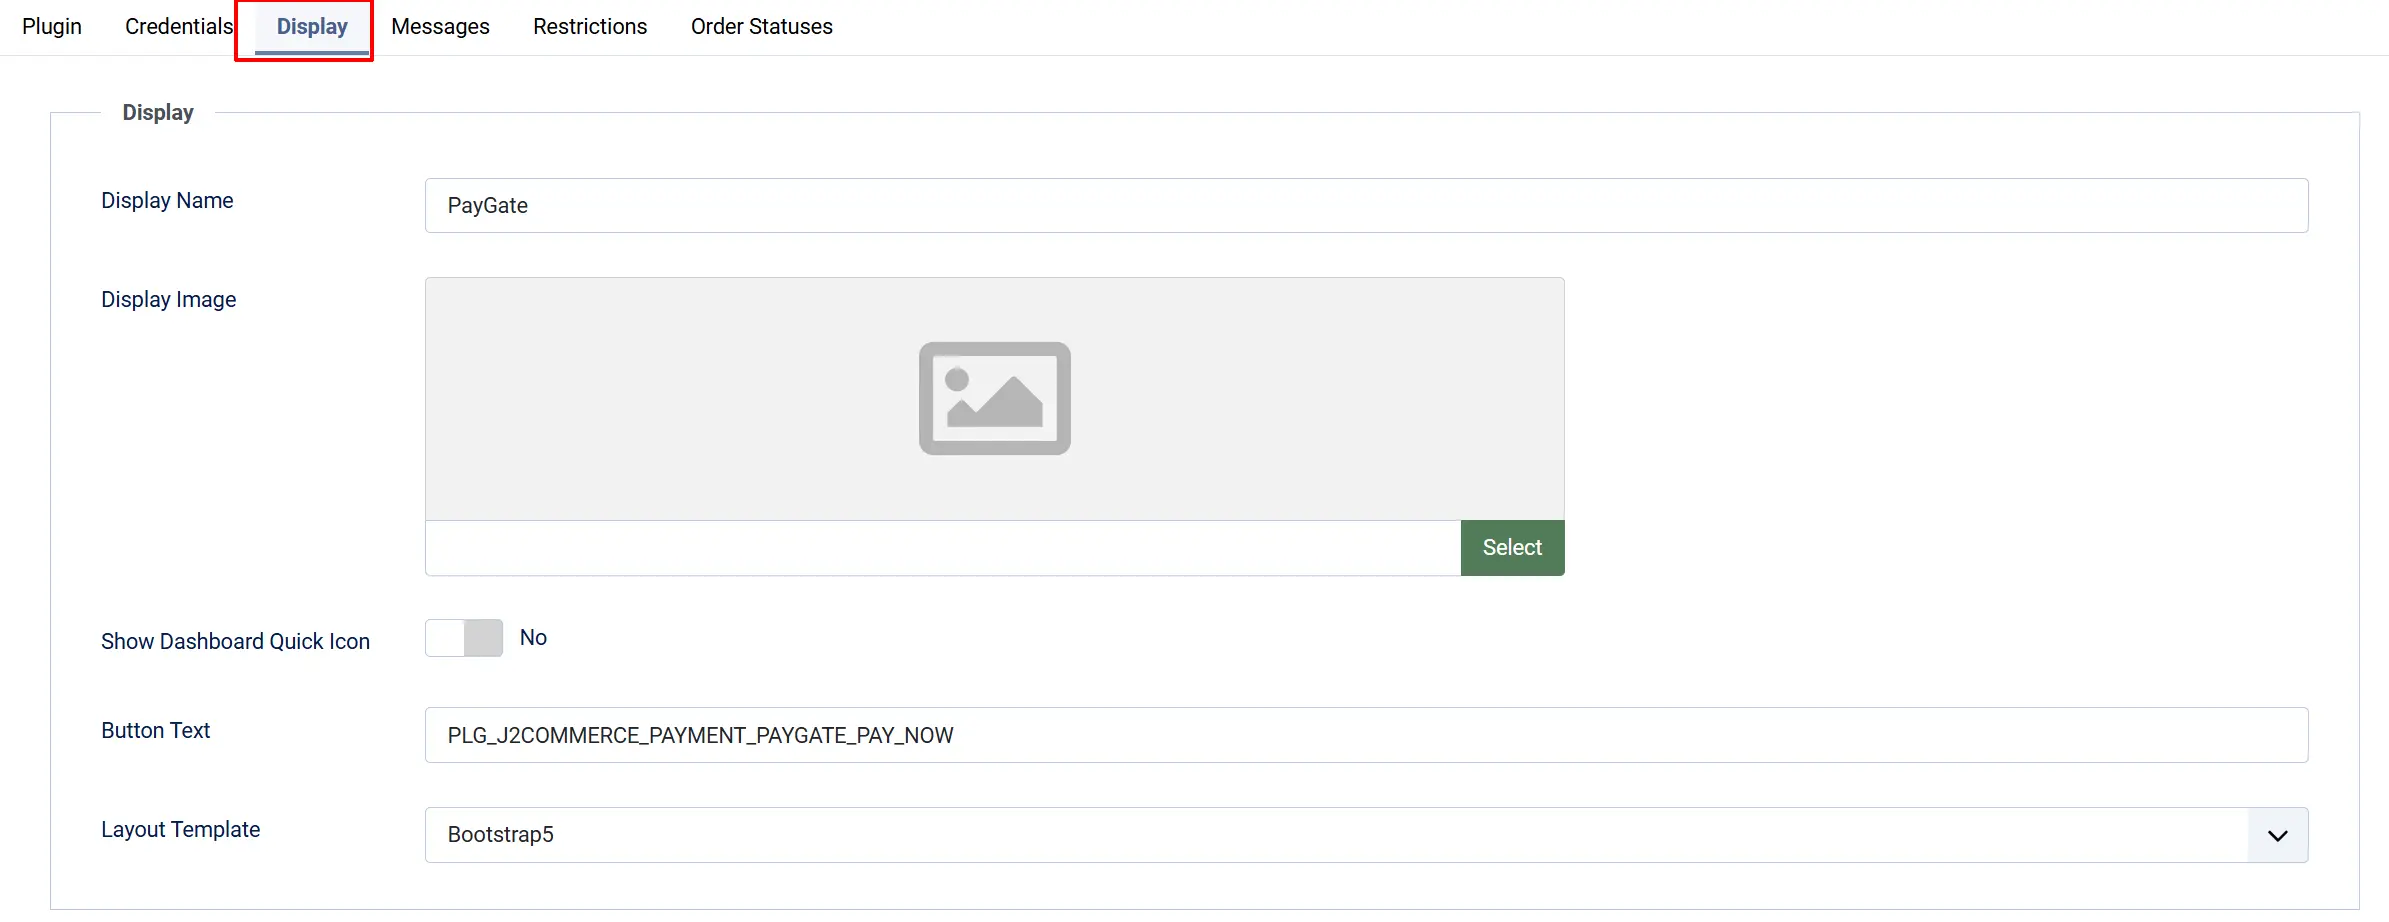
Display Name: The payment method name shown to customers at checkout. Defaults to PayGate.
Display Image: Optional logo shown beside the payment method name at checkout.
Show Dashboard Quick Icon: When enabled, adds a PayGate shortcut icon to the J2Commerce dashboard.
Button Text: Label of the button that sends the customer to the PayGate hosted page. Defaults to Pay Now.
Layout Template: Frontend template set for checkout. Choose bootstrap5 for standard Joomla templates or uikit for UIkit-based templates such as YOOtheme Pro.
Messages
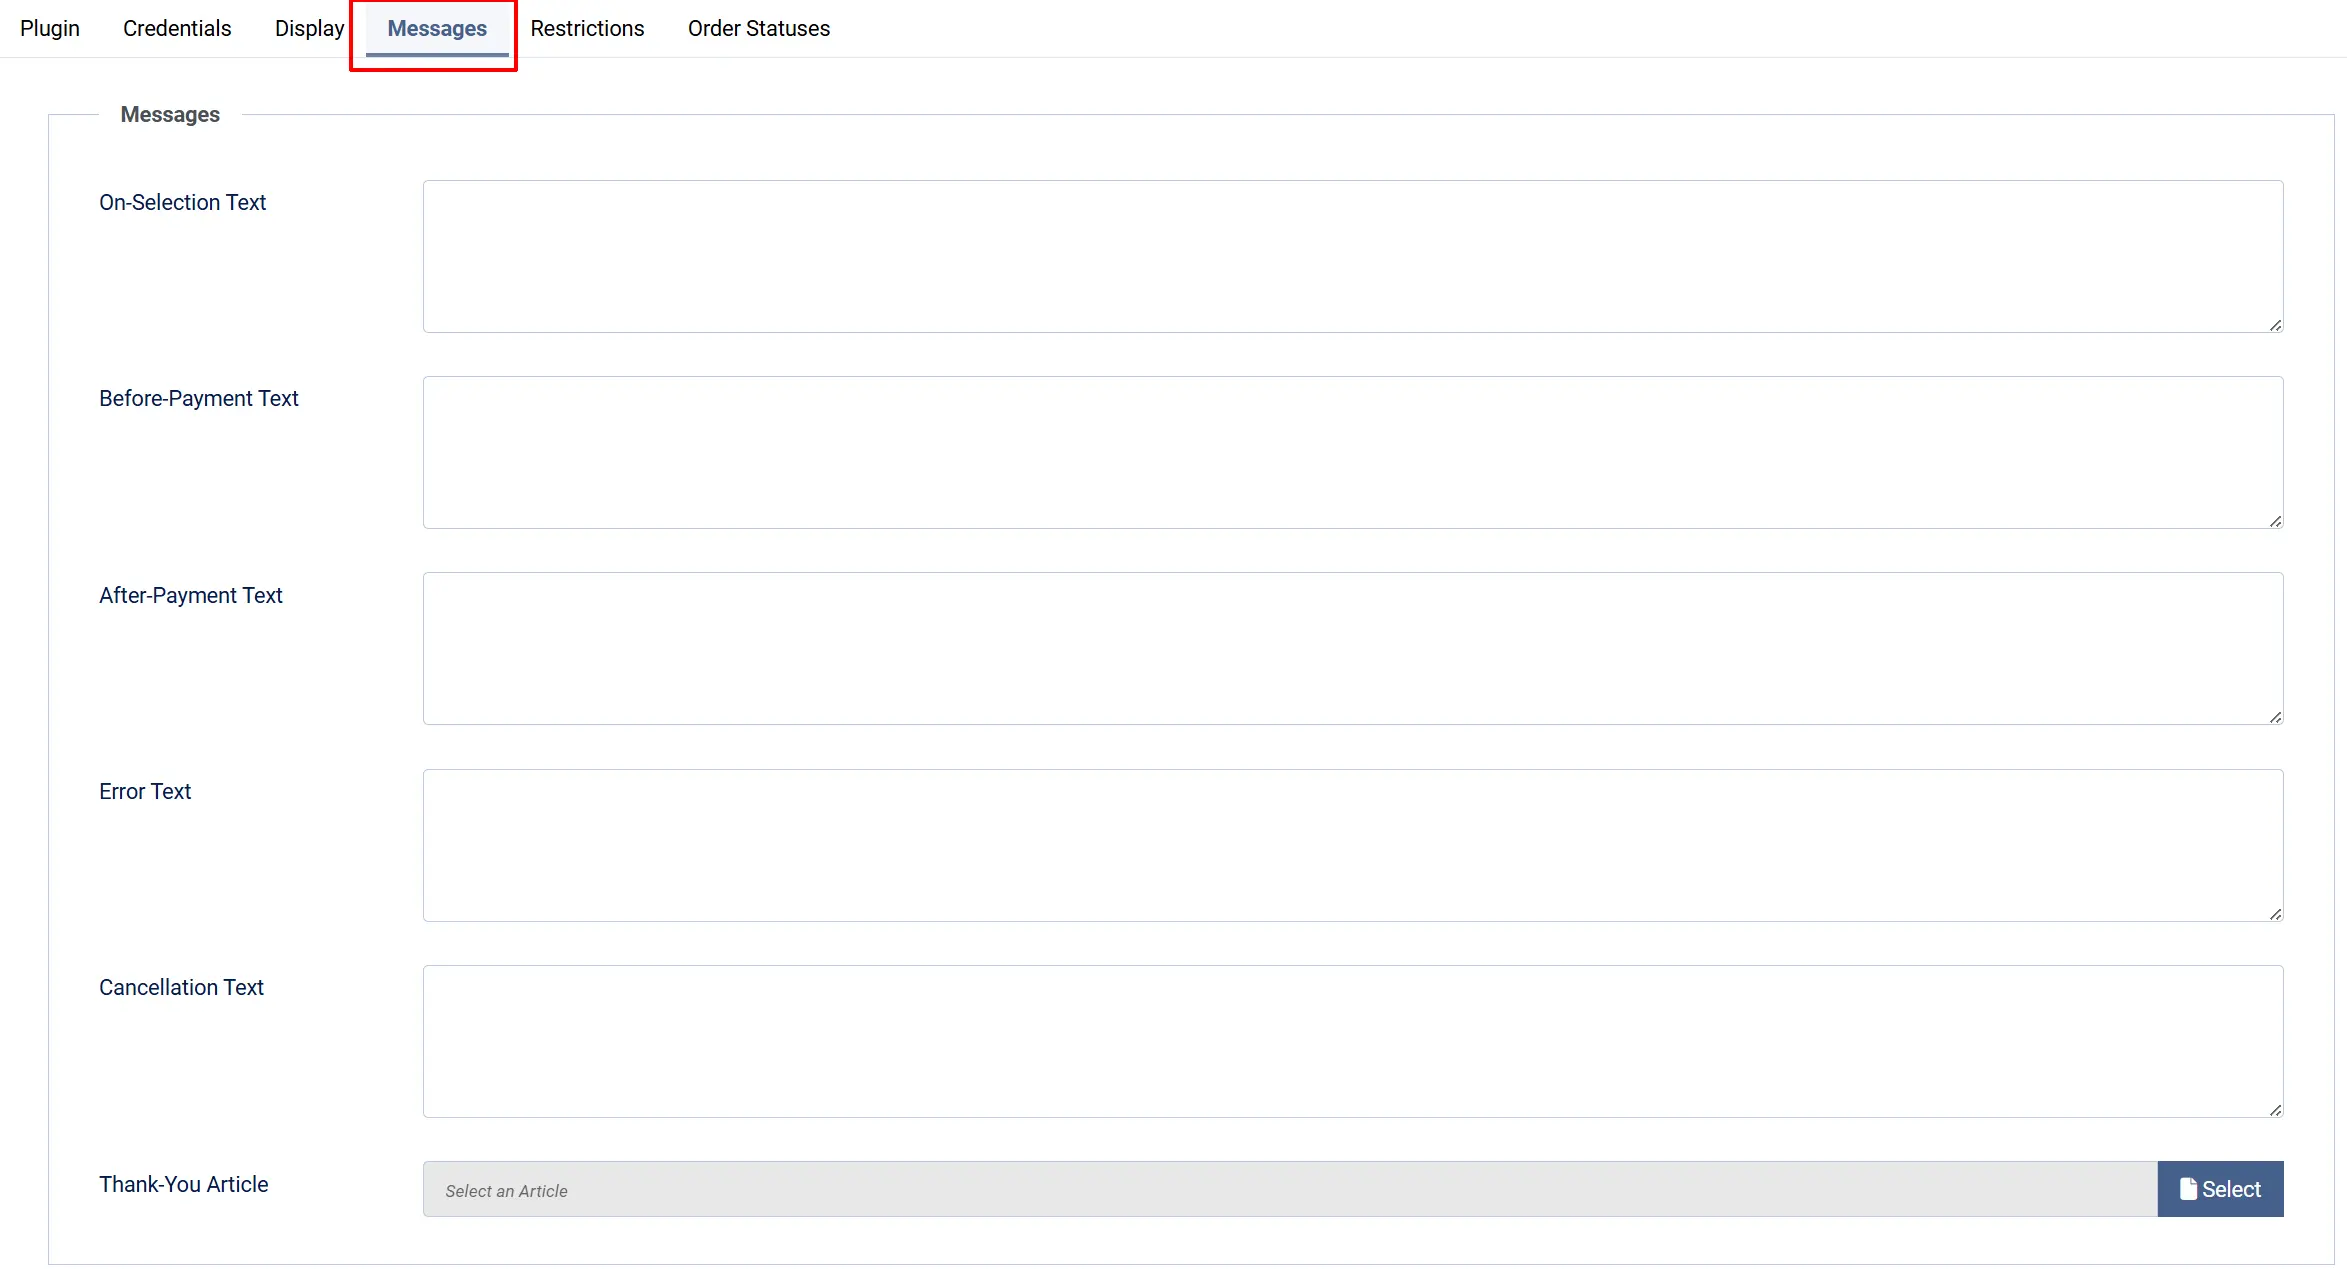
These optional text fields let you display custom messages to customers at each stage of the payment process. All fields accept plain text or a J2Commerce language key.
On-Selection Text: Shown when the customer selects PayGate at checkout
Before-Payment Text: Shown just before the customer is redirected to PayGate
After-Payment Text: Shown after a successful payment return
Error Text: Shown when a payment is declined
Cancellation Text: Shown when the customer cancels on the PayGate page
Thank-You Article: Optional Joomla article displayed after a successful payment
Restrictions
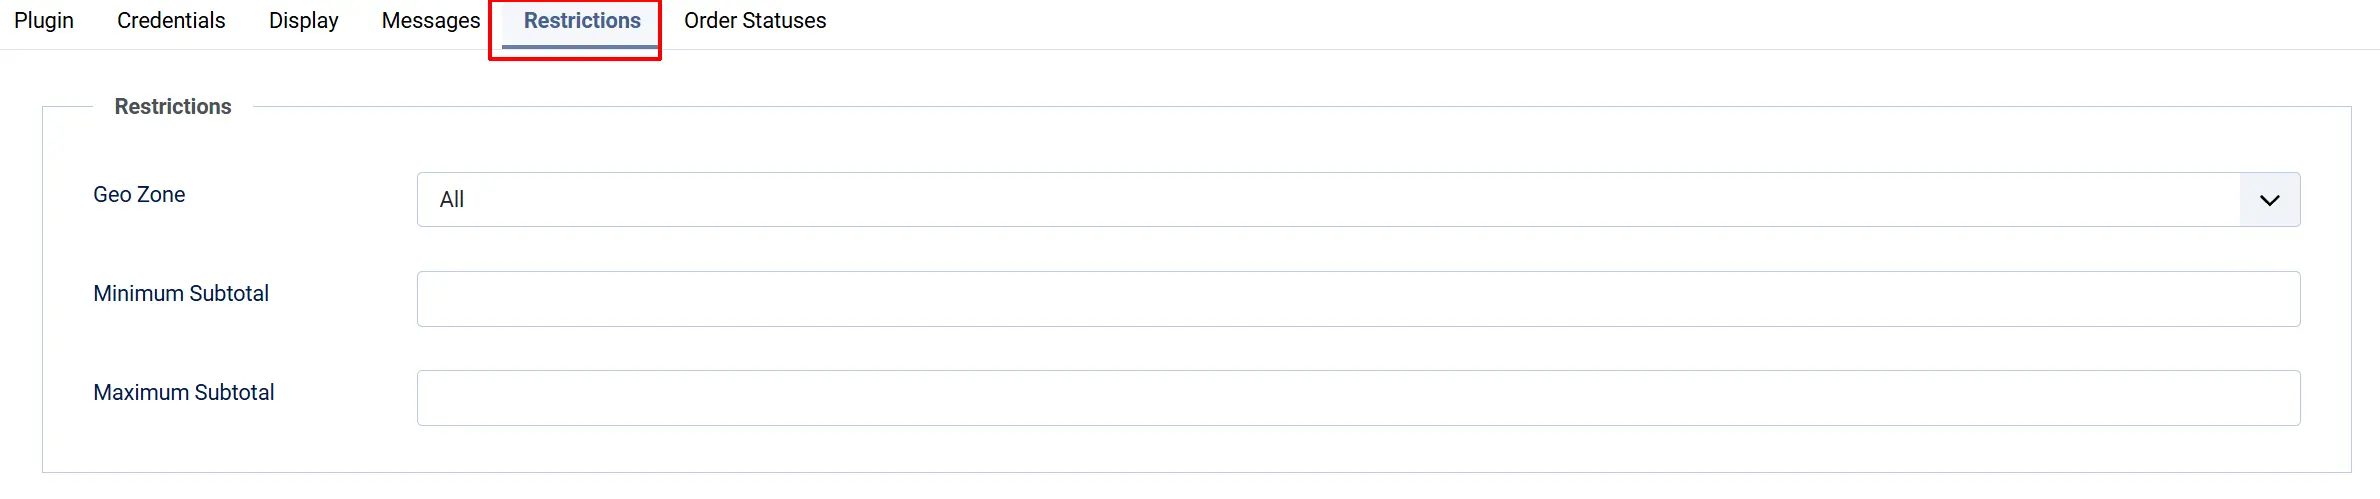
Use these settings to control when PayGate appears at checkout.
Geo Zone: Limit this payment method to customers whose billing address falls within a specific geo zone. Leave blank to accept all zones.
Minimum Subtotal: Hide PayGate when the order subtotal is below this amount. Leave empty for no minimum.
Maximum Subtotal: Hide PayGate when the order subtotal is above this amount. Leave empty for no maximum.
Order Statuses
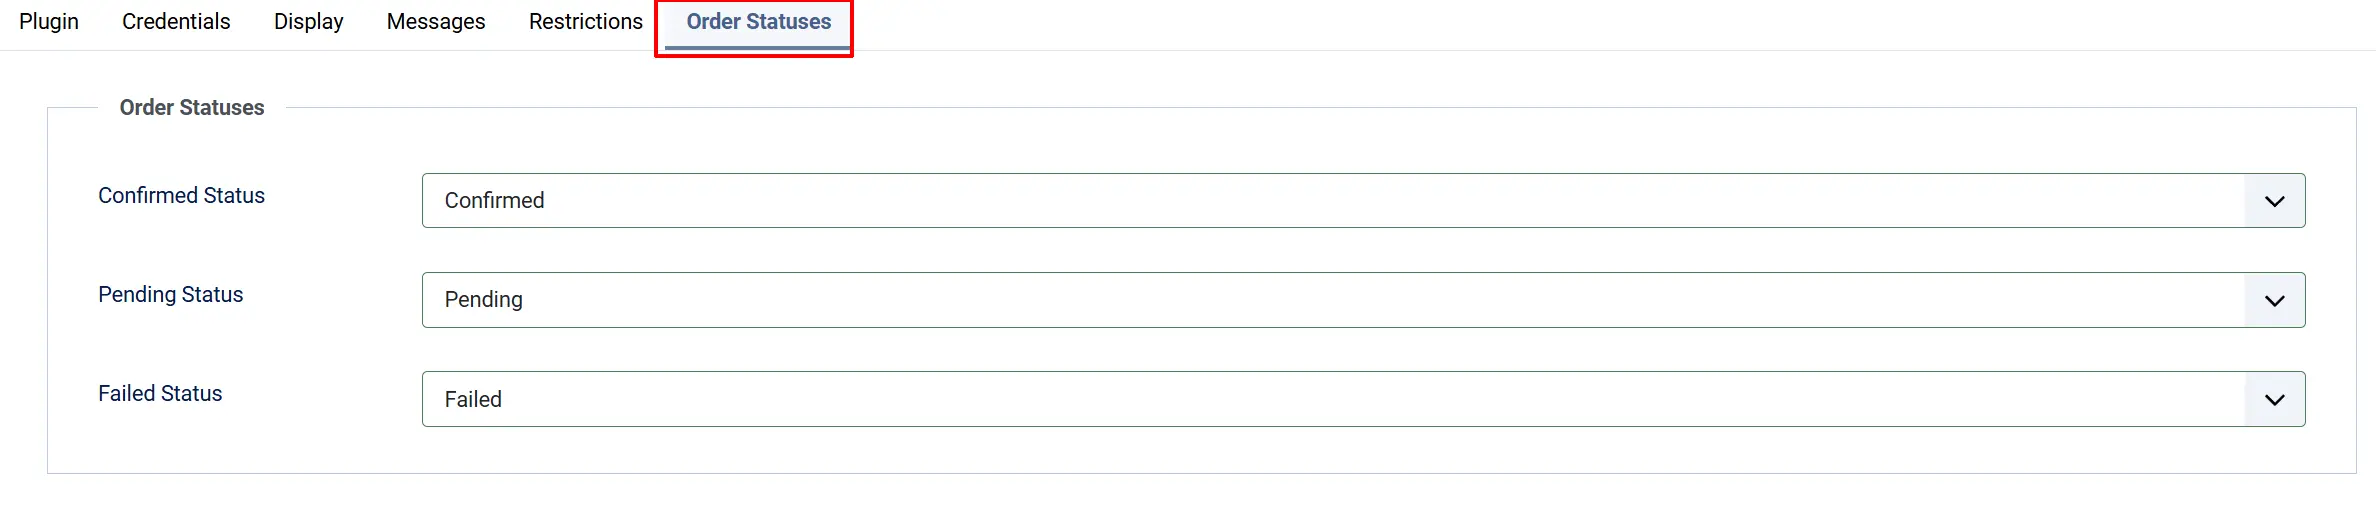
These settings map PayGate payment results to J2Commerce order statuses.
Confirmed Status: Applied when PayGate approves the payment (status code 1 = Approved)
Pending Status: Applied while a payment is pending (for future use)
Failed Status: Applied when a payment is declined (code 2), cancelled (code 3), or user-cancelled (code 4)
If the order status you want is not listed, create it first under J2Commerce -> Setup -> Order Statuses.

How Checkout Works for Customers
Here is the step-by-step experience when a customer pays with PayGate.
- The customer adds items to the cart and proceeds to checkout.
- On the payment step, they select PayGate (shown with the display name and optional logo you configured).
- If you configured an On-Selection Text, it appears here.
- The customer clicks the Pay Now button (or whatever label you set in Button Text).
- If you configured a Before-Payment Text, it is shown briefly before redirect.
- The customer is redirected to the PayGate hosted payment page at
secure.paygate.co.za. - The customer enters their card details or selects an alternative payment option on the PayGate page.
- After payment, PayGate returns the customer to your store.
- J2Commerce validates the return checksum, then performs a server-side authoritative query to confirm the transaction status directly with PayGate before finalizing the order.
- If approved, the order status changes to your configured Confirmed Status and the customer sees the After-Payment Text and optional Thank-You Article.
The entire card capture process happens on PayGate's servers. Your store never sees or stores card data.
Sandbox Testing
Always test in sandbox mode before going live.
Step 1: Open the plugin settings and ensure Test Mode is set to Yes.
Step 2: Verify the Test PayGate ID is 10011072130 and the Test Encryption Key is secret (these are PayGate's published public sandbox credentials).
Step 3: Place a test order on your store and complete the checkout. You will be redirected to the PayGate sandbox hosted page at secure.paygate.co.za.
Step 4: On the sandbox page, use the test card details provided by PayGate. Typical test cards for PayGate PayWeb3 sandbox testing are available from the PayGate Back Office or your PayGate account manager — PayGate does not publish a single universal sandbox test card number in their public documentation.
Step 5: After completing the test payment, confirm:
- The customer is returned to your store confirmation page.
- The order appears in J2Commerce -> Sales -> Orders with the expected Confirmed Status.
- The order detail shows the PayGate
PAY_REQUEST_IDin the transaction reference.
Step 6: Enable Debug Logging during testing and review entries at System -> Logs if a transaction does not finalize as expected.
The sandbox dashboard shows a warning banner in the J2Commerce admin when Test Mode is enabled. Do not go live until you remove this warning by switching to Test Mode: No and entering your live credentials.
Going Live
When you are satisfied with sandbox testing:
- In the plugin settings, set Test Mode to No.
- Enter your live PayGate ID and Encryption Key from the PayGate Back Office.
- Save the settings and clear the Joomla cache (System -> Maintenance -> Clear Cache).
- Place a small real transaction to confirm end-to-end operation.
Refunds
PayGate does not currently expose a refund API in this plugin. To refund a customer:
- Log in to the PayGate Back Office at https://bo.paygate.co.za.
- Navigate to Transactions and locate the order using the PayGate reference (visible on the J2Commerce order detail page as the Transaction ID).
- Use the Back Office refund tools to process a full or partial refund.
- Update the J2Commerce order status manually to reflect the refund if needed.
What's New Compared to J2Store
If you are migrating from J2Store to J2Commerce, here is what changed in the PayGate plugin.
| Area | J2Store behavior | J2Commerce 6 behavior |
|---|---|---|
| Framework | FOF 2 (non-namespaced) | Native Joomla 6 MVC, PSR-4 namespaced |
| TLS / SSL | SSL peer verification was disabled in the old cURL transport | TLS peer verification is always enabled — the Joomla HTTP layer enforces it |
| Server-side verification | query.trans called after browser return | Preserved and strengthened: double checksum validation (browser return + query response) plus amount cross-check |
| Locale default | en | Corrected to en-za (PayGate's documented default for South Africa) |
| Template system | Single hardcoded Bootstrap layout | Selectable bootstrap5 or uikit layout via the Layout Template field |
| Order status mapping | Hardcoded J2Store status IDs | Configurable via Confirmed / Pending / Failed Status dropdowns |
| Geo zone restriction | Supported | Preserved — uses the J2Commerce Geozone field type |
| Subtotal restrictions | Supported | Preserved — minimum and maximum subtotal fields |
| Dashboard warnings | None | Sandbox-mode warning and missing-credentials alert appear on the J2Commerce dashboard |
| Direct-access PHP entry files | success.php, notify.php, view.php etc. were directly accessible | Removed — all routing goes through the J2Commerce checkout controller (security improvement) |
| Debug logging | Custom file-based log | Standard Joomla Log::add() — viewable at System -> Logs |
| Multi-currency | Supported (currency per order) | Preserved — CurrencyHelper::gatewayAmount() converts the order total to the display currency before sending to PayGate |
| Admin email on failure | Emailed super-users when validation failed | Preserved — J2Commerce super-user query replaces the hardcoded J2Store group ID |
Troubleshooting
The order stays in its original status after the customer pays
Cause: The return checksum or query verification failed, so J2Commerce did not finalize the order.
Solution:
- Enable Debug Logging in the plugin settings.
- Place a test order in sandbox mode.
- After the PayGate redirect, go to System -> Logs and look for entries from
plg_j2commerce_payment_paygate. - Check for
checksum failed,Query verification unavailable, orAmount mismatchmessages. - Confirm the Encryption Key (or Test Encryption Key in sandbox) exactly matches what is configured in the PayGate Back Office under PayWeb3 Settings. Keys are case-sensitive.
PayGate does not appear at checkout
Cause: The plugin is disabled, a geo zone restriction excludes the customer, or a subtotal limit hides the method.
Solution:
- Go to J2Commerce -> Setup -> Payment Methods and confirm PayGate shows a green enabled indicator.
- If a Geo Zone is configured, verify the customer's billing address falls within that zone.
- Check the Minimum Subtotal and Maximum Subtotal values against the test order total.
- If no payment methods appear at all, confirm the J2Commerce system plugin is enabled at System -> Manage -> Plugins (search for
J2Commerce — System).
Validation failed error on return from PayGate
Cause: The checksum computed by J2Commerce does not match the checksum returned by PayGate. This typically means the Encryption Key in the plugin settings is wrong.
Solution:
- Log in to the PayGate Back Office.
- Go to Configuration -> PayWeb3 Settings and copy the Encryption Key exactly.
- Paste it into the Encryption Key field in the plugin settings. The value is case-sensitive and must not have leading or trailing spaces.
- Save the settings and try again.
Currency-related issues (wrong amount charged)
Cause: If the order currency does not match what PayGate expects, the amount conversion may produce an unexpected value.
Solution:
- Open the order in J2Commerce -> Sales -> Orders and note the displayed currency and order total.
- Enable Debug Logging and retry. The log will show the exact CURRENCY and AMOUNT (in cents) sent to PayGate at the initiate step.
- Verify the currency code is one that PayGate supports for your account (ZAR, USD, GBP, EUR are common — check with your PayGate account manager for the full list).
Admin receives a "payment not validated" email
Cause: J2Commerce detected a checksum mismatch or an amount discrepancy during order finalization and notified admin users by email.
Solution: This is a legitimate security alert. Do not finalize the order manually until you have investigated. Check the Joomla log for the reference number and compare it against the PayGate Back Office transaction list. If the transaction is genuine, contact PayGate support with the PAY_REQUEST_ID shown in the email body.
Debug log is empty
Cause: Debug logging may not be enabled, or the Joomla logging system is not configured to write to a file.
Solution:
- In the plugin settings, confirm Debug Logging is set to Yes.
- Go to System -> Global Configuration -> Logging tab and ensure the log path is writable.
- Ensure the Log Category for the plugin (
plg_j2commerce_payment_paygate) is not filtered out.