Opayo (Sage Pay) Card Payments
Opayo — formerly known as Sage Pay and now part of Elavon — is one of the most widely trusted card payment providers in the UK and Ireland. The Opayo plugin connects your J2Commerce store to the Opayo Pi API, letting customers pay by credit or debit card without leaving your website. Card details are handled entirely within secure, Opayo-controlled fields, so your server never processes raw card numbers.
Key things the plugin does for you:
- Accepts Visa, Mastercard, Amex, and other cards accepted by your Opayo account
- Performs 3D Secure 2 (SCA) authentication — required for European card payments — automatically
- Lets logged-in customers save their card for faster repeat checkout
- Supports a Deferred transaction mode, where you authorise a payment at checkout but only collect the funds when you choose to release from the order screen
- Gives you Void, Capture, Abort, and Refund buttons directly on the J2Commerce order admin screen
Opayo Pi is available to UK and Ireland merchants only. Your Opayo account must be registered with a UK or Irish business. Your store must also be served over HTTPS — Opayo will not process payments on an unencrypted connection.
Requirements
- Joomla 6.x
- J2Commerce 6.x
- PHP 8.3 or later
- An active Opayo (Elavon) merchant account — register at opayo.eu.elavon.com
- Your store must be served over HTTPS
Get Your Opayo Credentials
Before configuring the plugin you need three pieces of information from your Opayo account. These come from the MyOpayo portal at admin.opayo.eu.elavon.com.
Vendor Name: Your Opayo merchant identifier. Found in MyOpayo under Administrator -> My Account Details.
Integration Key and Integration Password: Generated in MyOpayo under Create API Credentials (or API credentials depending on your account version). The integration key is a UUID; the integration password is a long alphanumeric string. Keep the integration password secret — treat it like a password and never share it.
For testing, Opayo provides a sandbox environment with its own set of credentials. You can register for sandbox access at no cost, independently of a live account.
Purchase and Download
This plugin is a separate add-on available from the J2Commerce Extensions Store. It is not included with the core J2Commerce 6 component.
- Go to the J2Commerce website and locate Opayo Payment.
- Add it to your cart and complete checkout.
- Go to My Downloads under your account profile and find the plugin.
- Click Available Versions -> View Files -> Download Now to download the ZIP file.
Installing the Plugin
You can install this Opayo Payment plugin using the Joomla installer. The following steps help you with a successful installation.
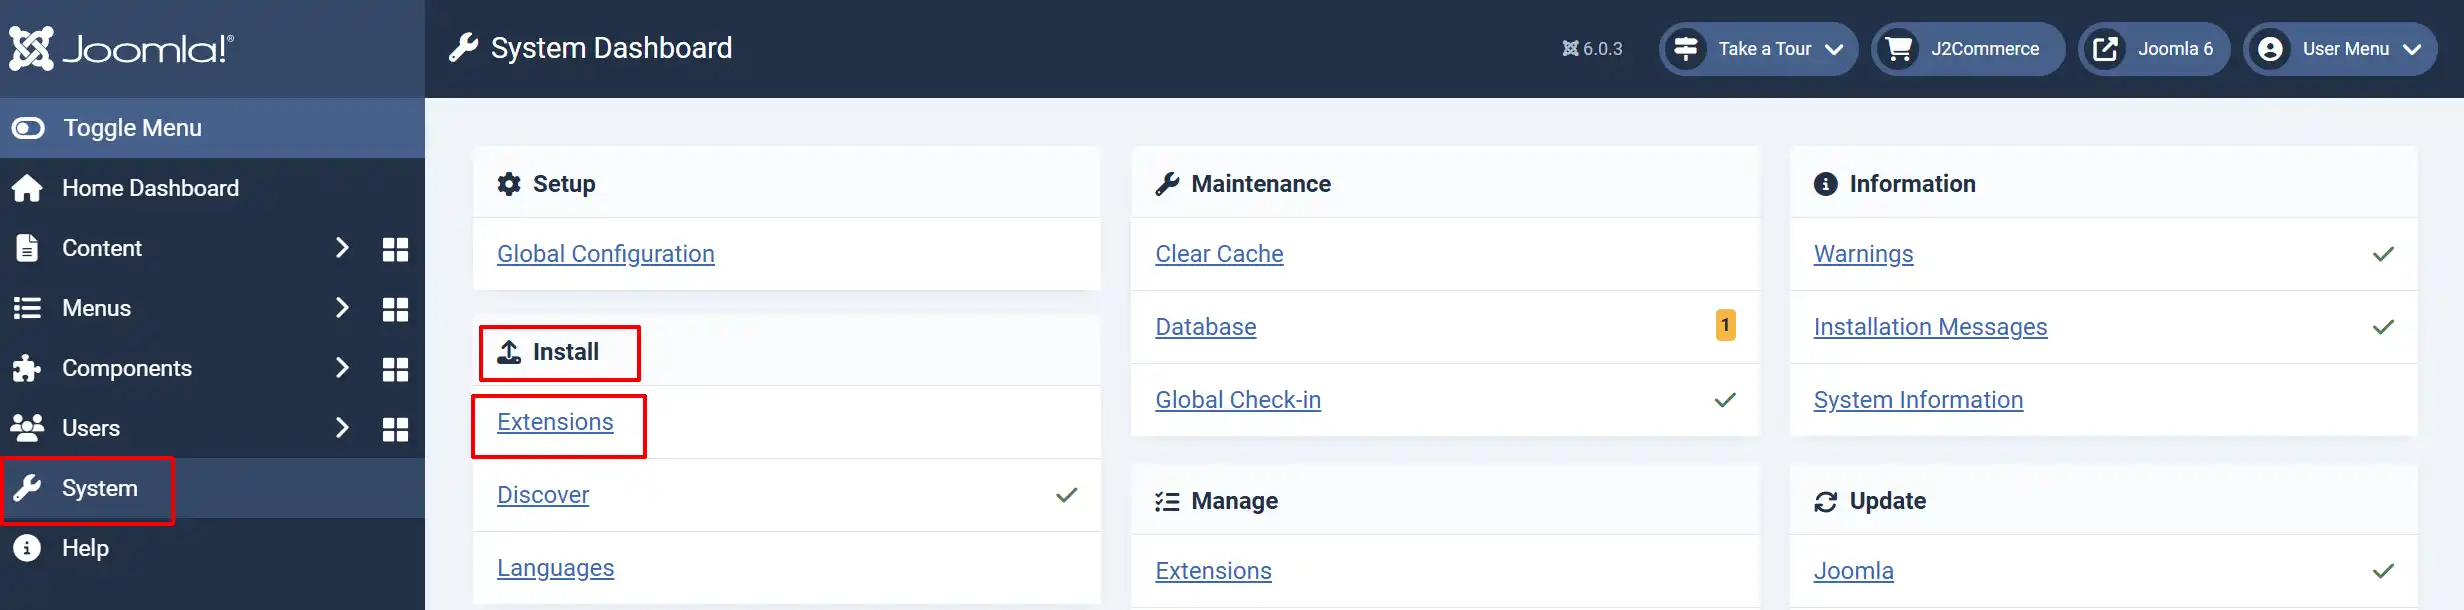
In the Joomla admin, go to System -> Install -> Extensions
Upload the payment_opayo.zip file or use the Install from URL option.
Enable the Plugin
Once you have installed the extension, you will need to enable it. There are two ways you can access the extension.
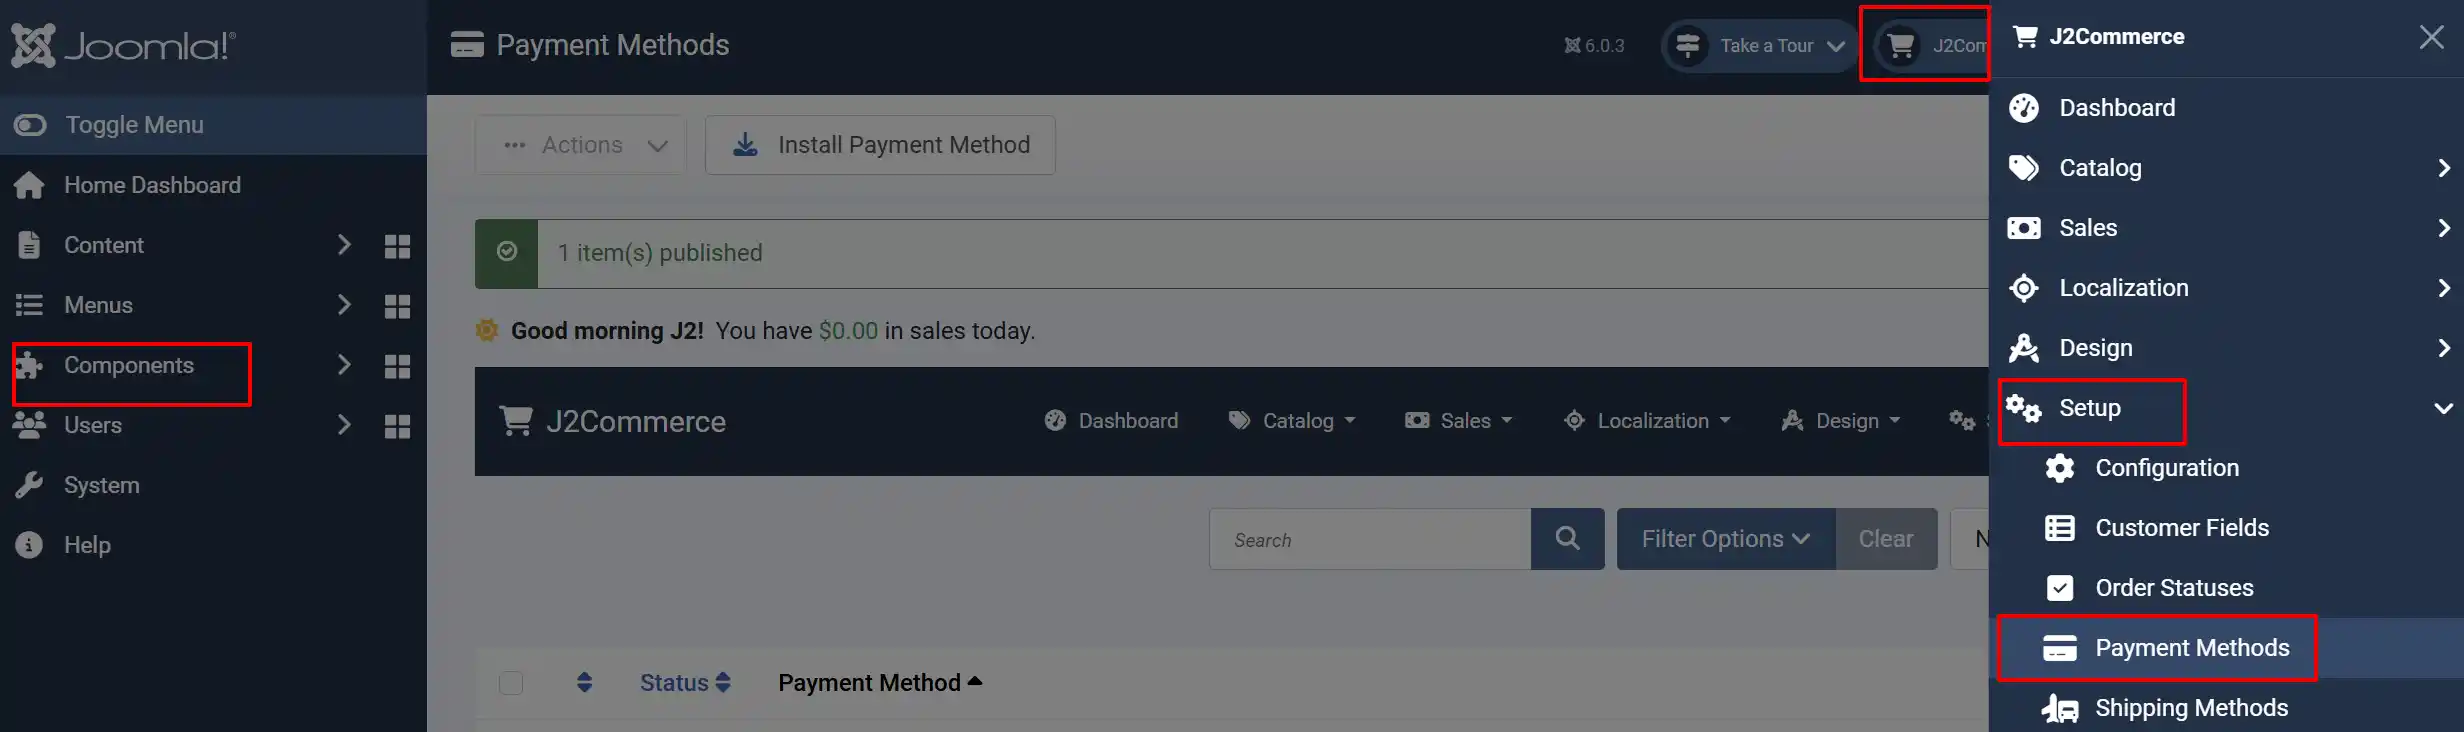
Option A: Go to the J2Commerce icon at the top right corner -> Setup -> Payment Methods
Option B: Go to Components on the left sidebar -> J2Commerce -> Dashboard -> Setup -> Payment Methods
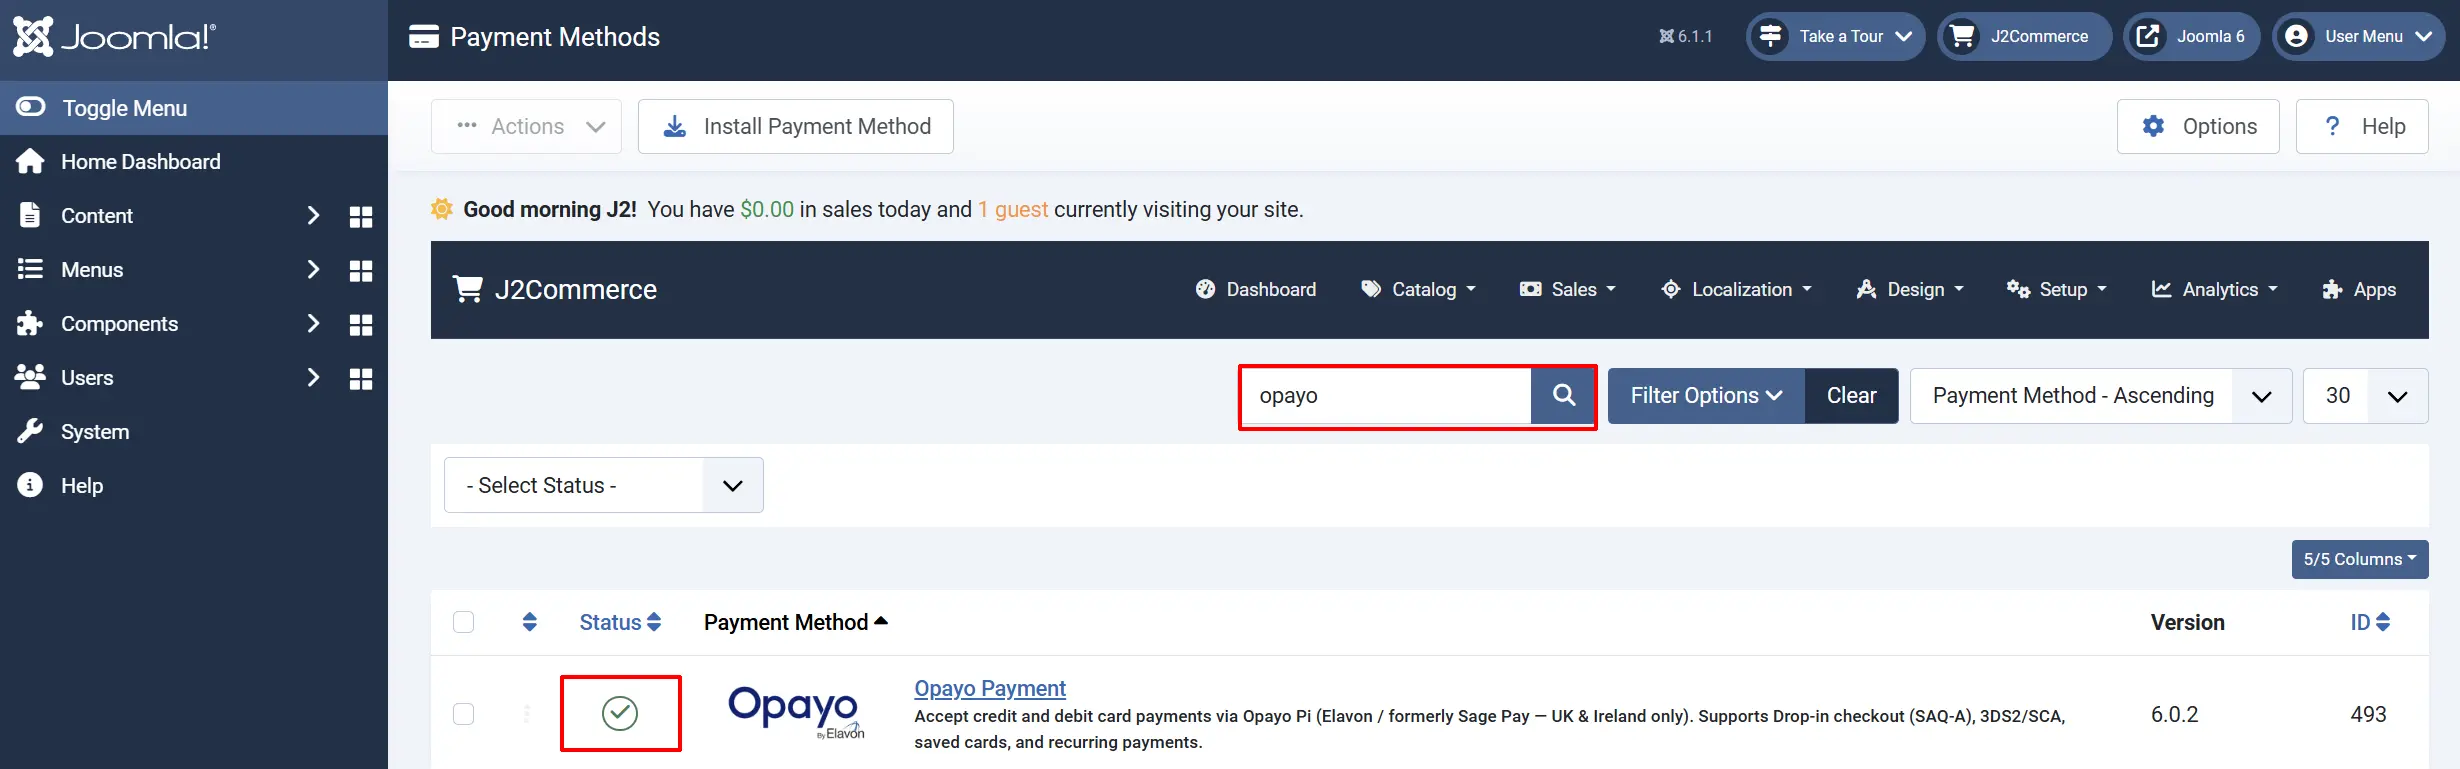
Look for Opayo Payment, click the X, and it will turn into a green checkmark. It is now enabled and ready for setup.
Configure the Plugin
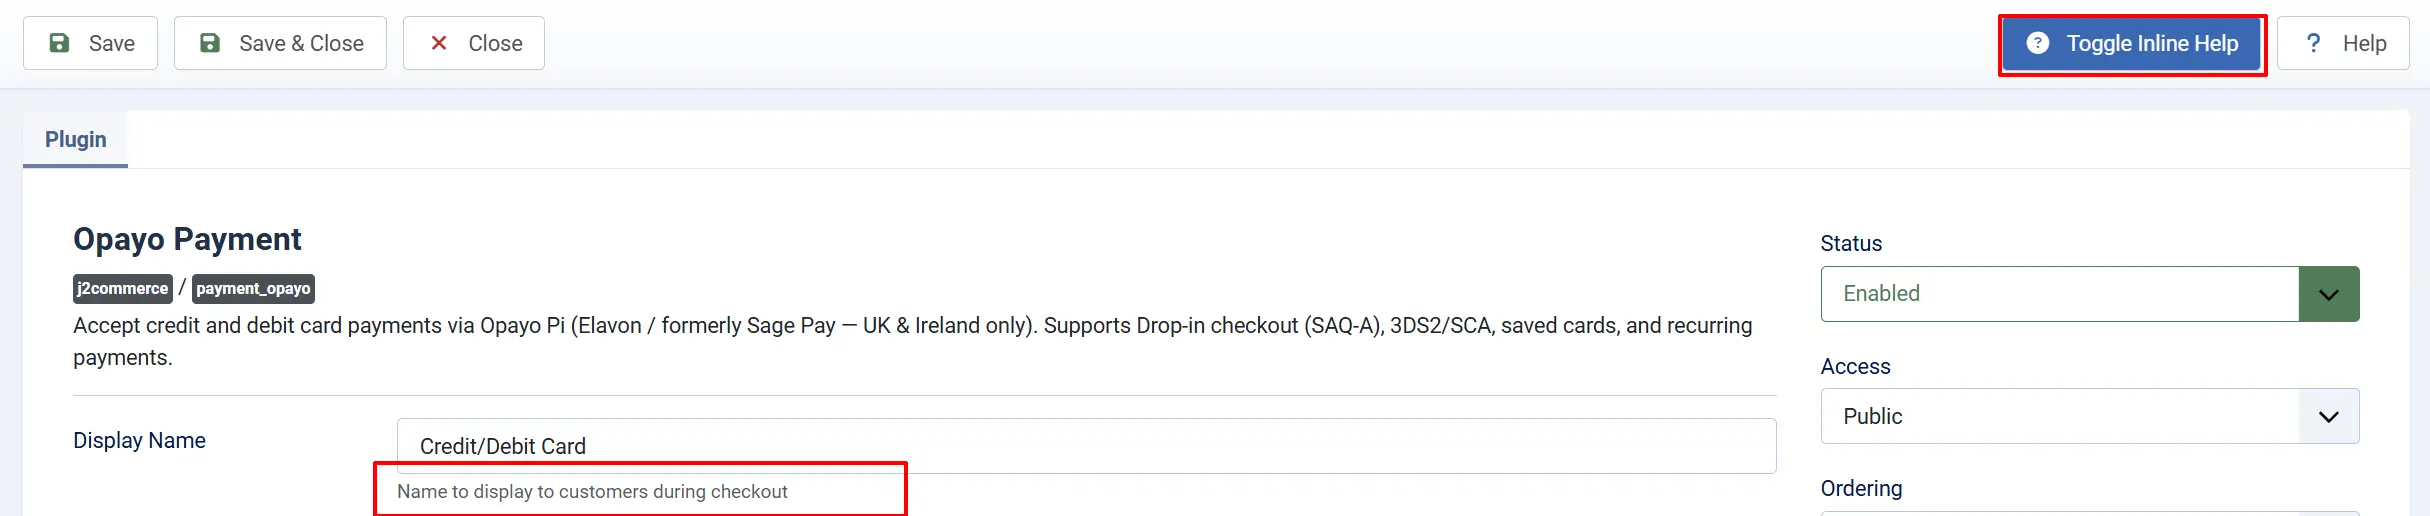
Click the Opayo Payment title to open its settings.
Click the Toggle Inline Help button at the top of any plugin settings screen to show a description below each field.
Appearance
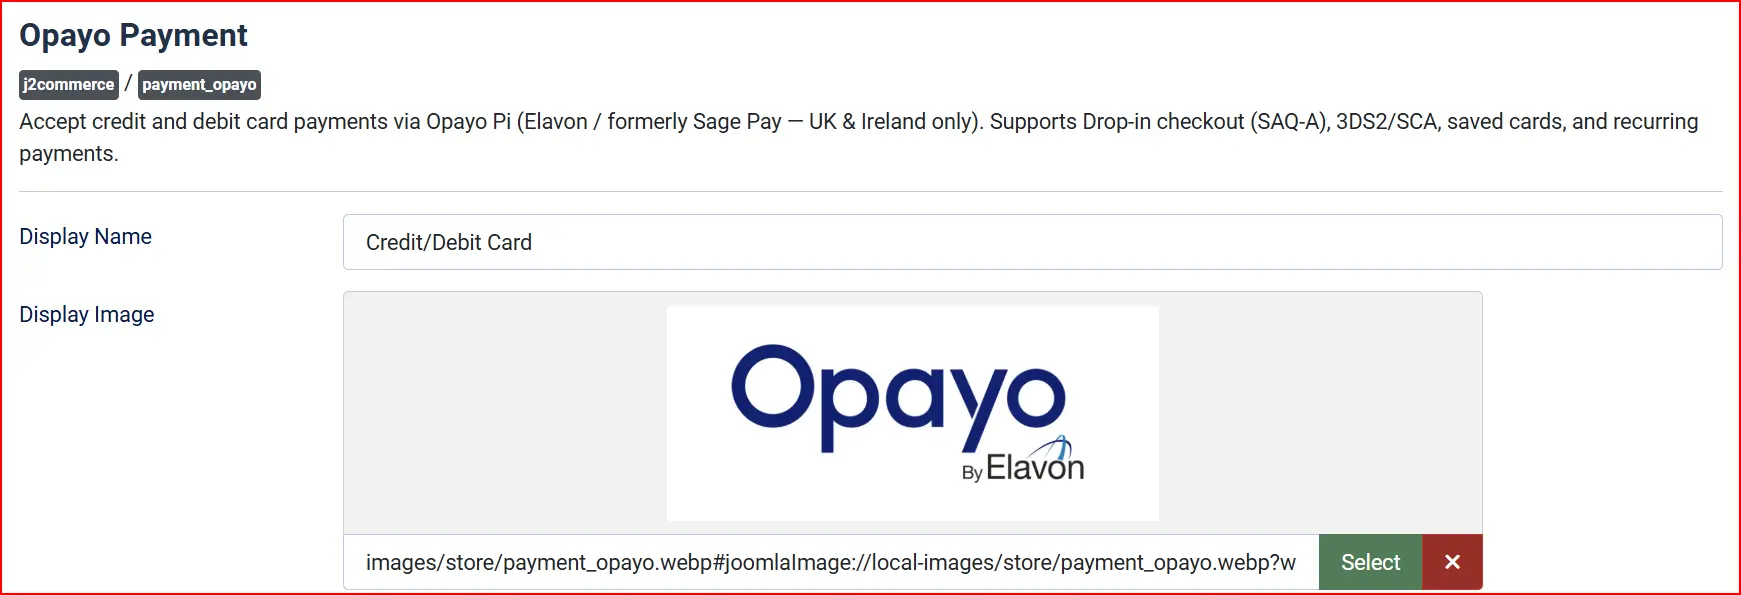
Display Name: The label shown to customers at checkout. Default is Credit/Debit Card. Change this to something like "Pay by card (Opayo)" if you prefer to show the brand name.
Display Image: Optional logo or card-type icon displayed beside the payment method name at checkout.
Integration Mode & Transaction Type

Integration Mode: Controls how the card entry form works.
-
Drop-in Checkout (recommended, SAQ-A): Opayo injects its own hosted card fields directly into your checkout page. Card data never passes through your server.
-
Own Form (opayo.js, SAQ-A-EP): Your checkout page contains the card entry fields, but opayo.js tokenizes the data in the browser before submission. Card data still does not reach your server.
The Drop-in mode is recommended for most stores because it gives you the lowest PCI compliance overhead.
Transaction Type: Controls whether funds are collected immediately or held for manual release.
Payment (Authorize + Capture): Funds are reserved and collected from the customer's card in one step at checkout.
Use when: Suitable for most stores — goods or digital products dispatched immediately.
Deferred (Authorize only): Funds are reserved on the customer's card at checkout but not collected. You manually capture them from the order admin screen when you are ready to dispatch.
Use when: Useful if you want to verify stock or review the order before charging the customer.
When Deferred is selected, an additional Deferred Authorization Status setting appears (see Order Statuses below).
Credentials
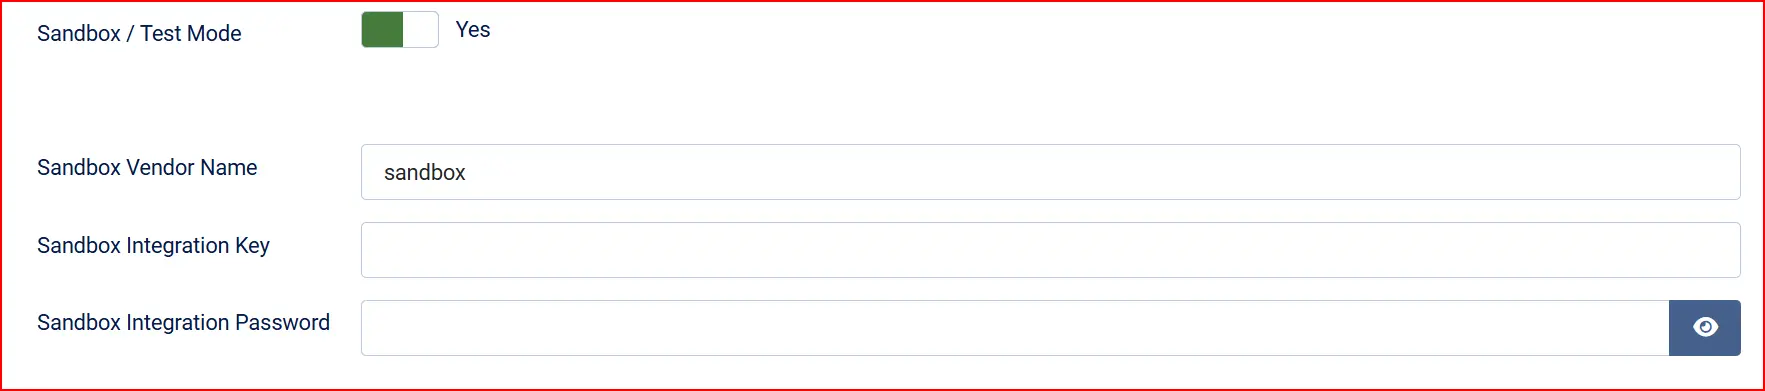
Sandbox / Test Mode: When set to Yes, all transactions are sent to the Opayo sandbox environment and no real money is moved. Default is No (live mode on).
Switch this to Yes during initial setup and testing. A warning banner will appear on the J2Commerce dashboard while sandbox mode is active as a reminder to switch it off before going live.
Sandbox Vendor Name: Your Opayo sandbox vendor name. Defaults to sandbox.
Sandbox Integration Key: Your sandbox integration key from the Opayo test portal.
Sandbox Integration Password: Your sandbox integration password.
Remember to turn Sandbox / Test Mode to No before accepting real orders. Transactions processed in sandbox mode never charge the customer's real card.
Live Credentials
These fields are shown when Sandbox / Test Mode is No.
Vendor Name: Your Opayo live vendor name. Found in MyOpayo under Administrator -> My Account Details.
Integration Key: Your live API integration key from MyOpayo.
Integration Password: Your live API integration password from MyOpayo. This field is masked for security.
3D Secure (SCA)

3D Secure 2 (3DS2) is the strong customer authentication mechanism required for most European card payments. The plugin handles the full 3DS flow automatically, including showing a bank verification challenge to the customer when required.
Apply 3D Secure: Controls whether 3DS is applied to transactions.
-
Use MyOpayo Setting: Follows whatever 3DS rule you have configured in your Opayo account. This is the default and recommended setting.
-
Force 3DS: Always requires 3DS authentication, even for low-risk transactions that might otherwise be exempt.
-
Disable (SCA exemption required): Skips 3DS entirely. Only use this if your account has an active SCA exemption — enabling it without proper exemptions will cause transactions to fail in the EU.
3DS Notification Base URL (testing): Leave this blank in production. If you are testing 3DS on a local development server that is not publicly accessible (e.g., localhost), enter the public HTTPS address of a tunnel tool here so Opayo can send the 3DS callback to a reachable URL.
Apply AVS/CVC Check: Controls address verification (AVS) and card security code (CVC) fraud checks.
-
Use MyOpayo Setting: Uses the fraud check rules configured in your Opayo account. Recommended.
-
Force Check: Always performs AVS/CVC checks.
-
Disable: Skips AVS/CVC checks.
-
Force (Ignore Rules): Forces checks but ignores any rule-based results (advanced use only).
Saved Cards & Style

Allow Saved Cards: When set to Yes (default), logged-in customers can choose to save their card during checkout. On future orders they can select the saved card instead of re-entering their details. Saved card tokens are also used for subscription renewal payments.
Set this to No if you do not want to store card tokens or if you do not use the Subscriptions add-on.
Template Style: Choose between Bootstrap 5 and UIkit to match the front-end template framework your Joomla site uses. Select the option that matches your active template.
Order Statuses
These settings control the order status J2Commerce assigns at each stage of the payment lifecycle.
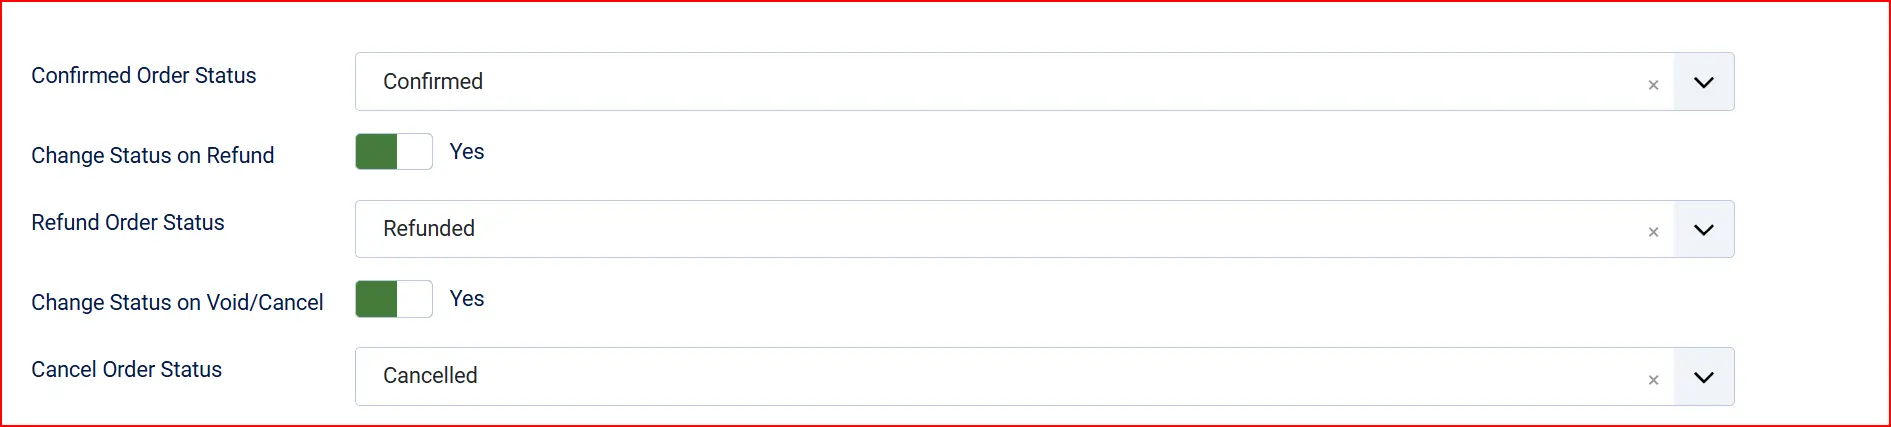
Confirmed Order Status (on payment): Status applied when a Payment transaction is confirmed successfully.
Change Status on Refund: Toggle on to update the order status automatically when you issue a refund.
- Refund Order Status: Status to set when a refund is processed (only shown when Change Status on Refund is Yes).
Change Status on Void/Cancel: Toggle on to update the order status automatically when you void or abort a payment.
- Cancel Order Status: Status to set when a payment is voided or aborted (only shown when Change Status on Void/Cancel is Yes).
If the status you want is not listed in a dropdown, create a new one first by going to J2Commerce -> Setup -> Order Statuses.

Surcharge

Add an optional handling fee when customers choose Opayo as their payment method.
Surcharge Name: The label shown to the customer for the fee (for example, "Card processing fee").
Surcharge Percent: Percentage of the order total to add as a fee. Enter 1.5 for 1.5%.
Surcharge Fixed: A fixed amount to add regardless of order size.
Surcharge Tax Class: Tax profile to apply to the surcharge amount.
Leave both percent and fixed fields empty to charge no surcharge.
GeoZone and Order Limits

GeoZone Restriction: Limit Opayo to customers in a specific geozone — leave blank to allow all locations.
Minimum Order Subtotal: Hide Opayo as a payment option when the cart subtotal is below this amount.
Maximum Order Subtotal: Hide Opayo when the cart subtotal is above this amount.
Custom Messages
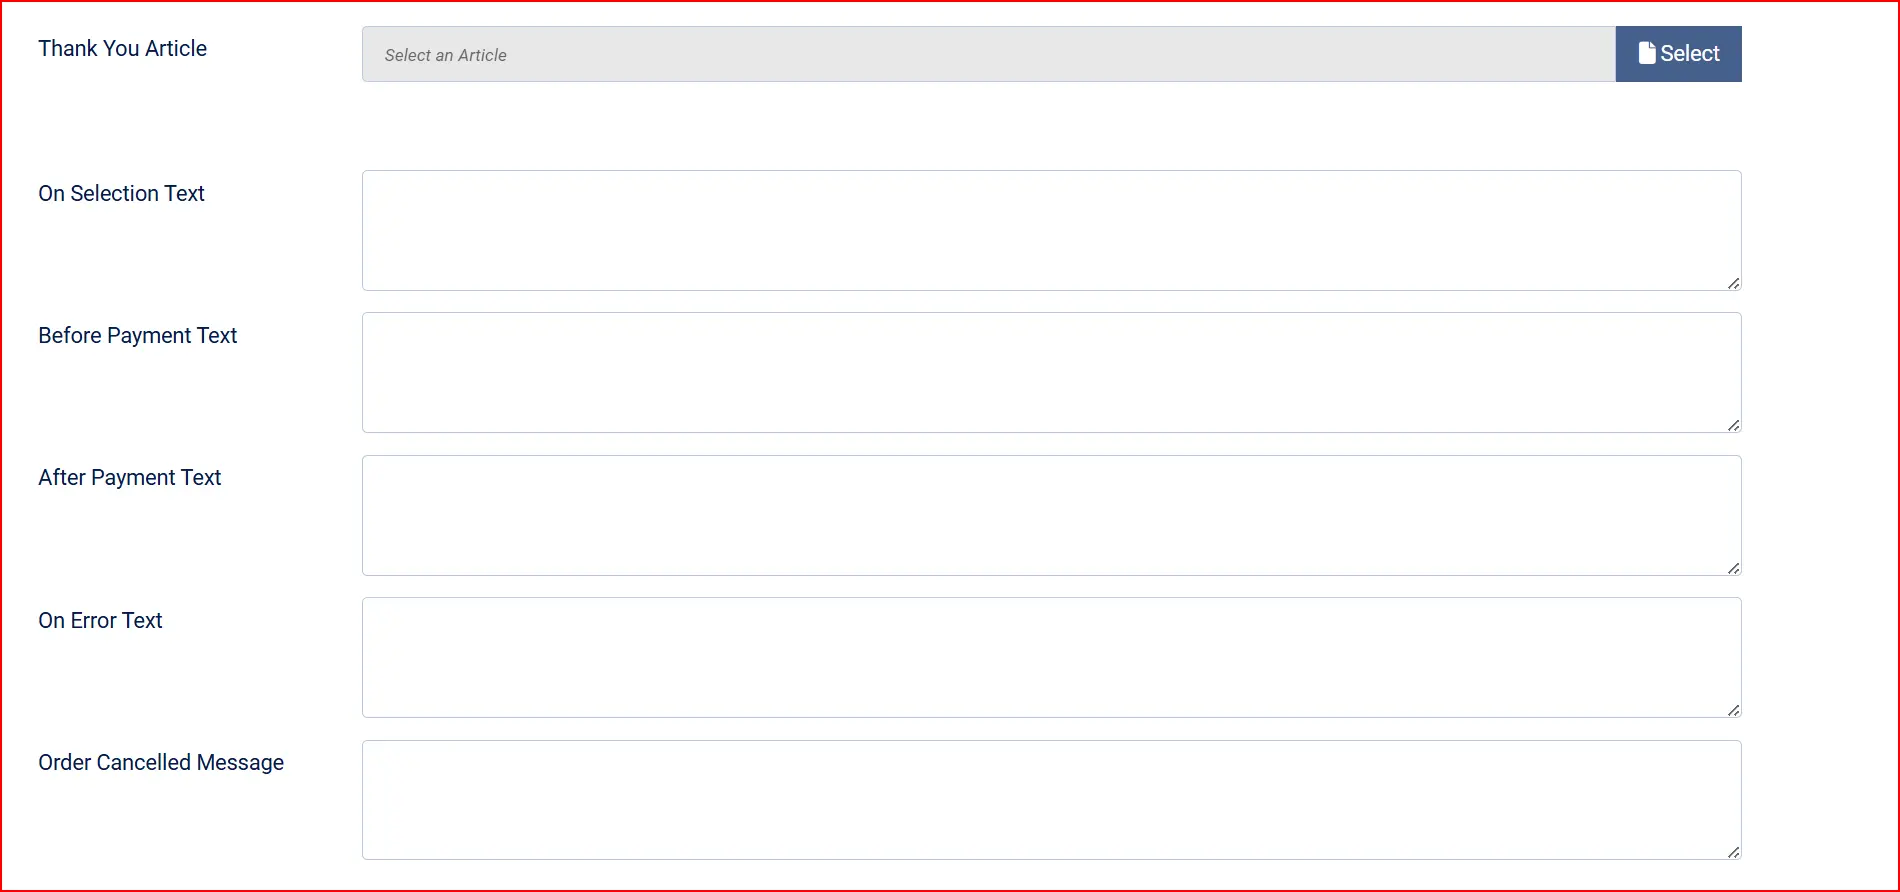
Thank-You Article: Optional Joomla article to display on the order confirmation page after a successful payment.
On Selection Text: Displayed when the customer selects Opayo at the checkout payment step.
Before Payment Text: Displayed just above the Pay button, before the customer submits their card details.
After Payment Text: Displayed on the confirmation page after the payment succeeds.
On Error Text: Displayed when an error occurs during the payment.
On Cancelled Payment: Displayed when the payment is abandoned or cancelled.
Dashboard Icon

Show Dashboard Icon: Add a quick-access icon for Opayo to the J2Commerce dashboard.
- Icon Label: Label for the icon. Defaults to "Opayo Payment" if left blank.
Debug Mode
Debug Mode: When set to Yes, detailed API requests and responses are written to the Joomla log file at administrator/logs/. Default is No.
Only enable this when diagnosing a specific problem. Disable it on live sites — debug logs can contain sensitive payment data.
How Checkout Works for Customers
The entire checkout flow happens on your website — customers are never redirected to Opayo.
The customer adds items to the cart and proceeds to checkout.
On the payment step, Credit/Debit Card (or your custom display name) appears in the list of payment options.
If they have previously saved a card, their saved cards are listed as radio button options. They can select a saved card or choose Use a New Card.
When using a new card, the Opayo card entry form appears inline on the page. The card number, expiry date, and CVC are entered directly into Opayo-hosted fields — these fields look like part of your checkout but are controlled by Opayo's servers.
If they choose, logged-in customers can tick Save this card for future purchases.
The customer clicks Place Order.
If 3D Secure authentication is required, a verification challenge from the customer's bank appears in an inline panel on the page. The customer completes the verification step (entering a one-time code or confirming in their banking app).
After the card is authorised, the customer is taken to the order confirmation page showing their order reference and a confirmation message.
Managing Orders — Void, Capture, Abort, and Refund
After a payment is processed, the order admin screen in J2Commerce displays action buttons depending on the transaction type and its current status.
To access these controls:
- Go to J2Commerce -> Sales -> Orders.
- Open the relevant order.
- Scroll to the payment section to see the available action buttons.
Void a Payment
When you can void: On the same day as the payment, before it has settled to your bank. If a customer calls to cancel immediately after placing an order, voiding releases the authorisation and no funds are moved.
Click Void Payment and confirm the prompt. A confirmation appears when the void succeeds.
Once a payment has settled (typically same or next business day), you can no longer void it. Use Issue Refund instead.
Capture a Deferred Payment
When this applies: Only when you selected Deferred (Authorize only) as the Transaction Type. The customer's card is authorised at checkout but funds are not collected.
When you are ready to dispatch and collect the funds:
- Open the order.
- Click Capture Payment and confirm the prompt.
The funds are collected from the customer's card and the order status updates accordingly.
Abort a Deferred Authorization
If you decide not to fulfil a deferred order (e.g., the item is out of stock), you can release the authorisation without charging the customer.
- Open the order.
- Click Abort (Release Deferred) and confirm the prompt.
The authorisation is released and the customer's card is not charged.
Issue a Refund
Refunds can be issued after a payment has settled. You can refund the full amount or a partial amount.
- Open the order in J2Commerce -> Sales -> Orders.
- Click Issue Refund. A dialog box appears.
- Choose Full refund (showing the full amount) or Partial refund and enter the amount you want to return.
- Click Process Refund and confirm.
The refund is sent to Opayo and credited back to the customer's original payment card. Refunds typically appear on the customer's statement within 3–5 business days.
You cannot refund more than the original payment amount. The maximum refundable amount is displayed in the dialog. If the Issue Refund button does not appear, the payment may not yet have settled — try again after the next business day, or use Void Payment if the same-day window is still open.
Subscriptions and Saved Cards
When Allow Saved Cards is enabled and the J2Commerce Subscriptions add-on is installed, Opayo can process subscription renewal payments automatically using the card token saved from the customer's initial checkout.
- The customer provides their card once at the first checkout.
- On each renewal date, J2Commerce instructs Opayo to charge the renewal amount against the stored card token.
- No further action is needed from the customer.
If you do not use subscriptions, saved cards still benefit regular returning customers — they can pay faster by selecting a saved card without re-entering their details.
Going Live Checklist
Before accepting real payments, work through this checklist.
- Create and verify a live Opayo merchant account at opayo.eu.elavon.com.
- Generate live API credentials in MyOpayo under Create API Credentials.
- In the plugin settings, set Sandbox / Test Mode to No.
- Fill in Vendor Name, Integration Key, and Integration Password with your live credentials.
- Choose your preferred Integration Mode (Drop-in is recommended).
- Set Apply 3D Secure to Use MyOpayo Setting unless you have a specific reason to override it.
- Set the Transaction Type appropriate to your business — Payment for most stores.
- Click Save.
- Place a small live test order using a real card to confirm the full flow works end to end, including the 3DS step if prompted.
- Confirm the order reaches your expected confirmed status and that the test payment appears in your Opayo reporting.
A warning banner appears on the J2Commerce dashboard while Sandbox / Test Mode is active. If you see this banner after going live, return to the plugin settings and confirm the mode is set to No.
Troubleshooting
Card payment fails at checkout with "Could not communicate with Opayo"
Cause: The Integration Key or Integration Password is incorrect, or the Vendor Name does not match the credentials.
Solution:
- Go to J2Commerce -> Setup -> Payment Methods -> Opayo Payment.
- Verify that Vendor Name, Integration Key, and Integration Password exactly match the values shown in MyOpayo. They are case-sensitive.
- Confirm that Sandbox / Test Mode matches the environment your credentials belong to — sandbox credentials will fail in live mode and vice versa.
- Click Save and retry.
The card entry form does not appear at checkout
Cause: JavaScript on the page is blocked or the Opayo library failed to load. This can also happen if the store is not served over HTTPS.
Solution:
- Confirm your store URL uses
https://. Open your browser's developer tools and check the Console tab for errors. - Disable any aggressive content security policy (CSP) or ad-blocking extensions in the browser and retry.
- Enable Debug Mode in the plugin settings and check the Joomla logs for any API communication errors.
The 3DS challenge does not appear, or the customer is stuck after completing it
Cause: The Opayo 3DS callback URL is not reachable from Opayo's servers. This usually happens on a local development server or a staging site behind a firewall.
Solution:
- Confirm your site is publicly accessible over HTTPS.
- If you are testing locally, enter your public tunnel URL (e.g., from a tool like ngrok) in the 3DS Notification Base URL (testing) field in the plugin settings.
- Leave that field blank on a live production site.
"Payment could not be processed" error after the 3DS step
Cause: The 3D Secure authentication was declined by the customer's bank, or the session expired during the challenge.
Solution:
- Ask the customer to retry checkout. They should use the same card (or a different one) and complete the bank verification step promptly without navigating away.
- If the problem recurs with multiple cards, check whether Apply 3D Secure is set to Disable without an active SCA exemption on your Opayo account — re-enable it or contact Opayo support.
The Capture button does not appear on the order
Cause: The transaction type was set to Payment (not Deferred), so there is nothing to capture — the funds were already collected at checkout.
Solution:
If you want to authorise and capture separately, update the Transaction Type to Deferred in the plugin settings. Note that this only affects new orders placed after the change — existing paid orders cannot be changed to deferred retrospectively.
The Void button is missing or greyed out
Cause: The payment has already settled. Voids can only be performed on the same day as the transaction, before the funds are transferred to your account.
Solution:
Use Issue Refund instead. Settled payments must be refunded, not voided.
Sandbox warning banner appears on the dashboard after going live
Cause: Sandbox / Test Mode is still set to Yes in the plugin settings.
Solution:
- Go to J2Commerce -> Setup -> Payment Methods -> Opayo Payment.
- Set Sandbox / Test Mode to No.
- Confirm that your live Vendor Name, Integration Key, and Integration Password are filled in.
- Click Save. The warning banner will disappear.