ICEPAY
ICEPAY is a Dutch payment gateway supporting a wide range of payment methods popular in the Netherlands, Belgium, and surrounding markets — including iDEAL, Bancontact/MisterCash, Credit Card, PayPal, SOFORT/DirecteBank, Giropay, PaySafeCard, and more. This plugin integrates ICEPAY's redirect checkout flow with server-to-server postback order updates.
Prerequisites
- J2Commerce installed and active
- An active ICEPAY merchant account — sign up at icepay.com
- PHP SOAP extension enabled on your server (required by the ICEPAY SDK)
- PHP 8.1 or later
To verify SOAP is enabled, go to System -> System Information -> PHP Information and search for soap. If you see SOAP with status enabled, you are ready to proceed.
Purchase and download
This plugin is a separate add-on available from the J2Commerce Extensions Store. It is not included with the core J2Commerce 6 component.
- Go to the J2Commerce website and locate IcePay.
- Add it to your cart and complete checkout.
- Go to My Downloads under your account profile and find the plugin.
- Click Available Versions -> View Files -> Download Now to download the ZIP file.
Install the plugin
In the Joomla Administrator, go to System -> Install -> Extensions.
Upload the plg_j2commerce_payment_icepay.zip file.

Enable the Plugin
Once you have installed the App, you will need to enable it. There are two ways you can access the App.
Option A: Go to the J2Commerce icon at the top right corner -> Setup -> Payment Methods
Option B: Go to Components on the left sidebar -> J2Commerce -> Dashboard -> Setup -> Payment Methods

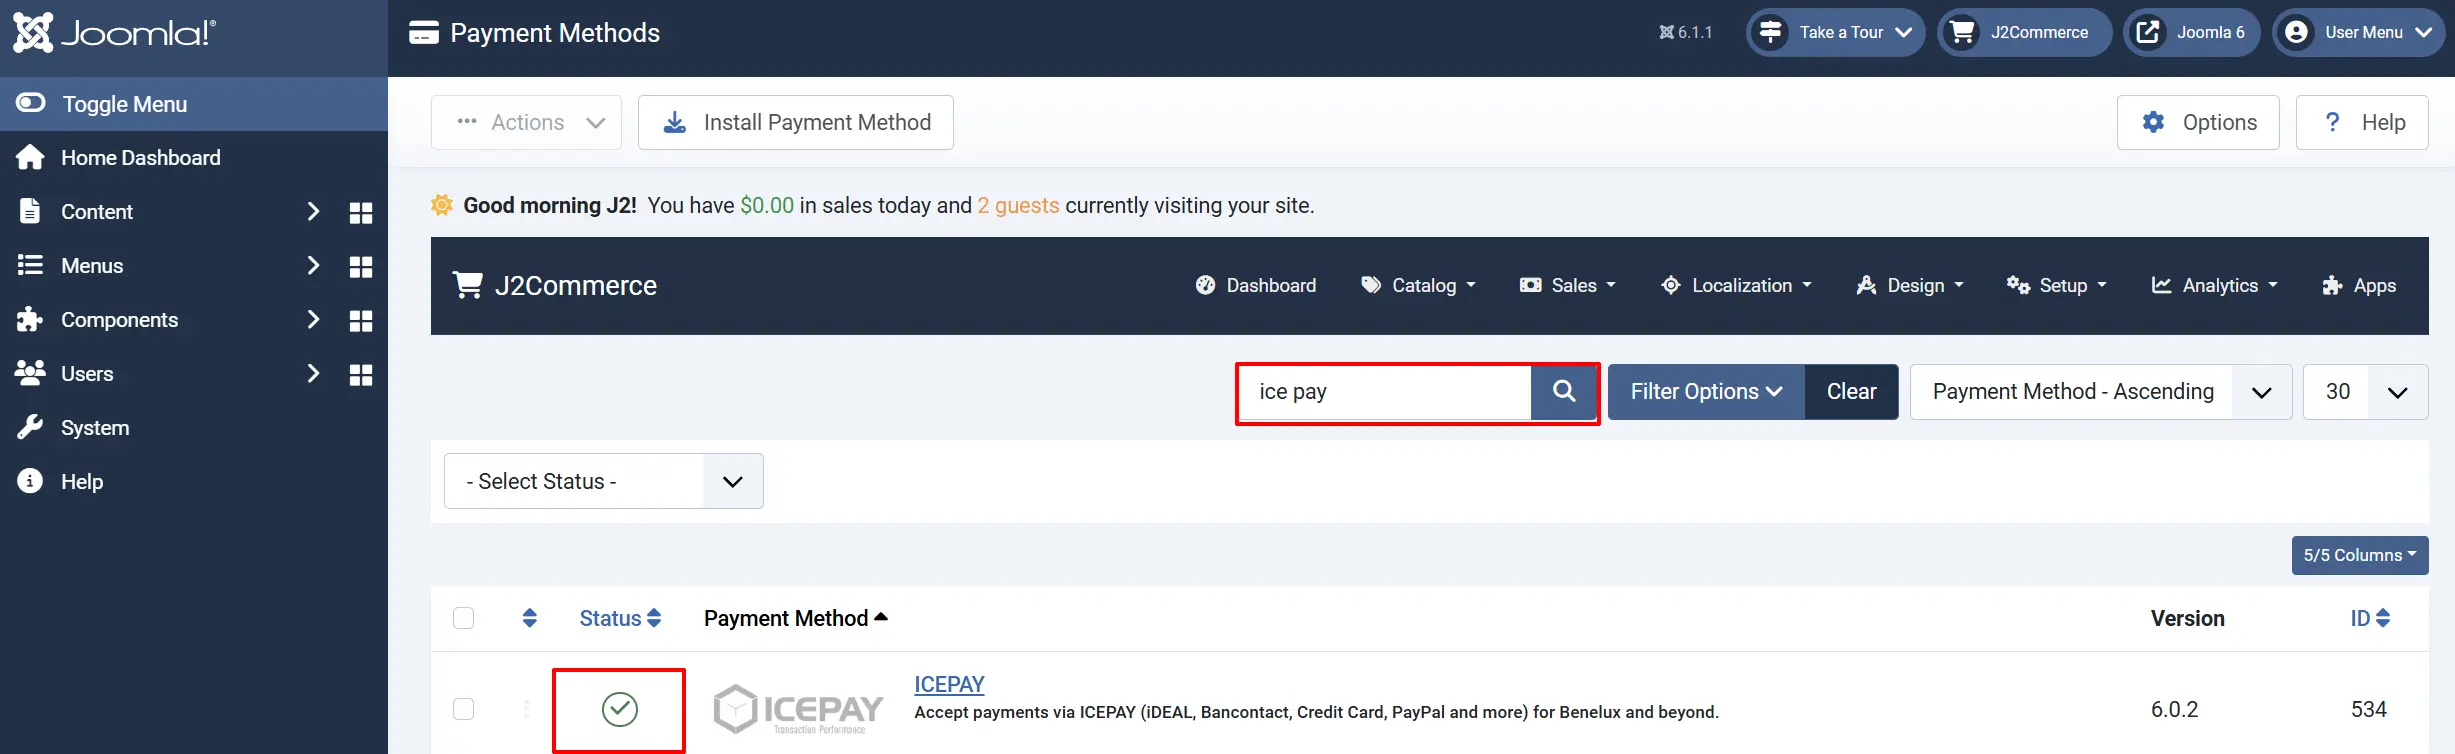
To help you narrow down the list, you can do a search for IcePay, click the X, and it will turn into a green checkmark. It is now enabled and ready for setup.
Configuration
Click the Toggle Inline Help button in the toolbar and the app will show a description below each field as you configure it.

Display Settings
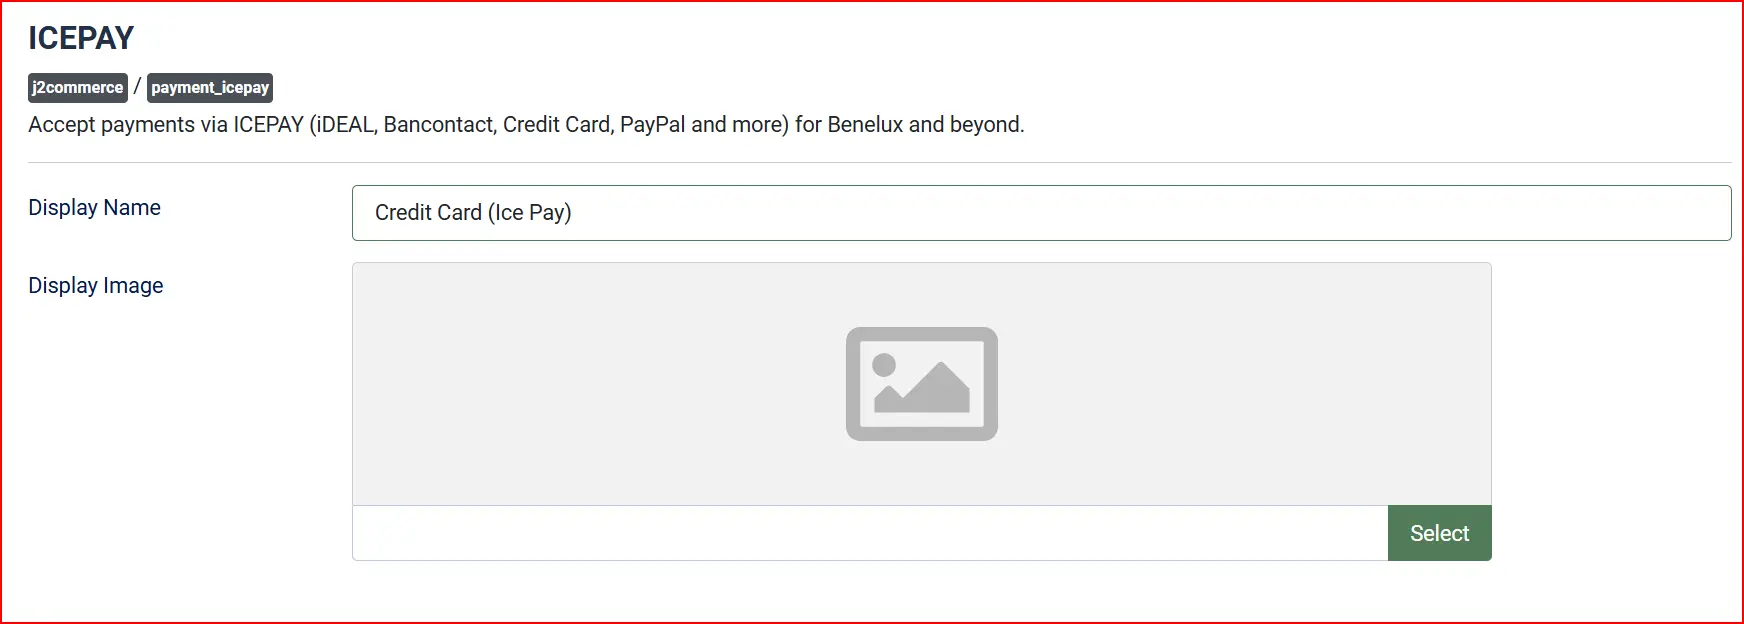
Display Name: The name shown to shoppers at checkout — e.g., "Pay with Klarna"
Display Image: Optional logo or badge shown next to the payment option
Credentials

Sandbox Mode
Use Sandbox: Enable to use test/sandbox credentials instead of live credentials.
Merchant ID (Sandbox): Sandbox Merchant ID — only used when Sandbox is enabled.
Secret Code (Sandbox): Sandbox secret code — only used when Sandbox is enabled.
When sandbox mode is on, the sandbox credentials are used automatically. Keep your live credentials in the main fields and sandbox credentials in the sandbox fields so switching between modes is instant.
Postback URL: Read-only. Copy this URL into your ICEPAY merchant portal as the postback/notification URL.

Accepted Payment Methods

After entering your Merchant ID and Secret Code and saving the plugin, reload the edit page. The Accepted Payment Methods field will populate with the methods available on your ICEPAY account.
Select the methods you want to offer at checkout. If nothing is selected, all methods returned by ICEPAY are shown to customers.
When a customer selects iDEAL at checkout, they are shown a list of Dutch banks (issuers) to choose from before being redirected to ICEPAY. This selection step is built into the checkout flow.
Order Statuses

Confirmed Payment Status: Status applied when ICEPAY reports a successful payment.
Pending Payment Status: Status applied when ICEPAY reports an open/pending payment.
Failed Payment Status: Status applied when ICEPAY reports an error or the customer cancels.
NOTE: If the status you want isn't listed in the dropdown menu, you can create a new one by going to J2Commerce -> Setup -> Order Statuses

Surcharge

Add an optional payment surcharge — useful if your payment processor charges a transaction fee you wish to pass on.
Surcharge Name: Label shown on the order summary (e.g. "Payment fee").
Surcharge Percent: Percentage of the order total added as a fee (e.g. 2.5 for 2.5%).
Surcharge Fixed Amount: Fixed amount added as a fee regardless of order total.
Surcharge Tax Class: Optional tax class applied to the surcharge.
Both percent and fixed surcharges can be combined — they are added together.
Geo Zone Restriction

Set a Geo Zone to limit this payment method to customers in specific countries or regions. Leave blank to make it available worldwide.
Custom Messages

Article (Thank-You Message): Select a Joomla article to display as extra content on the post-payment confirmation page. This is shown in addition to the On After Payment text.
On Selection Text: Shown when the customer selects ICEPAY at checkout (above the issuer selector).
On Before Payment Text: Shown on the redirect page before the customer clicks the pay button.
On After Payment Text: Shown after a successful payment return.
On Cancel Text: Shown if the customer cancels the payment at ICEPAY.
On Error Text: Shown if a payment error occurs.
Other Settings
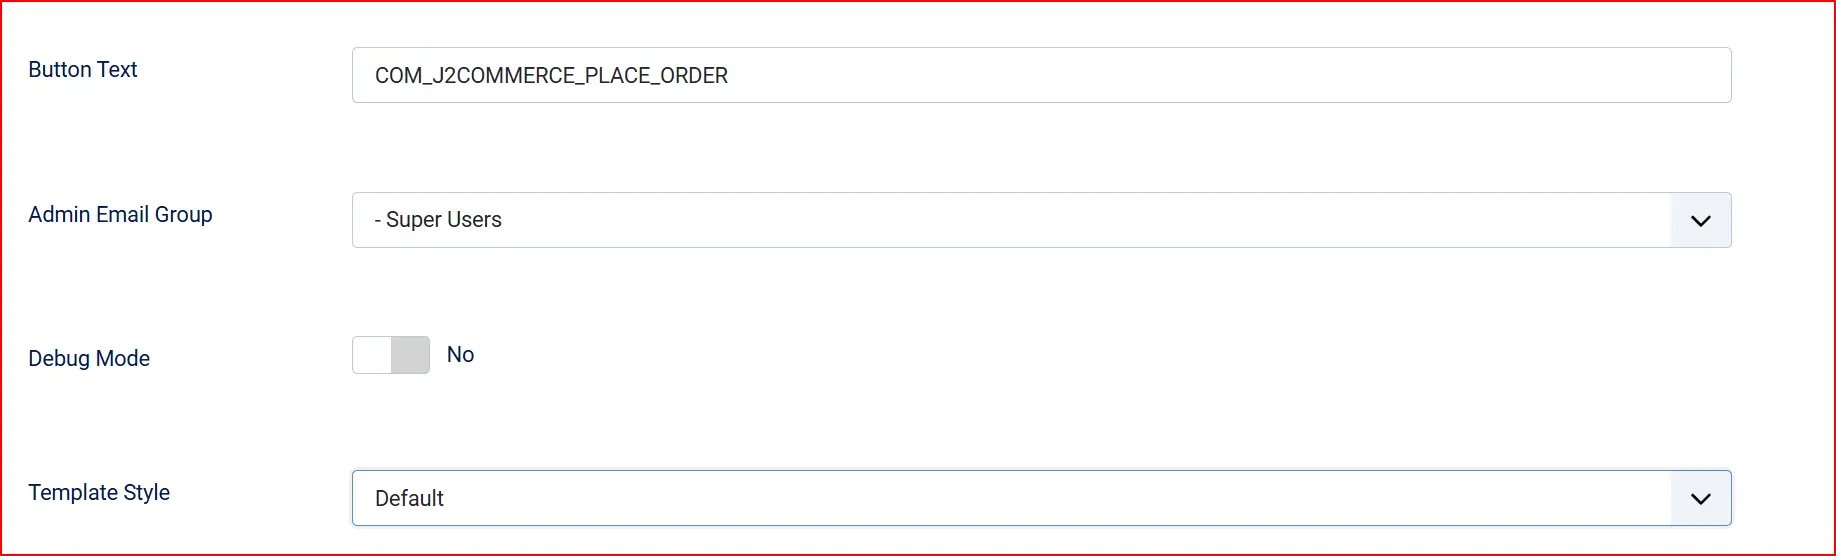
Button Text: Label on the pay button. Use a J2Commerce language key or plain text.
Admin Email Group: User group notified by email when a payment postback validation fails.
Debug Mode: Logs ICEPAY events to administrator/logs/payment_icepay.php. Disable in production.
Checkout Flow
The ICEPAY checkout follows a two-step flow within the J2Commerce checkout:
Step 1 — Method and Issuer Selection
On the payment step, the customer sees a list of the payment methods you have enabled. For iDEAL, they also select their bank (issuer) from radio buttons. Other methods (Bancontact, Credit Card, PayPal, etc.) have no issuer sub-selection.
The customer selects a method (and issuer for iDEAL), then clicks Place Order (or your configured button text) to proceed.
Step 2 — ICEPAY Redirect
After the customer's selection is submitted, J2Commerce creates an ICEPAY payment request and redirects the customer to the ICEPAY payment screen. The customer completes payment on ICEPAY's hosted page.
Step 3 — Return and Postback
After payment, ICEPAY performs two operations:
- Server-to-server postback — ICEPAY calls your store's postback URL in the background, sending a signed notification. J2Commerce validates the SHA1 signature, then updates the order status automatically.
- Browser redirect — The customer is returned to your store and sees the on-after-payment message and optional article.
Because the postback is server-to-server, order status updates reliably even if the customer closes their browser before being redirected back.
Configuring the Postback URL
Your ICEPAY merchant portal must have the correct postback URL configured. Copy the read-only Postback URL shown in the plugin settings and paste it into your ICEPAY merchant portal under Notification URL or Postback URL settings.
The URL format is:
https://yoursite.com/index.php?option=com_j2commerce&task=checkout.confirmPayment&orderpayment_type=payment_icepay&paction=process
The postback URL must be used exactly as shown. Routing the URL through a URL rewriter or adding extra parameters will break the SHA1 signature validation.
ICEPAY Status Codes
J2Commerce maps ICEPAY status codes to your configured order statuses:
| ICEPAY Status | Meaning | J2Commerce Status Applied |
|---|---|---|
SUCCESS | Payment confirmed | Confirmed Payment Status |
OPEN | Payment pending | Pending Payment Status |
ERROR | Payment failed | Failed Payment Status |
REFUND | Refund processed | Failed Payment Status (with note) |
CHARGEBACK | Chargeback received | Failed Payment Status (with note) |
Troubleshooting
"No payment methods are available for your country or currency"
Cause: Either your Merchant ID and Secret Code have not been saved yet, or ICEPAY returned no methods matching the customer's billing country or the store currency.
Solution:
- Verify your Merchant ID and Secret Code are correct.
- Save the plugin and reload the settings page.
- Confirm the Accepted Payment Methods list is populated.
- Ensure your store currency is supported by ICEPAY.
Orders Not Updating After Payment
Cause: The postback URL may not be configured in the ICEPAY merchant portal, or the server-to-server request is being blocked by a firewall or security plugin.
Solution:
- Check that the Postback URL in your ICEPAY portal matches the URL shown in the plugin settings exactly.
- Enable Debug Mode and check
administrator/logs/payment_icepay.phpfor error messages. - Verify your server is reachable from external systems (no firewall blocking incoming POST requests).
Plugin Settings Page Shows "Fill Merchant ID and Secret Code First"
Cause: The payment methods list is fetched live from ICEPAY. The credentials must be saved before the list can load.
Solution: Enter your Merchant ID and Secret Code, click Save & Close, then reopen the plugin settings. The methods list will populate on the next page load.
PHP SOAP Extension Not Available
Cause: The ICEPAY SDK requires PHP's SOAP extension, which is disabled on some hosting environments.
Solution: Contact your hosting provider and ask them to enable the php_soap extension. On cPanel-based hosts, this can often be enabled under PHP Extensions in the PHP configuration panel.
Debug Logging
Enable Debug Mode in the plugin settings to write detailed logs to administrator/logs/payment_icepay.php. The log includes:
- Postback receipt confirmations
- Signature validation results
- Order status transitions
- API errors
Disable debug mode in production to avoid filling disk space with log entries.