CCAvenue Payment
CCAvenue is India's leading payment gateway, used by hundreds of thousands of merchants. This plugin connects J2Commerce to the CCAvenue hosted payment page, where customers complete their transaction securely. After payment, CCAvenue redirects the customer back to your store and J2Commerce updates the order status automatically.
Requirements
- PHP 8.3 or higher with the OpenSSL extension enabled
- Joomla 6.x
- J2Commerce 6.x
- An active CCAvenue merchant account (ccavenue.com)
Purchase and Download
This plugin is a separate add-on available from the J2Commerce Extensions Store. It is not included with the core J2Commerce 6 component.
- Go to the J2Commerce website and locate CCAvenue.
- Add it to your cart and complete checkout.
- Go to My Downloads under your account profile and find the plugin.
- Click Available Versions -> View Files -> Download Now to download the ZIP file.
Install the App
Install using the standard Joomla installer.
In the Joomla admin, go to System -> Install -> Extensions.
Upload the payment_ccavenue.zip package file. The plugin installs and enables automatically.

Enable the App
Once installed, verify the app is enabled. There are two ways to reach it.
Option A: Click the J2Commerce icon at the top right corner -> Apps.
Option B: Go to Components on the left sidebar -> J2Commerce -> Apps.

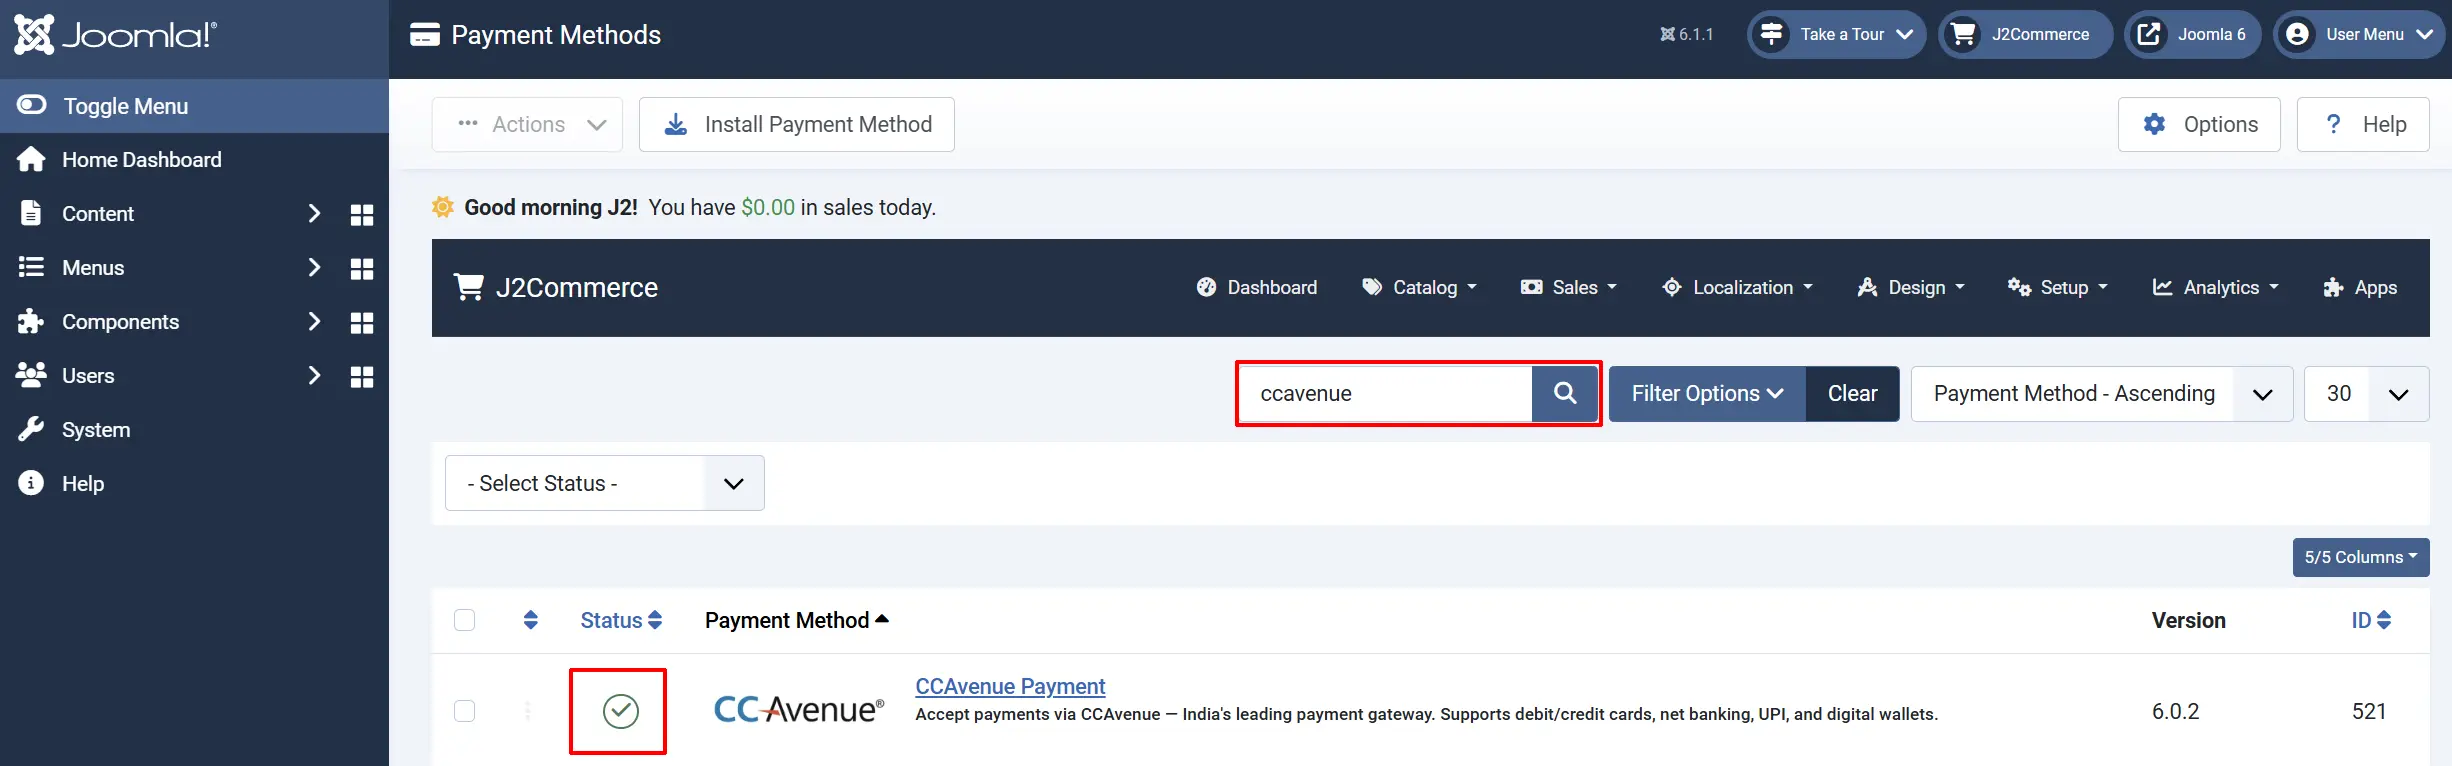
Search for CCAvenue. If it shows an X, click it to enable it. It turns into a green checkmark when active.
Configure the Plugin
Click the CCAvenue title to open its settings.
Helpful tip: Click the Toggle Inline Help button in the toolbar and the app will show a description below each field as you configure it.

Display
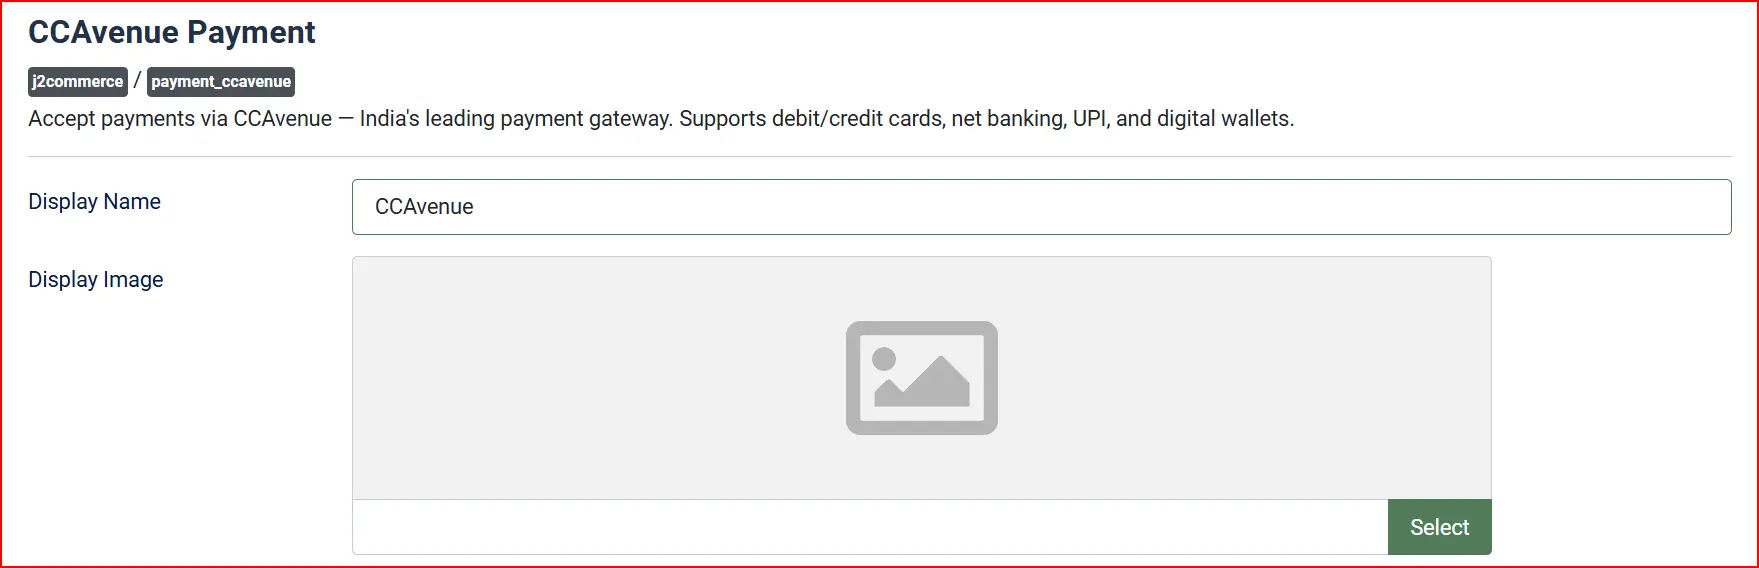
Display Name: The label shown to customers on the checkout page. The default is "Credit/Debit Card" — change this to anything that makes sense for your store.
Display Image: An optional logo or card-brand image to show beside the payment method name on the checkout page.
Credentials
Obtain your credentials from the CCAvenue Merchant Portal (merchant.ccavenue.com).
Sandbox vs Live Mode: The plugin supports a full sandbox environment using the CCAvenue test gateway at test.ccavenue.com. Use sandbox mode to test the complete payment flow before going live — no real money is charged. Toggle between test and live environments. Separate credentials are required for each.
When Sandbox is enabled, the sandbox credential fields appear. When it is off, the live credential fields appear.
Live Credentials (shown when Sandbox is off)

Merchant ID: CCAvenue merchant portal → Profile → Merchant Details
Working Key: CCAvenue merchant portal → Settings → Generate Working Key
Access Code: CCAvenue merchant portal → Settings → API Keys
Sandbox Credentials (shown when Sandbox is on)
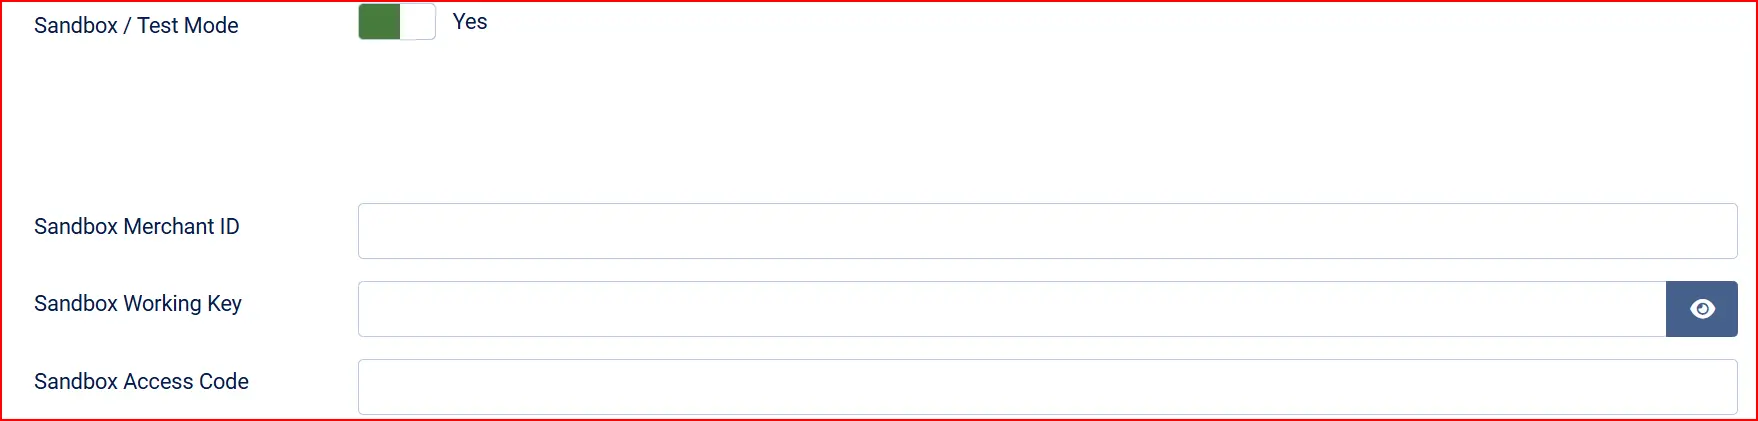
The same three fields appear prefixed with Sandbox and accept your test account credentials. Your test account credentials are separate from your live credentials.
Keep your Working Key confidential. It is used to encrypt all payment data. Never share it or expose it in any public file.
Transaction Currency
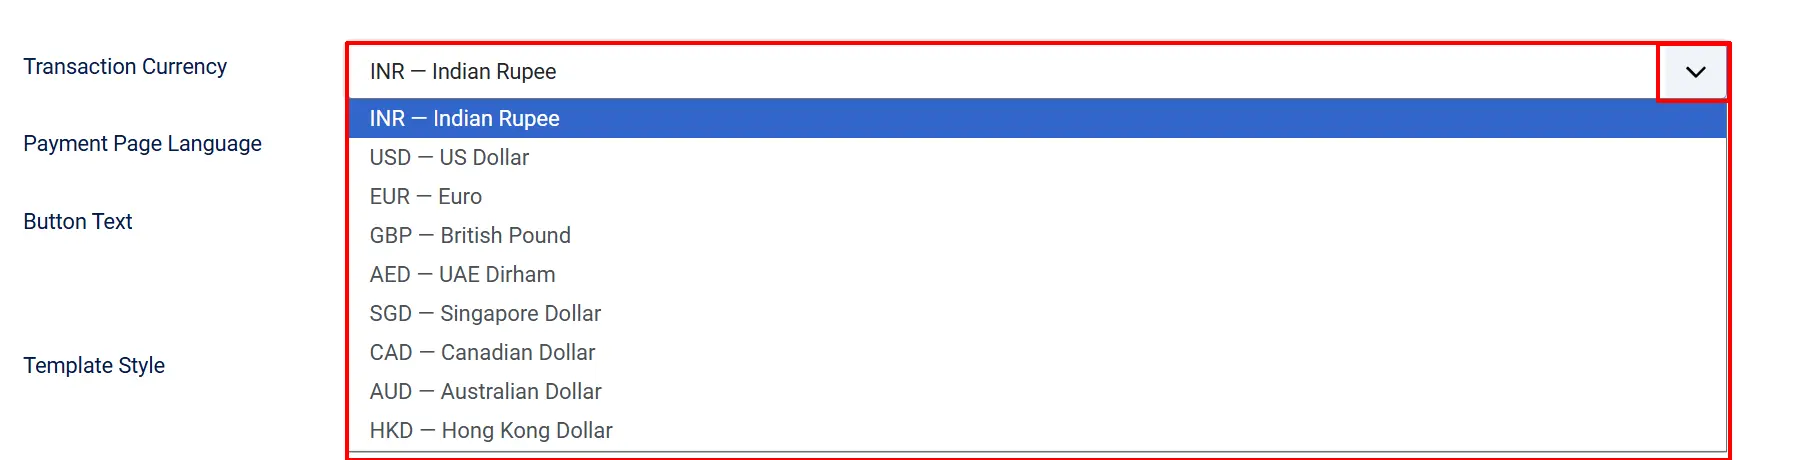
CCAvenue supports Multi-Currency Processing (MCP). Select the currency you want to send to CCAvenue:
-
INR — Indian Rupee
-
USD — US Dollar
-
EUR — Euro
-
GBP — British Pound
-
AED — UAE Dirham
-
SGD — Singapore Dollar
-
CAD — Canadian Dollar
-
AUD — Australian Dollar
-
HKD — Hong Kong Dollar
CCAvenue MCP support depends on your merchant account type and the currencies enabled in your CCAvenue portal. Contact CCAvenue support to enable additional currencies.
Payment Page Language
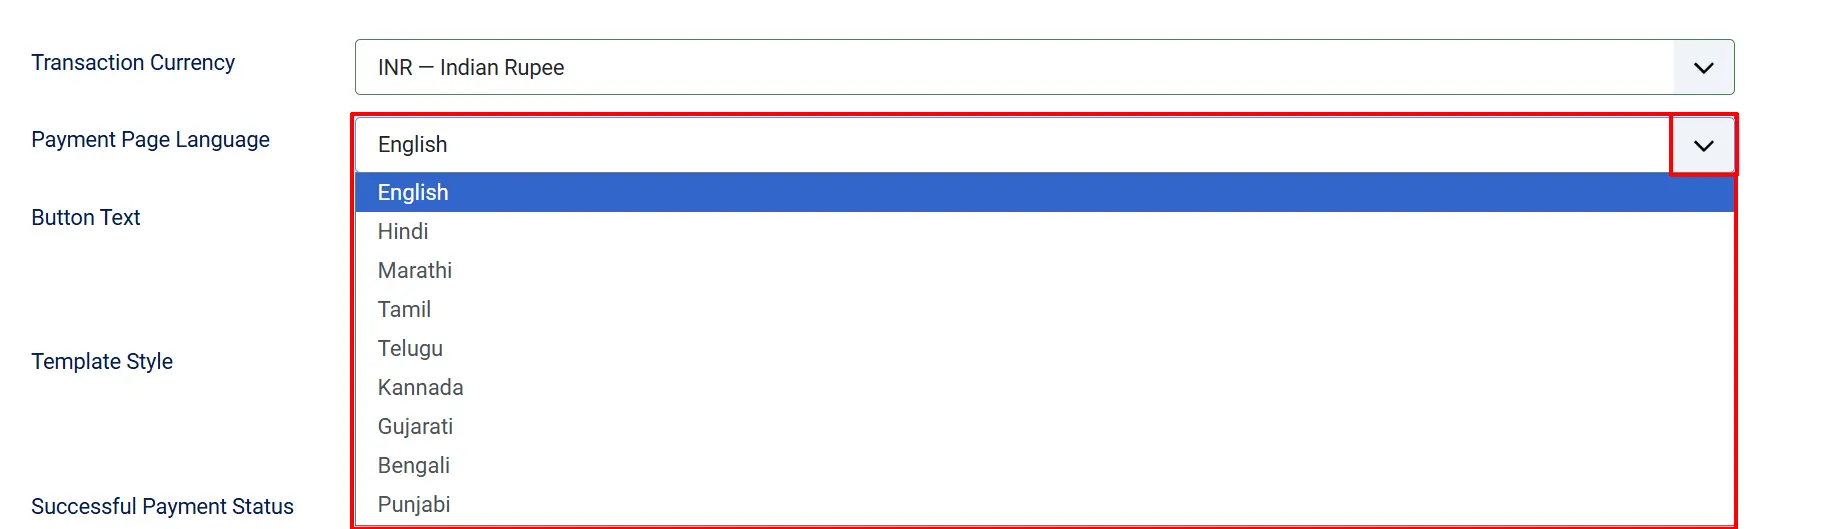
Select the UI language shown to customers on the CCAvenue hosted payment page:
| Code | Language |
|---|---|
| EN | English |
| HI | Hindi |
| MR | Marathi |
| TA | Tamil |
| TE | Telugu |
| KN | Kannada |
| GU | Gujarati |
| BN | Bengali |
| PA | Punjabi |
Button Text: Label shown on the payment submit button. Leave empty to use the store default.
Template Style

Template Style: Choose a visual style for the checkout card form. Options depend on which layout plugins you have enabled (Bootstrap 5 or UIkit). Leave blank to use the default layout.
Order Status Configuration

Successful Payment Status: Status applied when CCAvenue reports the payment as successful
Failed Payment Status: Status applied when the payment fails or the customer cancels
NOTE: If the status you want isn't listed in the dropdown menu, you can create a new one by going to J2Commerce -> Setup -> Order Statuses

Surcharge (Optional)

Add a processing fee to orders paid via CCAvenue. Leave all three fields blank to apply no surcharge.
Surcharge Name: Label shown to the customer (e.g., "Payment processing fee")
Surcharge Percent: Percentage of the order total added as a fee (e.g., 2.5 for 2.5%)
Surcharge Fixed: Fixed amount added to the order (e.g., 10.00)
Surcharge Tax Class: Tax profile applied to the surcharge amount, if applicable
Percent and fixed surcharges are added together when both are set.
Availability Restrictions (Optional)

Geozone Restriction
Restrict CCAvenue to customers in a specific geozone. When set, the payment method is hidden for customers whose shipping address falls outside that geozone. Leave blank to make CCAvenue available worldwide.
Minimum and Maximum Subtotal
Min Subtotal: Hide CCAvenue when the order subtotal is below this amount
Max Subtotal: Hide CCAvenue when the order subtotal is above this amount
Leave either field blank to apply no limit in that direction.
Additional Configuration
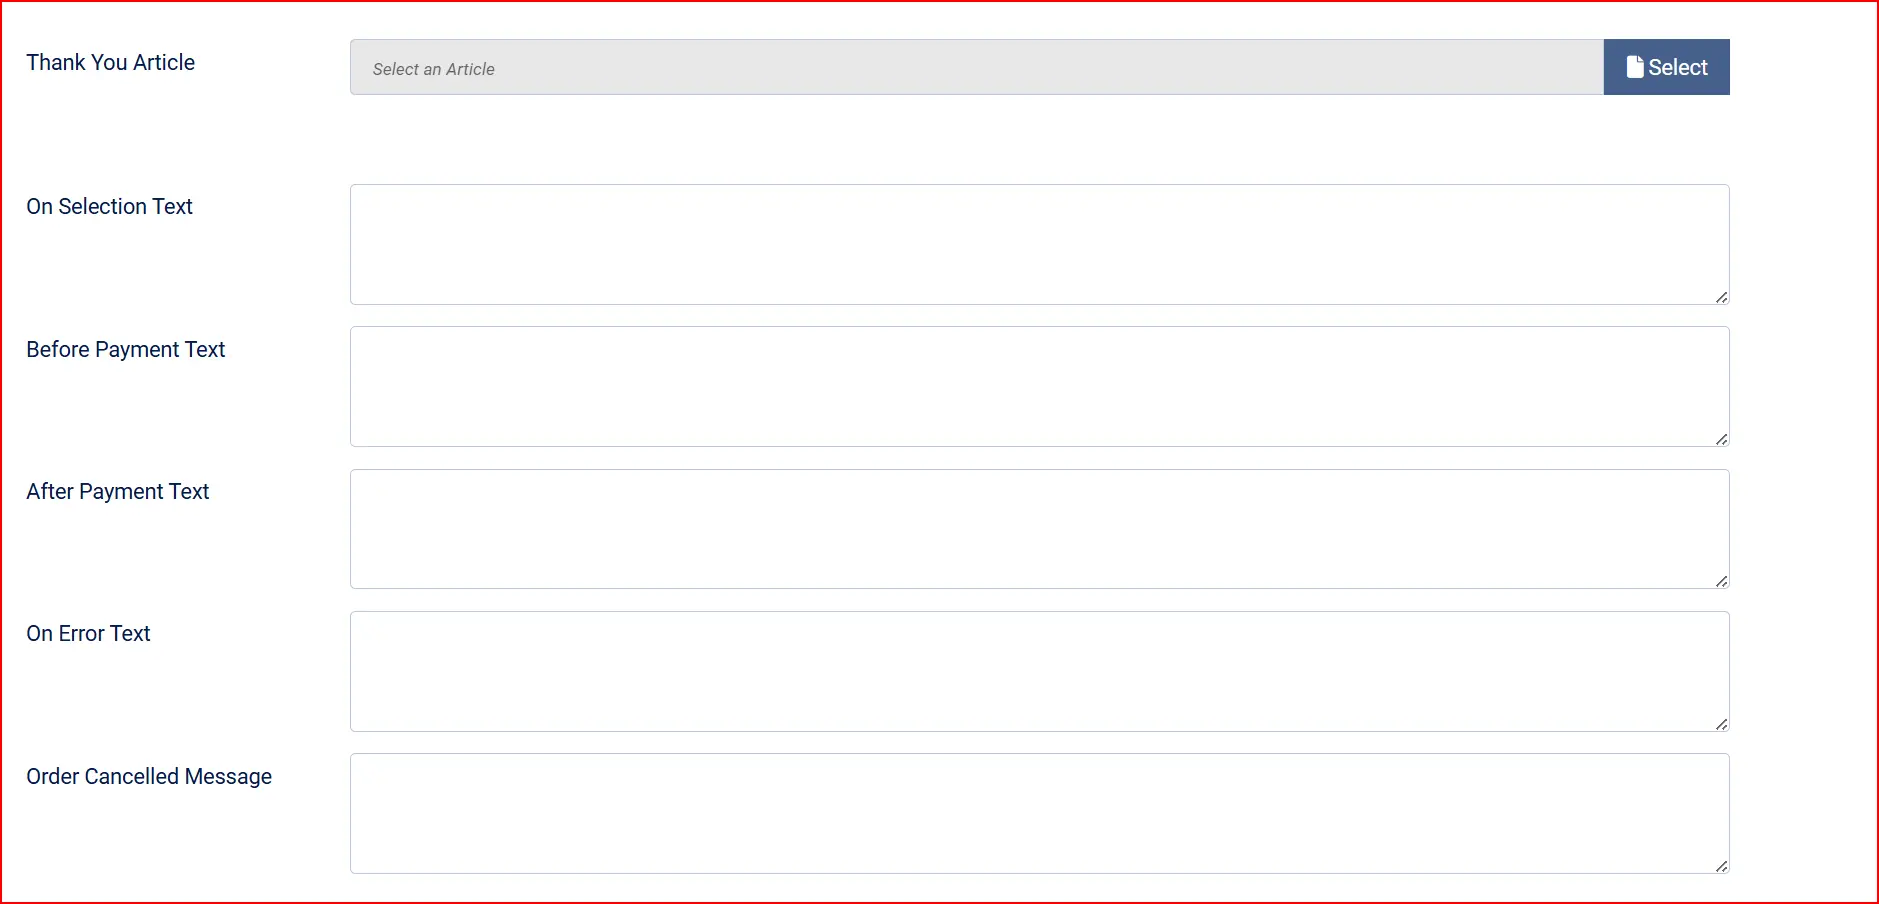
Thank-You Article: Joomla article displayed to the customer after a successful payment
On Selection Text: HTML shown when the customer selects CCAvenue at checkout
Before Payment Text: HTML shown on the pre-payment confirmation screen
After Payment Text: HTML shown after a successful payment
On Error Text: HTML shown when the payment fails
On Cancel Text: HTML shown when the customer cancels the payment
Debug Mode & Dashboard Icon

Show Dashboard Icon: When enabled, this plugin adds an icon tile to the J2Commerce dashboard and the J2Commerce quick icons module.
Icon Label: Override the default label shown on the icon tile. Leave empty to use the plugin default.
Debug Mode: When enabled, detailed logs are written to administrator/logs/payment_ccavenue.php. Disable in production.
Use debug mode during initial setup and sandbox testing to trace the full payment flow, including the encrypted request sent to CCAvenue and the decrypted callback response.
How the Payment Flow Works
- The customer reaches the Checkout page and selects CCAvenue as the payment method.
- J2Commerce assembles the order details, encrypts them using AES-128-CBC, and presents a pre-payment screen with a button to proceed.
- The customer is redirected to the CCAvenue hosted payment page, where they complete the transaction (card, UPI, net banking, wallet, etc.).
- CCAvenue sends an encrypted callback to your store's com_ajax endpoint.
- J2Commerce decrypts the response, verifies the order, and updates the order status to Confirmed (on success) or Failed (on failure or cancellation).
- The customer is redirected to the appropriate page on your store.
The entire payment and callback process is encrypted end-to-end using the AES-128-CBC algorithm with your CCAvenue Working Key.
Setting Up Your CCAvenue Account
Redirect URL (Callback URL)
CCAvenue requires you to configure the URL it should post the payment result to. In your CCAvenue merchant portal, set the Redirect URL to:
https://yourdomain.com/index.php?option=com_ajax&plugin=payment_ccavenue&group=j2commerce&format=raw
Replace yourdomain.com with your actual domain name.
Enable HTTPS
CCAvenue requires your redirect URL to use HTTPS. Ensure your store has a valid SSL certificate installed before going live.
Troubleshooting
"OpenSSL extension is not available on this server"
Cause: The PHP OpenSSL extension is disabled on your hosting server.
Solution: Contact your hosting provider and ask them to enable the openssl PHP extension. This is a standard extension available on virtually all modern hosting plans.
Orders stuck in "Pending" status
Cause: The callback from CCAvenue did not reach your store, or the callback URL is incorrect.
Solution:
- Verify the Redirect URL in your CCAvenue merchant portal matches your store URL exactly.
- Ensure your store is accessible over HTTPS.
- Enable Debug Mode and check
administrator/logs/payment_ccavenue.phpfor callback details.
"Signature verification failed"
Cause: The decrypted response did not pass integrity verification. This can be caused by an incorrect Working Key or response tampering.
Solution:
- Confirm the Working Key in the plugin matches exactly what is shown in your CCAvenue portal.
- Regenerate the Working Key in CCAvenue and update the plugin settings.
- Check for any proxy or CDN that may be modifying the POST body.
Payment succeeds at CCAvenue but order stays "Pending"
Cause: The CCAvenue callback is being blocked by a firewall, security plugin, or WAF.
Solution: Whitelist the CCAvenue gateway IP addresses in your firewall. Contact CCAvenue support for the current list of gateway IPs.
Sandbox credentials not working
Cause: Test credentials must be obtained from the CCAvenue sandbox environment separately from live credentials.
Solution: Log in to the CCAvenue test portal and copy your sandbox Merchant ID, Working Key, and Access Code into the Sandbox fields in the plugin settings (visible when Sandbox Mode is on).