eWAY Rapid Payment
eWAY Rapid is a popular payment gateway for businesses in Australia, New Zealand, and the United Kingdom. This plugin connects your J2Commerce store to the eWAY Rapid 3.1 API so customers can pay by credit or debit card at checkout.
You can choose between a fully hosted payment page (recommended for simplicity and lowest PCI scope) or an on-site card form that submits directly to eWAY. Both modes use the same API credentials and support sandbox testing before you go live.
The eWAY Rapid plugin is a separate add-on available from the J2Commerce Extensions Store. It is not included with the core J2Commerce component.
Requirements
Before installing, confirm that your environment meets these requirements:
- J2Commerce 6 installed and active on your Joomla site
- An active eWAY merchant account (Australia, New Zealand, or United Kingdom)
- HTTPS enabled on your site — eWAY rejects callback URLs that are not TLS-secured
- Your server must be able to make outbound HTTPS connections to
api.ewaypayments.com(live) orapi.sandbox.ewaypayments.com(sandbox)
Getting Your API Credentials
eWAY issues a separate API Key and API Password for each merchant account. These are different from your MYeWAY login credentials.
- Log in to your eWAY merchant portal at my.eway.io.
- Go to My Account -> API Key.
- Copy the API Key value — it looks like a long alphanumeric string.
- Copy the API Password associated with that key.
- Keep both values handy. You will paste them into the plugin settings.
For sandbox testing, eWAY provides a separate sandbox merchant account with its own API Key and Password. Log in to sandbox.myeway.io to generate sandbox credentials.
Purchase and download
This plugin is a separate add-on available from the J2Commerce Extensions Store. It is not included with the core J2Commerce 6 component.
- Go to the J2Commerce website and locate eWAY Rapid.
- Add it to your cart and complete checkout.
- Go to My Downloads under your account profile and find the plugin.
- Click Available Versions -> View Files -> Download Now to download the ZIP file.
Install the plugin
In the Joomla Administrator, go to System -> Install -> Extensions.
Upload the payment_ewayrapid.zip file.

Enable the Plugin
Once you have installed the App, you will need to enable it. There are two ways you can access the App.
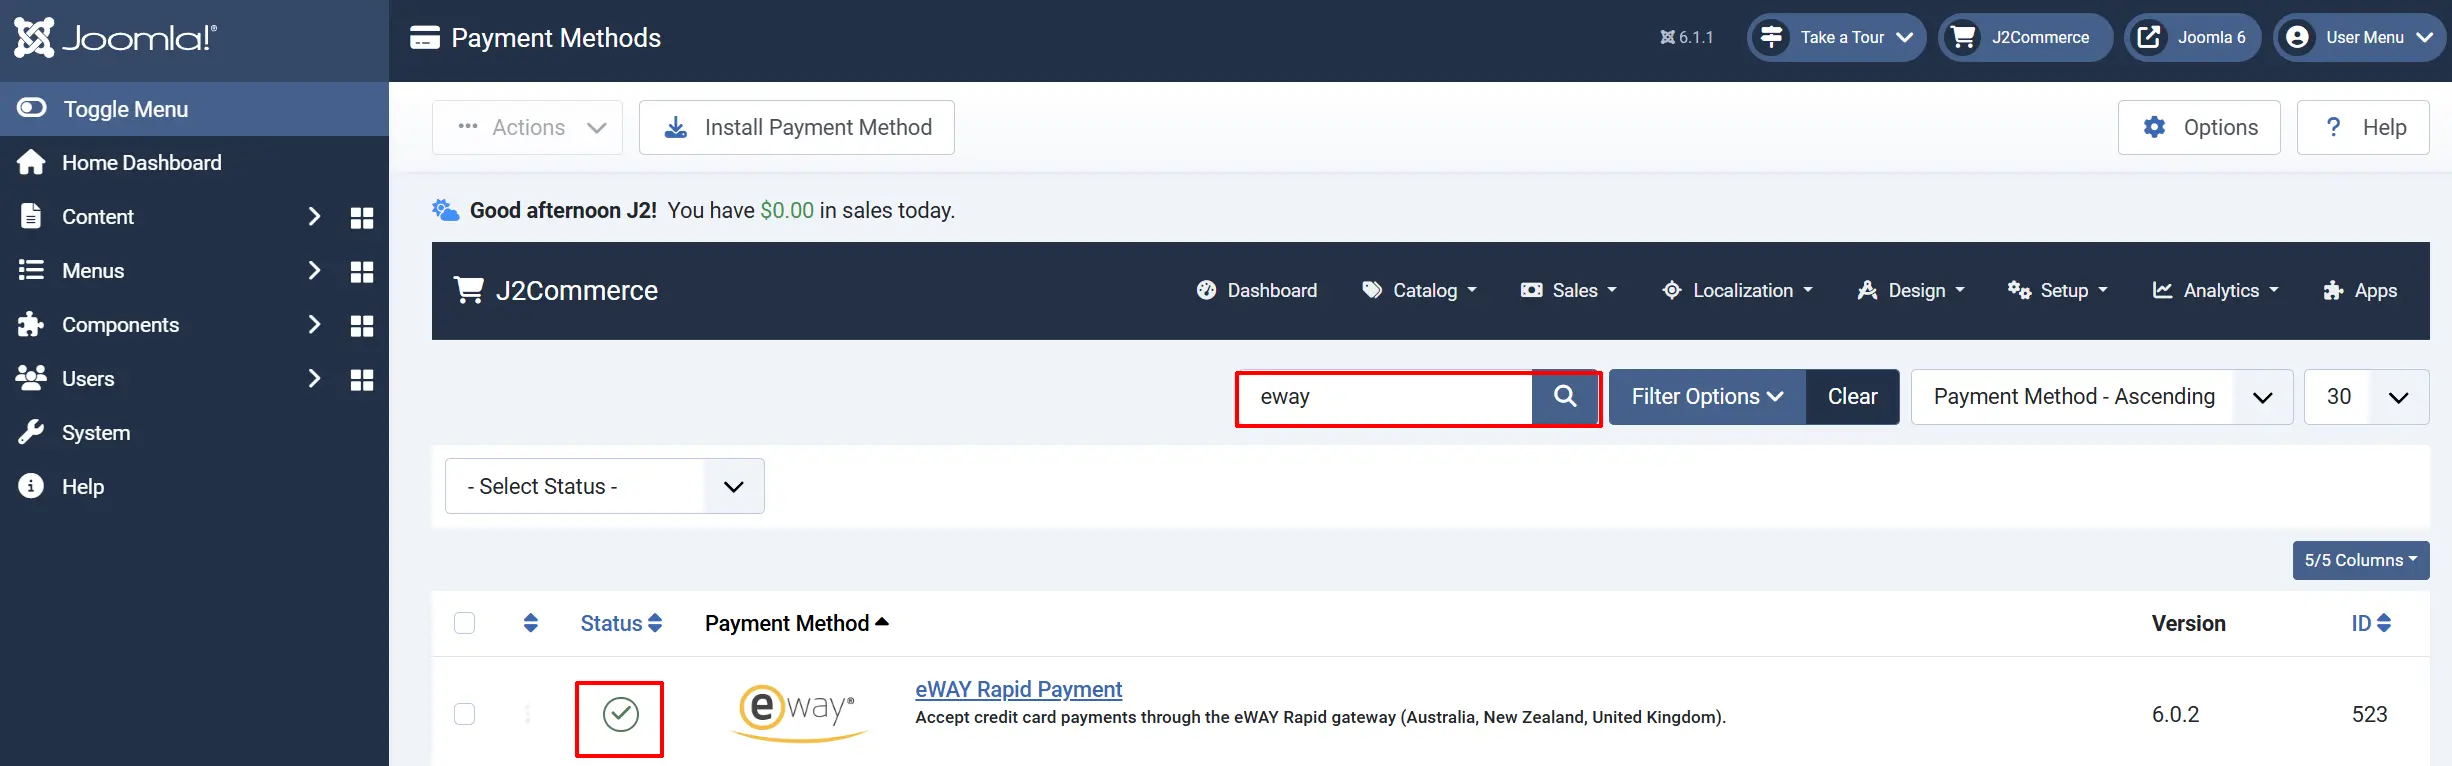
Option A: Go to the J2Commerce icon at the top right corner -> Setup -> Payment Methods
Option B: Go to Components on the left sidebar -> J2Commerce -> Dashboard -> Setup -> Payment Methods

To help you narrow down the list, you can do a search for eWAY Rapid, click the X, and it will turn into a green checkmark. It is now enabled and ready for setup.
Configure the plugin
Click the eWAY Rapid title next to the green checkmark to open the configuration screen.
Click the Toggle Inline Help button at the top of any plugin configuration page to show a short description beneath each field.

Display Settings
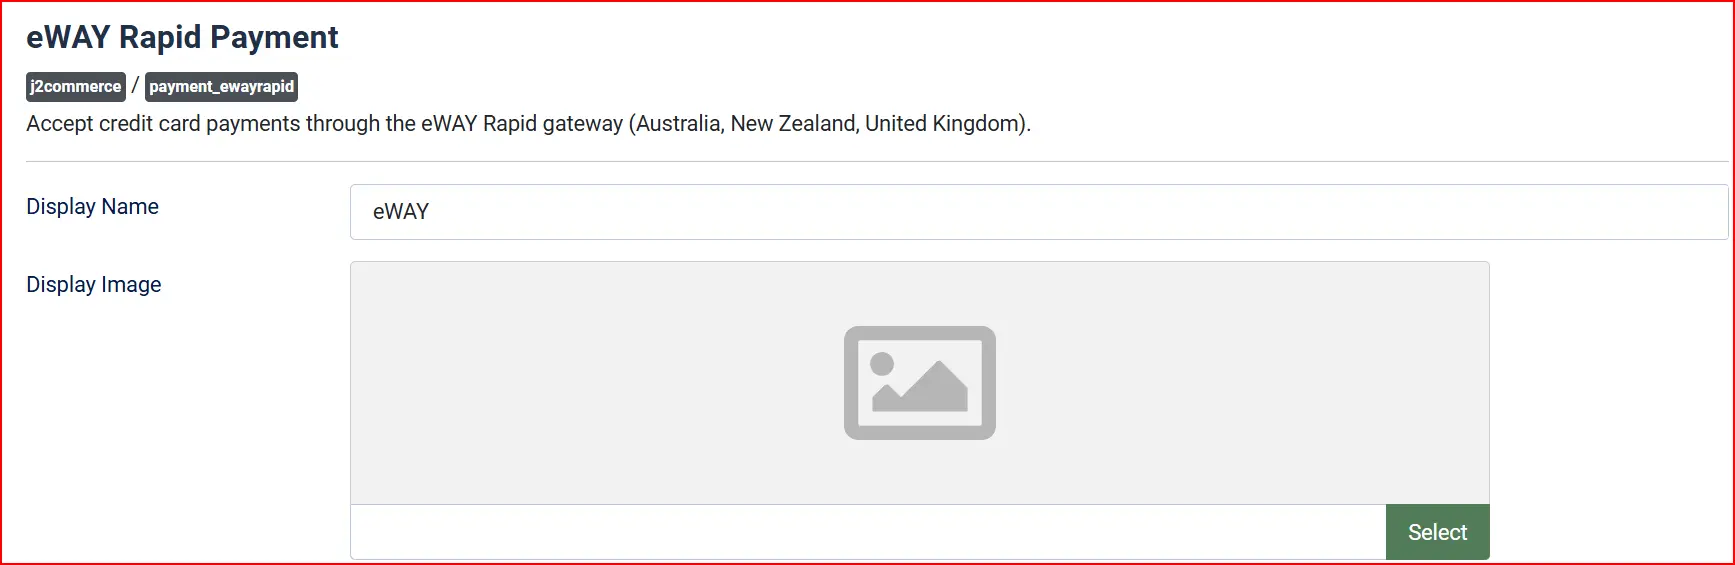
Display Name: The label shown to customers at checkout
Credit / Debit Card or eWAY
Display Image: Optional logo shown next to the payment name
Upload an eWAY or card logo
Credentials

API Key: Your eWAY Rapid API Key from MYeWAY (My Account > API Key)
API Password: The API Password paired with your API Key
Paste your credentials exactly as they appear in MYeWAY. The password field is masked for security.
Sandbox Mode
Use Sandbox: When set to Yes, all transactions are sent to api.sandbox.ewaypayments.com instead of the live gateway. Set to No for a production store.
Always enable sandbox mode first to test your setup before accepting real payments.
Integration Method

Integration Method: Shared Page (hosted) / Transparent Redirect (on-site form)
This is the most important choice in the plugin. See Choosing an Integration Method below for a full explanation. The default is Shared Page (hosted).
Transaction Mode:
-
Sale captures funds immediately when the customer pays.
-
Authorisation places a hold on the funds and requires you to manually capture the payment later in MYeWAY.
Most stores use Sale. Use Authorisation only if you need to review orders before charging the card (for example, made-to-order goods).
Payment Button Text: Text shown on the checkout button
Order Statuses

These settings control which J2Commerce order status is applied based on the payment result.
Paid Order Status: Applied when eWAY confirms the payment was approved
Pending Order Status: Applied when the payment is accepted but awaiting final settlement
Failed Order Status: Applied when eWAY declines or rejects the payment
The defaults match the standard J2Commerce order status IDs. Only change these if you have renamed or reordered your statuses.
NOTE: If the status you want isn't listed in the dropdown menu, you can create a new one by going to J2Commerce -> Setup -> Order Statuses

Surcharge (Optional)

You can add a fee to orders paid with eWAY. Leave all three fields blank if you do not want to charge a surcharge.
Surcharge Name: Label shown to the customer on the order summary. Example: Credit Card Fee
Surcharge Percent: Additional percentage of the order subtotal: Example: 1.5
Surcharge Fixed: Flat fee added on top of any percentage: Example: 0.30
Surcharge Tax Class: Tax profile applied to the surcharge amount. Select a tax profile or leave blank
If both a percentage and a fixed amount are entered, both are applied (for example, 1.5% + $0.30).
Availability Restrictions (Optional)

Use these settings to limit when eWAY appears as a payment option.
Geozone Restriction: Only show eWAY to customers in the selected geozone. Leave blank to show to everyone.
Min Subtotal: Hide eWAY if the cart subtotal is below this amount. Leave blank for no minimum.
Max Subtotal: Hide eWAY if the cart subtotal is above this amount. Leave blank for no maximum.
Checkout Messages

Thank-You Article: Select a Joomla article to display on the order confirmation page after a successful payment. Useful for instructions, voucher codes, or next-step information.
These optional text areas let you show custom messages to the customer at different points in the checkout. Leave them blank to use the plugin's default messages.
On Selection: When the customer selects eWAY as their payment method
Before Payment: On the payment screen, before the card form or redirect button
After Payment: On the confirmation page after a successful payment
On Error: Displayed alongside any payment error message
On Cancel: When the customer cancels on the eWAY hosted page
Dashboard Icon & Debug

Show Dashboard Icon: Display a shortcut icon on the J2Commerce admin dashboard
- Icon Label: Label for the shortcut (visible only when the icon is enabled)
Debug Logging: Write gateway activity to the Joomla log file payment_ewayrapid.php
Enable debug logging only while troubleshooting. The log records request and response activity but never stores card numbers or security codes.
Choosing an Integration Method
The Integration Method setting determines how card details are collected at checkout. The choice affects both your customer experience and your PCI compliance obligations.
Shared Page (Hosted) — Recommended
When a customer clicks Place Order, they are redirected to a payment page hosted by eWAY. They enter their card details there and are then returned to your site with the payment result.
Advantages:
- Card data never reaches your server — eWAY handles it entirely
- Lowest PCI scope (SAQ-A)
- eWAY's hosted page is maintained and updated by eWAY
Best for: Most stores, especially those without a dedicated payment security programme.
Transparent Redirect (On-Site Form)
The card form appears directly on your checkout page. When the customer submits, the card details are posted straight from their browser to eWAY — they do not pass through your server.
Advantages:
- Customers stay on your site throughout the checkout
- More control over the visual design of the card form
Considerations:
- Your checkout page must be served over HTTPS at all times
- PCI scope is still SAQ-A because card data does not hit your server, but your checkout page is in scope for regular security reviews
Best for: Stores where brand consistency and a seamless checkout experience are a priority.
Testing in Sandbox Mode
eWAY provides a sandbox environment at api.sandbox.ewaypayments.com that accepts test transactions without charging real cards.
Setting Up Sandbox Testing
- Create a sandbox merchant account at sandbox.myeway.io if you do not already have one.
- Generate sandbox API credentials from the sandbox MYeWAY portal (My Account > API Key).
- In the eWAY Rapid plugin settings, set Use Sandbox to Yes and enter your sandbox API Key and Password.
- Save the settings.
Running a Test Transaction
- Add a product to the cart on your store's frontend.
- Proceed through checkout and select eWAY (or your configured display name) as the payment method.
- Use a test card number from eWAY's published sandbox test card documentation (available in the eWAY developer portal under "Test Card Numbers").
- Complete the payment and verify that the order status in J2Commerce matches your Paid Order Status setting.
What to Check
- The order appears in J2Commerce -> Sales -> Orders with the correct status
- The order history note includes the eWAY transaction ID
- Cancelling on the hosted page (Shared Page mode) returns the customer to your site and applies the cancellation message
- Attempting a declined card number sets the order to your Failed Order Status
Going Live
When you are satisfied with sandbox testing, switch to the live gateway:
- Log in to your live MYeWAY account and retrieve your live API Key and Password.
- In the eWAY Rapid plugin settings, set Use Sandbox to No.
- Replace the API Key and API Password with your live credentials.
- Save the settings.
- Place a real test order with a small amount to confirm end-to-end.
Double-check that Use Sandbox is No and that you have entered your live credentials (not the sandbox ones). Sandbox and live credentials are different — entering sandbox credentials with the sandbox toggle off will cause authentication errors on every transaction.
What Changed From the J2Store Version
If you previously used the eWAY Rapid plugin for J2Store v4, here is what has changed in the J2Commerce 6 version:
- Native Joomla 6 MVC architecture — the plugin uses Joomla's event system and dependency injection instead of the older FOF 2 framework.
- Native Joomla HTTP client — outbound API calls to eWAY now use Joomla's built-in HTTP transport (
HttpFactory) instead of a bundled cURL library. This eliminates a source of cURL version incompatibilities. - No jQuery — all frontend JavaScript is vanilla ES6 with no jQuery dependency.
- Hardened transaction logging — the debug log records gateway activity only. Card numbers, CVV codes, and other sensitive card data are never written to any log file.
- Amount verification on return — when a customer returns from the eWAY hosted page, the plugin compares the amount reported by eWAY against the actual order total. A mismatch prevents the order from being confirmed. This guards against replay attacks where a valid token from a different transaction might otherwise be reused.
- Idempotent status updates — if the confirmation page is refreshed after a successful payment, the plugin detects the order is already confirmed and does not trigger a second status update or notification email.
Troubleshooting
"API Key and Password are not configured" error at checkout
Cause: The API Key or API Password field is empty in the plugin settings.
Solution:
- Go to J2Commerce -> Setup -> Payment Methods and open the eWAY Rapid settings.
- Confirm both the API Key and API Password fields are filled in.
- If you are testing, check that you have entered your sandbox credentials and that Use Sandbox is set to Yes.
- Save and retry.
eWAY does not appear at checkout
The payment method is hidden when one or more of the following conditions apply:
- Geozone restriction: The customer's billing address is not in the selected geozone. To confirm this is the cause, temporarily clear the Geozone Restriction field and test again.
- Subtotal below minimum: The cart subtotal is less than the Min Subtotal value.
- Subtotal above maximum: The cart subtotal exceeds the Max Subtotal value.
- Plugin disabled: Go to System -> Manage -> Extensions, search for
payment_ewayrapid, and confirm it is enabled.
Orders stay in Pending status after payment
Cause: eWAY returned a pending settlement response code rather than a final approval. This can happen with certain bank transfers or delayed processing scenarios.
What to do:
- Log in to MYeWAY and check the transaction status.
- Once eWAY settles the transaction, manually update the order status in J2Commerce -> Sales -> Orders to your confirmed status.
- If pending orders happen regularly, consider enabling Debug Logging, reproducing the issue, and checking the
payment_ewayrapid.phplog file in the Joomla logs directory for the exact response codes eWAY returned.
"Authentication failed (HTTP 401)" in the Joomla log
Cause: The API Key or Password does not match the eWAY account, or you are using sandbox credentials with the live gateway (or vice versa).
Solution:
- Verify the Use Sandbox toggle matches the type of credentials you entered.
- Re-copy the credentials from MYeWAY — avoid trailing spaces.
- Confirm your eWAY account is active and the API key has not been regenerated since you last saved the plugin settings.
"The payment amount did not match the order total" error
Cause: The amount returned by eWAY differs from the order total stored in J2Commerce by more than one cent. This is a security check that prevents malformed or replayed responses from being accepted.
What to do:
- Check whether there are any currency rounding issues in your store configuration.
- If the issue is consistent, enable Debug Logging and check the log for the
expectedandreturnedvalues to identify the discrepancy.