PayTabs Payment
PayTabs is a payment gateway built for merchants in the Middle East and North Africa (MENA) region. It lets your customers pay by credit or debit card — including regional cards like Mada (Saudi Arabia) and Meeza (Egypt) — without leaving your store. New card payments are handled on a secure PayTabs-hosted page, while returning customers who have saved their card can pay entirely on-site without being redirected anywhere.
Requirements
- PHP 8.3.0 or higher
- Joomla! 6.x
- J2Commerce 6.x
- An active PayTabs merchant account
Before You Start
You need a PayTabs merchant account. Sign up at www.paytabs.com and then locate three credentials inside the PayTabs merchant portal:
| Credential | Where to find it | What it is |
|---|---|---|
| Profile ID | PayTabs portal -> Account Settings | A short number that identifies your merchant profile |
| Server Key | PayTabs portal -> Account Settings -> Security | A long secret key used by your server to communicate securely with PayTabs — never share this publicly |
| Client Key | PayTabs portal -> Account Settings -> Security | A key used by the payment form in the browser to load the card fields |
PayTabs provides separate test credentials so you can process dummy payments without real money moving. Log into the PayTabs sandbox portal to find your test Profile ID, Server Key, and Client Key.
Purchase and Download
This plugin is a separate add-on available from the J2Commerce website. It is not included with the core J2Commerce component.
Step 1: Go to www.j2commerce.com and find the PayTabs Payment plugin.
Step 2: Click View Details, add it to your cart, and complete checkout.
Step 3: Go to My Downloads under your profile at the top right. Click Available Versions -> View Files -> Download Now.
Installing the Plugin
You can install this PayTabs Payment plugin using the Joomla installer. The following steps help you with a successful installation.
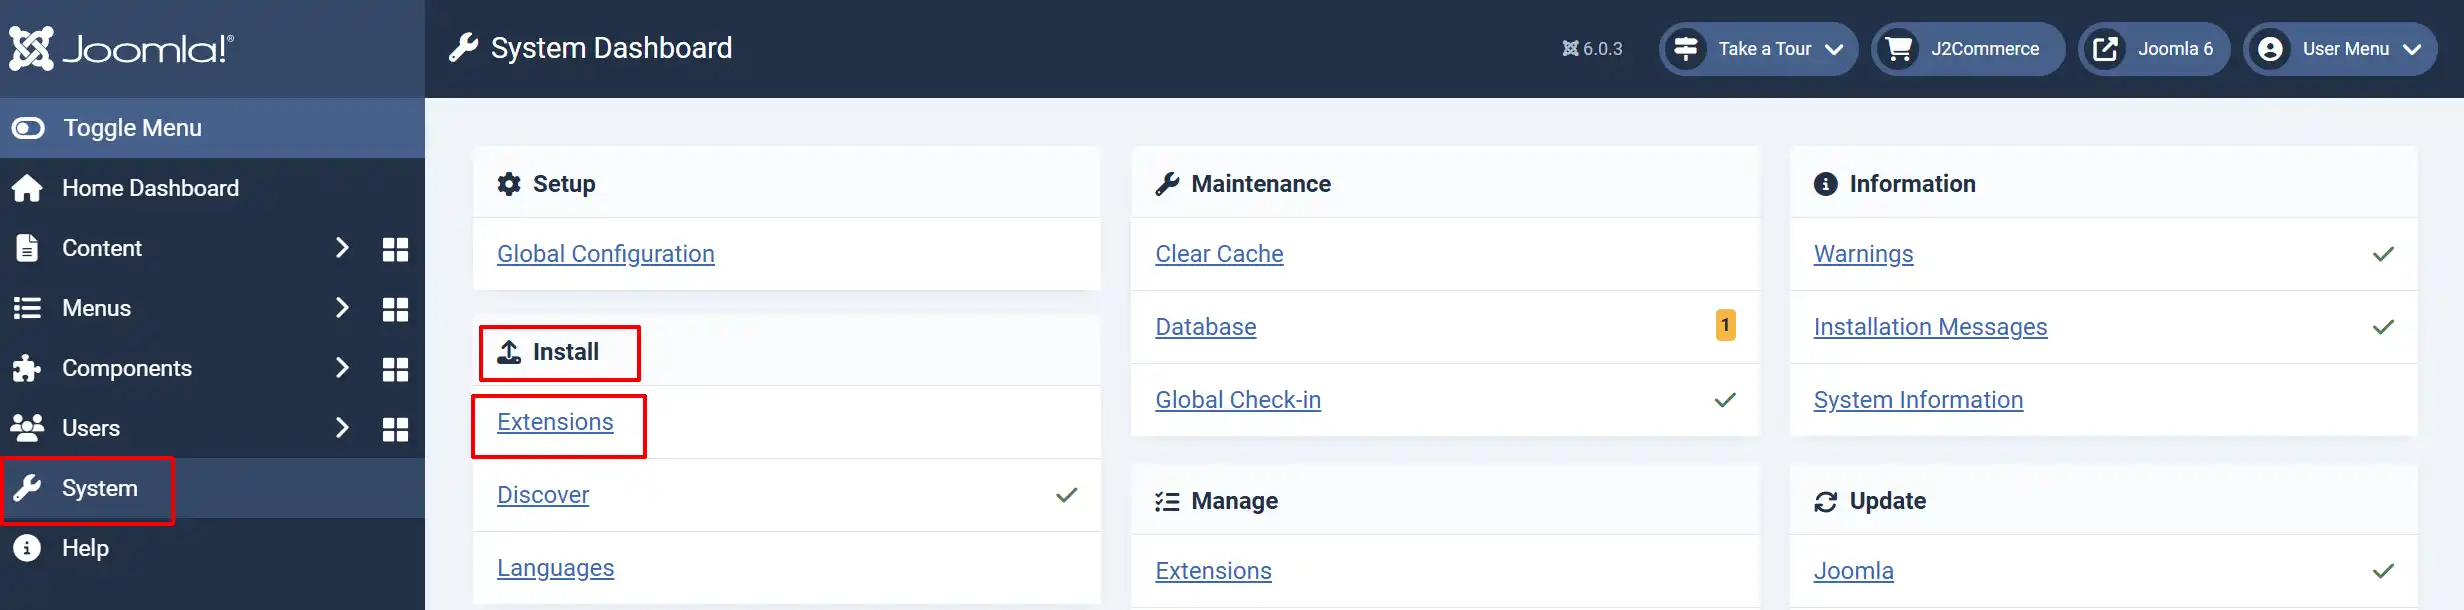
In the Joomla admin, go to System -> Install -> Extensions
Upload the payment_paytabs.zip file or use the Install from URL option.
Enable the Plugin
Once you have installed the extension, you will need to enable it. There are two ways you can access the extension.
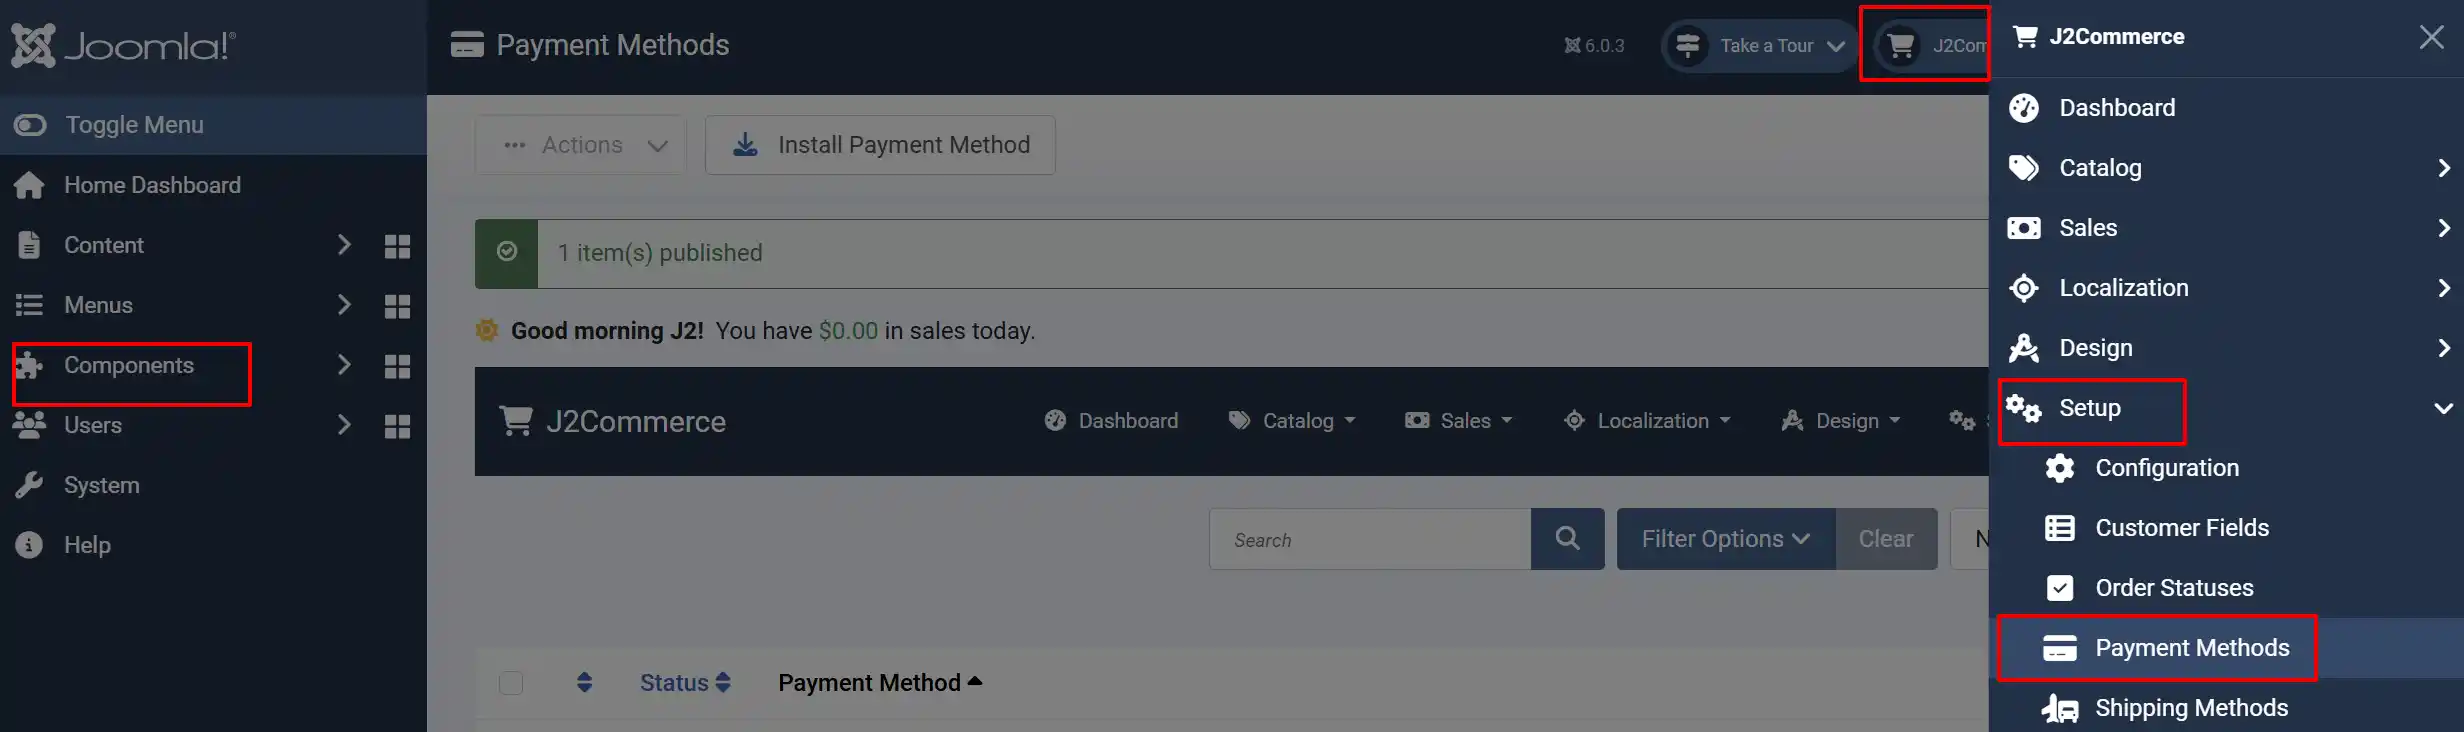
Option A: Go to the J2Commerce icon at the top right corner -> Setup -> Payment Methods
Option B: Go to Components on the left sidebar -> J2Commerce -> Dashboard -> Setup -> Payment Methods
Look for PayTabs Payment, click the X, and it will turn into a green checkmark. It is now enabled and ready for setup.

Configure the Plugin
Click the PayTabs Payment name to open the settings screen.
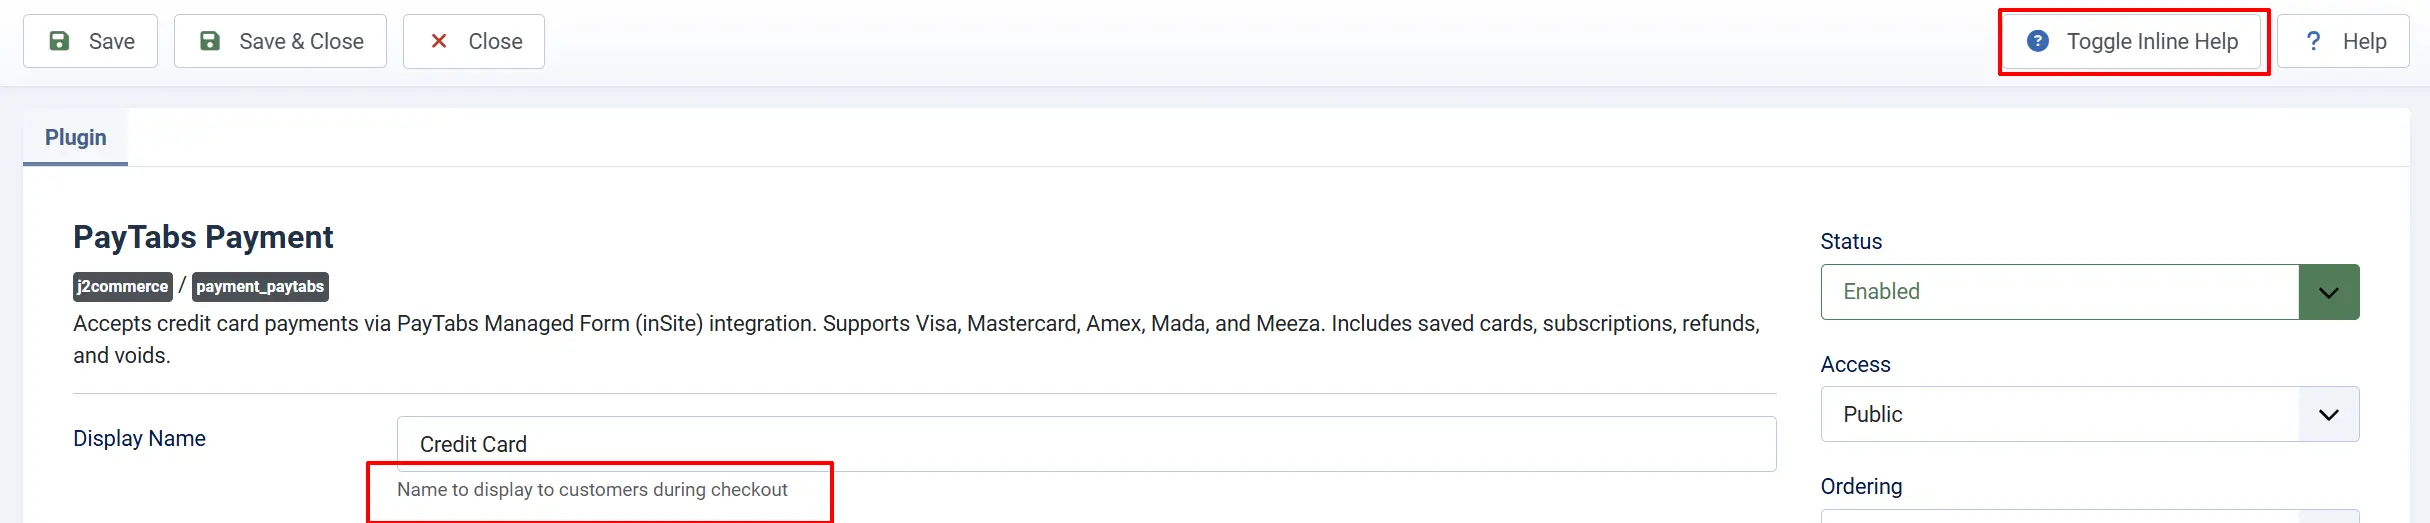
Click the Toggle Inline Help button in the toolbar and a description will appear below each field as you configure it.
Display Settings
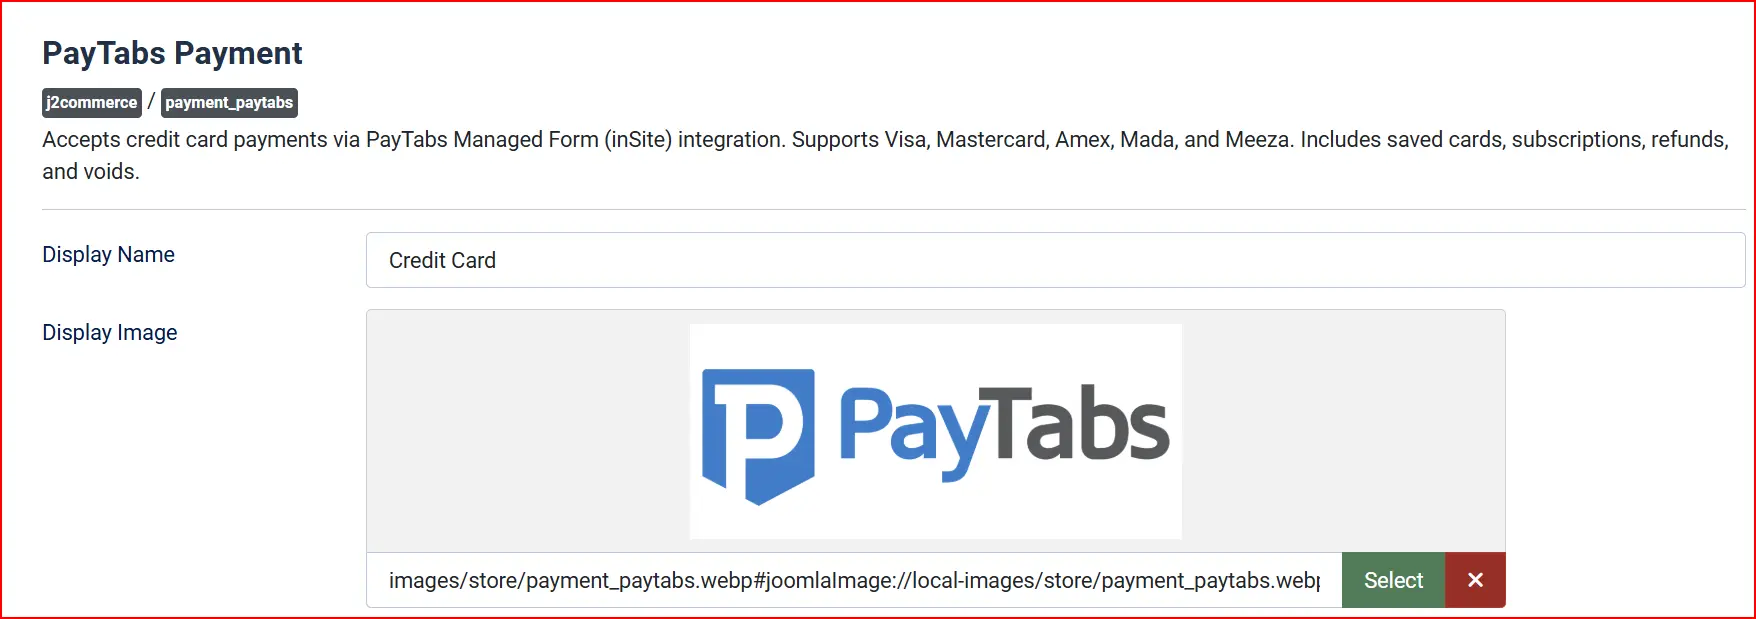
Display Name: The payment option name shown to customers at checkout (e.g., "Credit Card" or "Pay by Card")
Display Image: Upload a logo or card icons to show next to the payment option
Transaction Type

-
Auth & Capture: Charges the customer's card immediately when they place the order. This is the standard choice for most stores.
-
Auth Only: Reserves the funds but does not charge the card. You then capture (collect) the payment manually from the admin order page when you are ready to ship.
Region
Select the region that matches your PayTabs merchant account location. The region controls which PayTabs server handles your payments. Choose the option that matches your country:
- Saudi Arabia
- UAE (United Arab Emirates)
- Egypt
- Oman
- Jordan
- Iraq
- Kuwait
- Qatar
- Morocco
- Bahrain
- Global
Selecting the wrong region will cause all payments to fail. Match this setting to the country where your PayTabs account is registered.
Credentials

Sandbox Test Mode
Enable Test Mode to use your sandbox credentials and process dummy payments without charging any real cards. Set this to No when you are ready to go live.
When Test Mode is off, fill in your live credentials. When Test Mode is on, fill in your test credentials. Both sets of fields appear separately so you can switch between them easily.
Profile ID: Your numeric merchant profile identifier from the PayTabs portal
Server Key: Your secret server key — paste it in and keep it confidential
Client Key: Your browser-side key used to load the secure card input fields
Never share your Server Key publicly or paste it into any frontend code. It must stay on the server side only.
Accepted Card Types

Choose which card networks to accept. You can select multiple options:
- Visa
- Mastercard
- American Express
- Mada — Saudi Arabia's national debit card scheme
- Meeza — Egypt's national card scheme
Allow Saved Cards
When enabled, logged-in customers can tick a box at checkout to save their card for future orders. On their next purchase they can simply select the saved card instead of entering their details again. Saved cards are also used for automatic subscription renewal payments.
Set this to No if you prefer customers to always enter their card details fresh each time.
Template Style
If your site uses the UIkit template framework, choose UIkit from the layout dropdown. Otherwise leave this on the default Bootstrap 5 layout.
Order Statuses
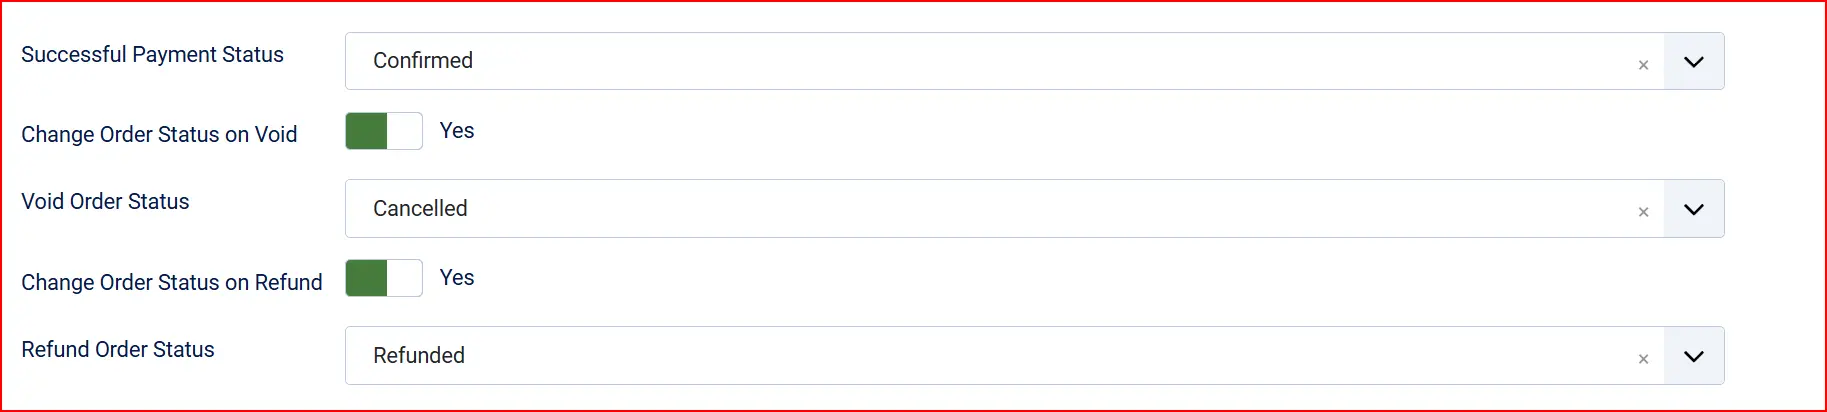
Successful Payment Status: The order status applied when a payment is confirmed. "Confirmed" is the typical choice.
Change Order Status on Void: When enabled, voiding a transaction automatically moves the order to a status you choose.
- Void Order Status: The order status to set after a successful void. Only visible when the option above is enabled.
Change Order Status on Refund: When enabled, processing a refund automatically moves the order to a status you choose.
- Refund Order Status: The order status to set after a successful refund. Only visible when the option above is enabled.
If the status you want is not listed in a dropdown, create a new one first by going to J2Commerce -> Setup -> Order Statuses.

Surcharge / Payment Fee

If PayTabs charges you a processing fee and you want to pass part or all of it on to customers, fill in these fields:
Surcharge Name: The label shown to customers (e.g., "Card processing fee")
Surcharge %: A percentage of the order subtotal added as a fee (e.g., 2.5 for 2.5%)
Surcharge Fixed Amount: A flat fee added to every order (e.g., 0.50 for $0.50)
Surcharge Tax Class: Select a tax profile if the fee itself needs to be taxed
Leave all three blank if you do not want to add a fee.
Availability Restrictions

Geozone Restriction: Only show this payment method to customers whose billing address falls inside a specific geozone. Leave blank to show it to everyone.
Minimum Order Subtotal: Hide this payment method if the order subtotal is below this amount. Leave blank for no minimum.
Maximum Order Subtotal: Hide this payment method if the order subtotal is above this amount. Leave blank for no maximum.
Custom Messages
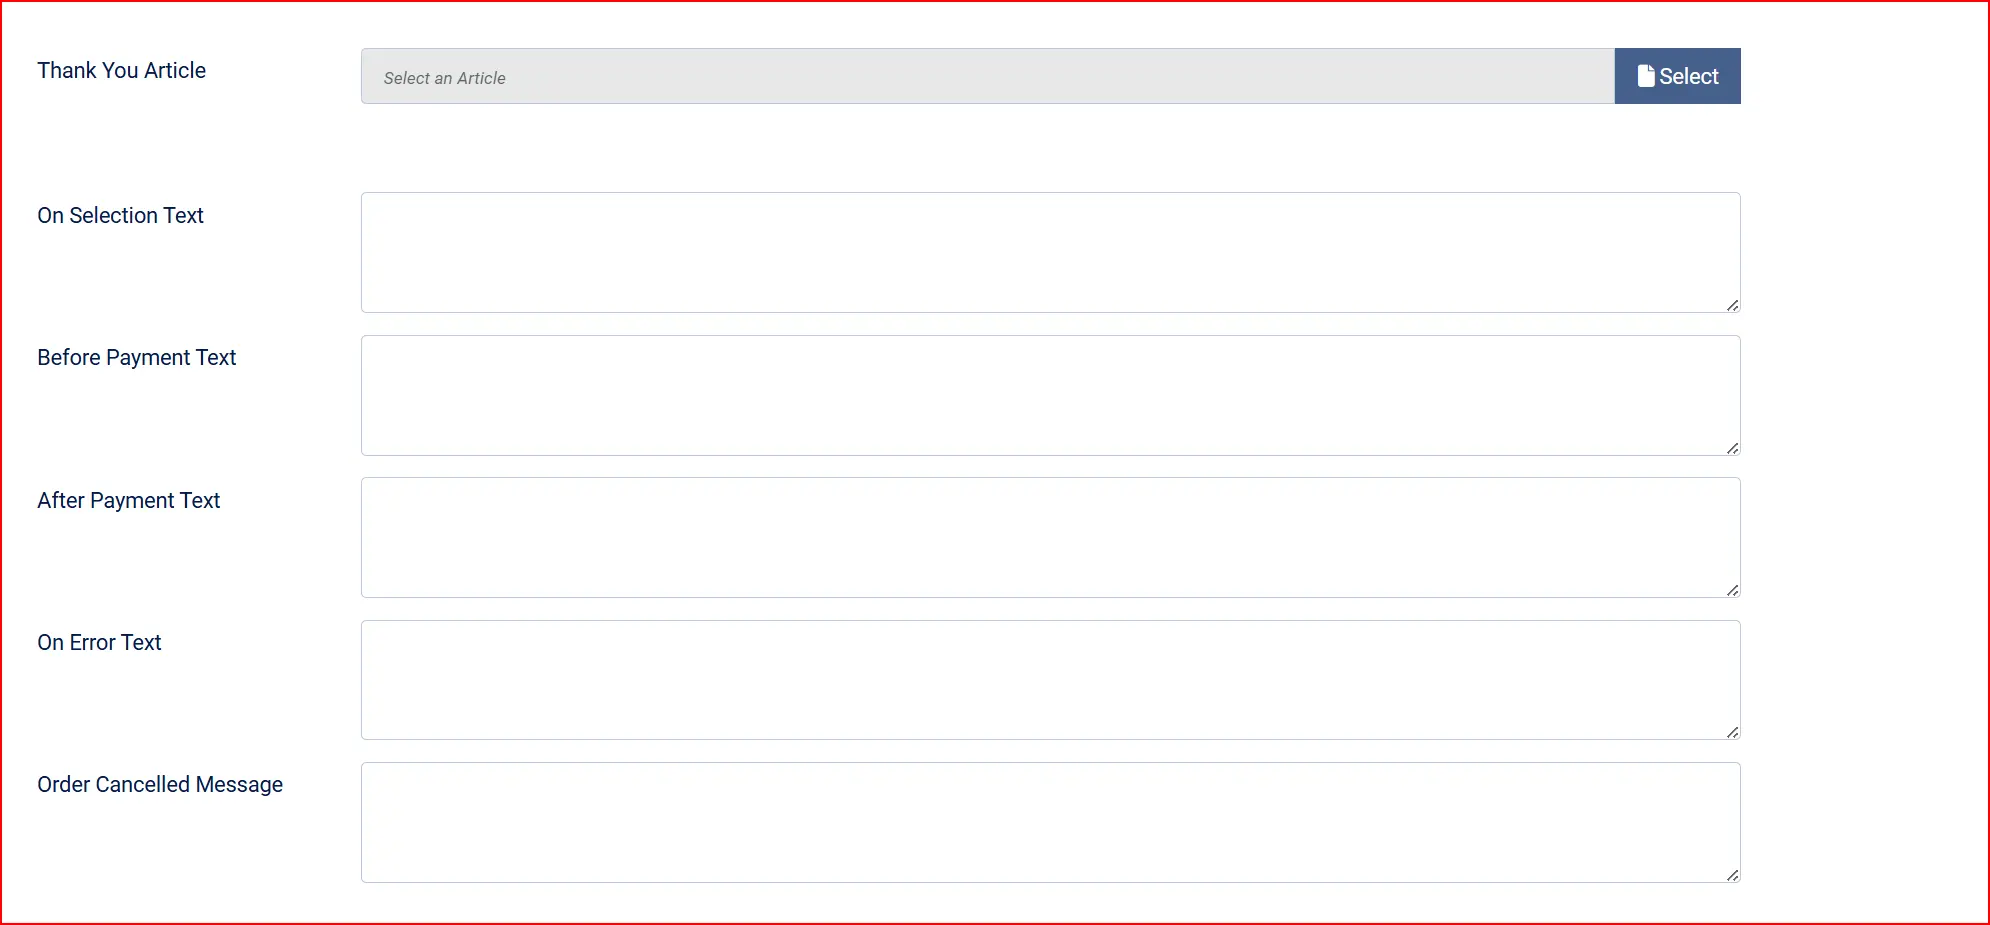
Use the Thank You Article field to select a Joomla article that appears on the order confirmation page after a successful payment. This is a good place for delivery instructions, next-step information, or a personal note.
These optional text fields let you add HTML messages at specific moments during checkout:
On Selection: When the customer chooses PayTabs as their payment method
On Before Payment: Inside the payment form area, above the card input
On After Payment: On the order confirmation page after a successful payment
On Error Payment: When a payment attempt fails
On Cancel Payment: When the customer cancels the payment process
Dashboard Icon & Debug Mode

Show Dashboard Icon: When enabled, this plugin adds an icon tile to the J2Commerce dashboard and the J2Commerce quick icons module.
- Icon Label: Override the default label shown on the icon tile. Leave empty to use the plugin default.
Enable Debug Mode to log all communication between J2Commerce and PayTabs. This is helpful when diagnosing configuration issues. Logs are written to the Joomla system log file. Disable this on a live store once everything is working.
What the Customer Sees
When a customer reaches checkout and selects the PayTabs payment option:
- The checkout page shows a Place Order button with a note that they will be redirected to PayTabs' secure page.
- If the customer has previously saved a card, their saved cards appear as radio button options. They can choose a saved card or select Use a new card.
- When paying with a saved card, the payment happens on-site — no redirect.
- When paying with a new card, clicking Place Order redirects the customer to the PayTabs-hosted payment page where they enter their card details in a PCI-compliant environment.
- After entering their details on the PayTabs page, the customer is returned to your store and lands on the order confirmation page.
- If the customer ticks Save this card for future purchases, the card is stored for their account and available on their next visit.
PayTabs handles card security on their end. Your store never receives or stores raw card numbers, which means your store qualifies for the simplest level of PCI compliance (SAQ A).
Managing Payments from the Order Screen
Once a customer has paid, additional actions are available from the J2Commerce -> Sales -> Orders -> open the order screen.
Void a Transaction
If you chose Auth Only as the transaction type, the customer's card was reserved but not charged. You can Void the reservation from the order screen. This releases the funds back to the customer and is typically used when you cannot fulfill the order.
Refund a Payment
From the order screen you can issue a full refund (the entire order amount) or a partial refund (a specific amount you enter). The money is returned to the customer's original card. J2Commerce records the refund in the order history automatically.
Charge a Stored Card (Admin)
If a customer has saved cards on file and an order has not yet been paid, you can charge one of their saved cards directly from the order screen without the customer needing to log in and go through checkout again. This is useful for phone orders or subscription renewals that need manual intervention.
Tips
- Start in Test Mode — Configure your test credentials first, process a few dummy payments to confirm everything works, then switch to live credentials.
- Match the region to your account — This is the most common configuration mistake. Double-check that the region you select matches the country where your PayTabs account is registered.
- Enable saved cards for subscription stores — If you sell subscription products, saved cards enable automatic renewal payments without asking the customer to re-enter their details each cycle.
- Use the surcharge to recover fees — PayTabs charges a processing fee per transaction. The surcharge fields let you offset this cost transparently.
- Check the dashboard warning — When Test Mode is on, a warning banner appears on the J2Commerce dashboard to remind you that real payments are not being processed.
Troubleshooting
Payments Fail Immediately After Setup
Cause: Credentials are missing or the wrong region is selected.
Solution:
- Go to J2Commerce -> Setup -> Payment Methods -> open PayTabs Payment.
- Confirm the Region matches your PayTabs account country.
- Confirm all three credentials (Profile ID, Server Key, Client Key) are pasted in correctly with no leading or trailing spaces.
- Enable Debug Mode, attempt a test payment, then check the Joomla log file (go to System -> System Information -> Directory Permissions to find the log path).
The PayTabs Option Does Not Appear at Checkout
Cause: The plugin is disabled, the order subtotal is outside the configured limits, or the customer's billing address is outside the configured geozone.
Solution:
- Go to J2Commerce -> Setup -> Payment Methods and confirm the PayTabs row shows a green enabled status.
- Check Minimum Order Subtotal and Maximum Order Subtotal — if set, verify the current cart total falls within the range.
- Check Geozone Restriction — if set, verify the customer's billing country is inside that geozone.
Customer Is Redirected to PayTabs But Payment Does Not Confirm Back
Cause: PayTabs uses a server-to-server notification (IPN — Instant Payment Notification) to tell J2Commerce the payment succeeded. If your server is not publicly reachable (e.g., a local development site), the notification cannot arrive.
Solution: Test on a publicly accessible server or use a tunnelling tool to expose your local environment. The PayTabs IPN URL is your store URL — make sure it is reachable from the internet.
"Payment gateway is not configured" Error at Checkout
Cause: One or more of the three required credentials (Profile ID, Server Key, Client Key) is empty.
Solution: Open the plugin settings and confirm all three credential fields are filled in for the currently active mode (live or test).
Saved Cards Do Not Appear at Checkout
Cause: The customer is not logged in, or Allow Saved Cards is disabled in the plugin settings.
Solution:
- Confirm the customer is logged into their account (guests cannot use saved cards).
- Open the plugin settings and check that Allow Saved Cards is set to Yes.
A Refund or Void Fails
Cause: Voids can only be performed on authorized (uncaptured) transactions. Refunds can only be performed on captured (charged) transactions. Attempting the wrong action for the transaction state will fail.
Solution: Check the order history tab to confirm the original transaction status, then use the correct action: Void for an uncaptured auth, Refund for a completed charge.