ZarinPal Payment
ZarinPal is Iran's most widely used online payment gateway, processing card payments for millions of Iranian shoppers. When a customer chooses ZarinPal at checkout, they are redirected to the ZarinPal secure payment page, complete their transaction there, and are then returned to your store with a confirmed result.
This plugin is a separate add-on available from the J2Commerce Extensions Store. It is not included with the core J2Commerce 6 component.
Prerequisites
Before configuring this plugin, make sure you have:
- A ZarinPal merchant account at zarinpal.com
- Your Merchant ID — a UUID (GUID) in the format
xxxxxxxx-xxxx-xxxx-xxxx-xxxxxxxxxxxx, found in your ZarinPal dashboard under the terminal/merchant settings - Your store's currency set to either IRR (Iranian Rial) or IRT (Iranian Toman) — see the Amount Currency section below for the critical difference between them
For testing, no live account is required. The ZarinPal sandbox (sandbox.zarinpal.com) works with any placeholder merchant ID.
Purchase and download
This plugin is a separate add-on available from the J2Commerce Extensions Store. It is not included with the core J2Commerce 6 component.
- Go to the J2Commerce website and locate ZarinPal Payment .
- Add it to your cart and complete checkout.
- Go to My Downloads under your account profile and find the plugin.
- Click Available Versions -> View Files -> Download Now to download the ZIP file.
Install the plugin
In the Joomla Administrator, go to System -> Install -> Extensions.
Upload the plg_j2commerce_payment_zarinpal.zip file.

Enable the Plugin
Once you have installed the App, you will need to enable it. There are two ways you can access the App.
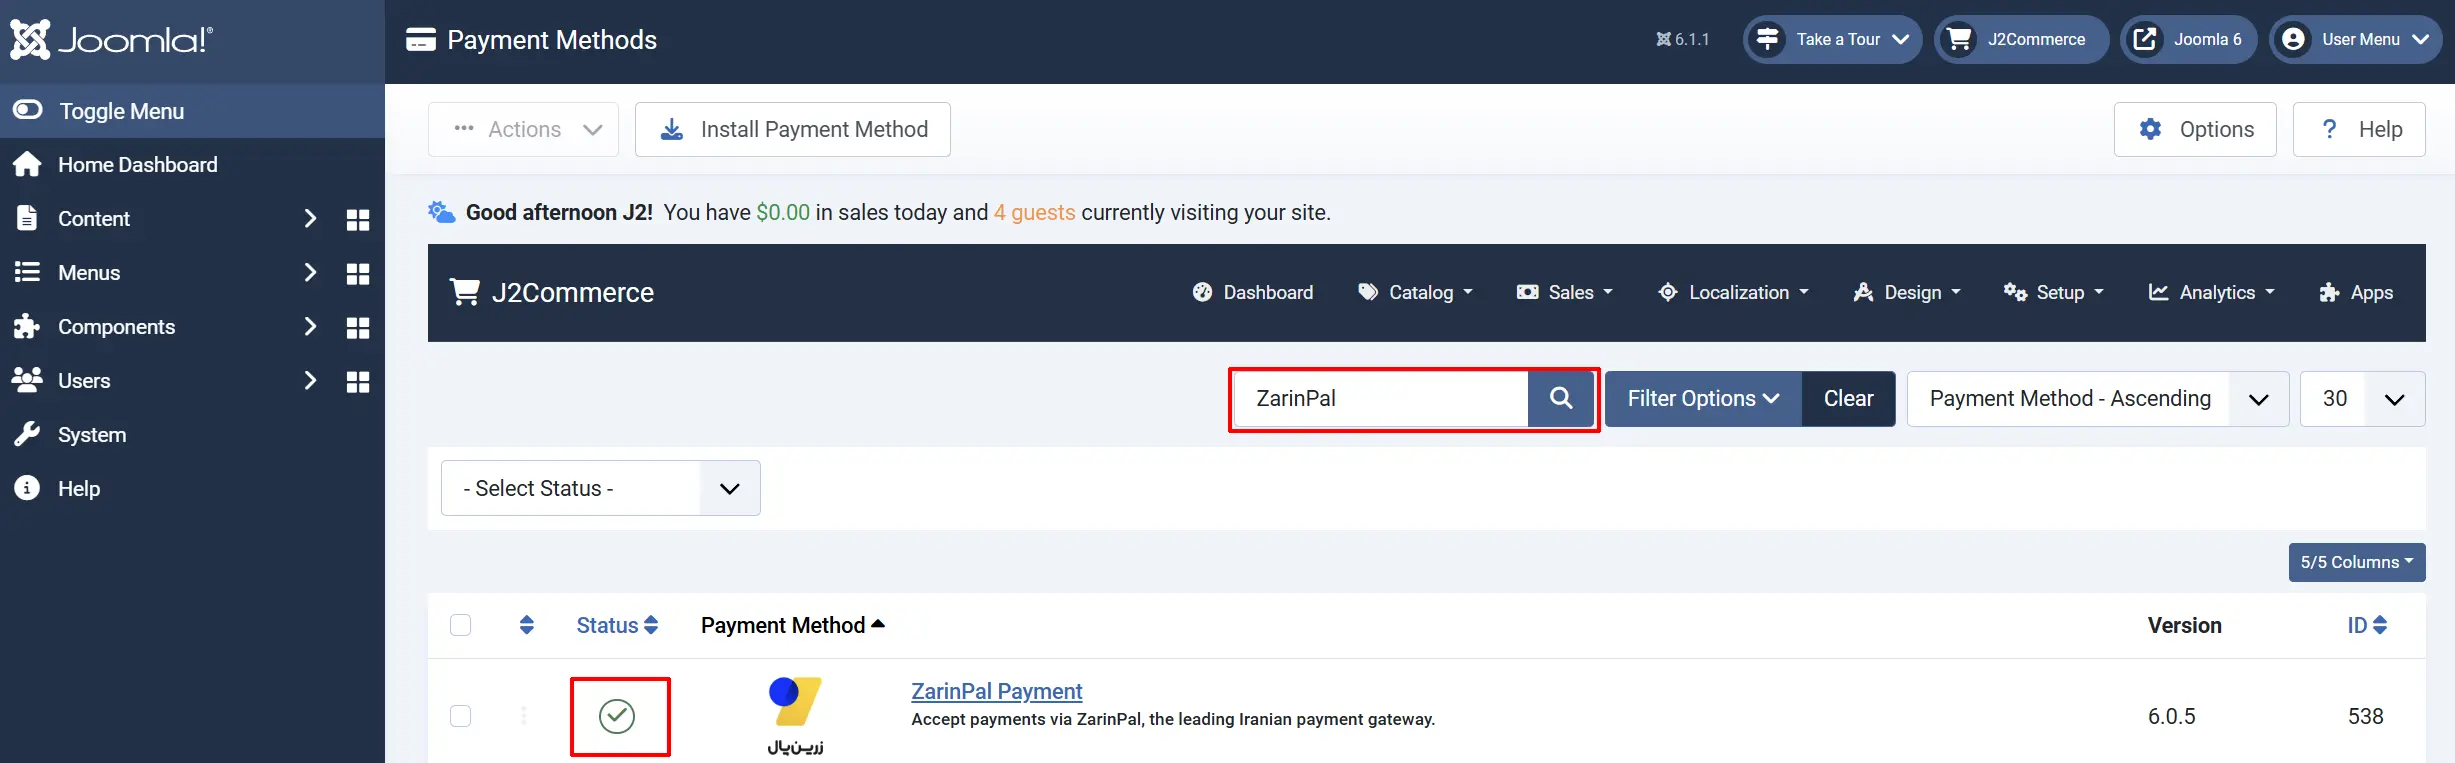
Option A: Go to the J2Commerce icon at the top right corner -> Setup -> Payment Methods
Option B: Go to Components on the left sidebar -> J2Commerce -> Dashboard -> Setup -> Payment Methods

To help you narrow down the list, you can do a search for ZarinPal Payment , click the X, and it will turn into a green checkmark. It is now enabled and ready for setup.
Configure the Plugin
Click the Toggle Inline Help button at the top of any plugin configuration page to show a short description beneath each field.

Display Settings
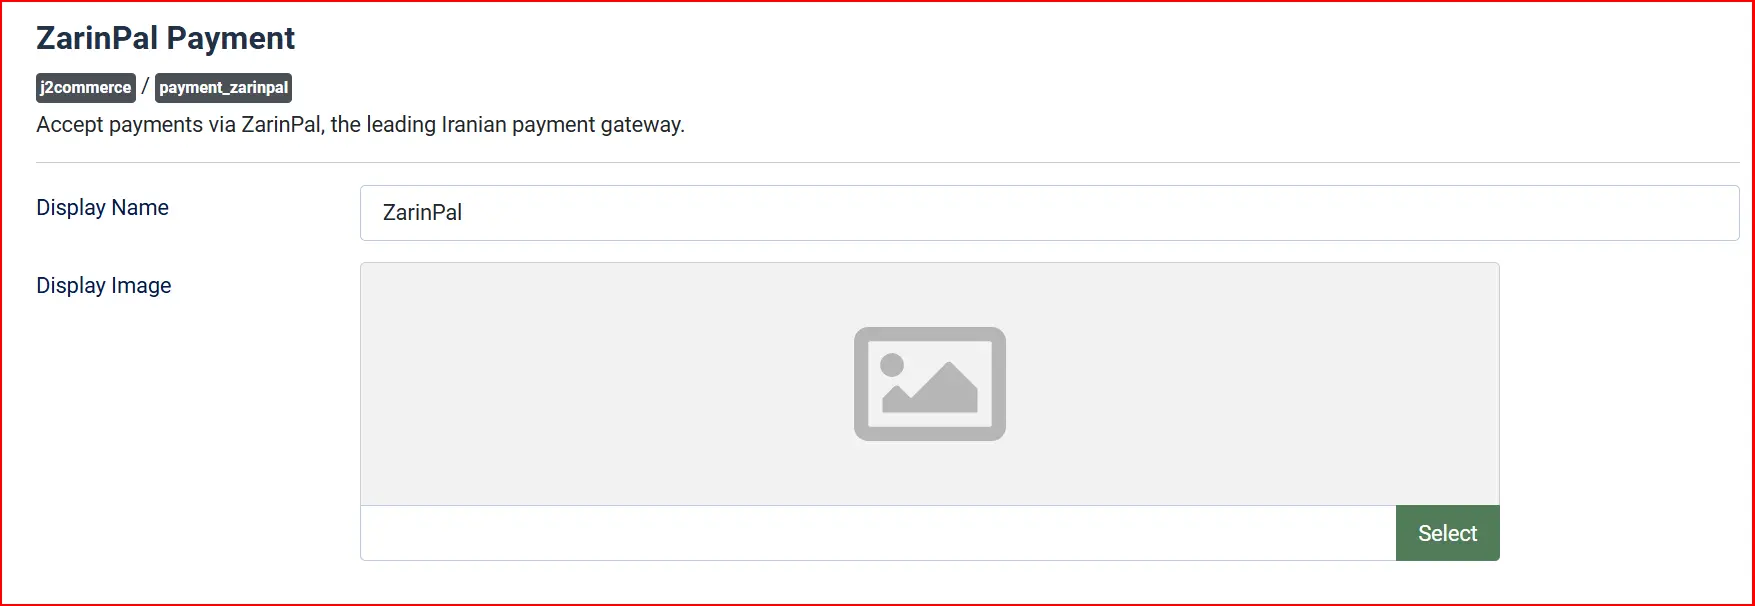
Display Name: Text shown to the customer at checkout (default: "ZarinPal")
Display Image: Logo or icon shown next to the payment option
Credentials

Find the Merchant ID field and paste your UUID from the ZarinPal merchant dashboard.
The field only appears when Sandbox Mode is set to No. When Sandbox Mode is Yes, the Sandbox Merchant ID field appears in its place — you can leave that field empty or enter any placeholder value for testing.
Merchant ID: Your live ZarinPal UUID (shown when Sandbox = No)
Sandbox Merchant ID: Your test UUID (shown when Sandbox = Yes)
Set Sandbox Mode to Yes while testing, and to No for a live store.
When Sandbox Mode is on, the plugin points to sandbox.zarinpal.com instead of the live gateway. No real charges are made. The sandbox redirects to a test payment page where you can simulate a successful or failed transaction.
Currency — Rial vs Toman

This is the most important setting to get right. ZarinPal's API accepts amounts in either IRR (Iranian Rial) or IRT (Iranian Toman), and your store currency must match this selection.
The key fact: 1 Toman = 10 Rials. Iran informally uses Toman for most prices, but the Rial is the official currency. If you send 50,000 to ZarinPal but the shopper sees 5,000 on the payment page (or vice versa), this setting is the cause.
| Setting | Currency Unit | What happens to the amount |
|---|---|---|
| IRR — Iranian Rial (default) | Rial | Sent as-is to ZarinPal |
| IRT — Iranian Toman | Toman | Divided by 10 before sending to ZarinPal |
Set this to match the unit your store uses for product prices. If your products are priced in Toman (e.g., a product costs 50,000 Toman), choose IRT. If prices are in Rial, choose IRR.
Access Token (for Refunds)

The Access Token field is optional and only needed if you plan to process refunds through the ZarinPal GraphQL API. Leave it empty if you do not need refunds — they can always be issued manually through the ZarinPal merchant portal instead.
Terminal ID: Required for refunds. Your ZarinPal terminal identifier from the ZarinPal panel. Used with the Access Token to look up the payment session before a refund is issued. Leave empty if refunds are not needed.
Template Style

Template Style: Choose the frontend template layout for checkout forms and saved card displays. Options depend on your site's template framework.
Available subtemplates: Bootstrap 5 and UIkit. Leave blank to use the default layout. If your Joomla template is UIkit-based (e.g., YOOtheme Pro), select the UIkit subtemplate for consistent styling.
Order Status

Successful Payment Status: Order status applied when payment verification returns code 100 or 101
Failed Order Status: Order status applied when the customer cancels or verification fails
You can change these to any status in your J2Commerce order status list.
If the status you want is not listed in a dropdown, create a new one first by going to J2Commerce -> Setup -> Order Statuses.

Surcharge (Optional)

If ZarinPal processing costs need to be passed to the customer, fill in the surcharge fields:
Surcharge Name: Label shown in the cart, e.g. "Payment fee"
Surcharge (%): Percentage of the order total
Surcharge (fixed): Fixed amount added to the order
Surcharge Tax Class: Tax profile to apply to the surcharge (leave empty for no tax)
Restrictions

Geozone Restriction: Limit this payment method to specific countries/regions
Minimum Subtotal: Hide this method if cart is below a minimum value
Maximum Subtotal: Hide this method if cart exceeds a maximum value
Custom Checkout Messages
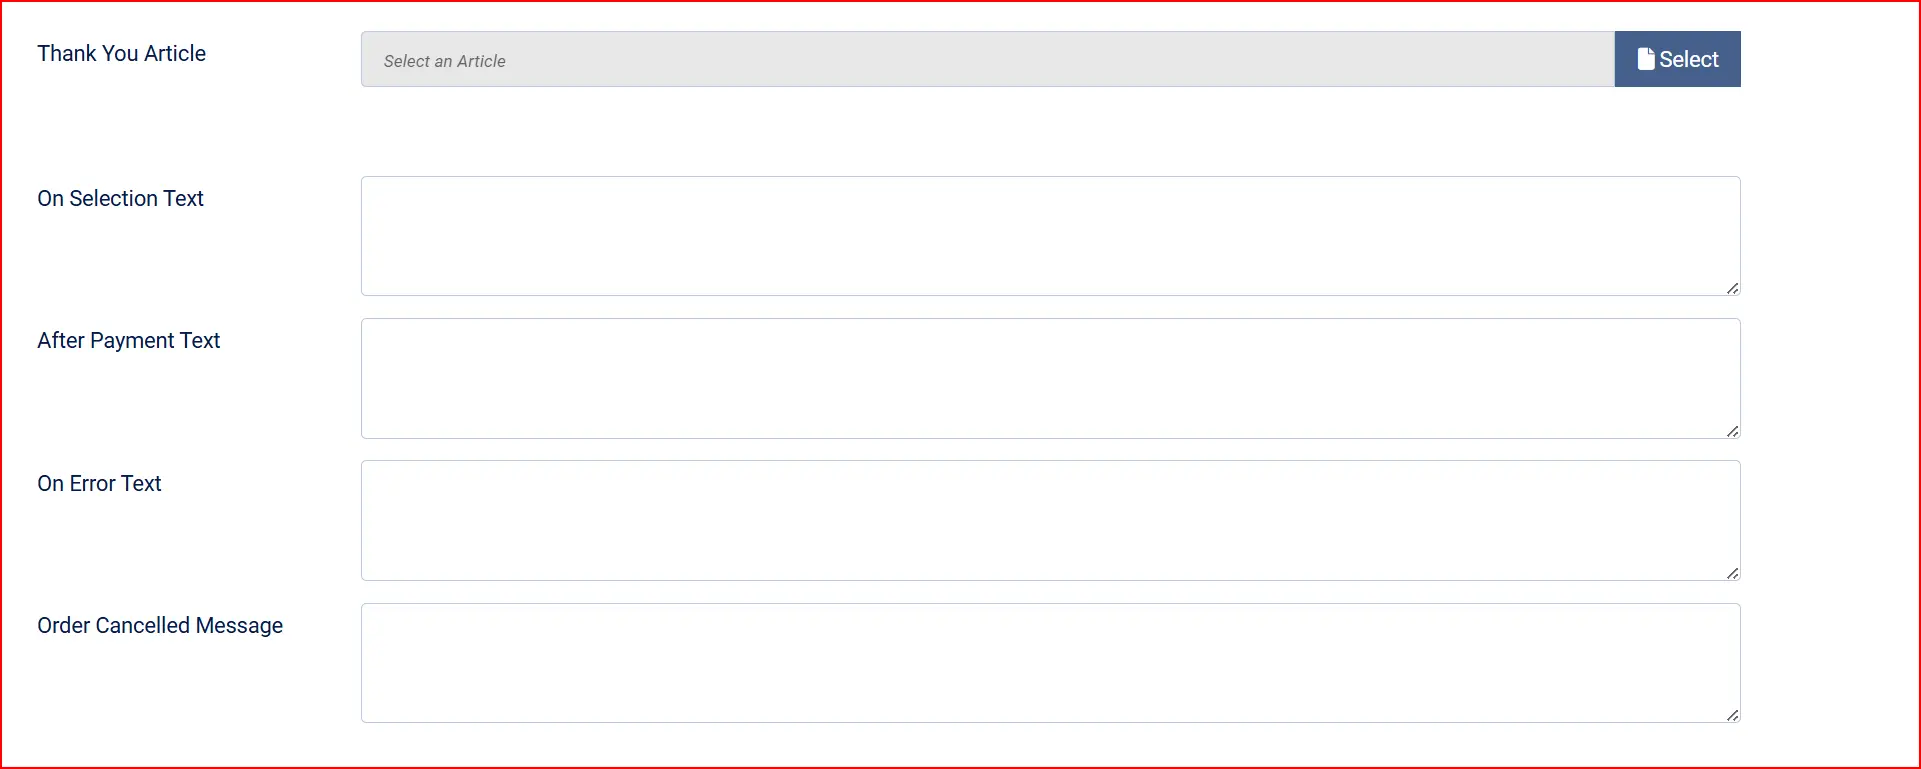
Thank-You Article: A Joomla article to display after successful payment
On Selection: Text shown when the customer selects this payment method
On After Payment: Text shown on the success screen after payment
On Error Payment: Text shown when a gateway error occurs
On Cancel Payment: Text shown when the customer cancels payment
Other Settings
Show Dashboard Icon: When enabled, this plugin adds an icon tile to the J2Commerce dashboard and the J2Commerce quick icons module.
- Icon Label: Override the default label shown on the icon tile. Leave empty to use the plugin default.
Debug Mode: Log all API requests and responses — disable in production
Click Save when done.
How the Checkout Flow Works
From a shopper's perspective, paying with ZarinPal looks like this:
- The shopper reaches the Order Confirmation step and selects ZarinPal as their payment method.
- They click the Pay via ZarinPal button.
- The store sends a payment request to ZarinPal in the background. On success, the shopper is automatically redirected to
zarinpal.com/pg/StartPay/[authority]— the ZarinPal secure payment page. - The shopper enters their Iranian bank card details and confirms the payment on the ZarinPal page.
- ZarinPal redirects the shopper back to your store.
- The plugin verifies the payment with ZarinPal. If the verification response code is
100(verified) or101(already verified), the order is marked as confirmed. - The shopper sees the order success screen with their ZarinPal Reference ID.
If the shopper clicks Cancel on the ZarinPal page, or if verification fails, the order is marked with the failed status you configured and the shopper sees an error message.
Testing with the Sandbox
ZarinPal provides a working sandbox environment at sandbox.zarinpal.com.
- Set Sandbox Mode to Yes in the plugin settings.
- Place a test order in your store and proceed to payment.
- You will be redirected to the ZarinPal sandbox payment page.
- Complete or cancel the test transaction.
- Return to your store and verify the order status updated correctly.
No real money is processed during sandbox testing. Switch Sandbox Mode back to No when you go live.
What's New vs the Old J2Store Plugin
If you previously used the ZarinPal plugin for J2Store, here is what changed in this J2Commerce 6 version:
| Area | Old J2Store Plugin | J2Commerce 6 Plugin |
|---|---|---|
| Architecture | FOF 2 framework, non-namespaced | Native Joomla 6 MVC, fully namespaced |
| Gateway host | api.zarinpal.com (deprecated — dead) | payment.zarinpal.com (ZarinPal v4 live host) |
| Sandbox support | No sandbox toggle | Built-in Sandbox Mode toggle |
| Amount currency | Hard-coded divide-by-10 (assumed Toman) | Configurable: IRR Rial or IRT Toman |
| SDK | Raw cURL | Official ZarinPal SDK bundled in lib/ |
| Refunds | Not supported | Refund/inquiry/reverse via GraphQL API (requires Access Token) |
| Language files | Persian hard-coded, no .ini files | Full English + Persian (fa-IR) language files |
| Error handling | Persian gate messages only | Localised error codes with English translations |
The most common breakage when migrating from the J2Store version is the gateway host. The old api.zarinpal.com endpoint no longer exists. The J2Commerce 6 plugin uses payment.zarinpal.com, which is the correct ZarinPal v4 address.
Troubleshooting
Shoppers are not redirected to ZarinPal — a gateway error appears immediately
Cause: The Merchant ID is incorrect, or the plugin cannot reach payment.zarinpal.com.
Check these:
- Verify the Merchant ID is the correct UUID from your ZarinPal merchant dashboard. A Merchant ID with the wrong format returns error code
-2("The merchant ID or acceptance terminal is not correct"). - If you just installed the plugin and are testing, make sure Sandbox Mode is set to Yes and try again — the sandbox uses a different hostname.
- Enable Debug Mode temporarily to capture the gateway response in the Joomla error log, then check System -> Logs.
The payment amount on ZarinPal's page is 10x too large or too small
Cause: The Amount Currency setting does not match the unit your store uses for prices.
Solution: If your products are priced in Toman, set Amount Currency to IRT. If priced in Rial, set it to IRR. This is the only calculation ZarinPal requires — the plugin handles the conversion automatically once the correct unit is selected.
Error code -10 — "Invalid merchant_id"
This error code means the Merchant ID UUID you entered is not recognised by ZarinPal. Double-check the value in your ZarinPal dashboard. Note that sandbox and live accounts have different Merchant IDs — use the Sandbox Merchant ID field for the sandbox account and the Merchant ID field for the live account.
The order status does not update after the shopper returns
Cause: The callback URL was not reached, or session state was lost during redirect.
Check these:
- Confirm your Joomla site is publicly accessible (not on a private IP or
localhost) so ZarinPal can redirect back. - Check that no caching plugin is caching the checkout page — the callback URL must process dynamically.
- Enable Debug Mode and re-test to see the full verification response in the Joomla log.
Refunds are not available in the plugin admin
ZarinPal refunds require an Access Token (from your ZarinPal developer panel) and are processed via the GraphQL API. Enter your access token in the Access Token field to enable refund support. If you prefer, you can issue refunds manually through the ZarinPal merchant portal without configuring the access token.
Payment completes but the order stays in Pending status
Cause: The Successful Payment Status may be set to the wrong order status, or the verification call did not complete.
Solution: Go to the plugin settings and confirm the Successful Payment Status is set to a confirmed/paid status (such as "Confirmed"). Then check the Joomla log for any verification errors.