Flo2Cash Web2Pay
Flo2Cash Web2Pay is a hosted payment page gateway for New Zealand merchants. When a customer places an order, J2Commerce redirects them to the secure Flo2Cash payment page to enter their card details. After the transaction, Flo2Cash returns the customer to your store and automatically posts the result back so the order status updates without any manual steps.
Important: Flo2Cash Web2Pay settles in New Zealand Dollars (NZD) only. Your store must have NZD configured as a currency before this gateway will work.
Prerequisites
- J2Commerce installed and active
- An active Flo2Cash merchant account with Web2Pay enabled
- NZD added as a currency in J2Commerce (see Setting up NZD)
- The Flo2Cash payment plugin purchased from the J2Commerce Extensions Store
Purchase and download
This plugin is a separate add-on available from the J2Commerce Extensions Store. It is not included with the core J2Commerce 6 component.
- Go to the J2Commerce website and locate Flo2Cash.
- Add it to your cart and complete checkout.
- Go to My Downloads under your account profile and find the plugin.
- Click Available Versions -> View Files -> Download Now to download the ZIP file.
Install the plugin
In the Joomla Administrator, go to System -> Install -> Extensions.
Upload the payment_flo2cash.zip file.

Enable the Plugin
Once you have installed the App, you will need to enable it. There are two ways you can access the App.
Option A: Go to the J2Commerce icon at the top right corner -> Setup -> Payment Methods
Option B: Go to Components on the left sidebar -> J2Commerce -> Dashboard -> Setup -> Payment Methods

To help you narrow down the list, you can do a search for Flo2Cash, click the X, and it will turn into a green checkmark. It is now enabled and ready for setup.->

Setup Before Configuration
Add NZD Currency

Before configuring the plugin, make sure your store has NZD set up.
Go to J2Commerce -> Localization -> Currencies.
Check whether New Zealand Dollar (NZD) already exists. If it does, skip to Step 2.
Click New, enter the currency details for NZD, and click Save.
Get Your Credentials from Flo2Cash
Log in to the Flo2Cash merchant portal and locate your Account ID and Secret Key. Keep the browser tab open — you will need to paste these values into the plugin configuration.
If you are setting up testing first, also note your Sandbox Account ID and Sandbox Secret Key from the Flo2Cash sandbox environment.
Configure the Plugin
Click the Toggle Inline Help button in the toolbar and the app will show a description below each field as you configure it.

Display
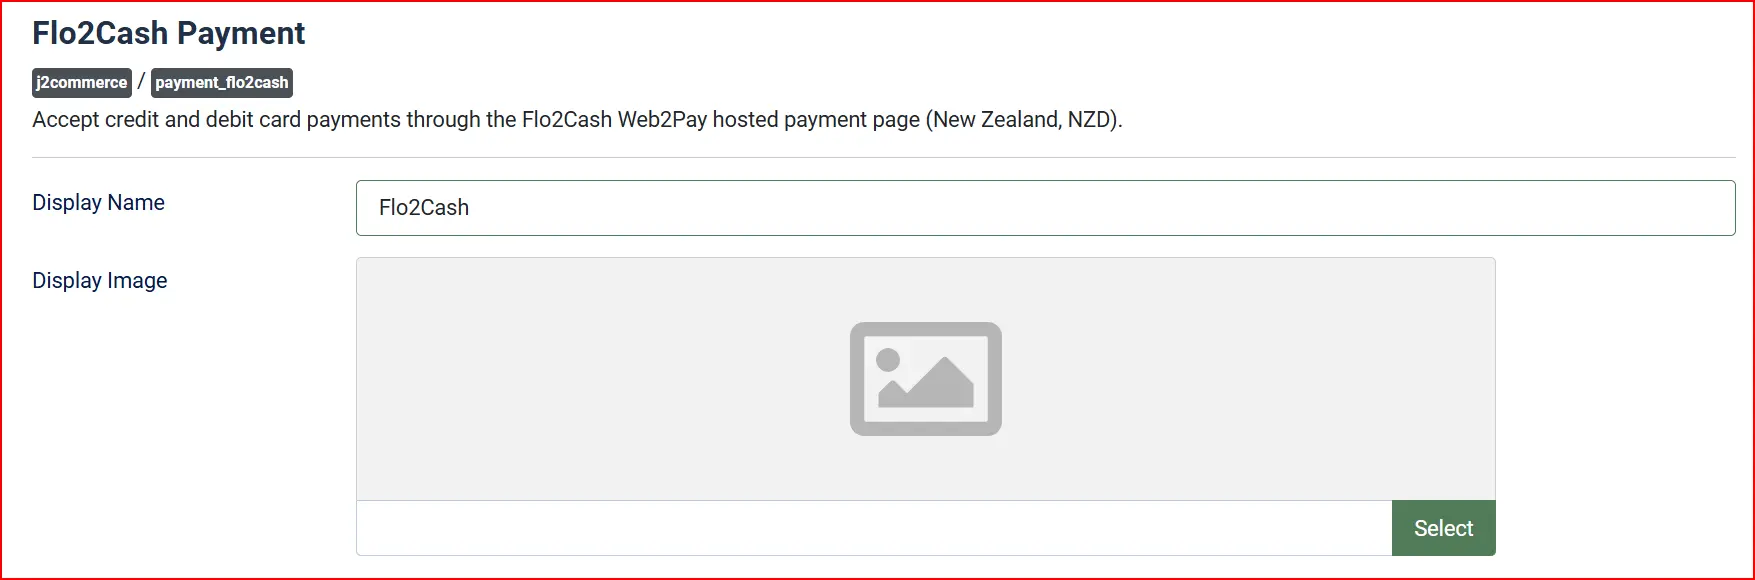
Display Name: Payment method name shown to customers during checkout
Display Image: Optional logo or image shown beside the payment method name
Credentials

Fill in the fields in the Basic section:
Account ID: Your live Flo2Cash Account ID from the merchant portal.
Secret Key: Your live Flo2Cash Secret Key
Use Sandbox: Set to No for live transactions; set to Yes while testing
Sandbox Account ID: Your Flo2Cash sandbox Account ID (visible only when Sandbox is Yes)
Sandbox Secret Key: Your Flo2Cash sandbox Secret Key (visible only when Sandbox is Yes)
When Use Sandbox is set to Yes, all transactions go to sandbox.flo2cash.com using your sandbox credentials. When it is set to No, transactions go to secure.flo2cash.co.nz using your live credentials.
Order Status

These fields control what order status J2Commerce sets after Flo2Cash responds.
Payment Received Status: Set when Flo2Cash reports the payment approved
Pending Status: Set when the transaction outcome is not yet final
Failed Status: Set when Flo2Cash declines or reports a failure
The defaults work well for most stores. Change them only if your store uses custom order statuses.
If the status you want is not listed in a dropdown, create a new one first by going to J2Commerce -> Setup -> Order Statuses.

Surcharge

Add an optional surcharge when customers pay by Flo2Cash. You can use a percentage, a fixed amount, or both — they are added together.
Surcharge Name: Label shown on the order summary (e.g., "Card Processing Fee")
Surcharge Percent: Percentage of the order total to add as a fee
Surcharge Fixed: Fixed dollar amount to add as a fee
Surcharge Tax Class: Tax profile to apply to the surcharge amount
Restrictions

Geo Zone Restriction: Limit this payment method to customers in a specific geo zone. Leave blank to show it to everyone.
Custom Messages
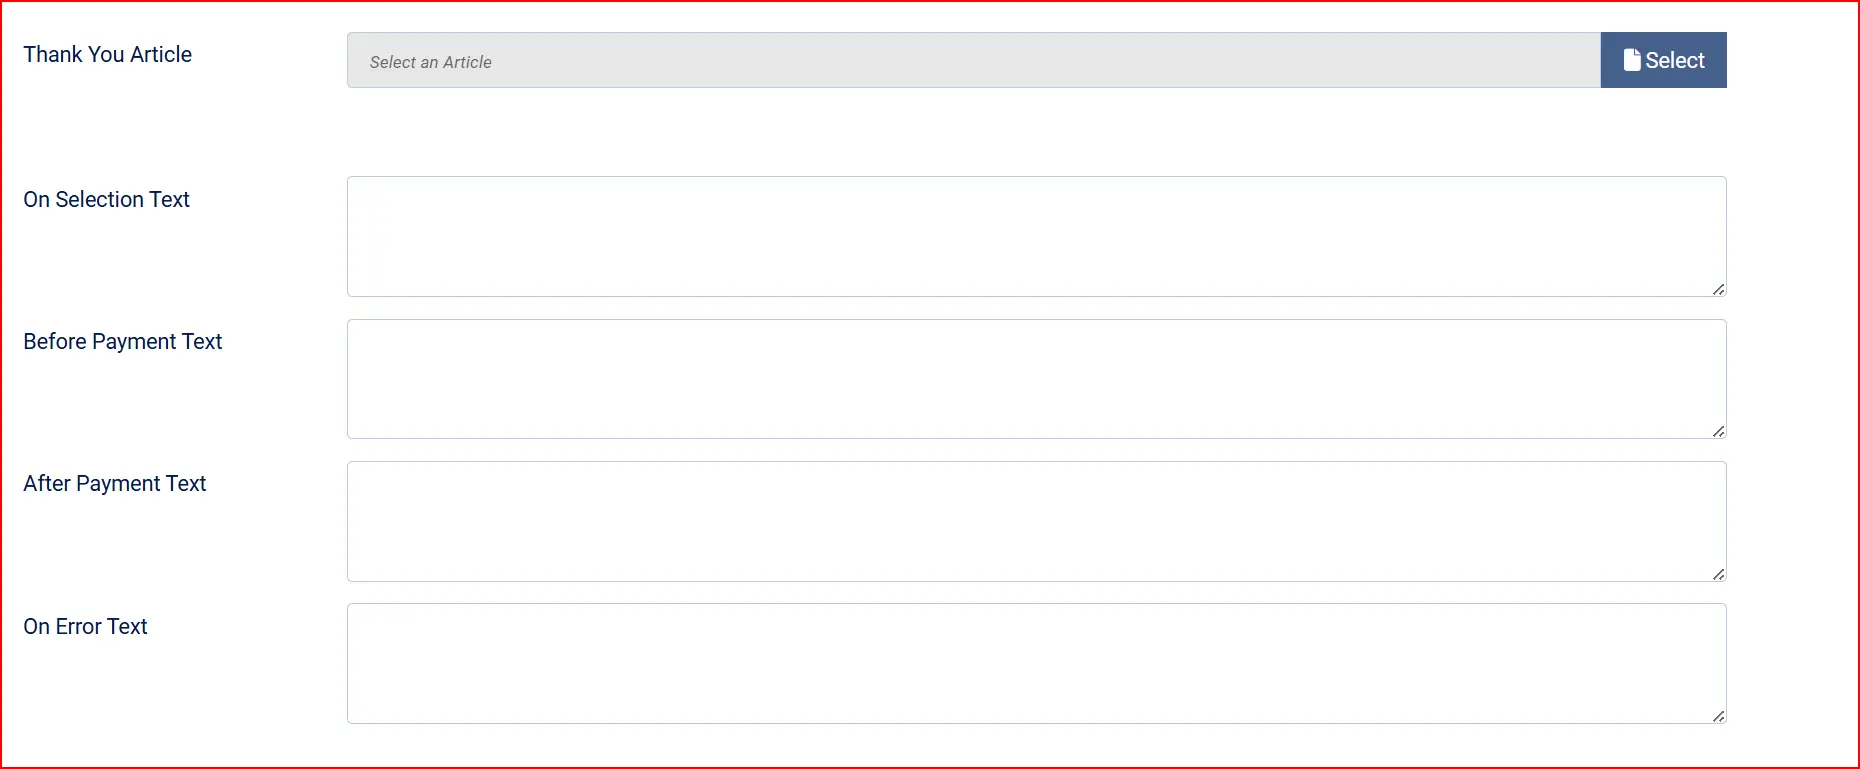
These text fields control the messages customers see at different stages of checkout. You can leave them at their defaults or customise them to match your store's voice.
Thank You Article: A Joomla article to display on the post-payment confirmation screen
On Selection: When the customer selects Flo2Cash as the payment method
"After submitting your order, you will be redirected to Flo2Cash to complete payment..."
Before Payment: On the pre-payment screen just before the customer is redirected
"Please click the button below to complete payment. You will be redirected to Flo2Cash..."
After Payment: On the confirmation screen after a successful return
"Your Flo2Cash payment is being validated now. Your order status will be updated shortly..."
On Error: When the gateway returns an error or invalid response
"There was an error processing your payment. Flo2Cash returned an invalid action."
Appearance
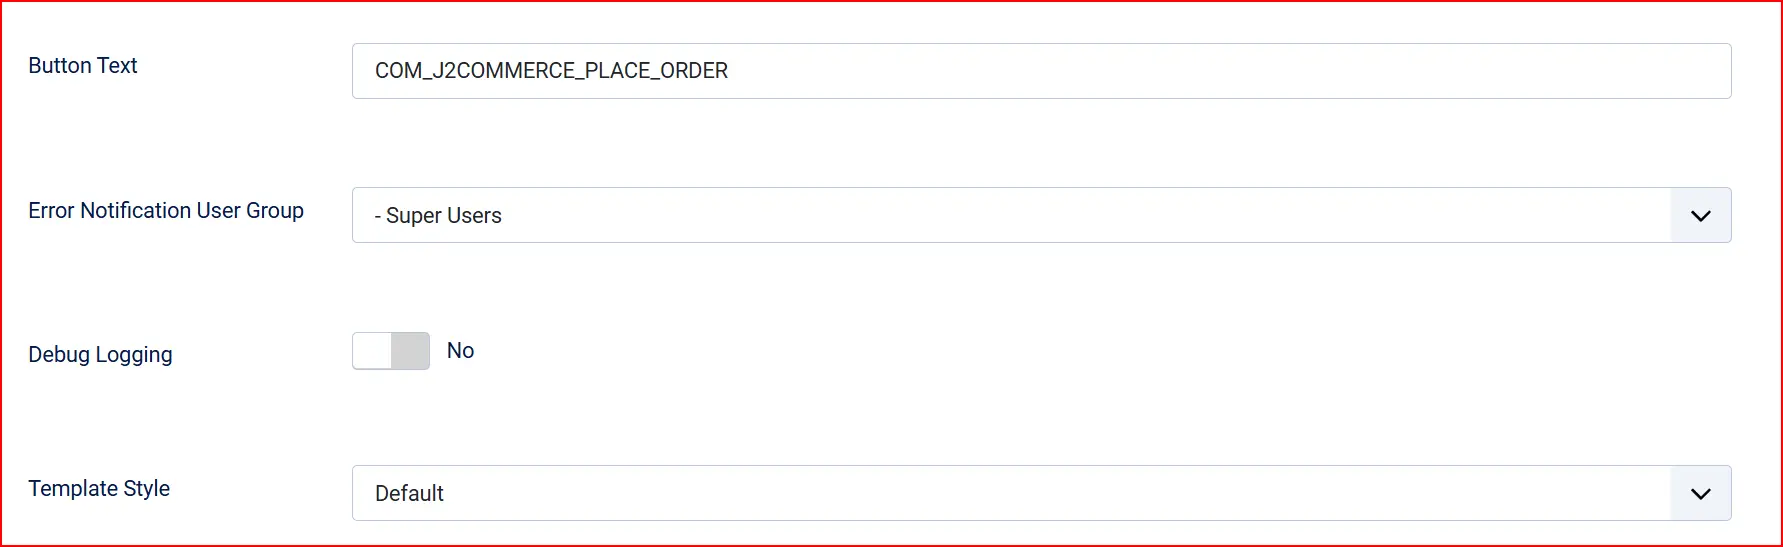
Button Text: Label on the "proceed to Flo2Cash" button
Template: Frontend template style — Bootstrap 5 or UIkit
Error Notification User Group: Members of this Joomla user group (with email notifications enabled) receive an alert when a payment fails validation
Debug Logging: Write gateway responses to the Joomla log
How the Payment Flow Works
- The customer reaches the checkout payment step and selects Flo2Cash.
- J2Commerce displays the "Before Payment" message and a button.
- The customer clicks the button and is redirected to the Flo2Cash Web2Pay page hosted at
secure.flo2cash.co.nz. - The customer enters their card details directly on the Flo2Cash-hosted page — no card data ever touches your server.
- Flo2Cash processes the payment and redirects the customer back to your store.
- Simultaneously, Flo2Cash posts the transaction result to J2Commerce's return endpoint.
- J2Commerce reads the transaction status and sets the order to Confirmed, Pending, or Failed accordingly.
- The customer sees the confirmation screen with your After Payment message.
You do not need to configure a return URL in the Flo2Cash merchant portal — the plugin builds the return URL automatically.
Security Note
Flo2Cash Web2Pay return notifications are not cryptographically signed. J2Commerce records the transaction ID and status reported by Flo2Cash, but cannot independently verify that a notification is genuine. Always reconcile your orders against the transaction history in your Flo2Cash merchant portal before dispatching goods for high-value orders.
When debug logging is on, gateway responses are written to the Joomla log under the category plg_j2commerce_payment_flo2cash. Card numbers and sensitive card data are never written to the log.
Subscription Support
Flo2Cash Web2Pay is a redirect-based gateway and does not support stored payment tokens. Subscription products with automatic recurring billing are not supported with this gateway. If your store sells subscriptions, use a gateway that supports card vaulting, such as Stripe or Braintree.
What's New in J2Commerce 6
If you previously used Flo2Cash with J2Store, the J2Commerce 6 version brings several improvements:
- Surcharge support — add a percentage or fixed fee when customers pay by Flo2Cash.
- Geo zone restriction — limit Flo2Cash to customers in specific regions.
- Configurable order status mapping — choose exactly which status is applied for confirmed, pending, and failed payments.
- Bootstrap 5 and UIkit 3 templates — the checkout form renders correctly with both the Bootstrap 5 and UIkit app templates.
- Safer transaction logging — only safe, non-sensitive fields (transaction ID, status, response text) are ever written to the log. No card data is recorded.
- Native Joomla 6 architecture — built on the Joomla 6 MVC framework with namespaced PHP classes, no legacy FOF dependency.
Troubleshooting
"Flo2Cash settles in New Zealand Dollars (NZD). Please add the NZD currency..."
Cause: The NZD currency has not been added to J2Commerce, or it is disabled.
Solution:
- Go to J2Commerce -> Localization -> Currencies.
- Click New and add NZD, or click the existing NZD row and set it to Enabled.
- Click Save.
Order status stays at "Pending" after the customer returns from Flo2Cash
Cause: The post-payment notification from Flo2Cash may not have reached your store. This can happen if your server blocks external POST requests, or if the customer closed their browser before the redirect completed.
Solution:
- Enable Debug Logging in the plugin configuration.
- Place a test order and check System -> Logs for entries from
plg_j2commerce_payment_flo2cash. - If no log entries appear at all, your server firewall may be blocking the return from Flo2Cash. Contact your hosting provider.
- If log entries show an error, note the error message and check your Account ID and Secret Key are correct.
- You can manually update the order status from J2Commerce -> Orders while you investigate.
Customers are not redirected to Flo2Cash
Cause: An incorrect Account ID has been entered, or NZD is missing.
Solution: Double-check the Account ID field against your Flo2Cash merchant portal. Confirm NZD is enabled in J2Commerce currencies.
Payment errors are not triggering admin notification emails
Cause: The selected Error Notification User Group has no members, or those members have Receive System Emails turned off in their user profile.
Solution:
- Go to System -> Manage -> Users and find an administrator.
- Confirm Receive System Emails is set to Yes in their user profile.
- Return to the Flo2Cash plugin and verify the correct group is selected in Error Notification User Group.