Conekta Payment
Conekta is Mexico's leading payment processor, owned by PayPal. It lets Mexican stores accept three payment methods from a single checkout step: credit and debit cards, OXXO cash vouchers, and SPEI interbank wire transfers.
Card payments are tokenized in the customer's browser by the Conekta JavaScript library before anything reaches your server. Your PHP backend only ever sees a short-lived token, so raw card numbers never touch your infrastructure. OXXO and SPEI are asynchronous — the customer gets a reference at checkout and completes payment at a convenience store or through online banking. Conekta sends a webhook to your site when the payment clears, and the order status updates automatically.
This plugin is a separate add-on available from the J2Commerce Extensions Store. It is not included with the core J2Commerce 6 component.
Why Mexican Stores Need Conekta
More than 40% of Mexican online buyers prefer to pay with cash or direct bank transfer rather than credit cards. OXXO alone has over 19,000 convenience store locations across Mexico — more outlets than any bank branch network in the country. Customers without credit cards, or who simply prefer not to share card details online, rely on OXXO and SPEI to make purchases.
OXXO is the dominant cash payment channel. The customer picks up the reference at checkout, walks into any OXXO store, and pays at the register — no bank account needed.
SPEI (Sistema de Pagos Electrónicos Interbancarios) is Mexico's central-bank-operated interbank transfer system. It is standard for high-value B2B purchases and for customers who prefer bank-to-bank transfers over card payments.
Without Conekta, roughly 40% of Mexican buyers cannot complete a purchase on your store. Enabling all three modes gives every Mexican shopper a path to checkout.
Supported Payment Modes
| Mode | Settlement | Best For |
|---|---|---|
| Credit / Debit Card | Instant | All product types |
| OXXO Cash Voucher | 1–3 business days after store visit | Physical goods, cash-preference customers |
| SPEI Bank Transfer | Minutes to hours | High-value orders, B2B, bank-preference customers |
Prerequisites
Before installing the plugin, confirm the following:
- J2Commerce 6 is installed and active on your Joomla site
- PHP extensions curl and openssl are enabled on your server
- You have a Conekta merchant account with both a test (sandbox) key pair and a live key pair — create one at conekta.com
- For live mode: your Conekta account is verified with a valid Mexican RFC (tax ID) — Conekta requires this for production OXXO and SPEI
- Your store currency is MXN — OXXO and SPEI only process in Mexican pesos; card payments in USD are supported on some Conekta account types
Get Your Conekta API Keys
Conekta gives each account a Public Key (used by the JavaScript tokenizer in the customer's browser) and a Private Key (used by PHP on the server to create charges). You have a separate pair for sandbox and for live.
Sandbox (Test) Keys
- Go to panel.conekta.com and sign in, or create a free account — no credit card required.
- Confirm you are in Test Mode (toggle at the top of the dashboard).
- Go to Developers -> API Keys.
- Copy the Public Key and Private Key shown in the Test section.
Live (Production) Keys
- In the Conekta dashboard, switch the toggle to Live Mode.
- Go to Developers -> API Keys.
- Copy the Live Public Key and Live Private Key.
Never share your Private Key publicly or commit it to version control. It authorizes real charges on your account.
Get Your Webhook Signing Key
The webhook signing key is separate from the API keys. Conekta signs every webhook notification it sends to your site, and the plugin uses the signing key to verify that each notification is genuinely from Conekta before processing it.
The signing key is required if you accept OXXO or SPEI. Without it, the plugin rejects all incoming webhooks and OXXO or SPEI orders can never advance beyond Pending.
- In the Conekta dashboard, go to Developers -> Webhooks.
- Click Add Webhook to create a new one (or open an existing webhook).
- Find the Signing Secret or Webhook Secret field and copy the key shown there.
Register Your Webhook URL
Complete this step before going live. OXXO and SPEI orders will never reach Confirmed status without a correctly configured webhook.
The plugin automatically generates your webhook URL. Copy it into Conekta's dashboard so Conekta knows where to send payment notifications.
- Open the plugin settings by clicking Conekta in the Payment Methods list.
- On the Basic Settings tab, locate the Webhook URL field. It shows your site's full webhook address. Click the Copy button next to it.
- Go to the Conekta dashboard -> Developers -> Webhooks.
- Open the webhook you created when copying the signing key. Paste the URL from step 2 into the URL field.
- Enable at least these events on the webhook:
order.paid,charge.paid,order.voided,charge.refunded,charge.declined. - Save the webhook in Conekta.
Purchase and Download
- Go to the J2Commerce website and locate the Conekta Payment plugin.
- Add it to your cart and complete checkout.
- Under your account menu, go to My Downloads and download the
payment_conekta.zipfile.
Install the Plugin
In the Joomla Administrator, go to System -> Install -> Extensions.
Upload the payment_conekta.zip package ZIP file or use the Install from URL option.

Enable the Plugin
Once you have installed the App, you will need to enable it. There are two ways you can access the App.
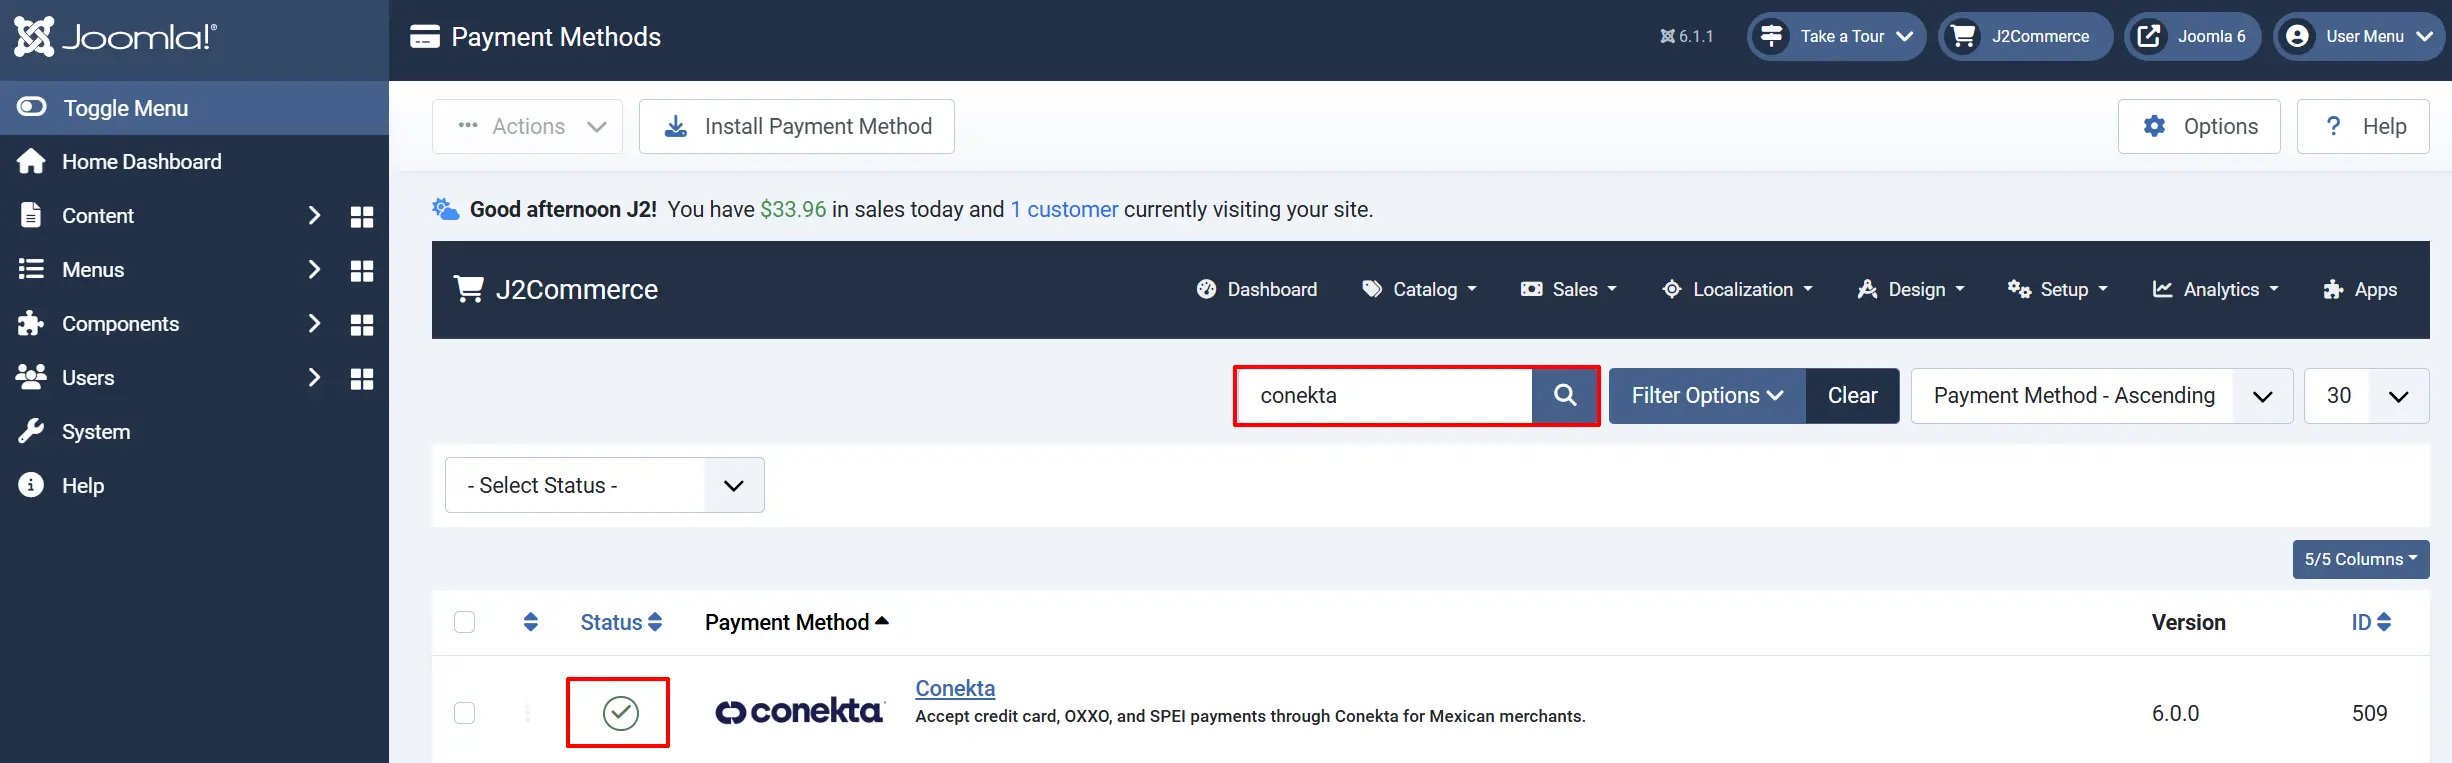
Option A: Go to the J2Commerce icon at the top right corner -> Setup -> Payment Methods
Option B: Go to Components on the left sidebar -> J2Commerce -> Dashboard -> Setup -> Payment Methods

To help you narrow down the list, you can do a search for Conekta Payment, click the X, and it will turn into a green checkmark. It is now enabled and ready for setup.
Configuration
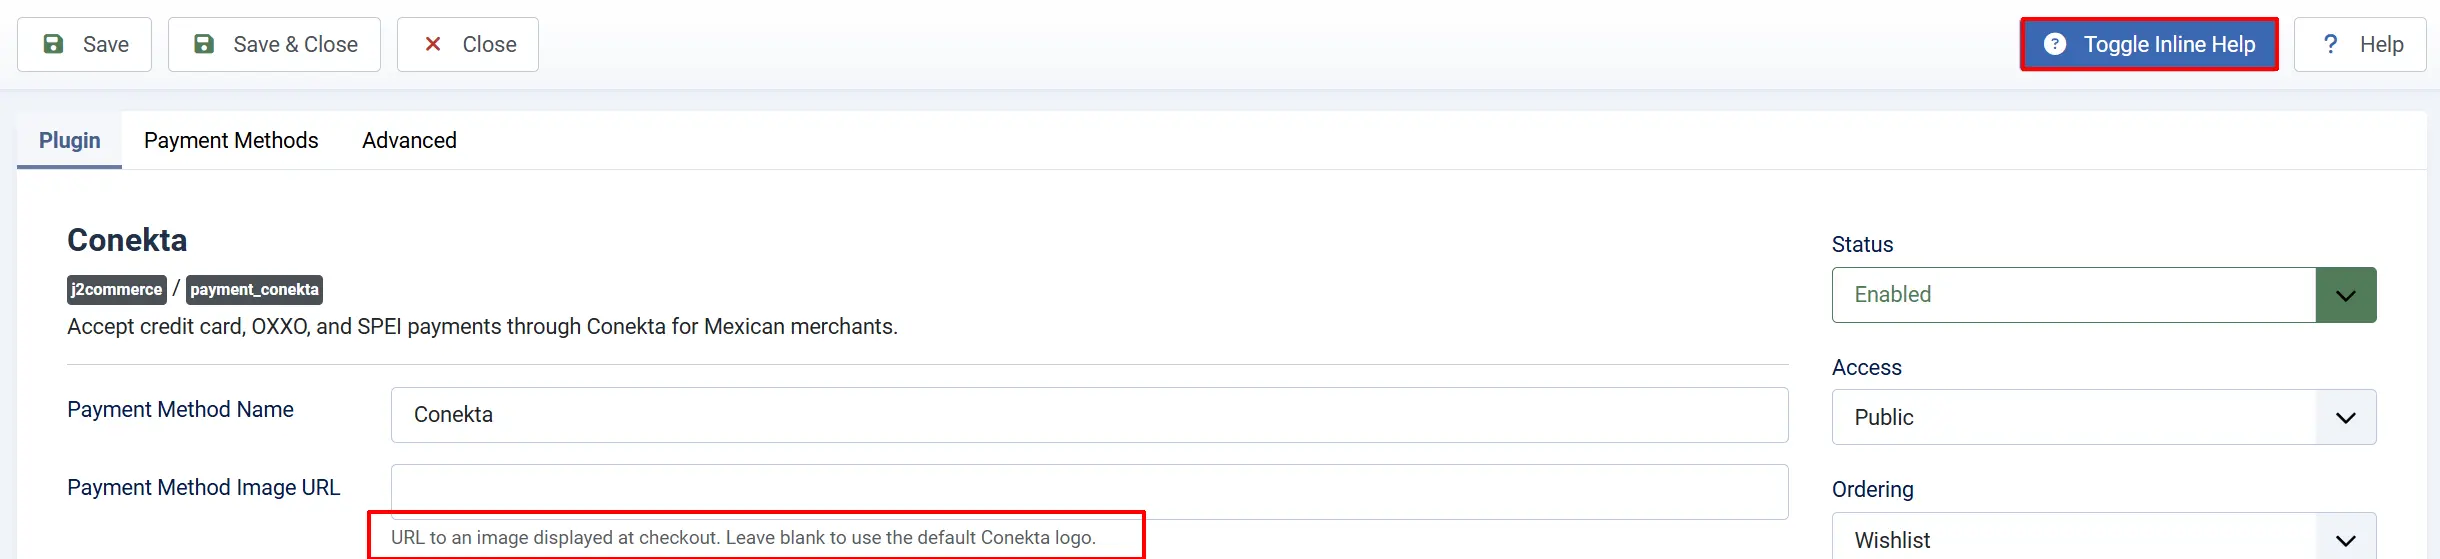
Click the Toggle Inline Help button in the toolbar and the app will show a description below each field as you configure it.
Basic Settings Tab
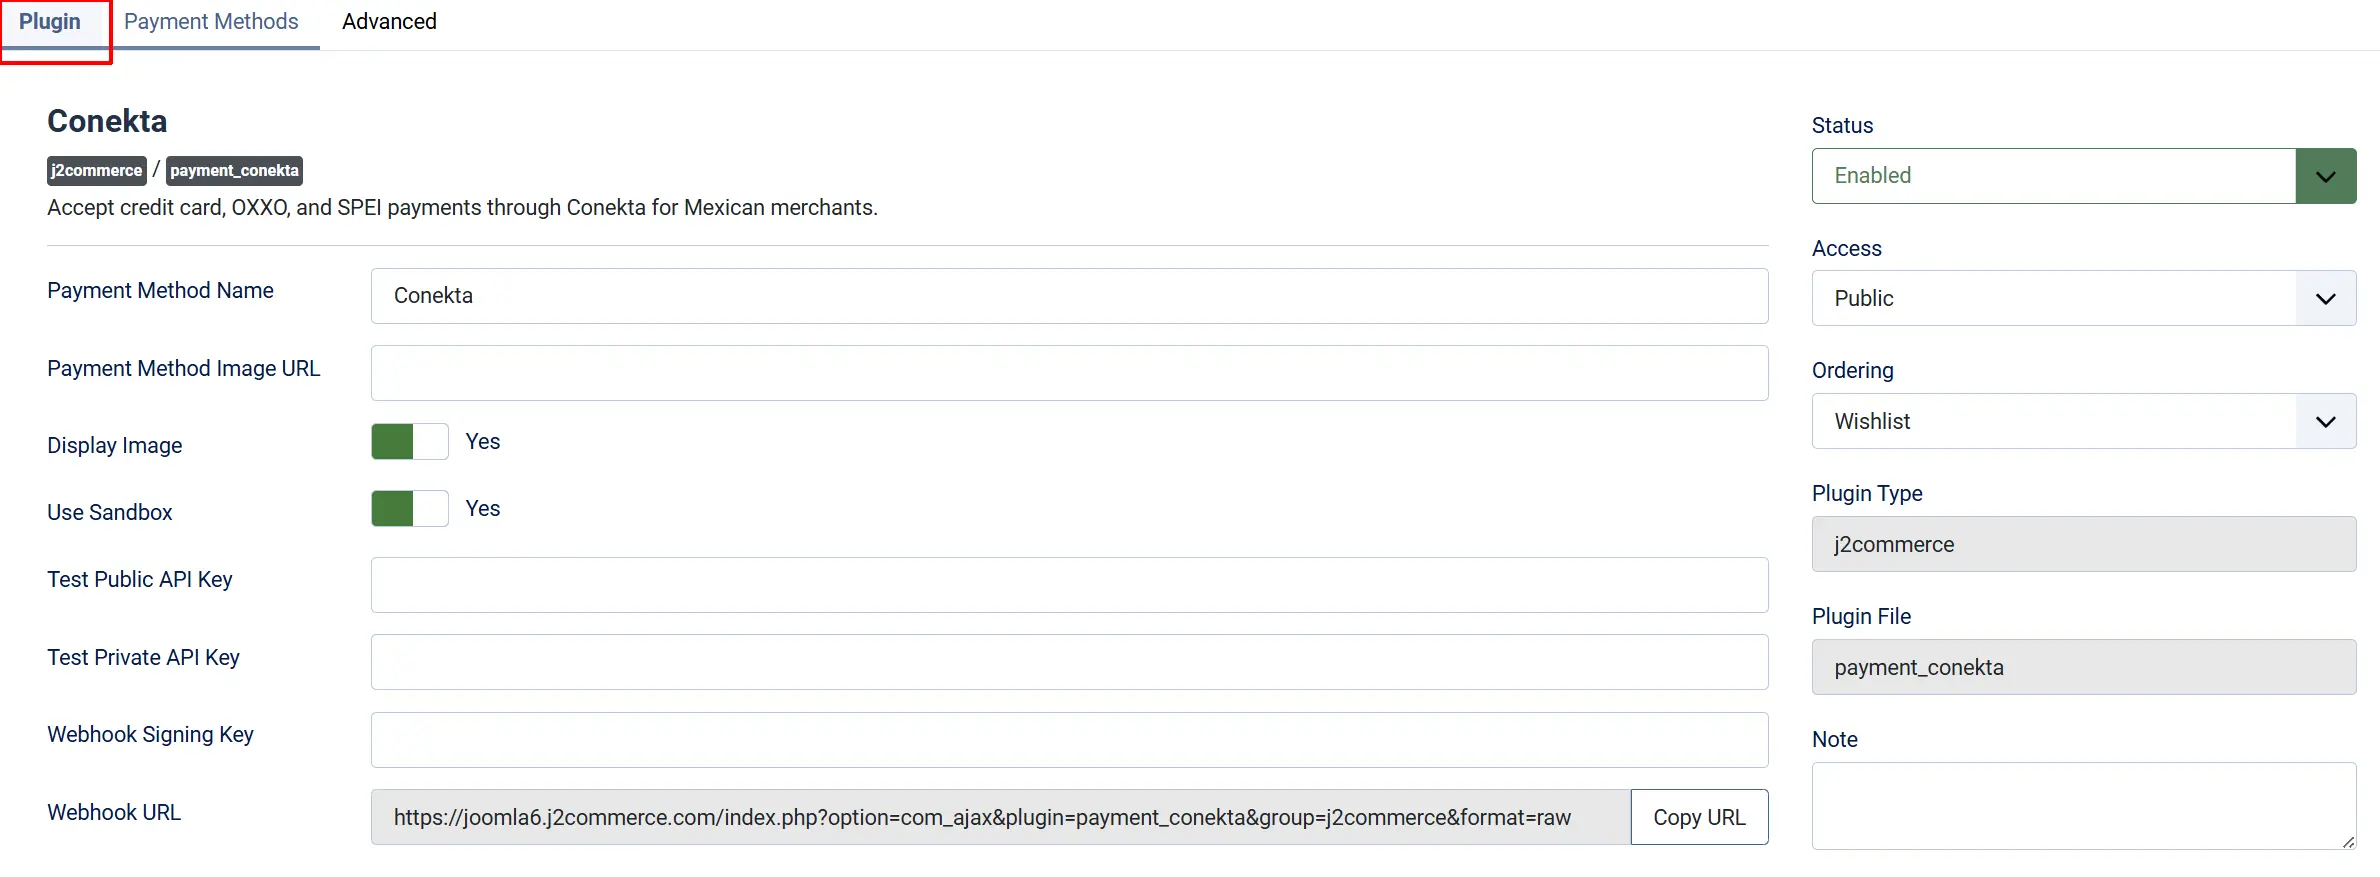
**Payment Method Name: **Label shown to customers at checkout
**Payment Method Image: **URL or path to a logo image shown at checkout
**Display Image: **Whether to show the image next to the payment method name
**Sandbox:**Toggle between test mode and live mode
**Live Public Key: **Your production Public Key from the Conekta live dashboard
**Live Private Key: **Your production Private Key
**Test Public Key: **Your sandbox Public Key from the Conekta test panel
**Test Private Key: **Your sandbox Private Key
**Webhook Signing Key: **The signing secret copied from your Conekta webhook entry
**Webhook URL: **Auto-generated URL for Conekta to call — copy this into Conekta's Webhooks settings
When Sandbox is set to Yes, the plugin uses your Test keys and sends charges to Conekta's test environment. No real money moves. Switch to No only when you are ready to accept real payments, and make sure your Live keys are filled in first.
Payment Methods Tab

This tab controls which of the three Conekta modes appear to customers at checkout.
Enable Credit/Debit Card: Show the credit / debit card option at checkout
-
3D Secure Mode: Enable 3D Secure 2 (SCA) authentication. Optional: triggers when the card issuer requires it. Required: always triggers. Off: skips 3DS entirely (not recommended — Mexican CNBV mandates 3DS2 for online card transactions).
-
Optional (Recommended)
-
Required (Always)
-
Off (Not Recommended)
-
Enable OXXO: Show the OXXO cash voucher option at checkout
Enable SPEI Transfer: Show the SPEI bank transfer option at checkout
Don't Have an Account?: The Registration item at the bottom of this tab is informational — it links to Conekta's partner registration page if you need to create or verify your merchant account.
When to disable individual modes:
- Disable OXXO for stores selling digital goods or time-sensitive services. OXXO payments can take up to three days to clear — the customer receives the reference code at checkout but payment is not confirmed until they visit an OXXO store. If your product requires immediate delivery, this creates a poor experience.
- Disable SPEI for general consumer stores where bank-wire instructions feel unfamiliar. Keep SPEI enabled for B2B or high-ticket stores where bank transfers are standard.
- Disable Card only if you want to force a cash-only or bank-transfer-only flow — this is unusual and not recommended for most stores.
Advanced Tab

Send Notification: Send a J2Commerce order status email when payment is confirmed (by card approval or incoming webhook)
Restrict to Geo-Zone: Restrict Conekta to customers in a specific geo-zone. Leave at All Zones to show it to everyone
Successful Payment Article: A Joomla article to display on the confirmation page after a successful payment
Cancel Payment Article: A Joomla article to redirect the customer to if they cancel a payment
Debug: Write Conekta API activity and webhook event details to the Joomla log
Enable Debug only while troubleshooting. The log includes full API request and response data. Disable it before going live.
Sandbox Testing
Test Credit Cards
These card numbers only work in sandbox mode and never process a real charge. Use any future expiry date and any three-digit CVV.
| Card Number | Network | Expected Result |
|---|---|---|
4242 4242 4242 4242 | Visa | Successful payment |
5100 0000 0000 0081 | Mastercard | Successful payment |
4000 0000 0000 0002 | Visa | Declined — do not honor |
For a full list of test cards covering 3DS challenges and specific processor declines, see the Conekta testing documentation.
Test OXXO References
An OXXO charge in sandbox immediately generates a test reference number and barcode, but no real payment is confirmed automatically. To simulate the customer completing the OXXO payment:
- In the Conekta dashboard (Test Mode), go to Developers -> Webhooks and open your webhook entry.
- Click Send Test Event and select
order.paid. - Confirm the order status in J2Commerce changes to Confirmed.
Test SPEI Transfers
SPEI test charges generate a CLABE number. Simulate the bank confirmation using the same Send Test Event process as OXXO above.
Sandbox Checklist
Before switching to live mode, verify each of these flows in sandbox:
- Card checkout with
4242 4242 4242 4242completes and the order becomes Confirmed - Declined card
4000 0000 0000 0002shows an error message and does not confirm the order - OXXO checkout displays a reference number and barcode (if OXXO is enabled)
- SPEI checkout displays a CLABE number and bank name (if SPEI is enabled)
- A test
order.paidwebhook from the Conekta dashboard updates the order status to Confirmed - A test
charge.declinedwebhook updates the order status to Failed
Going Live Checklist
Before setting Sandbox to No and accepting real payments:
- Sandbox is set to No
- Live Public Key and Live Private Key are entered in the Basic Settings tab
- The Webhook Signing Key from your live Conekta webhook entry is pasted into the plugin (live and sandbox webhooks have different signing keys)
- Your webhook URL is registered in the Conekta production dashboard under the live webhook entry
- The live webhook is subscribed to
order.paid,charge.paid,order.voided,charge.refunded, andcharge.declined - Your Conekta account is fully verified with a valid Mexican RFC and approved for live transactions
- You have placed a real test card transaction for a small amount (MXN $10.00) and confirmed it appears in the Conekta live dashboard
- The order status in J2Commerce updated to Confirmed after the live test charge
- Debug is set to No
- OXXO and SPEI are disabled if your store sells digital goods with immediate delivery
What Is New vs the J2Store Version
The J2Commerce 6 version includes substantial improvements over the original J2Store plugin:
| Area | Change |
|---|---|
| Webhook signature verification | The J2Store version accepted any POST request to the webhook URL with zero authentication — anyone who discovered the URL could mark orders as paid. J2Commerce 6 validates every incoming webhook using HMAC SHA-256 against the signing key. Requests without a valid signature are rejected with a 401 immediately. |
| Installer class name corrected | The J2Store installer class was named after a different payment plugin (a copy-paste error), so the preflight check — which verifies J2Commerce is installed and at the required version — never ran during installation. The correct class name is used in J2Commerce 6. |
| Order status events fire correctly | The J2Store version updated order status using J2Store internal model calls that bypassed the event system entirely. The J2Commerce 6 version routes all status changes through OrderModel::updateOrderStatus() so email notifications, order history, and third-party listeners (such as app_pdfinvoices) all fire as expected. |
| PCI scope reduced to SAQ-A | The J2Store version posted raw card fields (card number, CVV, cardholder name) to the PHP server as hidden form inputs, even though a Conekta token was also generated. This unnecessarily expanded PCI scope to SAQ-D. J2Commerce 6 sends only the Conekta token to the server — raw card data never leaves the browser. |
| Hardcoded Spanish moved to language files | OXXO and SPEI payment instructions (Monto a pagar, Ficha digital, Acude a la tienda OXXO más cercana) were embedded directly in the PHP templates in the J2Store version, making them impossible to translate. All user-visible strings are now in language .ini files with en-US, en-GB, es-ES, and genuine es-MX translations. |
| Error messages fixed | The J2Store version had a typo (getMesage()) in six error-handling catch blocks. Calling an undefined method inside a catch block caused PHP to throw a secondary error and show the customer a blank screen instead of an error message. All six are corrected to getMessage() in J2Commerce 6. |
| Dead switch branch removed | A switch case in the J2Store version checked for the string 'pre_authorized y voided' — using the Spanish word "y" for "and" instead of a real Conekta status value. That branch was unreachable and could never fire. J2Commerce 6 maps real Conekta API statuses to the correct J2Commerce order state IDs. |
| CSS path typo fixed | The J2Store version referenced the OXXO stylesheet using the path plg_j2store_payment_coneckta (with an extra "k"), which produced a 404 and left the OXXO voucher panel completely unstyled. The correct path is used in J2Commerce 6. |
| Refactored payment processing | The J2Store version had a single 347-line method handling credit, OXXO, and SPEI charges with nearly-duplicated code. J2Commerce 6 separates these into dedicated per-mode methods sharing a common payload builder — easier to maintain and debug. |
| Vanilla JavaScript | The J2Store version used a jQuery IIFE with $.ajax() calls. J2Commerce 6 uses standard fetch() with async/await and addEventListener() — no jQuery dependency. |
| Genuine Mexican Spanish | The J2Store version shipped an es-MX language pack that was a byte-for-byte copy of the es-ES (Spain Spanish) file. J2Commerce 6 includes an authentic Mexican Spanish translation. |
Troubleshooting
OXXO or SPEI orders stay in Pending and never confirm
Cause: The webhook is not reaching your site, the signing key does not match, or the webhook URL is not registered in Conekta. This is the most common issue with Conekta.
Solution:
- Open the plugin settings and confirm the Webhook Signing Key field is filled in. It must exactly match the signing key shown under the webhook entry in Conekta's dashboard — Conekta uses separate signing keys for sandbox and live, so confirm you have the right one for the current mode.
- Check that the Webhook URL in the plugin matches the URL registered under Developers -> Webhooks in Conekta's dashboard.
- In Conekta's dashboard, open the webhook entry and click Send Test Event with
order.paid. Watch whether the order status in J2Commerce changes to Confirmed. - Enable Debug in the plugin's Advanced tab and retry the test event. Check
administrator/logs/for entries taggedj2commerce.payment_conekta— these entries show whether the webhook was received, whether the signature check passed, and what action was taken. - Check your server's firewall and hosting configuration. Some shared hosting environments block incoming POST requests from external IP addresses.
Webhook signing key error in the debug log
Cause: The signing key in the plugin does not match the Conekta webhook's signing key for the current mode.
Solution:
Conekta uses different signing keys for sandbox and live webhooks. If your plugin is in live mode but you copied the sandbox signing key, every webhook will fail the HMAC check. Open both the sandbox and live webhook entries in Conekta's dashboard, identify which key corresponds to your current mode, and paste the correct one into the plugin.
Card payment form does not appear at checkout
Cause: Missing or incorrect API keys, or the PHP curl or openssl extension is unavailable.
Solution:
- Confirm the plugin is enabled in J2Commerce -> Setup -> Payment Methods.
- Open the plugin settings and verify that the correct keys are filled in for the active mode — Test keys when Sandbox is Yes, Live keys when Sandbox is No.
- Enable Debug and attempt a checkout. The Joomla log will show any SDK initialization failure.
- Confirm your server has the PHP curl and openssl extensions active. Contact your hosting provider if either is missing.
OXXO reference or SPEI CLABE not shown to the customer
Cause: The charge was created successfully but the confirmation screen did not render the payment details.
Solution:
- Enable Debug and attempt an OXXO or SPEI checkout in sandbox mode. The log will show the full Conekta API response, including the reference number and barcode URL or the CLABE and bank name.
- If the data is in the log but not on the screen, check whether a template override in your site's templates directory is overriding the Conekta plugin's confirmation layout.
Currency warning — OXXO or SPEI charge rejected
Cause: OXXO and SPEI only process in MXN. If the order currency is USD or another currency, Conekta will reject these payment types.
Solution:
- Go to J2Commerce -> Setup -> Currencies and confirm MXN is set as the store currency (or is available as a customer-selectable currency).
- If your store must operate in a non-MXN currency, disable OXXO and SPEI in the plugin's Payment Methods tab and offer card payments only.
A declined card shows a blank screen instead of an error message
Cause: This is a known bug in the J2Store version of this plugin caused by a typo in the error-handling code. If you see blank screens on card declines, you may be running the old J2Store version.
Solution:
Update to J2Commerce 6.0.0 of this plugin. The error-handling typo is corrected — declined cards now display a clear error message and return the customer to the payment step.
Support
- J2Commerce documentation: docs.j2commerce.com
- J2Commerce support: www.j2commerce.com/support
- Conekta merchant dashboard: panel.conekta.com
- Conekta developer documentation: developers.conekta.com
- Conekta testing reference: developers.conekta.com/docs/testing