PrintNode
PrintNode has been designed with versatility in mind. We help warehouse operations to print labels and barcodes; we print prescriptions for pharmacies; we facilitate order printing in restaurants/bars, and we power stock handling processes in global shipping and logistics operations.
Requirements
- PHP 8.1.0 +
- Joomla! 4.x/ Joomla! 5.x +
- J2Commerce / J2Store 4.x +
PrintNode works on all major brands of printers and scales, including:

Creating a PrintNode Account
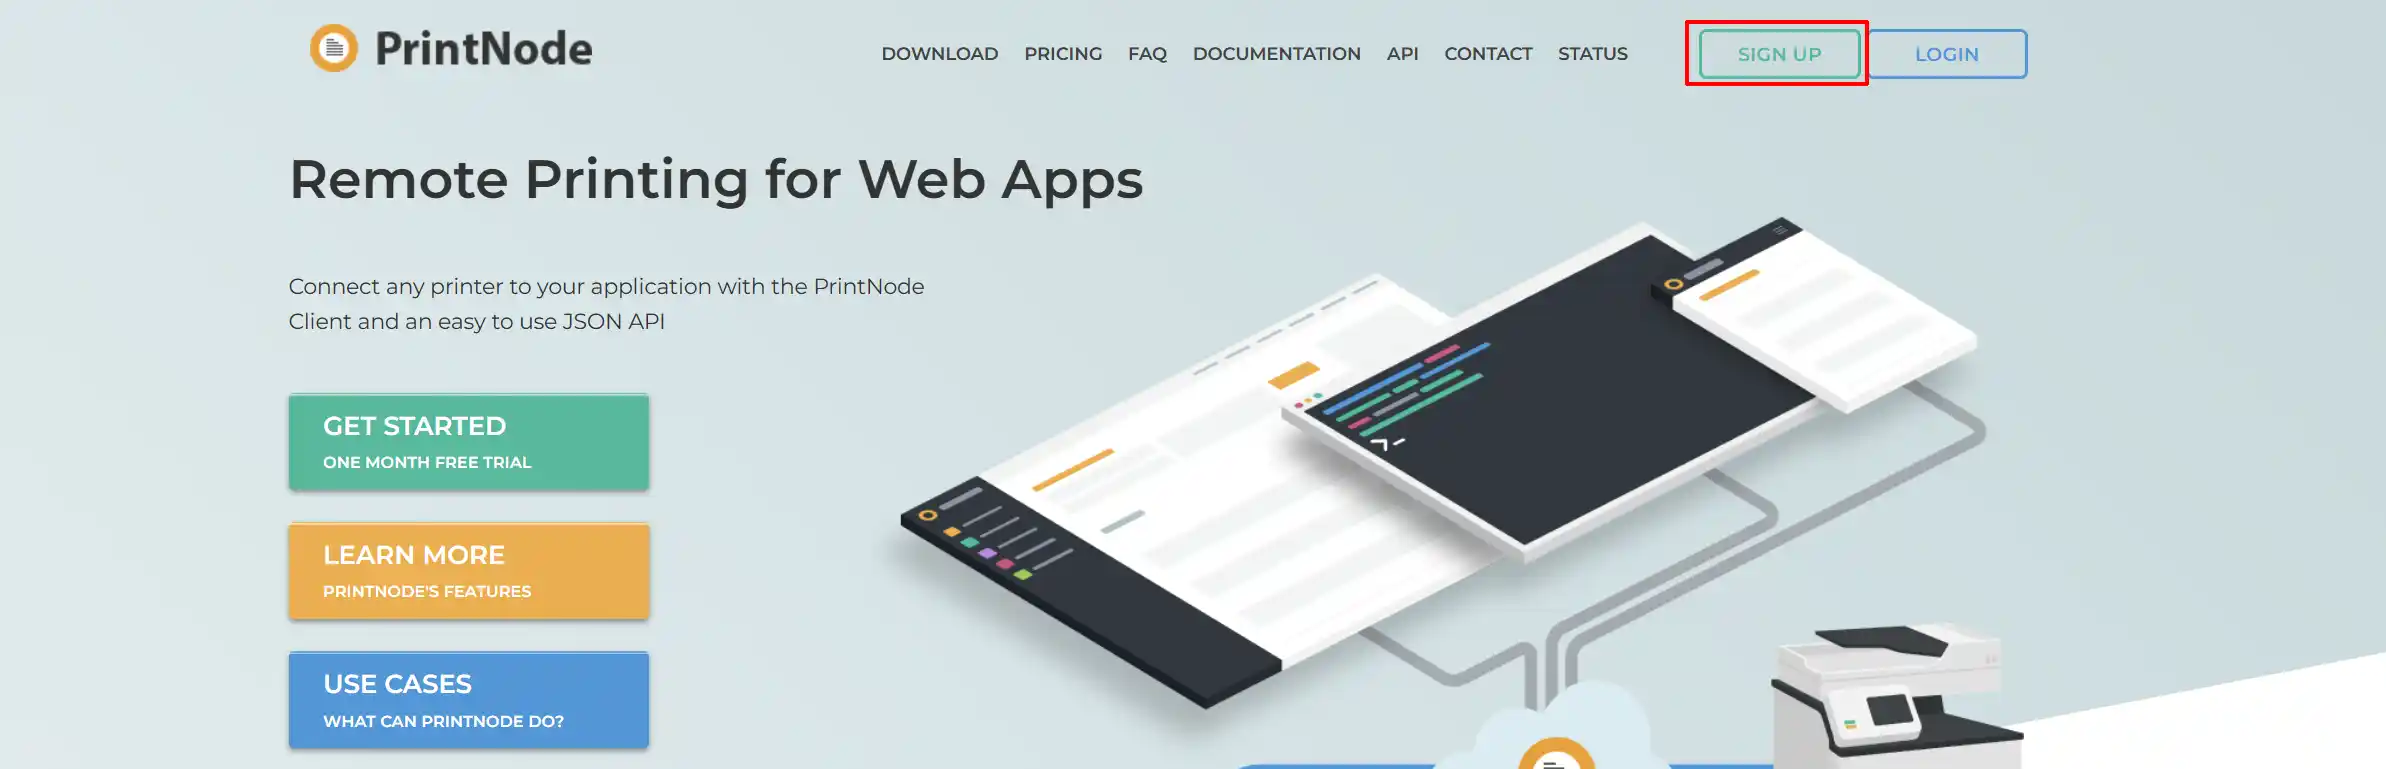
Sign-up tab
Go to Printnode.com and create an account by clicking Sign-up
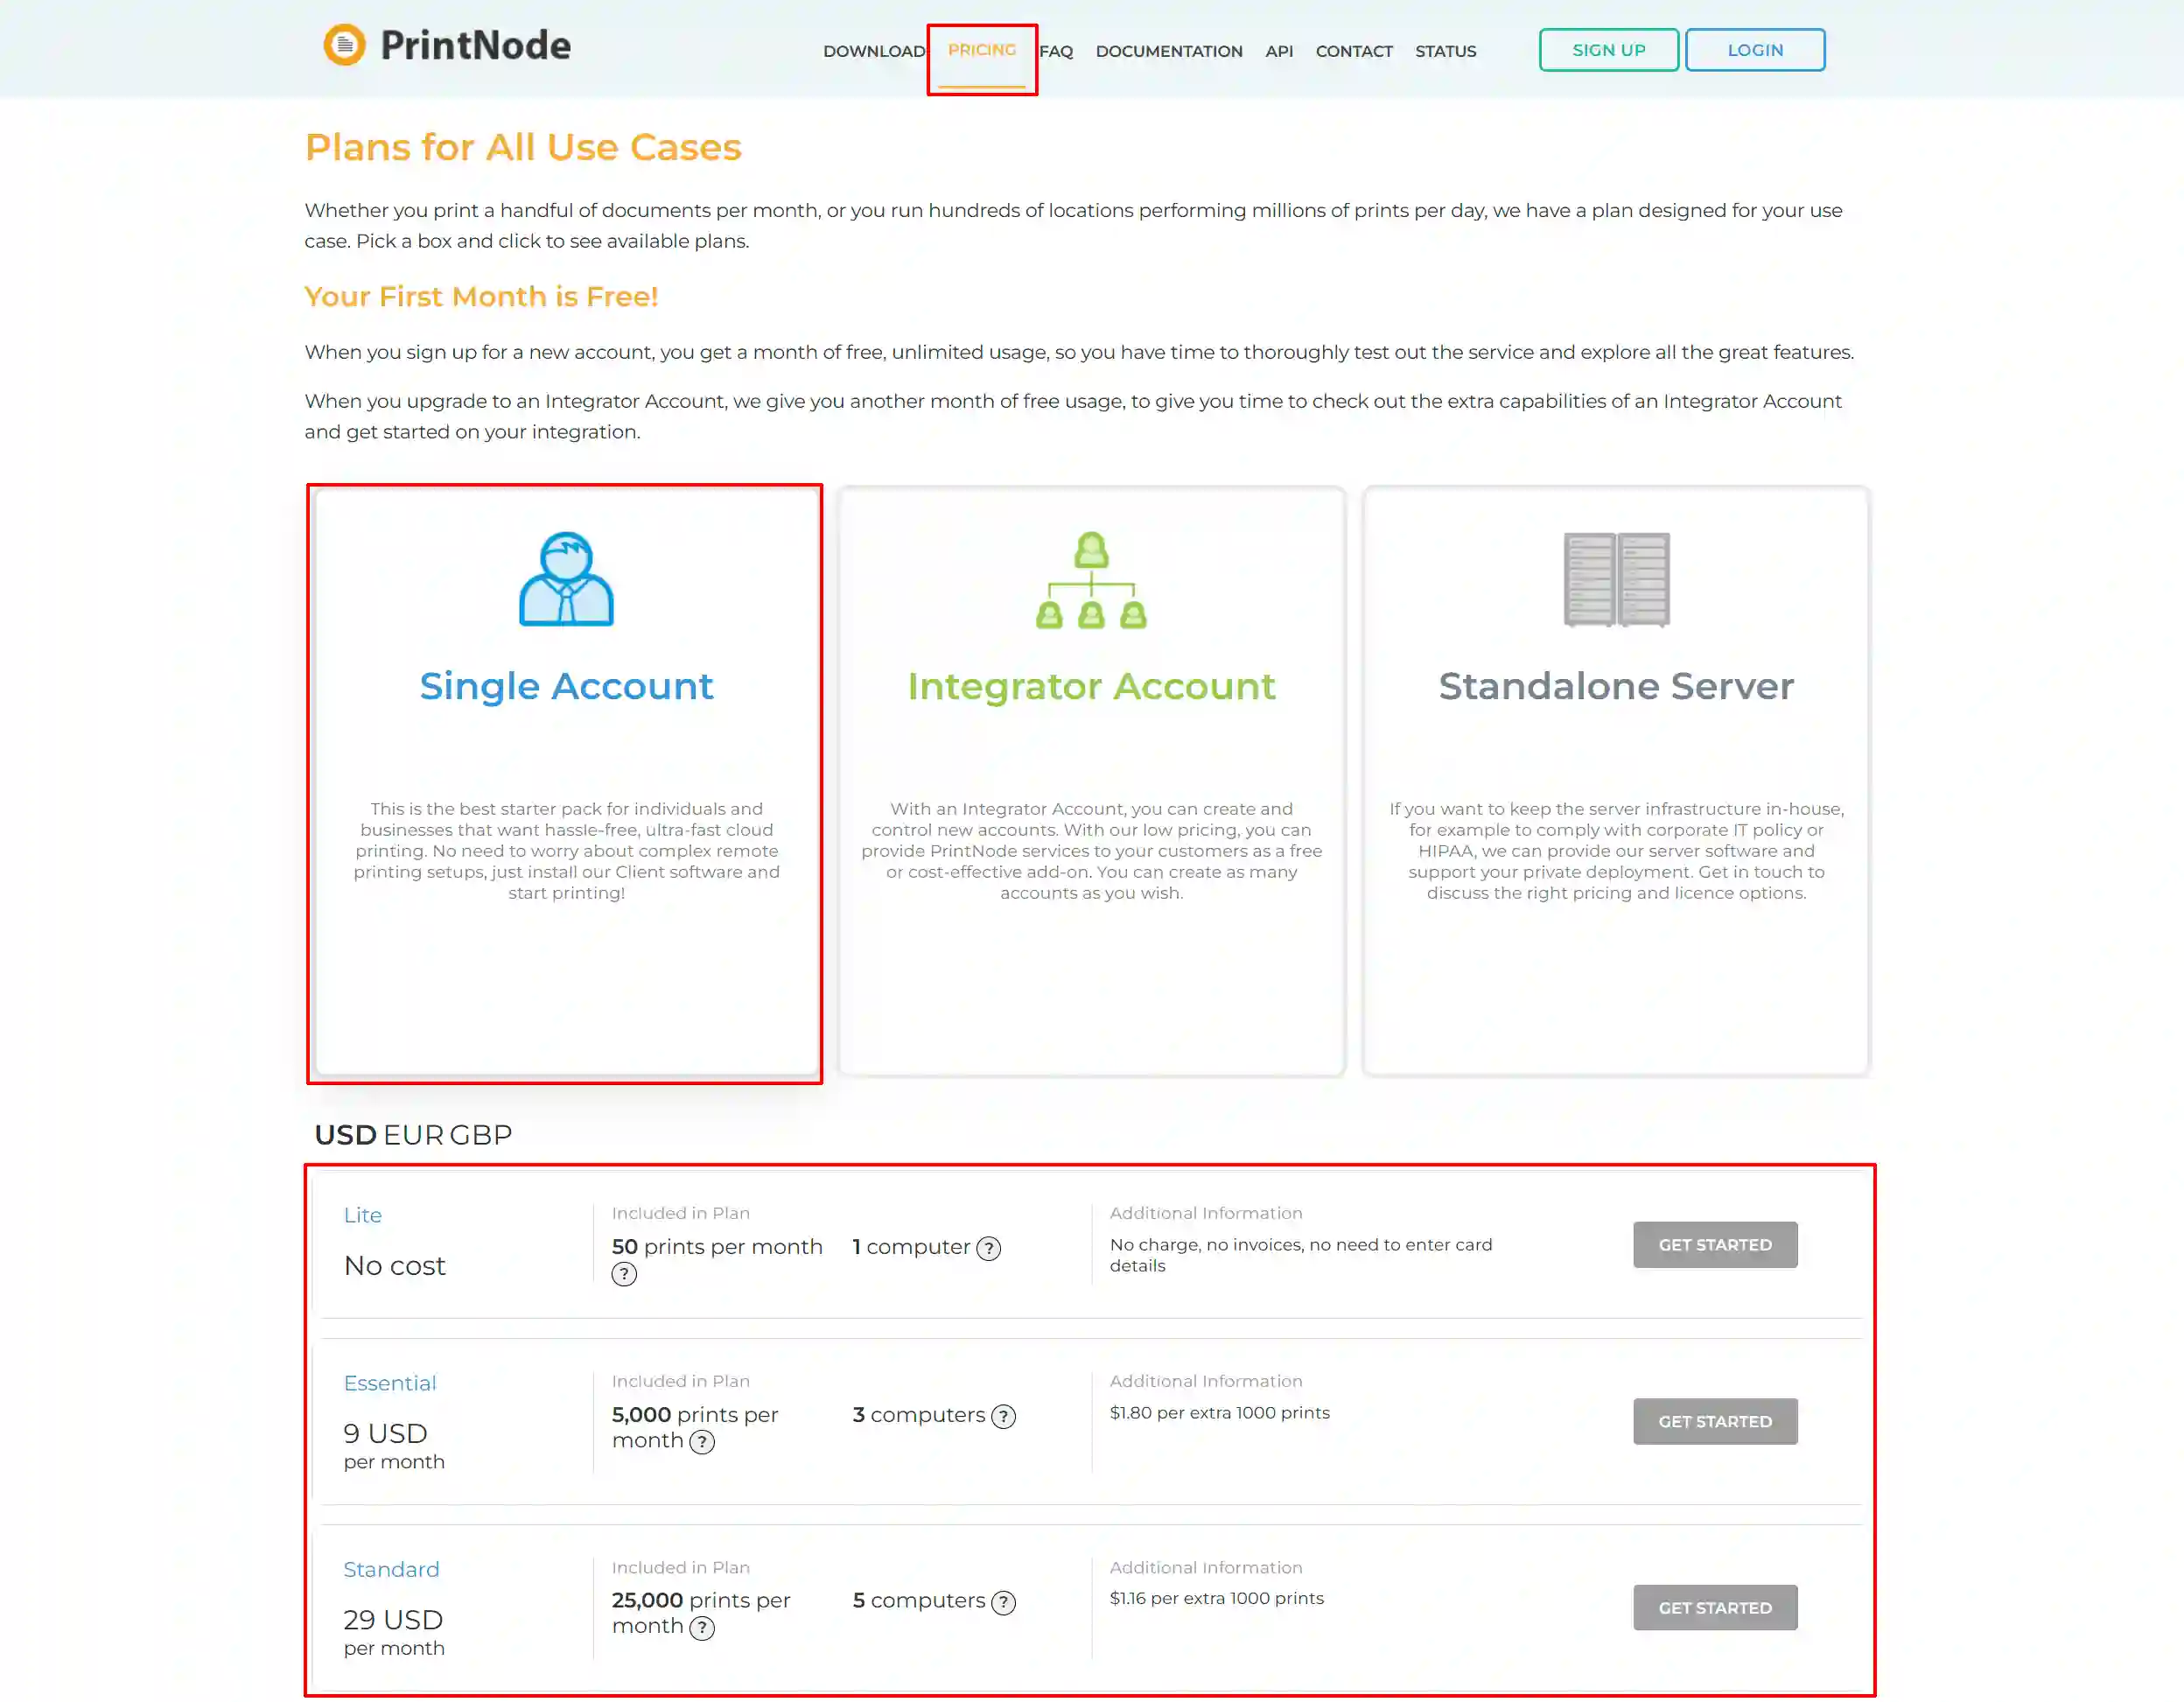
Pricing tab
-
Click on the Pricing tab
-
Choose what type of account you want. ie: Single, Integrator, Standalone
-
Choose the appropriate plan for your business.
Example: If you choose the 5,000 prints and have multiple departments using the same account, the 5,000 prints will be shared between the different computers.
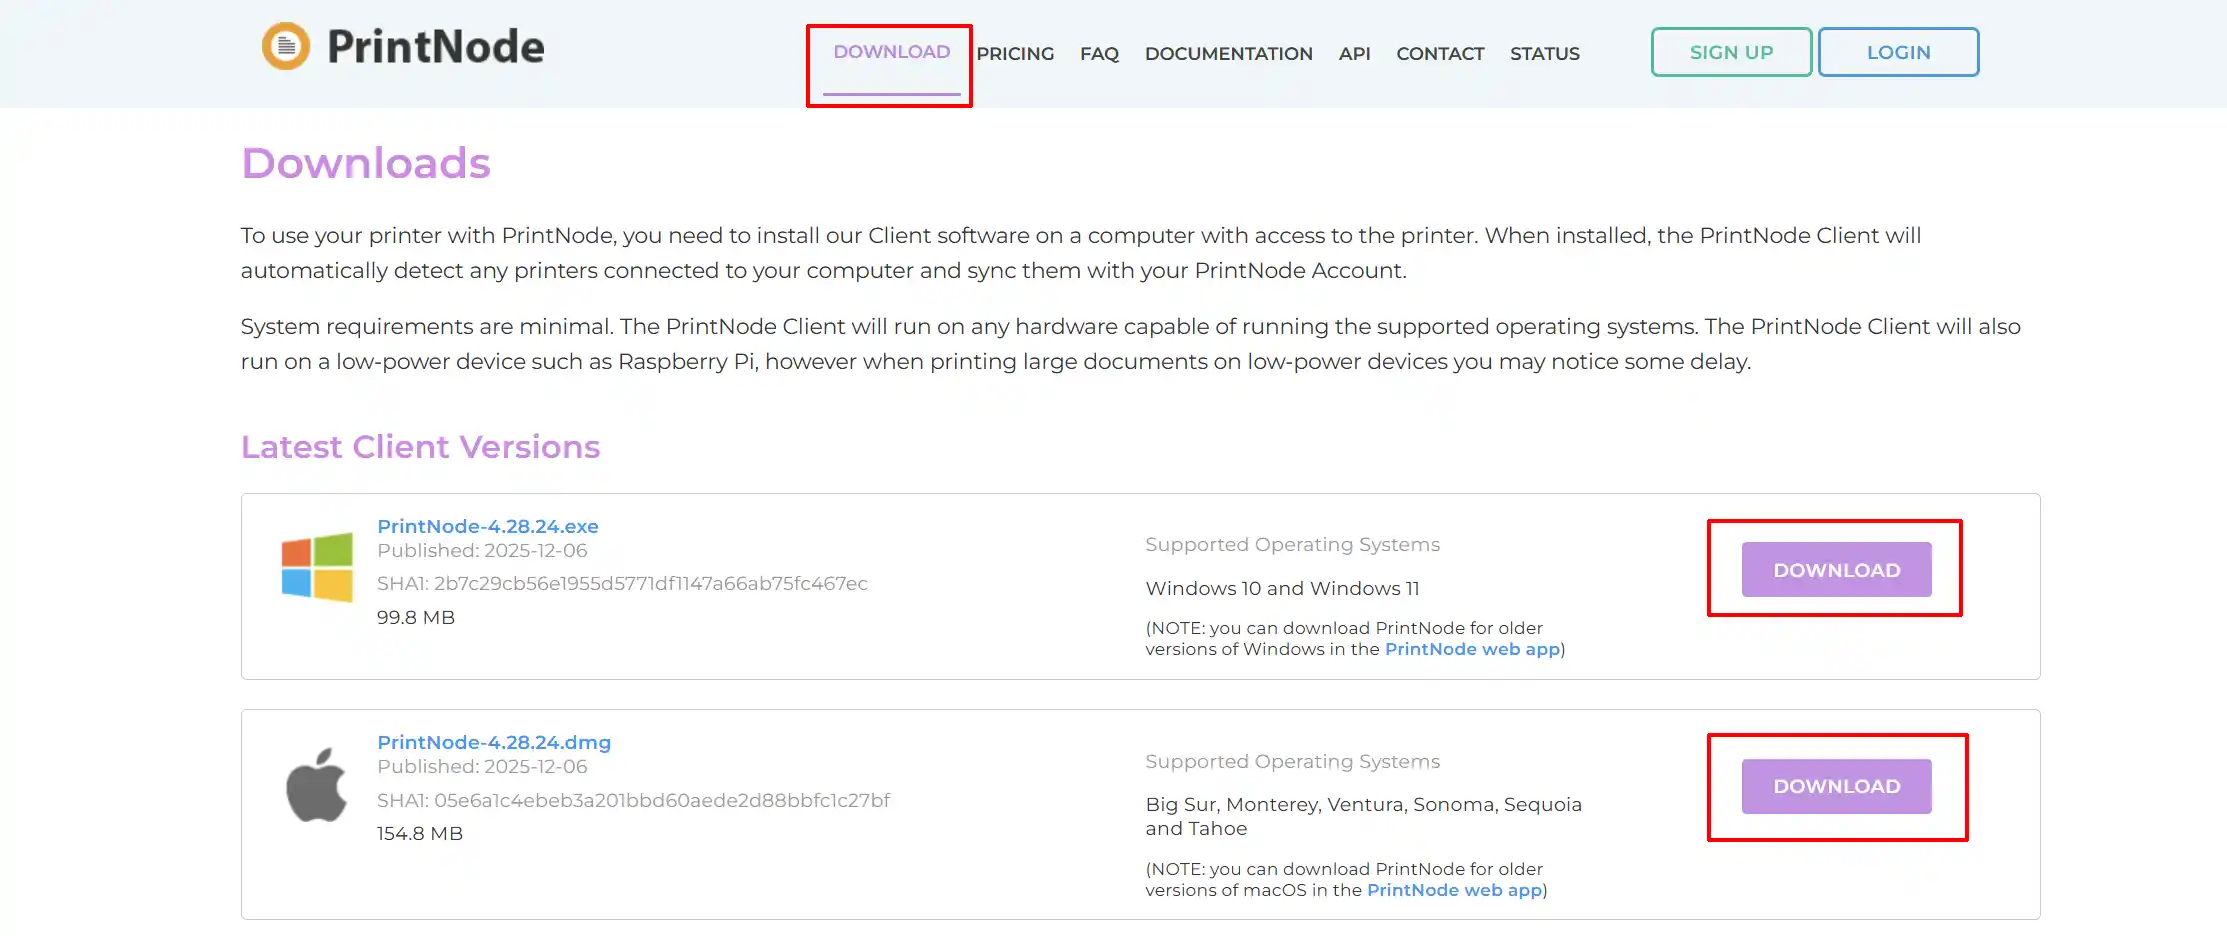
Download tab
Download the printer that will work with the type of computer you have. ie: PC/Mac
Install the Printer
Once you have downloaded the printer, double-click on it to start the installation. When it gets to the page shown below, select Create a desktop Shortcut. This will come in handy if your computer shuts down and you need to easily turn on the printer again.

API Key tab
Step 1: Enter your PrintNode Password to open the API Key page
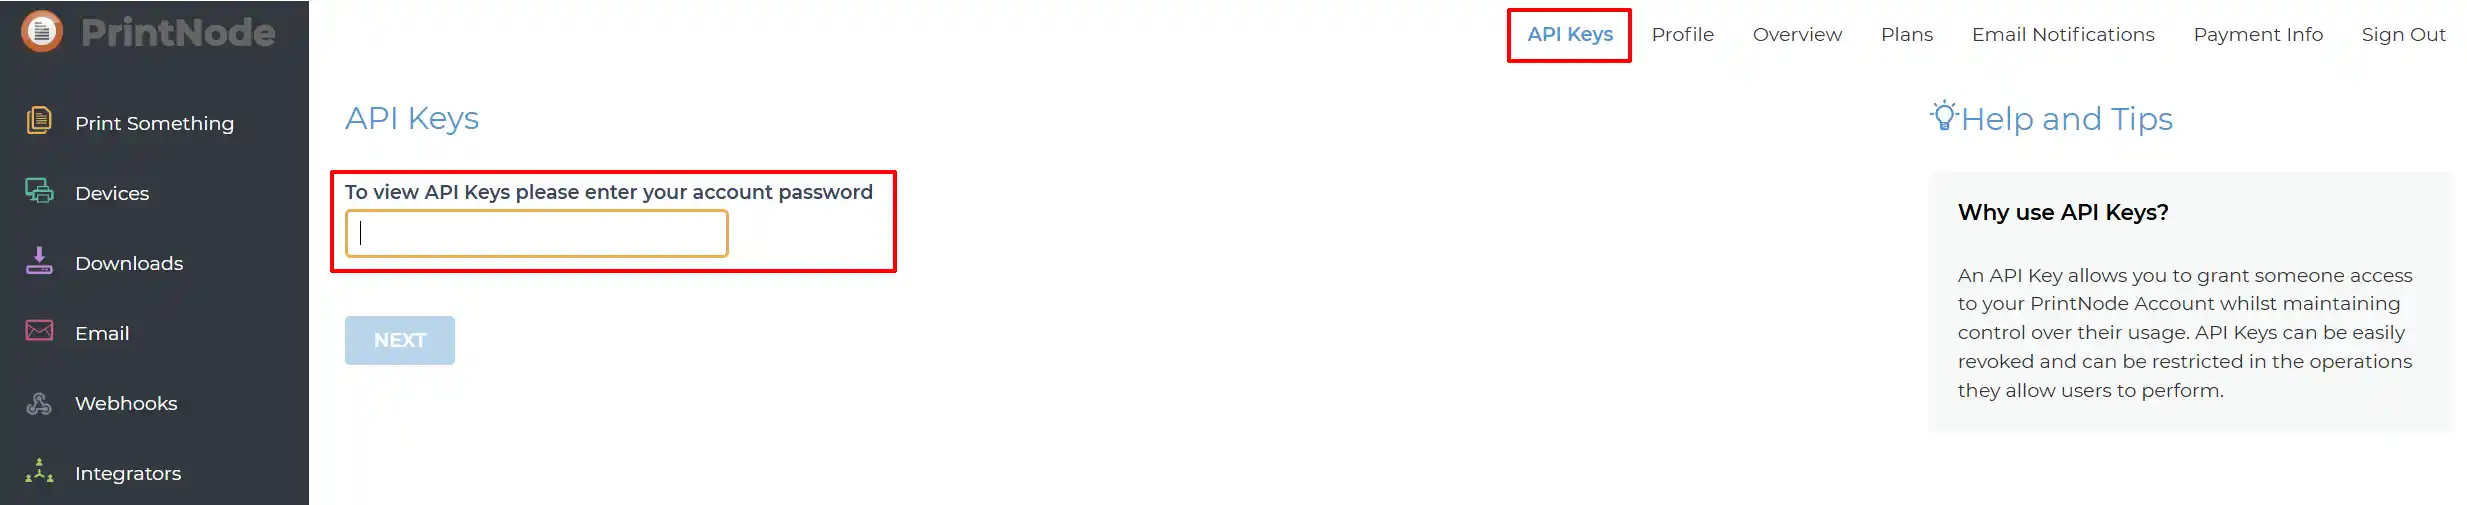
Step 2: Name your 'API Key Description', then select Create
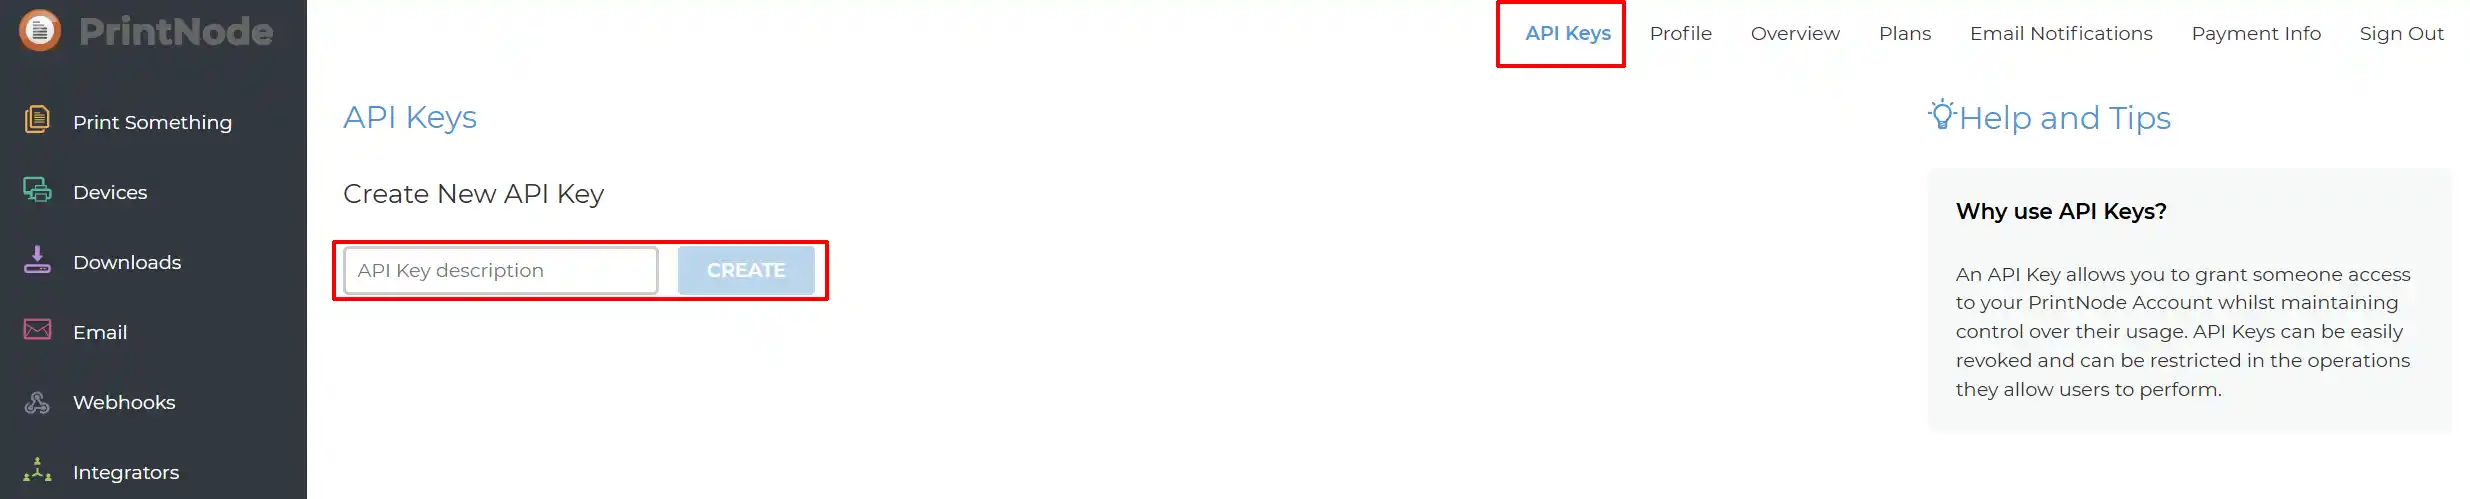
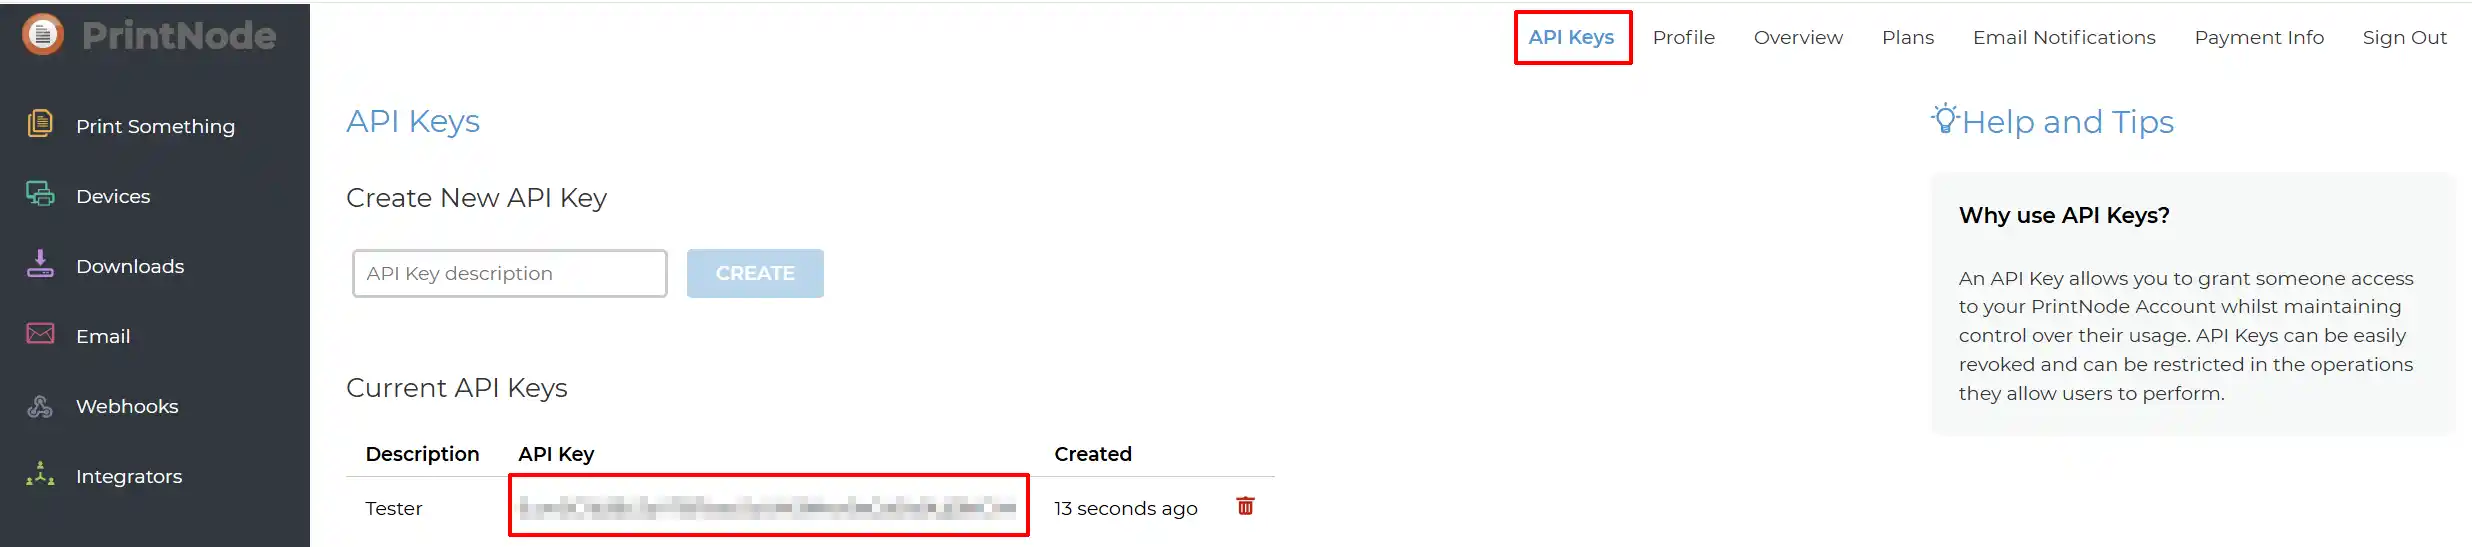
Step 3: Your new API Key will appear below. This is the API Key you will need when setting up the configuration in the App on your website.
Purchase the App
Step 1: Go to our J2Commerce website > Extensions > Apps
Step 2: Locate the PrintNode App > click View Details > Add to cart > Checkout.
Step 3: Go to your My Downloads under your profile button at the top right corner and search for the app. Click Available Versions > View Files > Download Now
Install the App
Go to System > Install > Extensions > Install the app
-e0515ef561b368cb4d5a053cacb4c525.webp)
Enable the App
Go to J2Commerce > App > search for PrintNode
Click on the 'X' under Status to enable it.
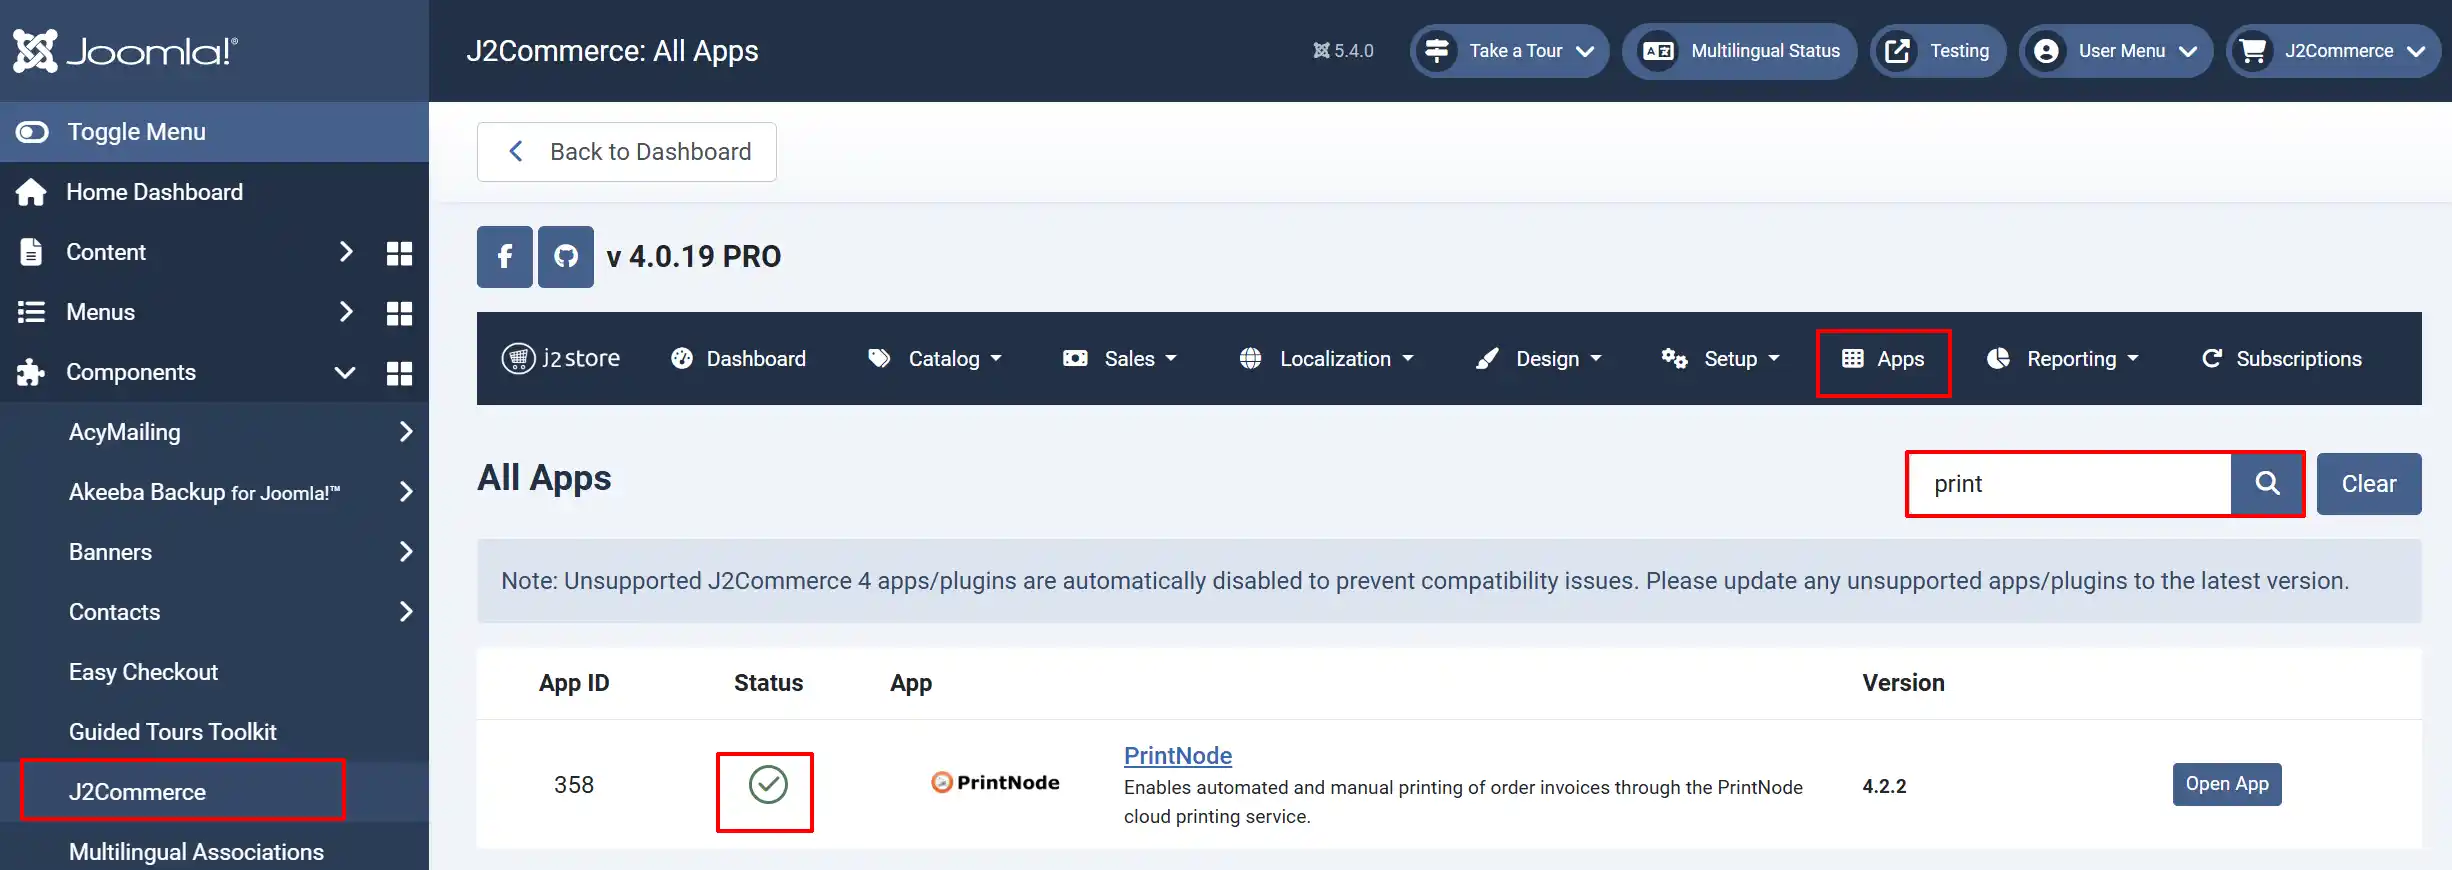
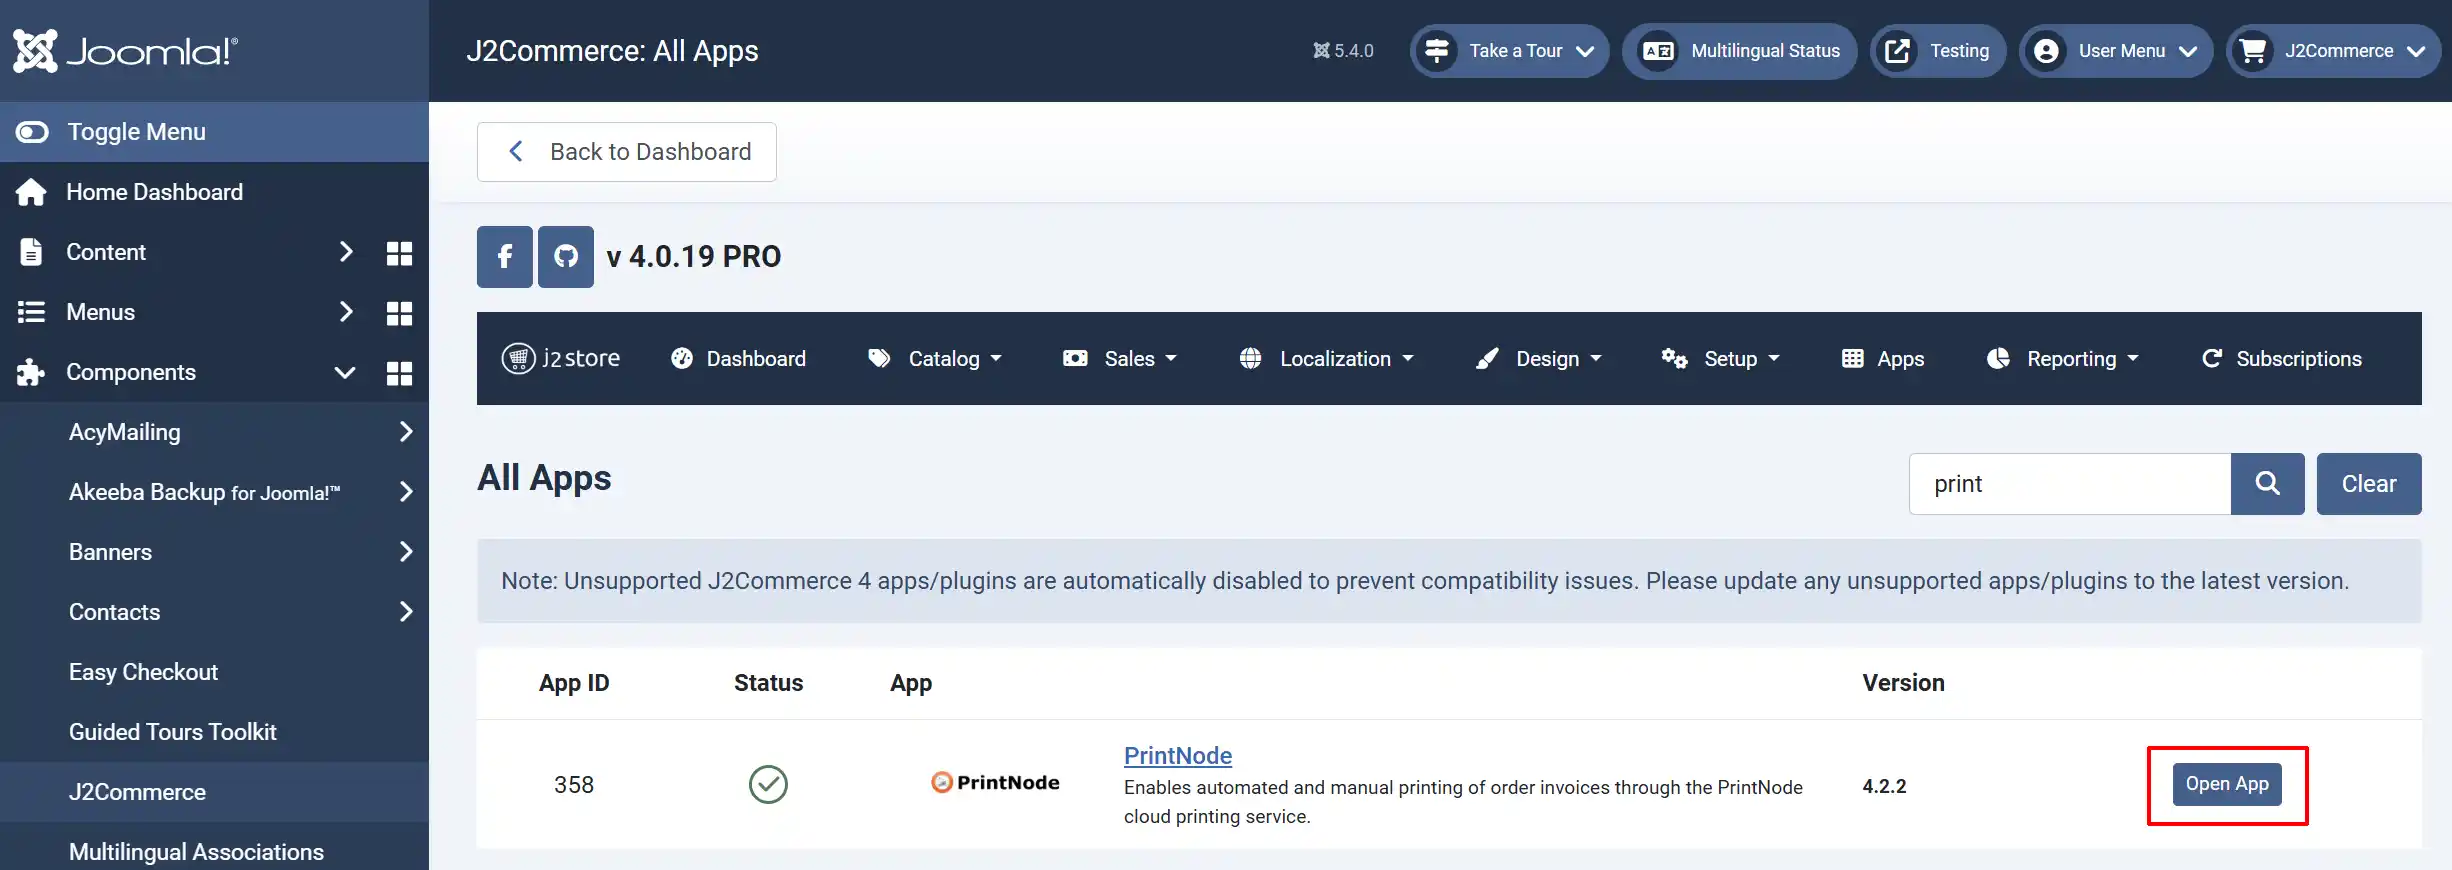
Click on "Open App" or the Title to start setting up the app
Set up the Parameters
Connection tab
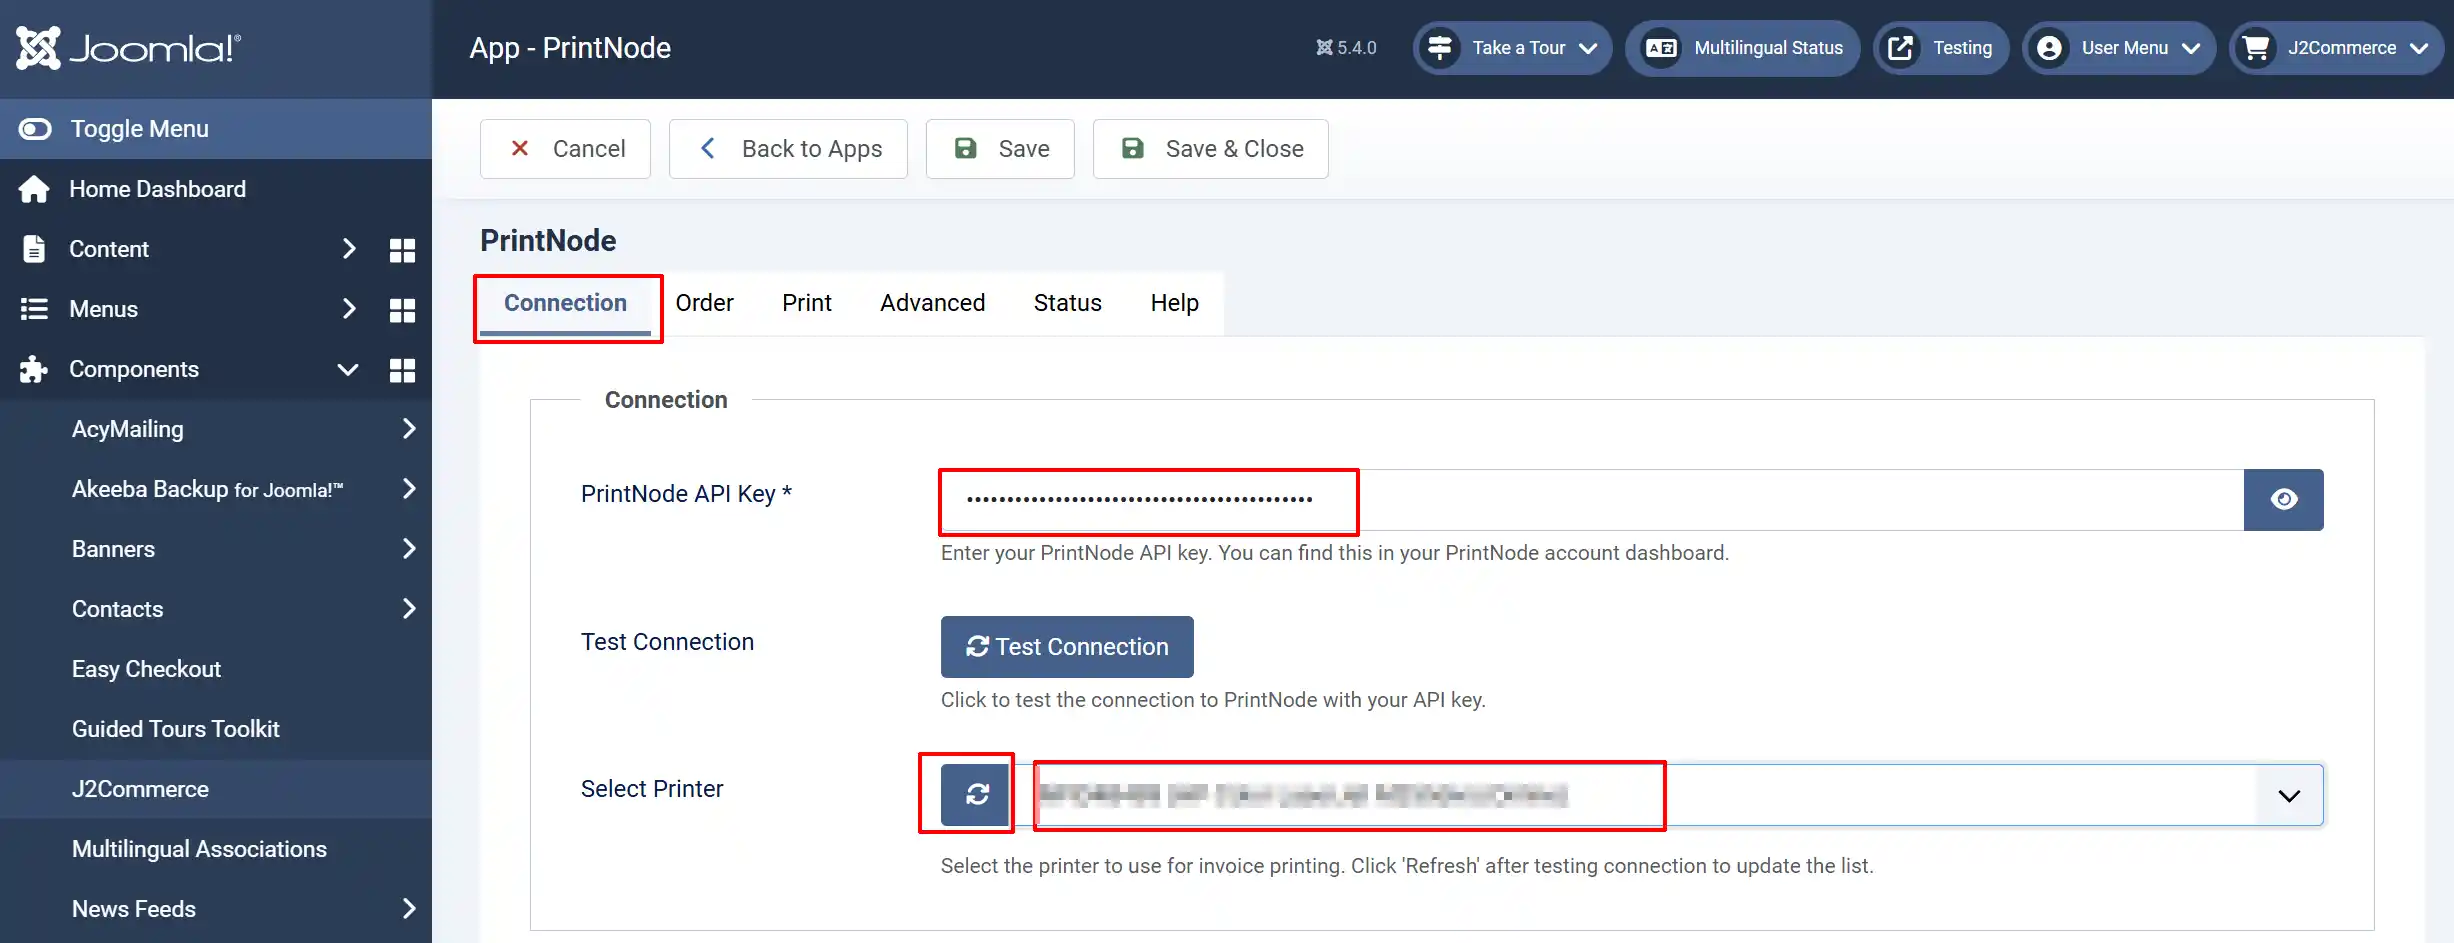
PrintNode API Key: Enter your PrintNode API key. You can find this in your PrintNode account dashboard. To locate the API Key, log in to your Printnode account, click on the API tab, and enter your password to open the API field. See example below

Test Connection: Click to test the connection to PrintNode with your API key
Select Printer: Choose the printer to use for printing invoices. Click 'Refresh' after testing the connection to update the list.
Order tab
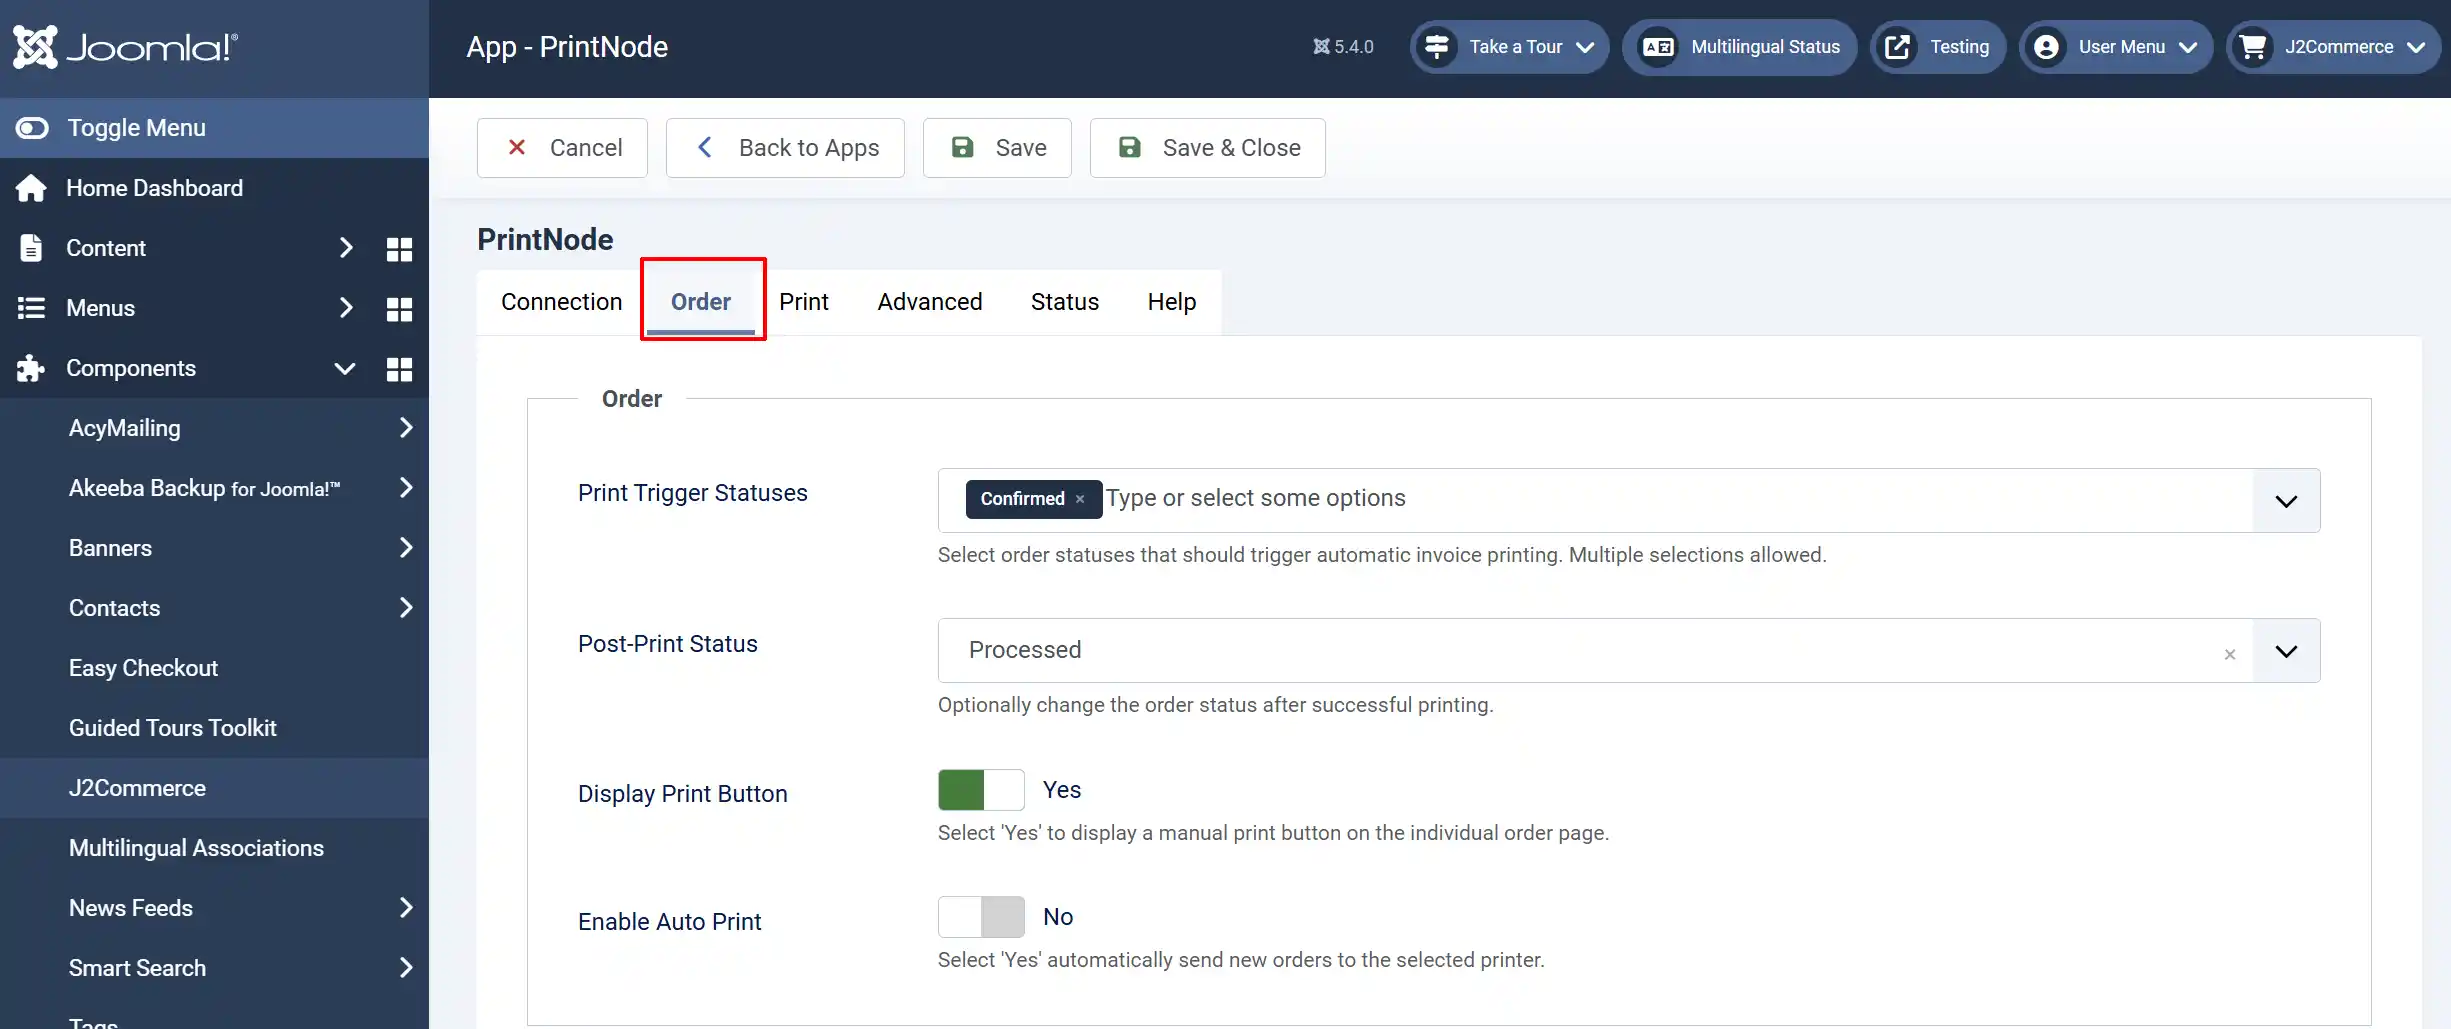
Print Trigger Statuses: Select order statuses that should trigger automatic invoice printing. Multiple selections allowed. The example above shows that as soon as the order has been paid for and 'Confirmed', it is ready for printing.
Post-Print Status: Optionally change the order status after successful printing. You can create additional status options by going to J2Commerce > Localization > Order Statuses
Display Print Button: Select 'Yes' to display a manual print button on the individual order page. This is very important if you do not want to enable the auto print function.
Enable Auto Print:
-
Select 'Yes' automatically send new orders to the selected printer after the assigned trigger status has been activated. ie: 'Confirmed'
-
Select 'No' to manually press the print button in the order page. Some customers will want to review the order before sending it to the printer to make sure there's nothing missing
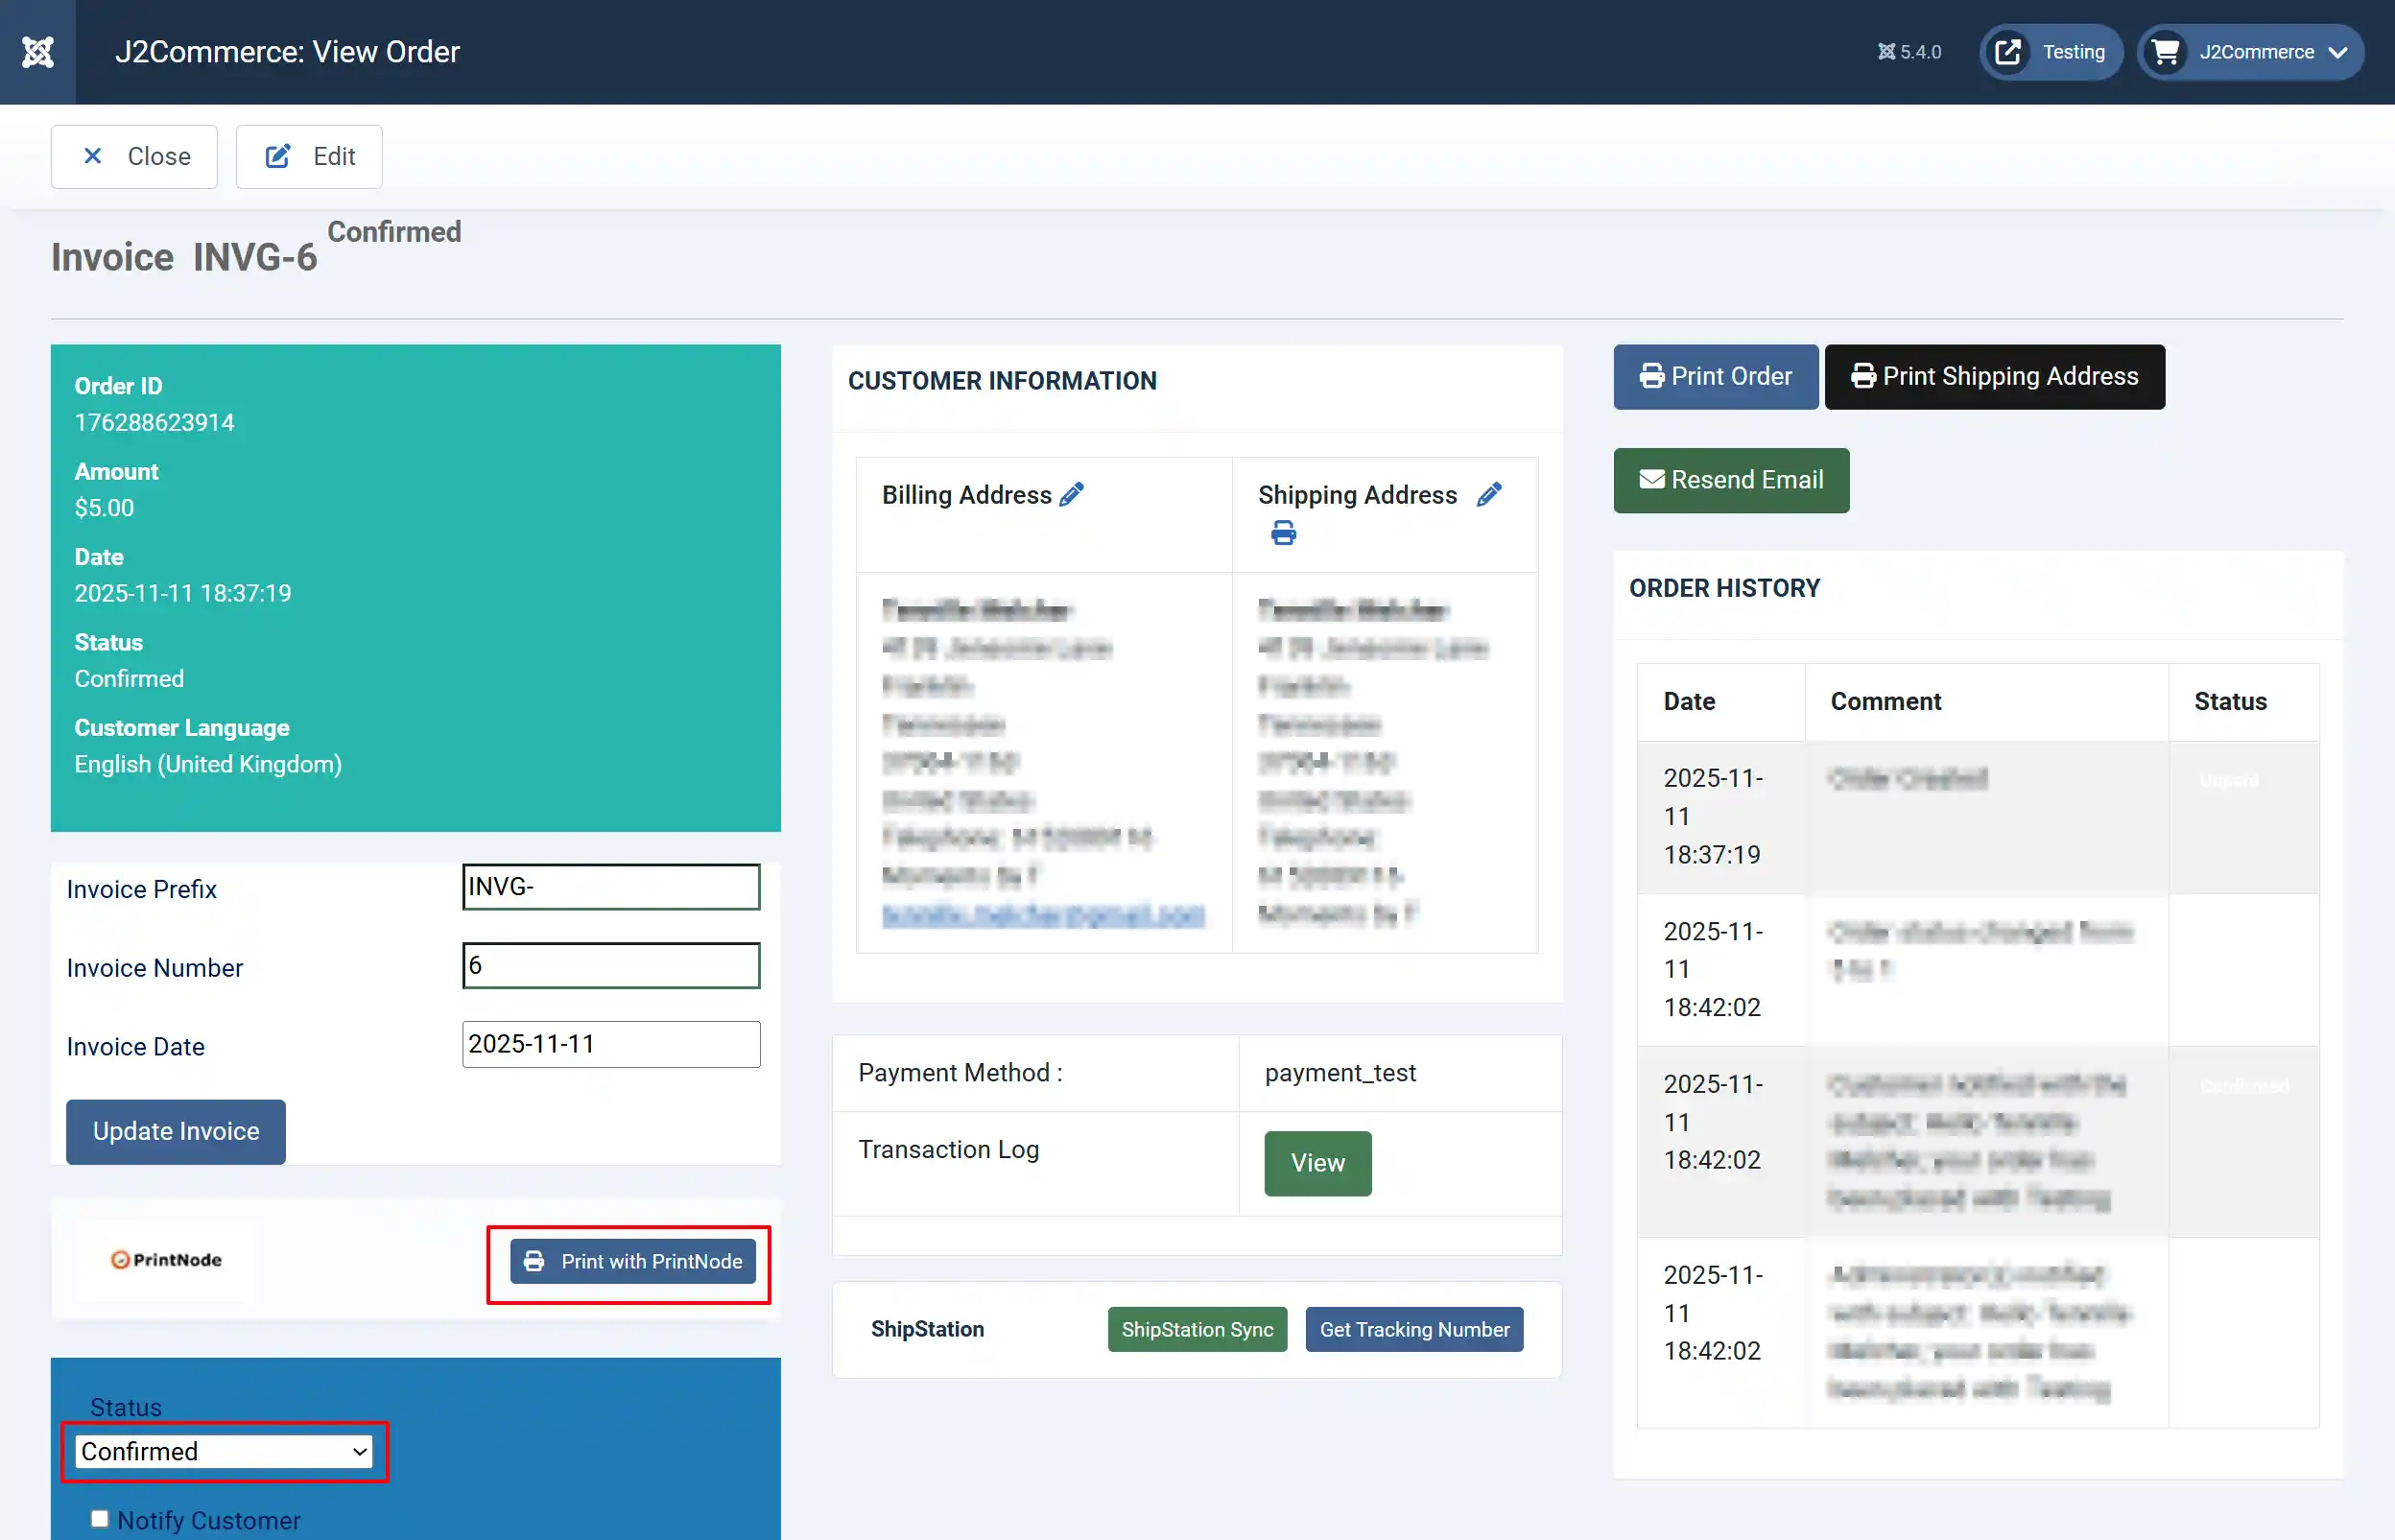
Manual Print Button: The print button will appear once the status switches to 'Confirmed'. See image below
Print tab
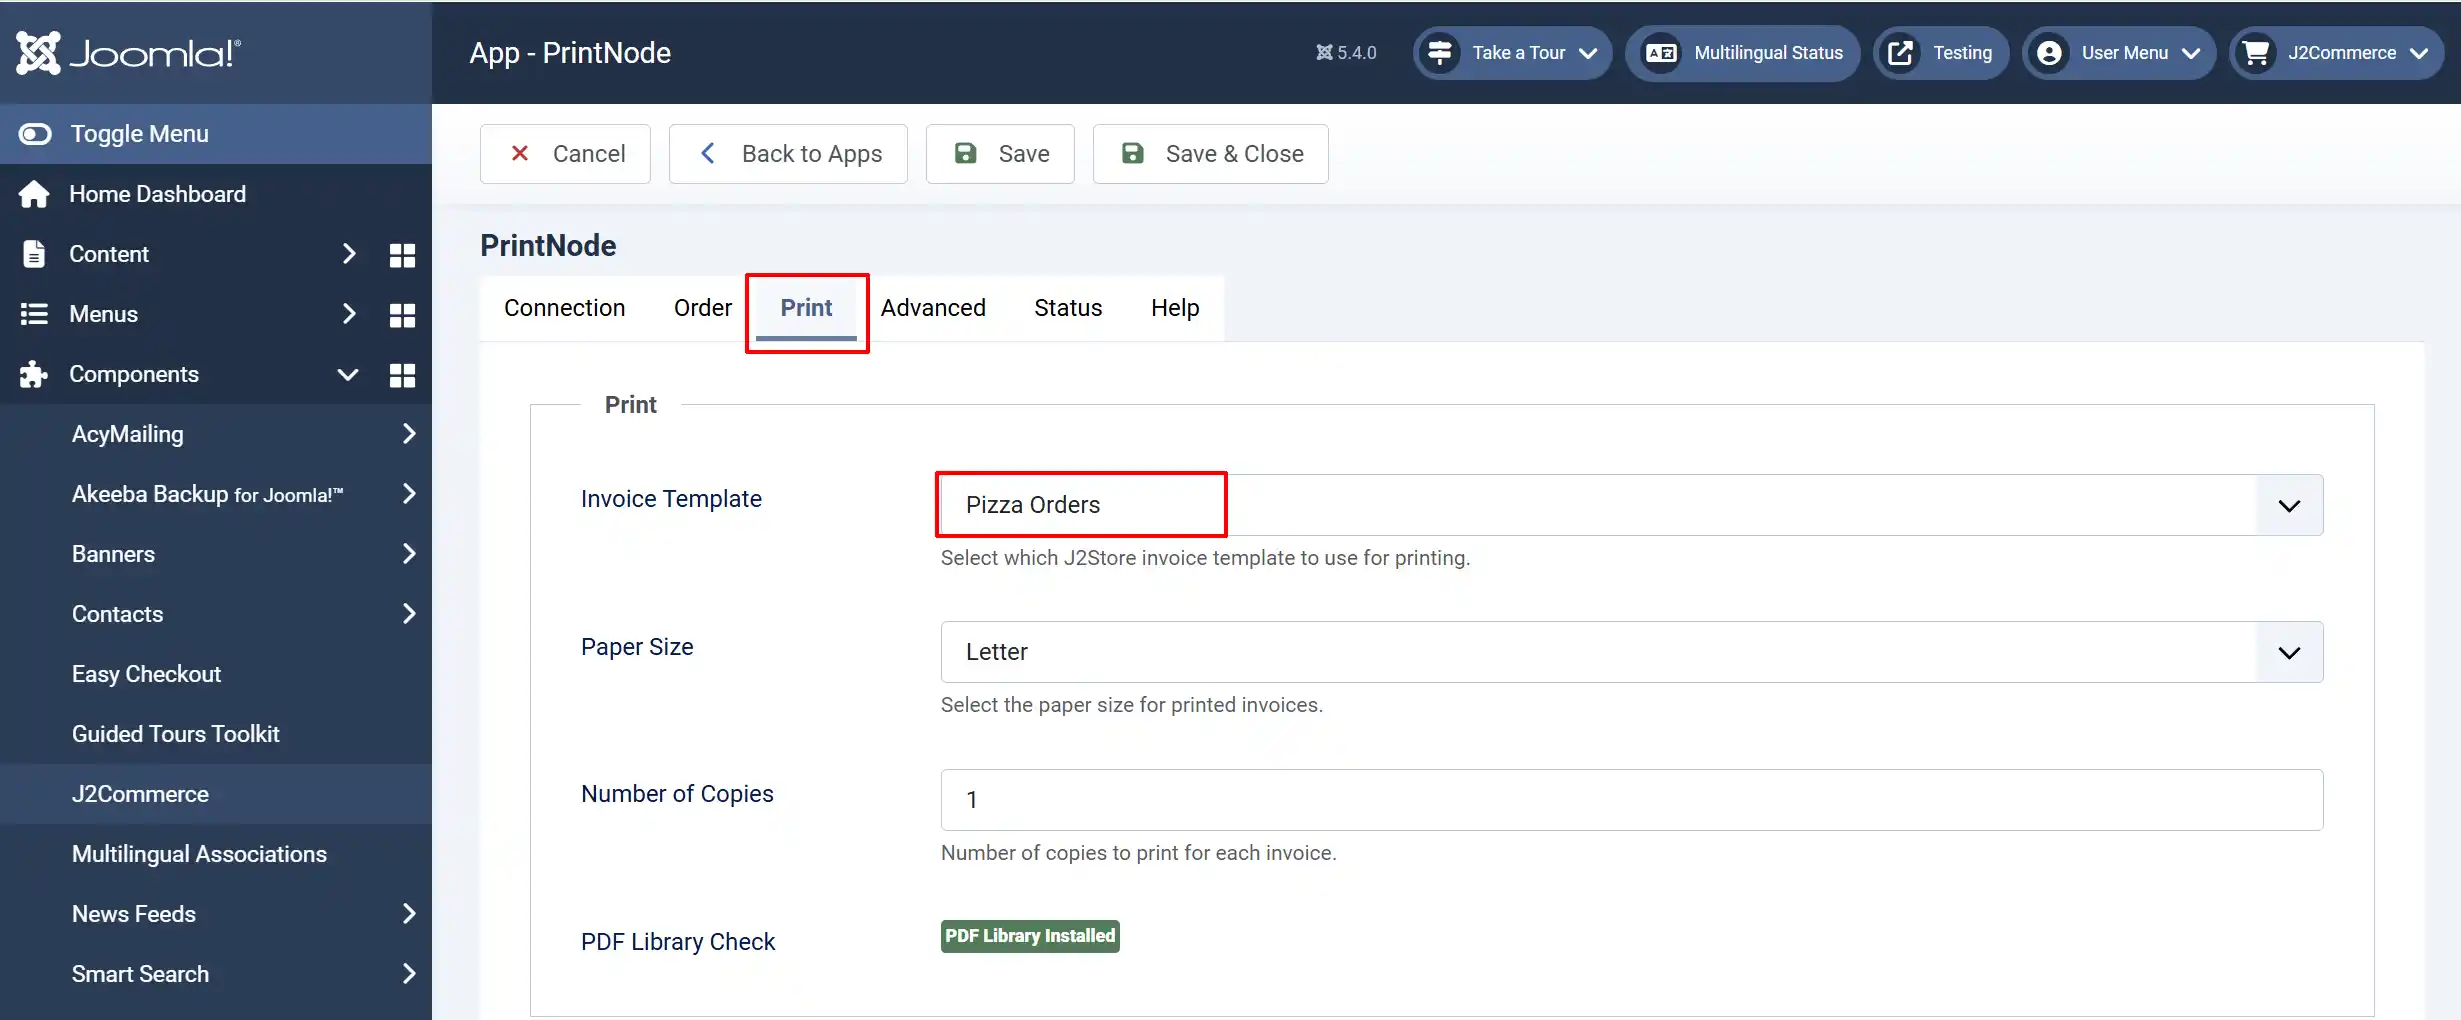
Invoice Template: Select which invoice template to use for printing. You can create as many as you want. After creating an invoice template, you can click 'Save' on the Print tab to refresh the page, and the new templates will appear. To create an invoice template, follow the steps under Creating Invoice Templates
Paper Size: Select the paper size for printed invoices
Number of Copies: Number of copies to print for each invoice
Advanced tab
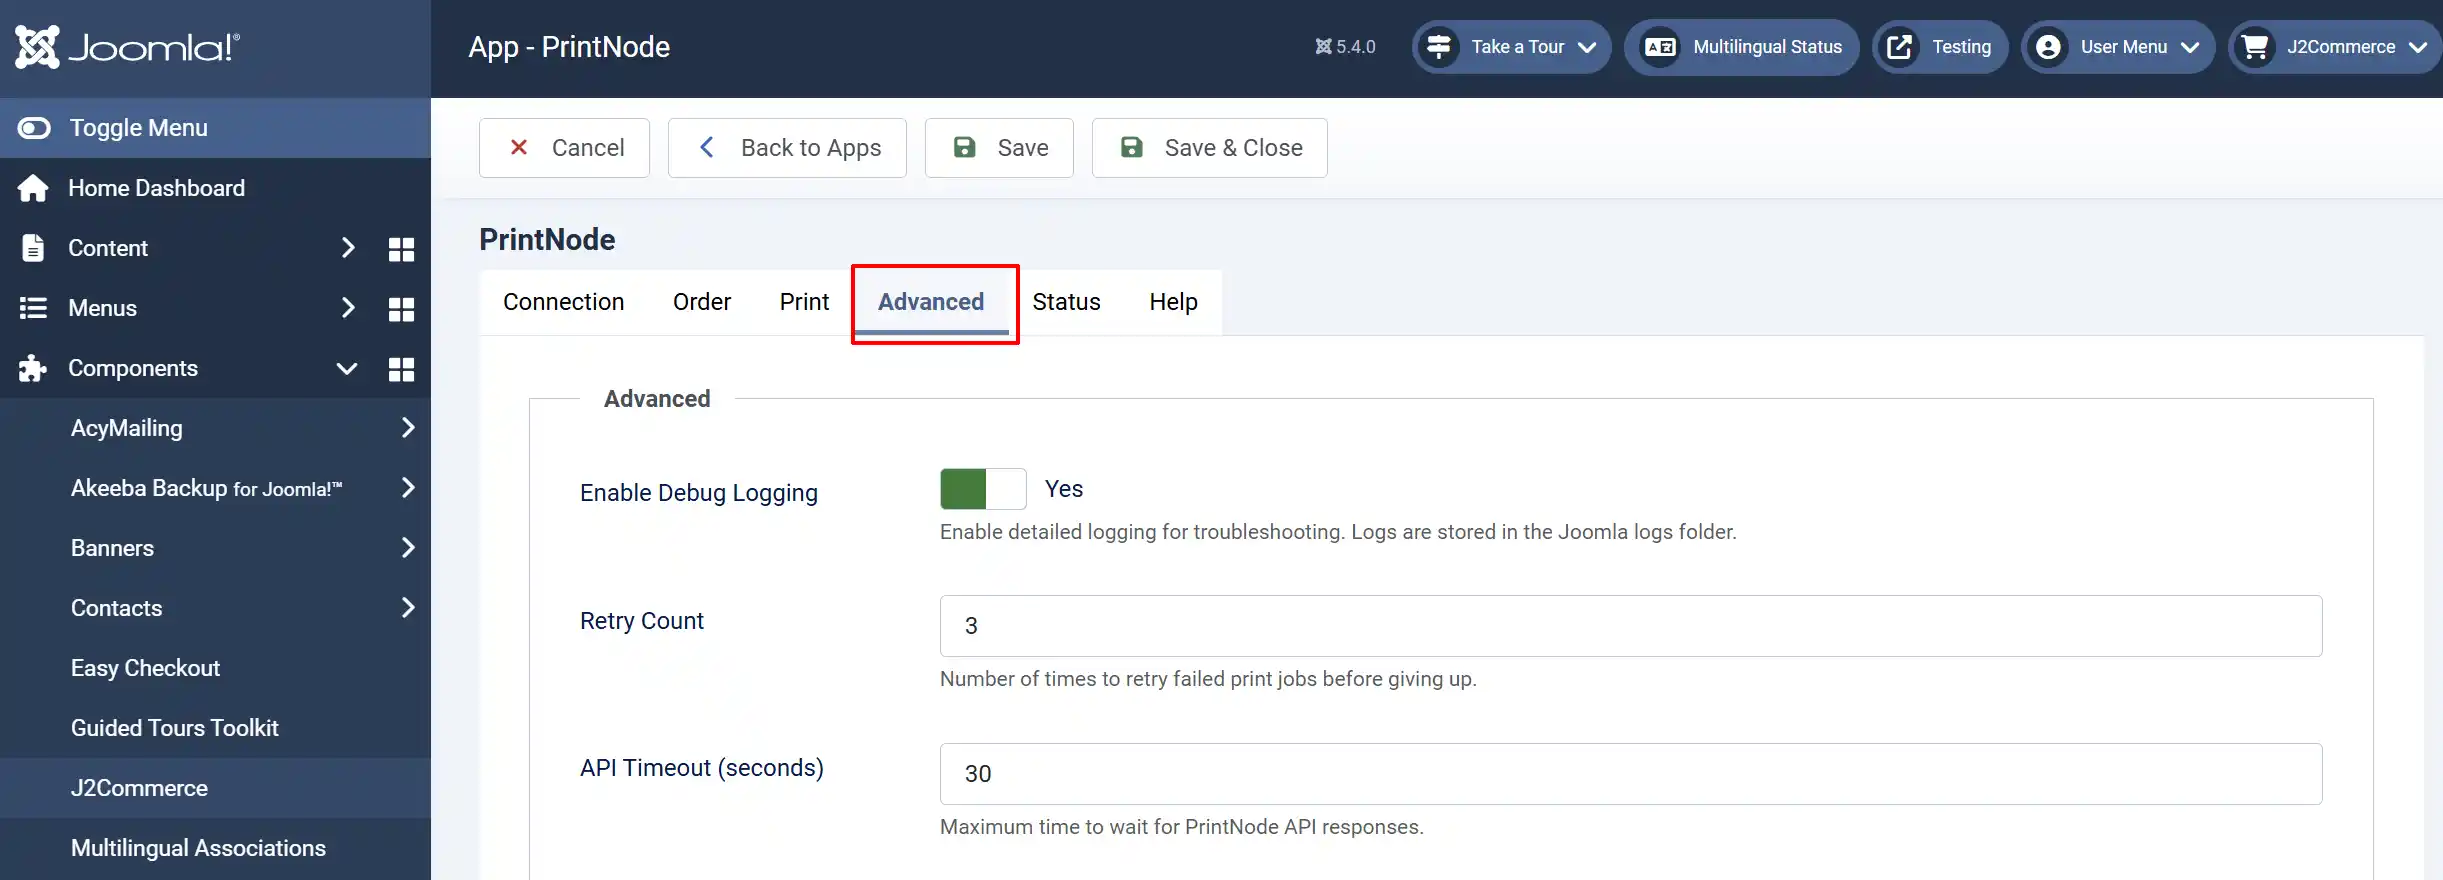
Enable Debug Logging: Enable detailed logging for troubleshooting. Logs are stored in the Joomla logs folder
Retry Count: Number of times to retry failed print jobs before giving up
API Timeout (seconds): Maximum time to wait for PrintNode API responses
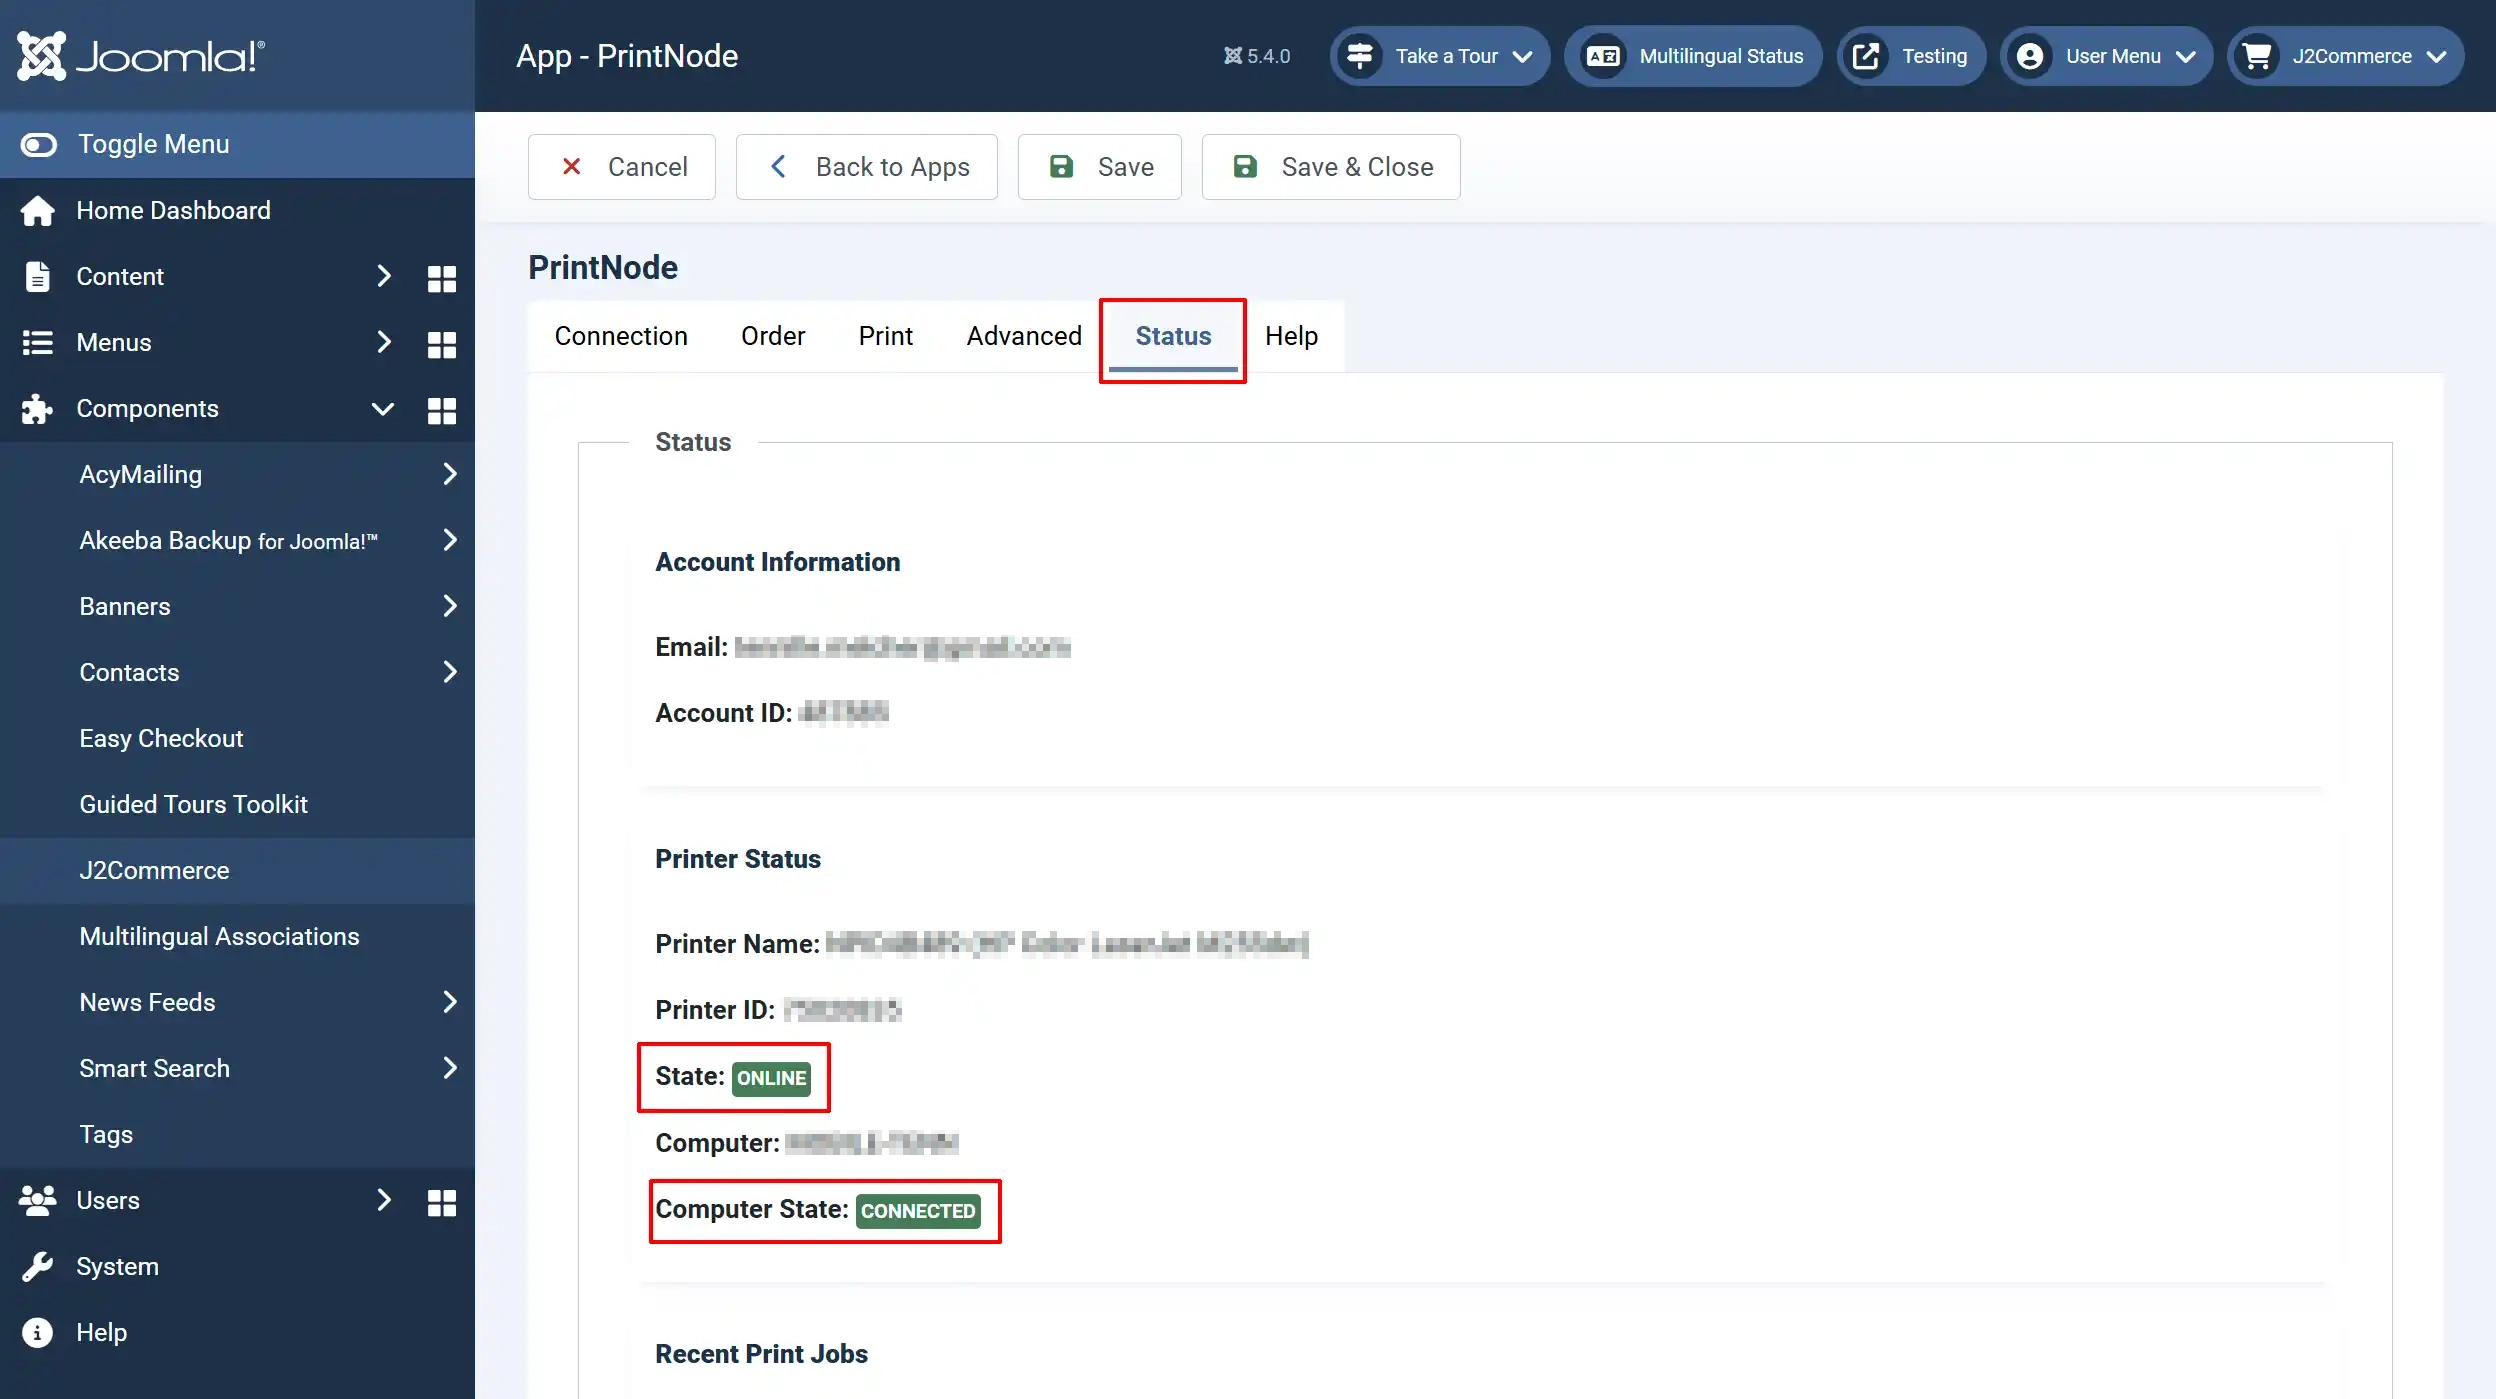
Status/Troubleshooting tab
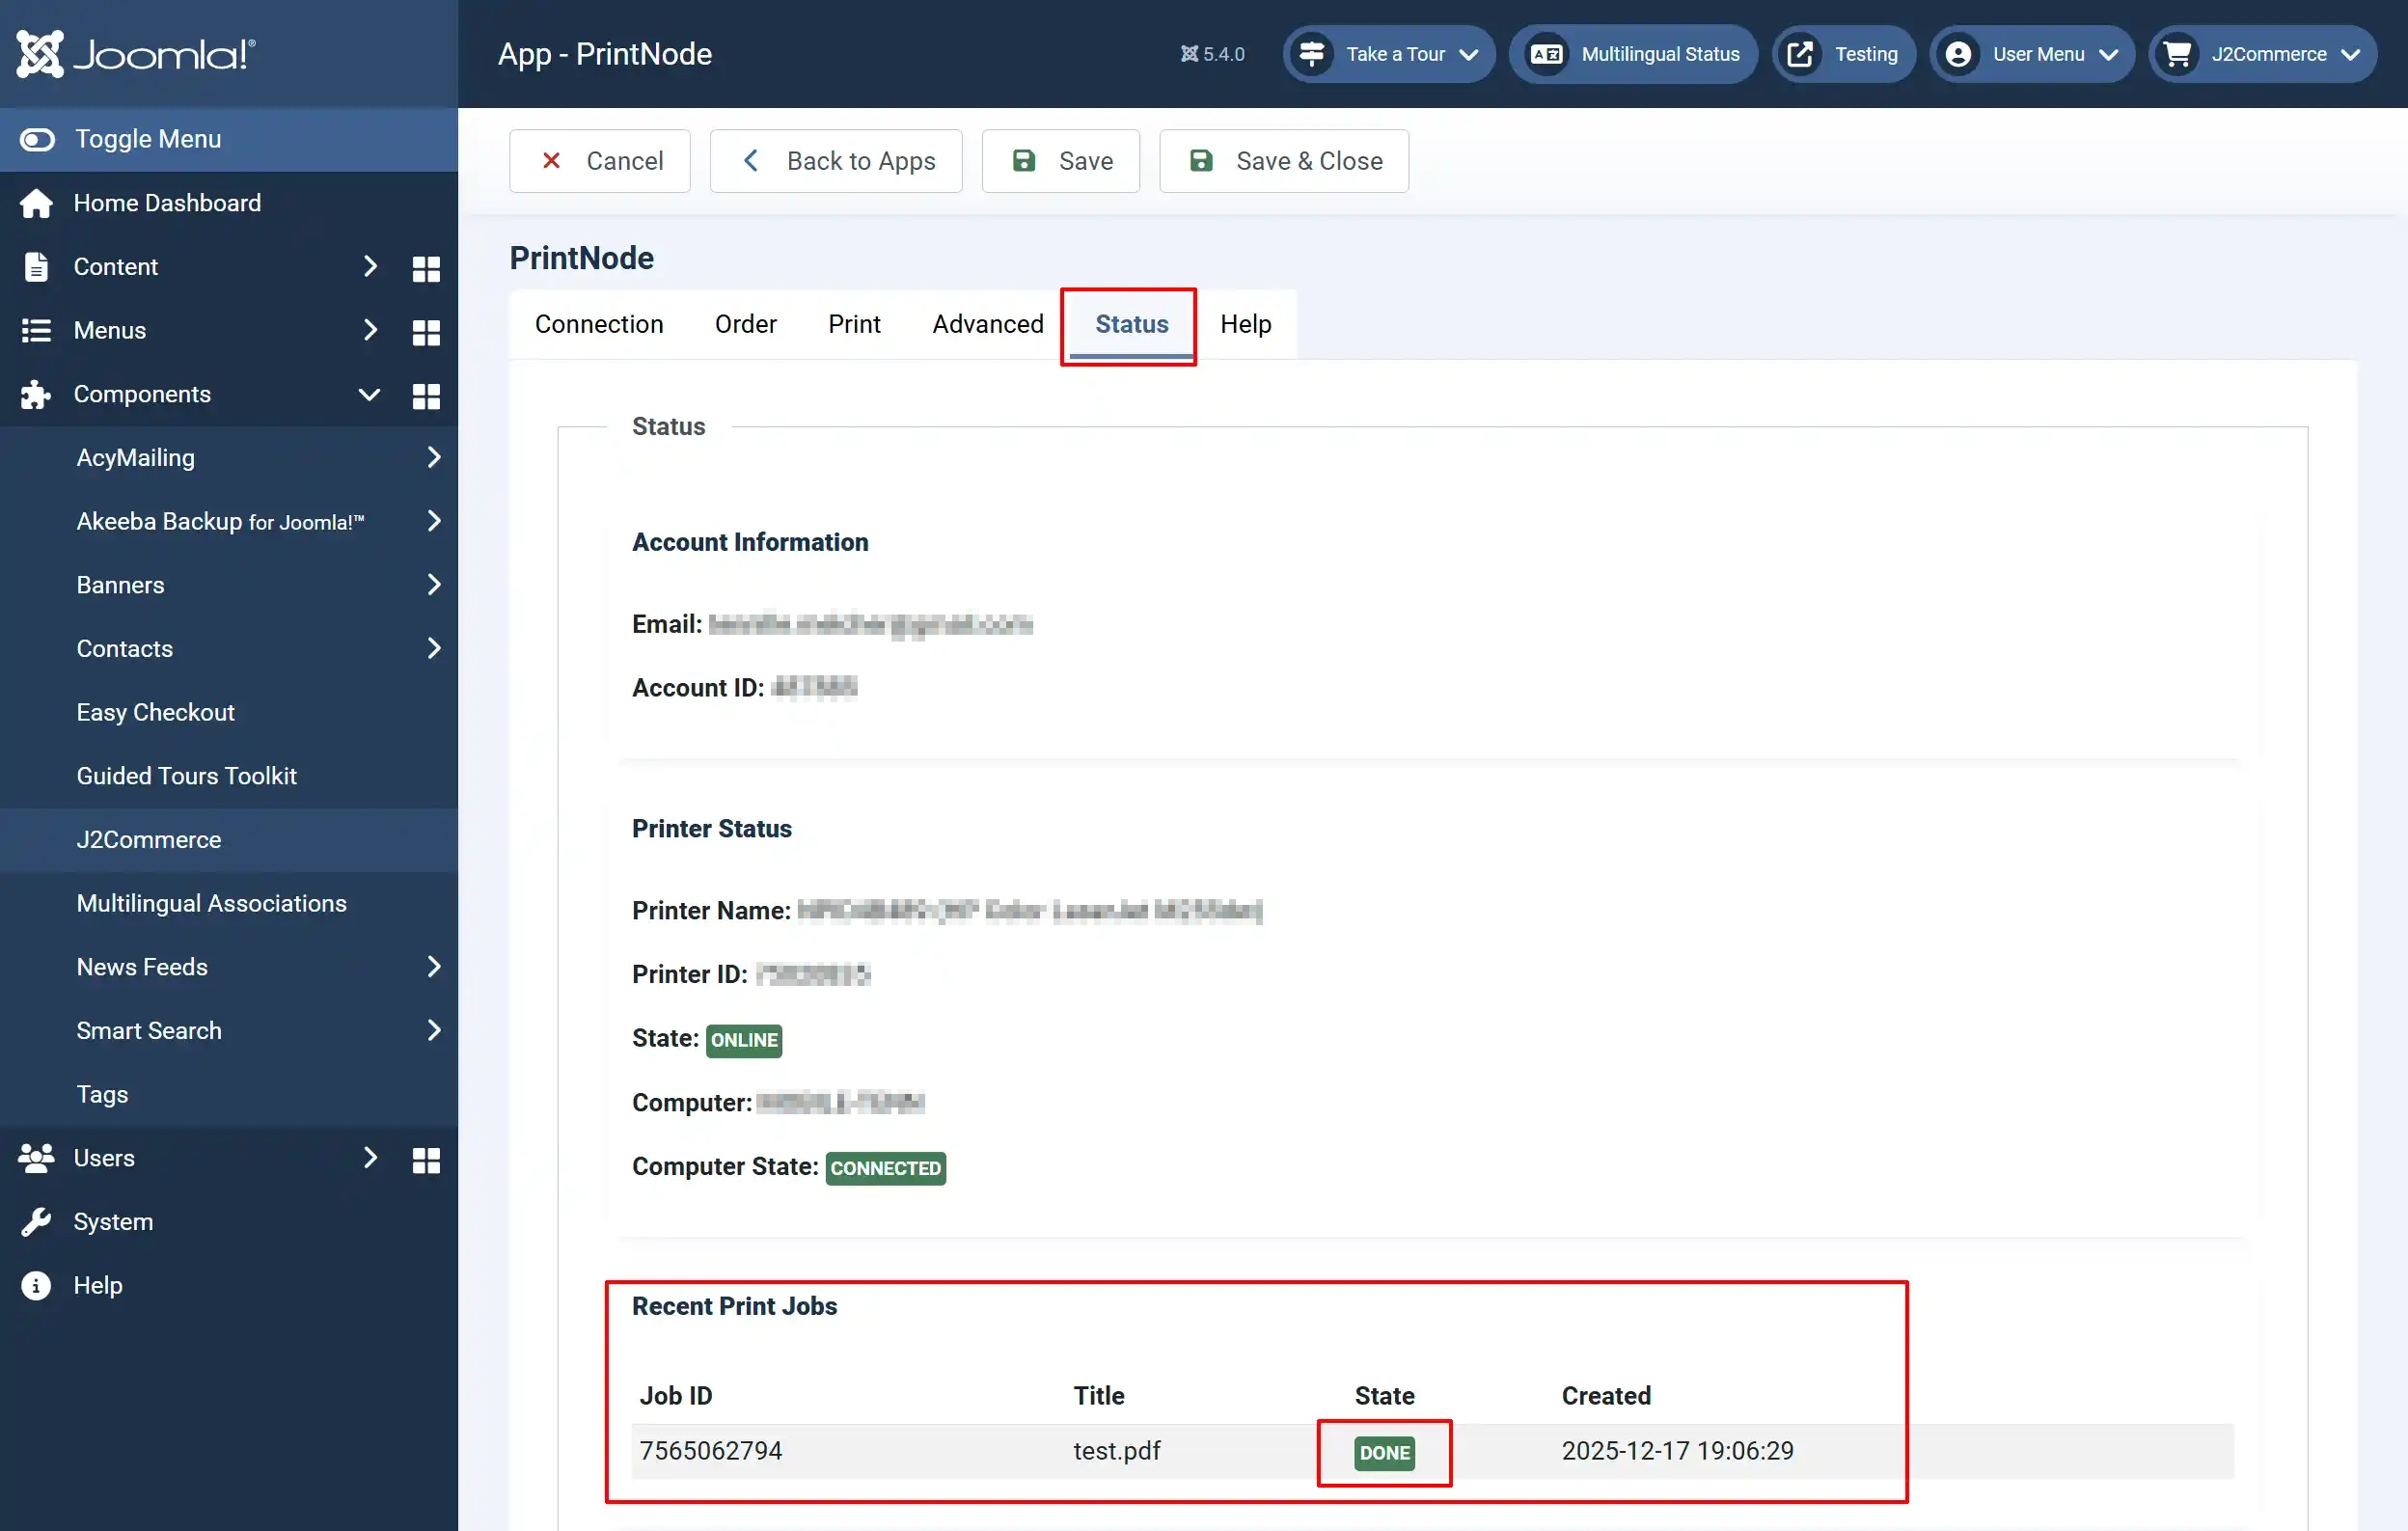
If your invoice isn't printing, go to the Status tab and make sure that the State and Computer State are online and connected.
All of your current and previous print jobs will be listed below with their success status and any errors that may have occurred.
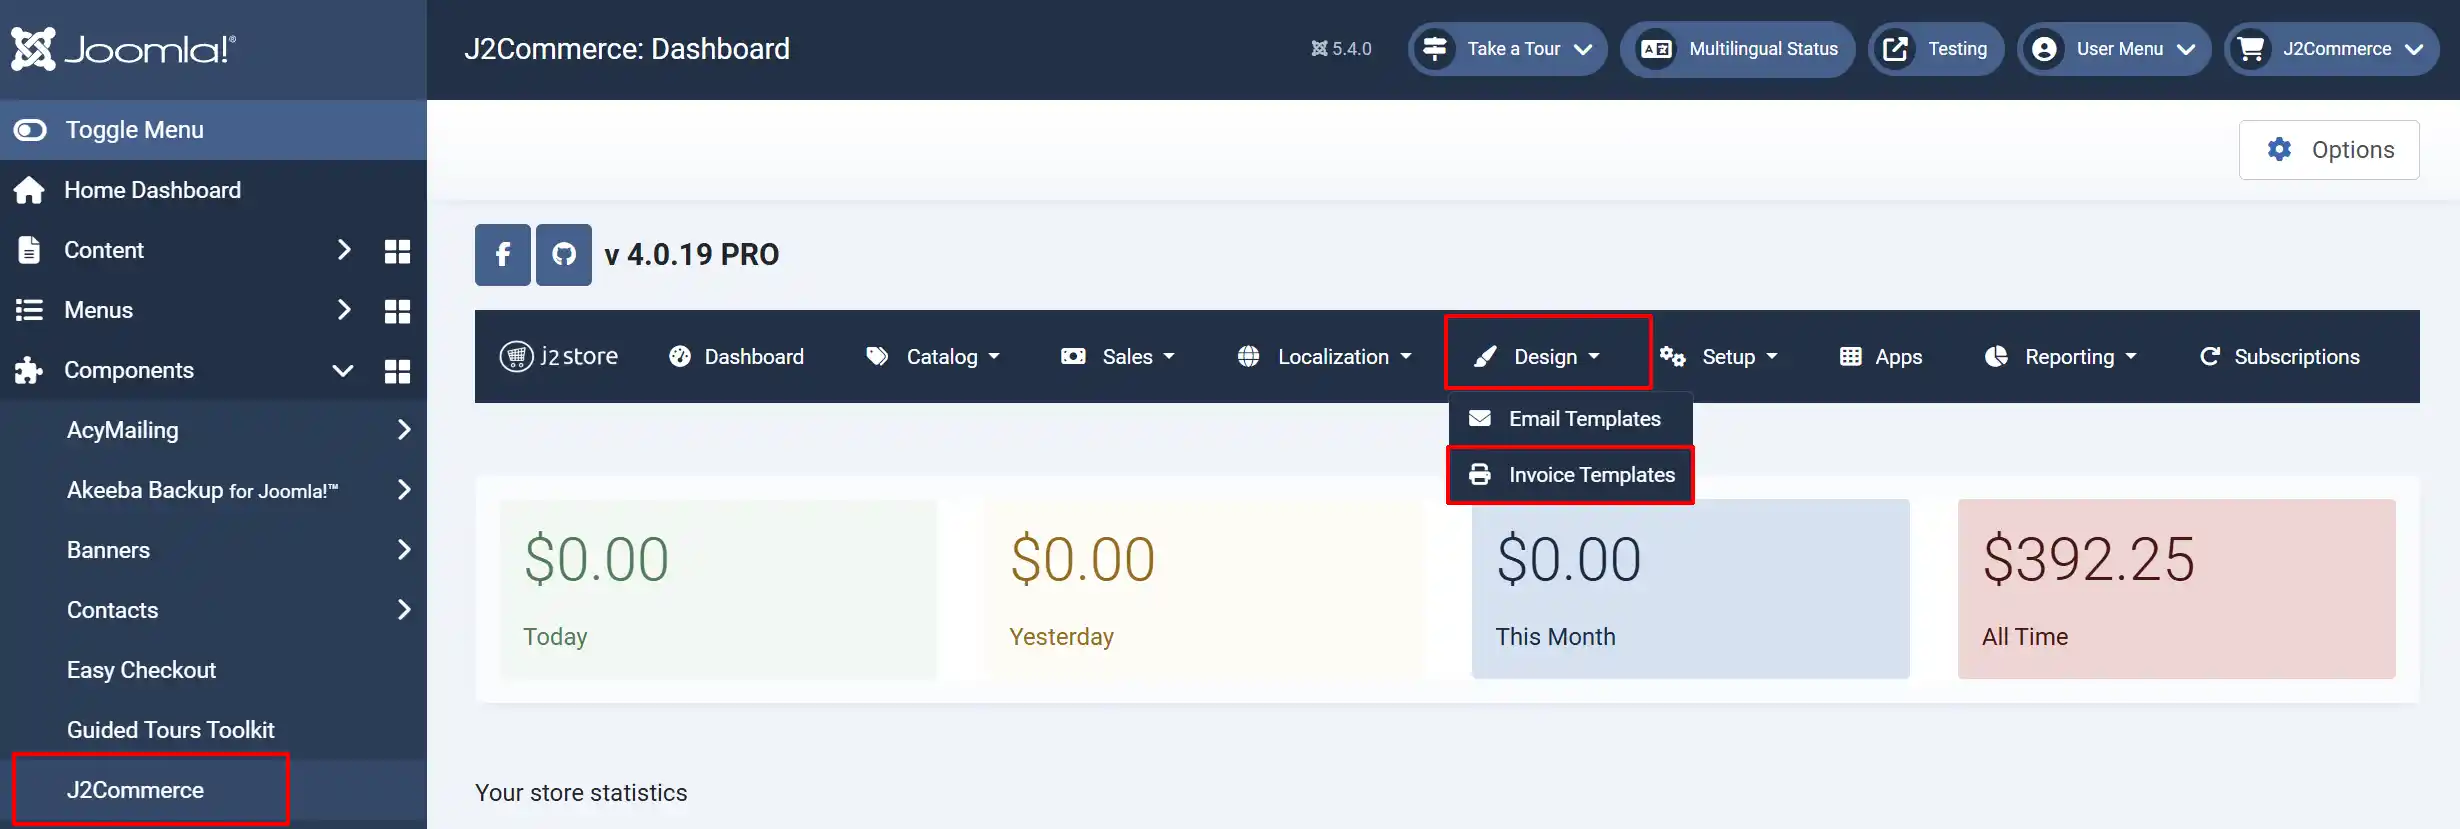
Creating Invoice Templates
To create an invoice template, go to J2Commerce > Design > Invoice Template > New
Basic Settings tab
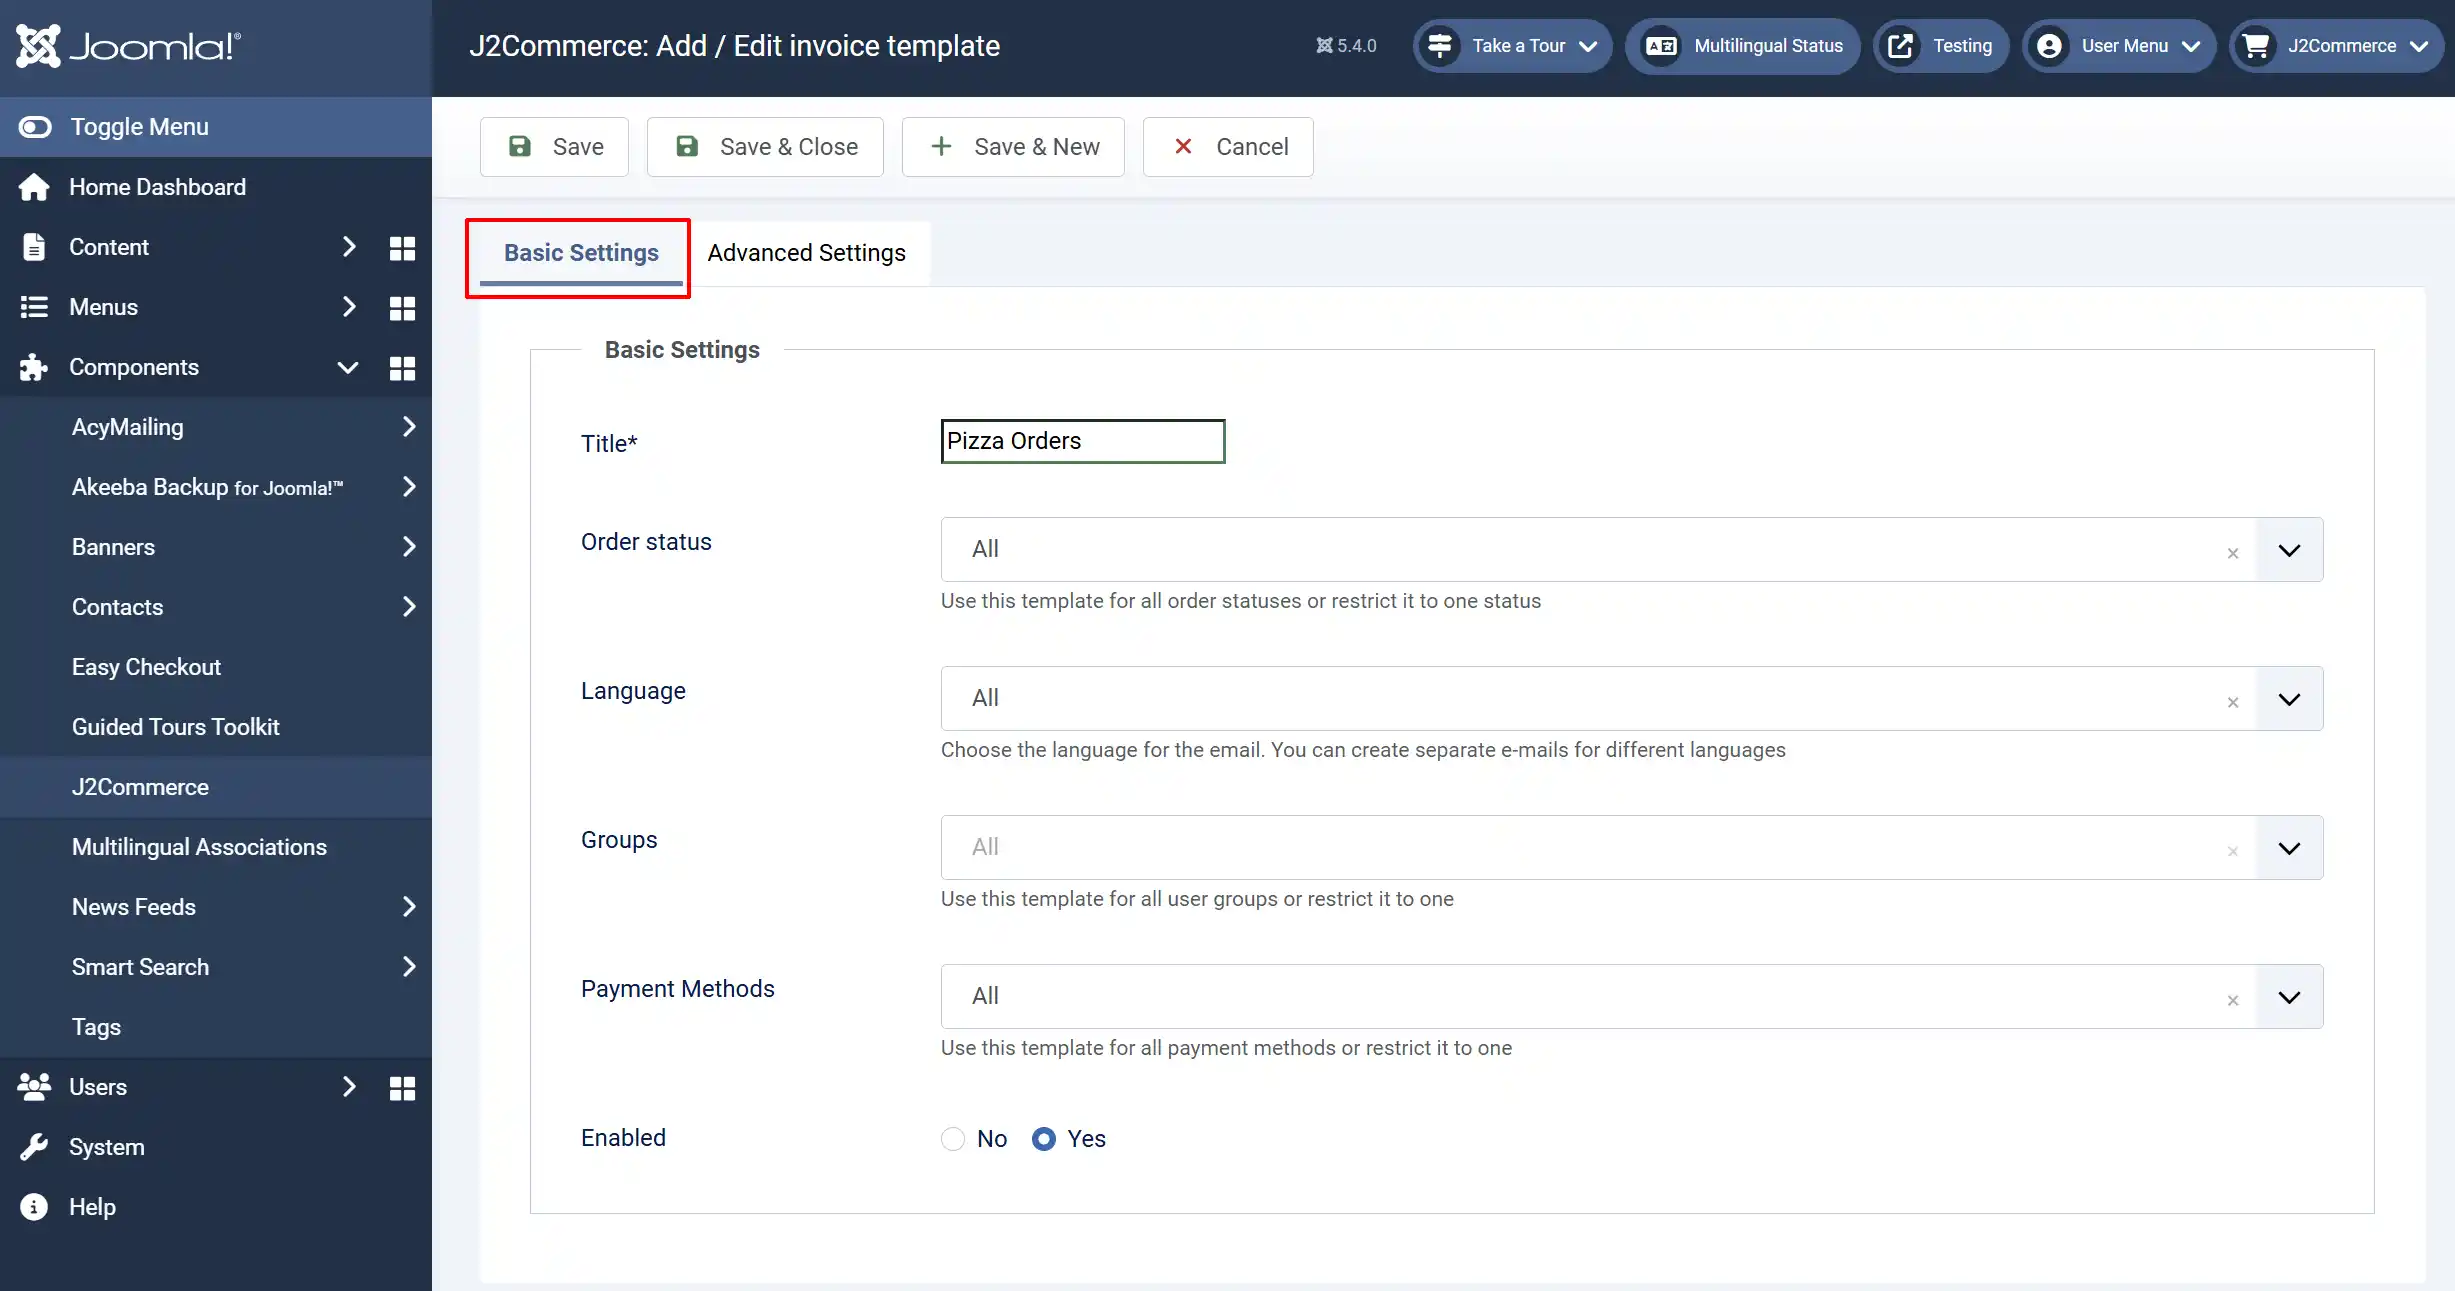
Title: Name your template
Order status: Use this template for all order statuses or restrict it to one status
Language: Choose the language for the email. You can create separate emails for different languages
Groups: Use this template for all user groups or restrict it to one
Payment Methods: Use this template for all payment methods or restrict it to one
Enabled: Select 'Yes' to enable the template
Advanced Settings tab
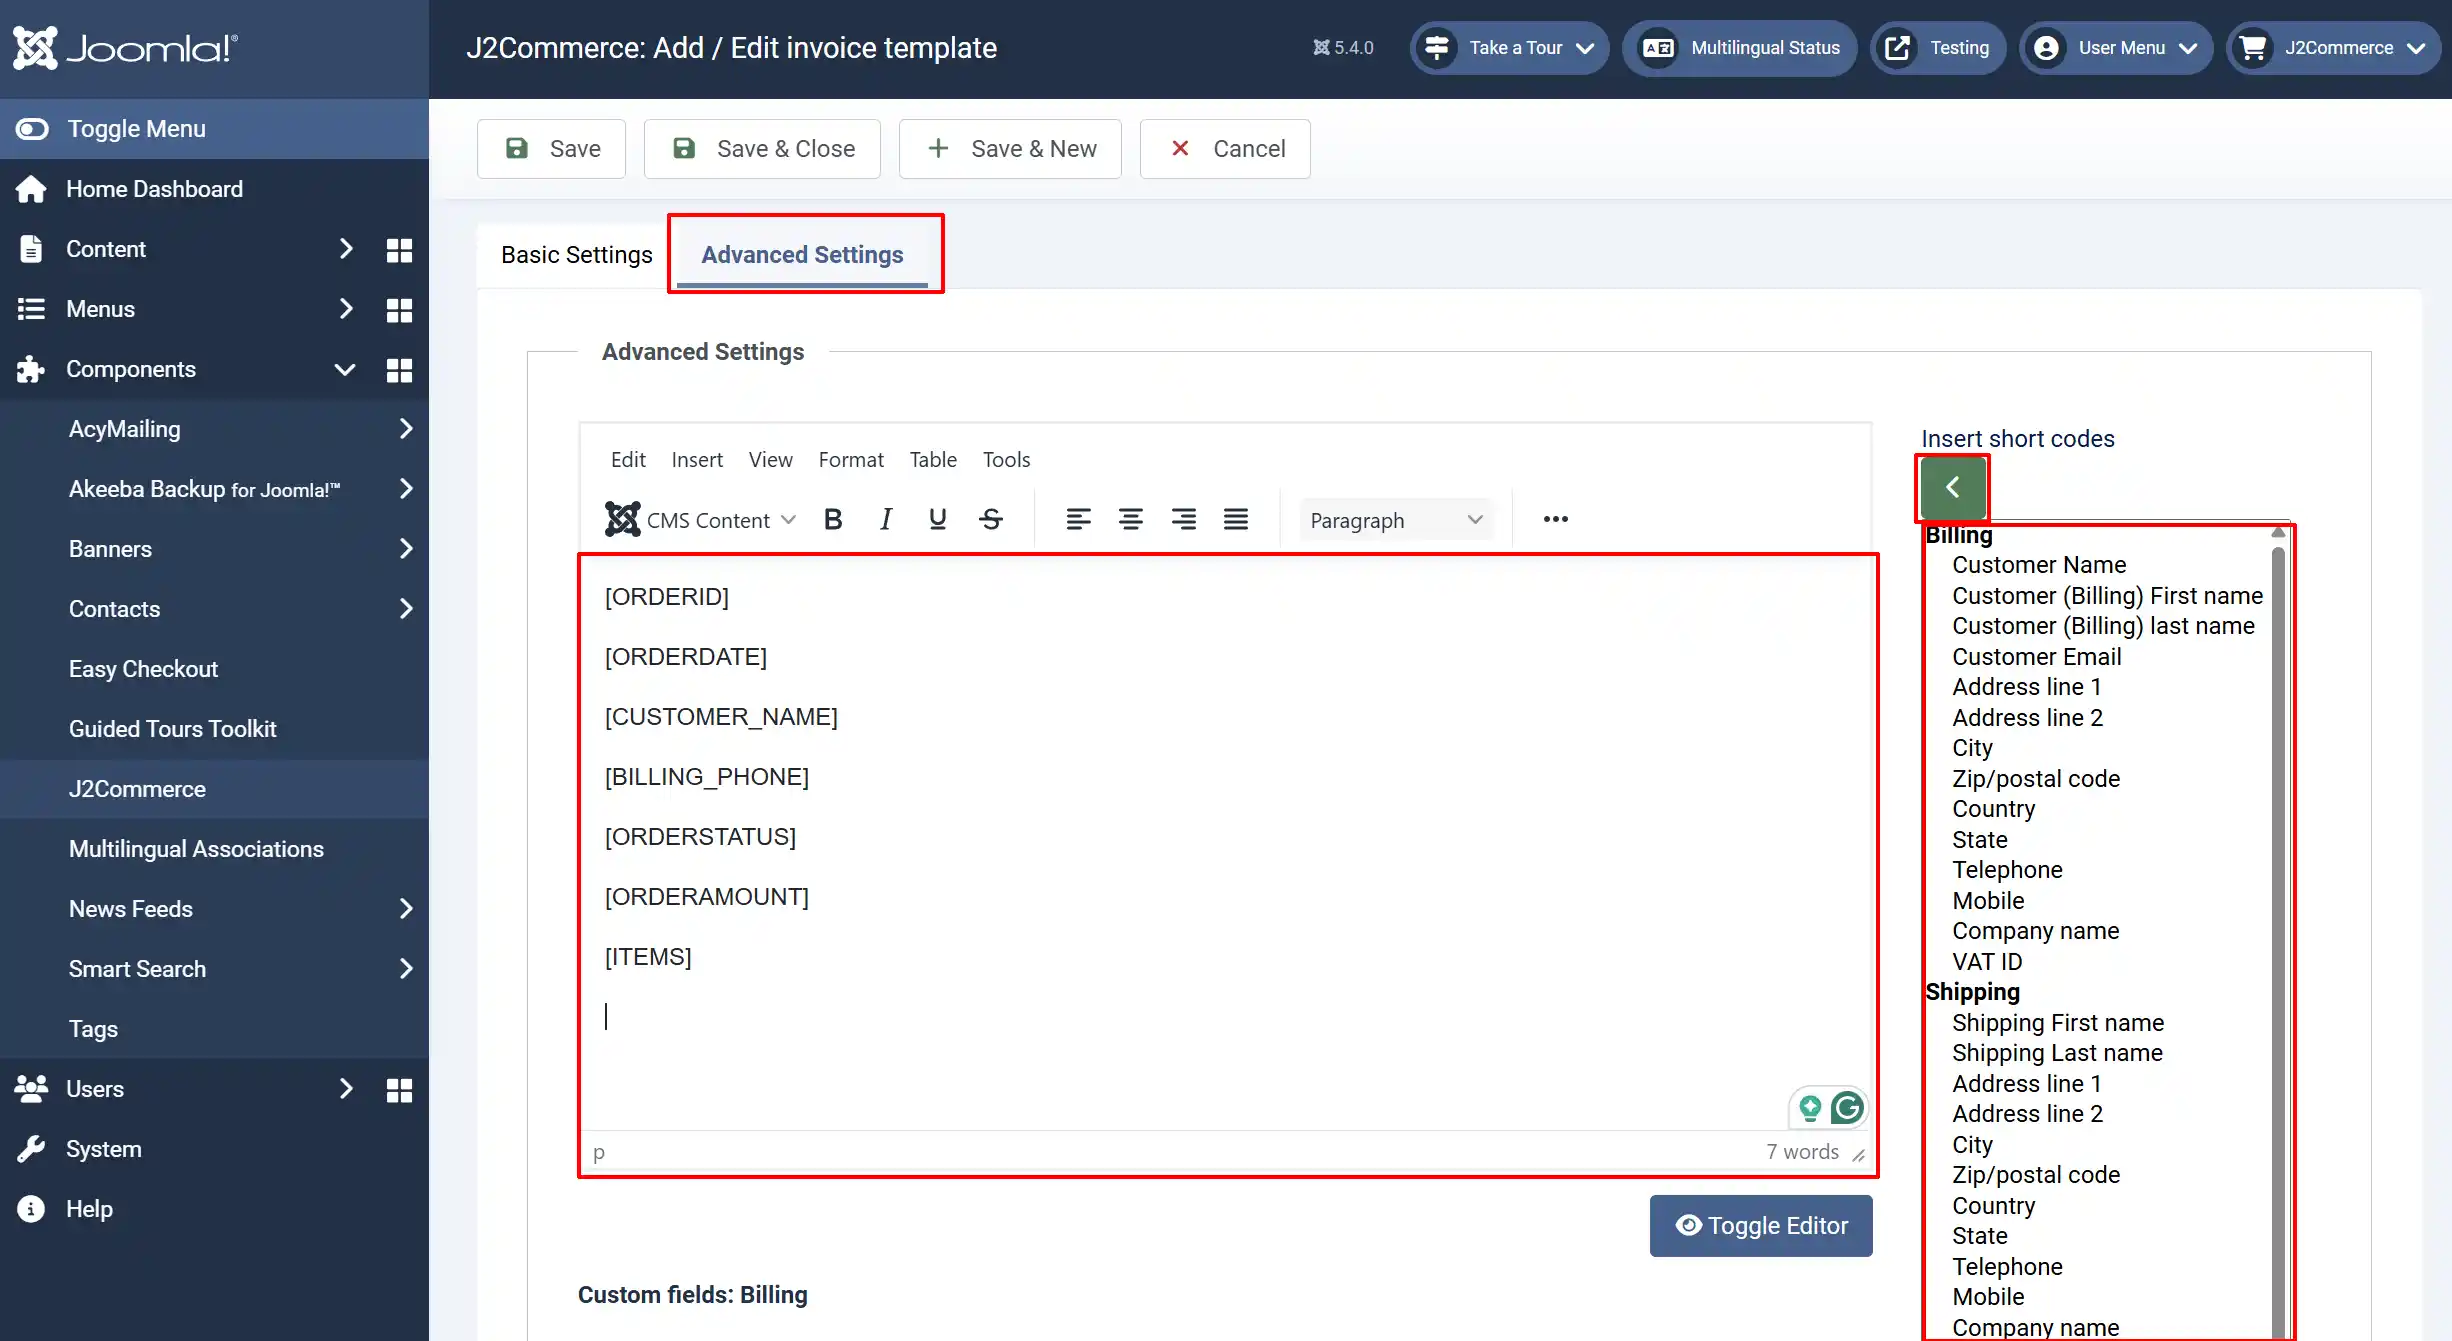
You can customize what is shown on the printed invoice. ie: Customer name, invoice number, items ordered, phone number, etc.
Click on the items you want added in the right panel and click the green arrow button to bring them into the invoice box to the left.
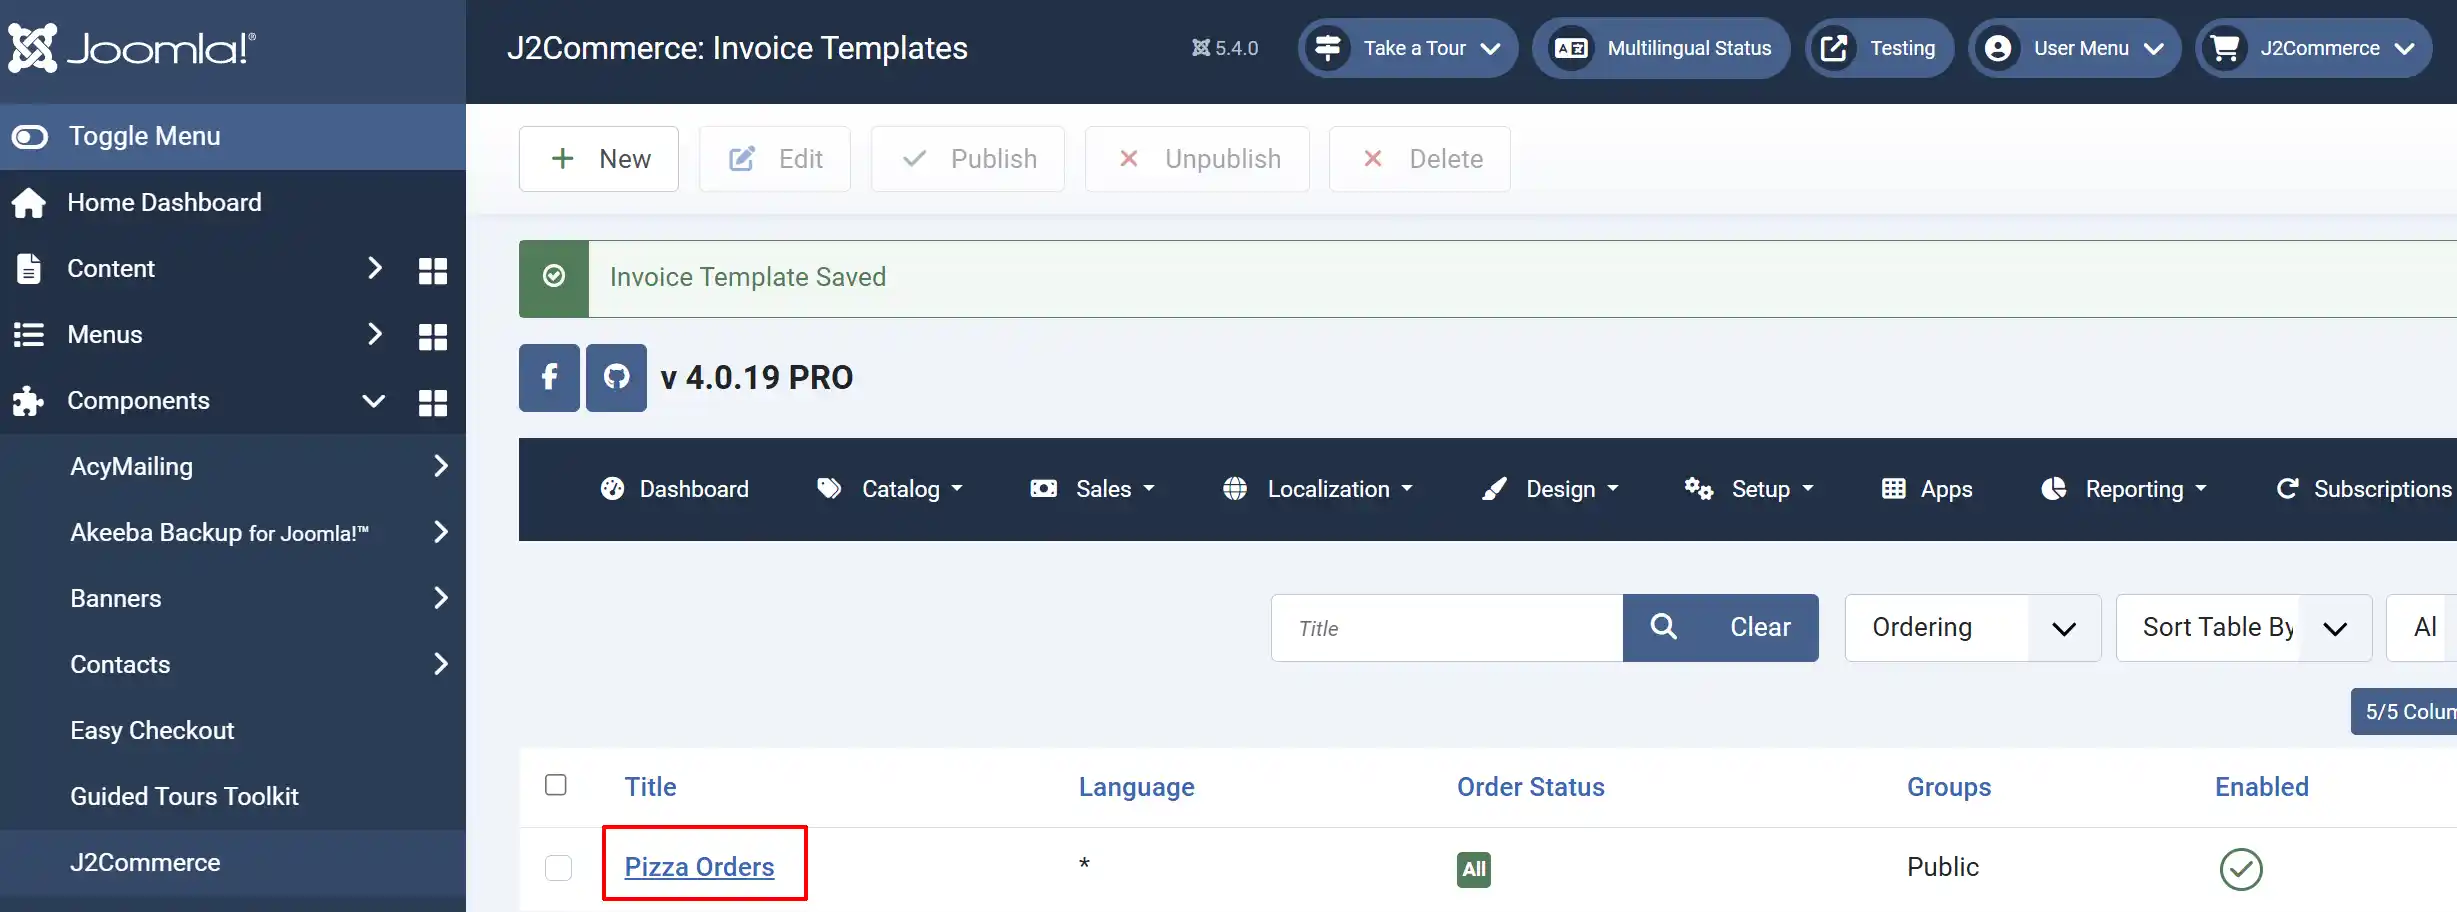
This is very helpful if you have multiple departments using the same printNode account
The image below shows all of the invoice templates you have to choose from in the App
For technical support or help, contact us at support@j2commerce.com