Vouchers & Gift Cards
Vouchers are gift cards with a monetary balance that customers can use to pay for orders. When a customer redeems a voucher code at checkout, the voucher's balance is applied to their order total. If the balance is not fully used in one order, the remaining amount stays on the voucher for future orders until it runs out.
Vouchers are different from coupons — a coupon gives a percentage or fixed discount, while a voucher holds a real monetary balance that decreases as it is spent. A voucher's remaining balance is never stored as a single number — it is calculated live from the voucher's original value plus every redemption and every manual adjustment ever made against it, so it always reflects reality even after partial refunds or corrections.
Accessing Vouchers
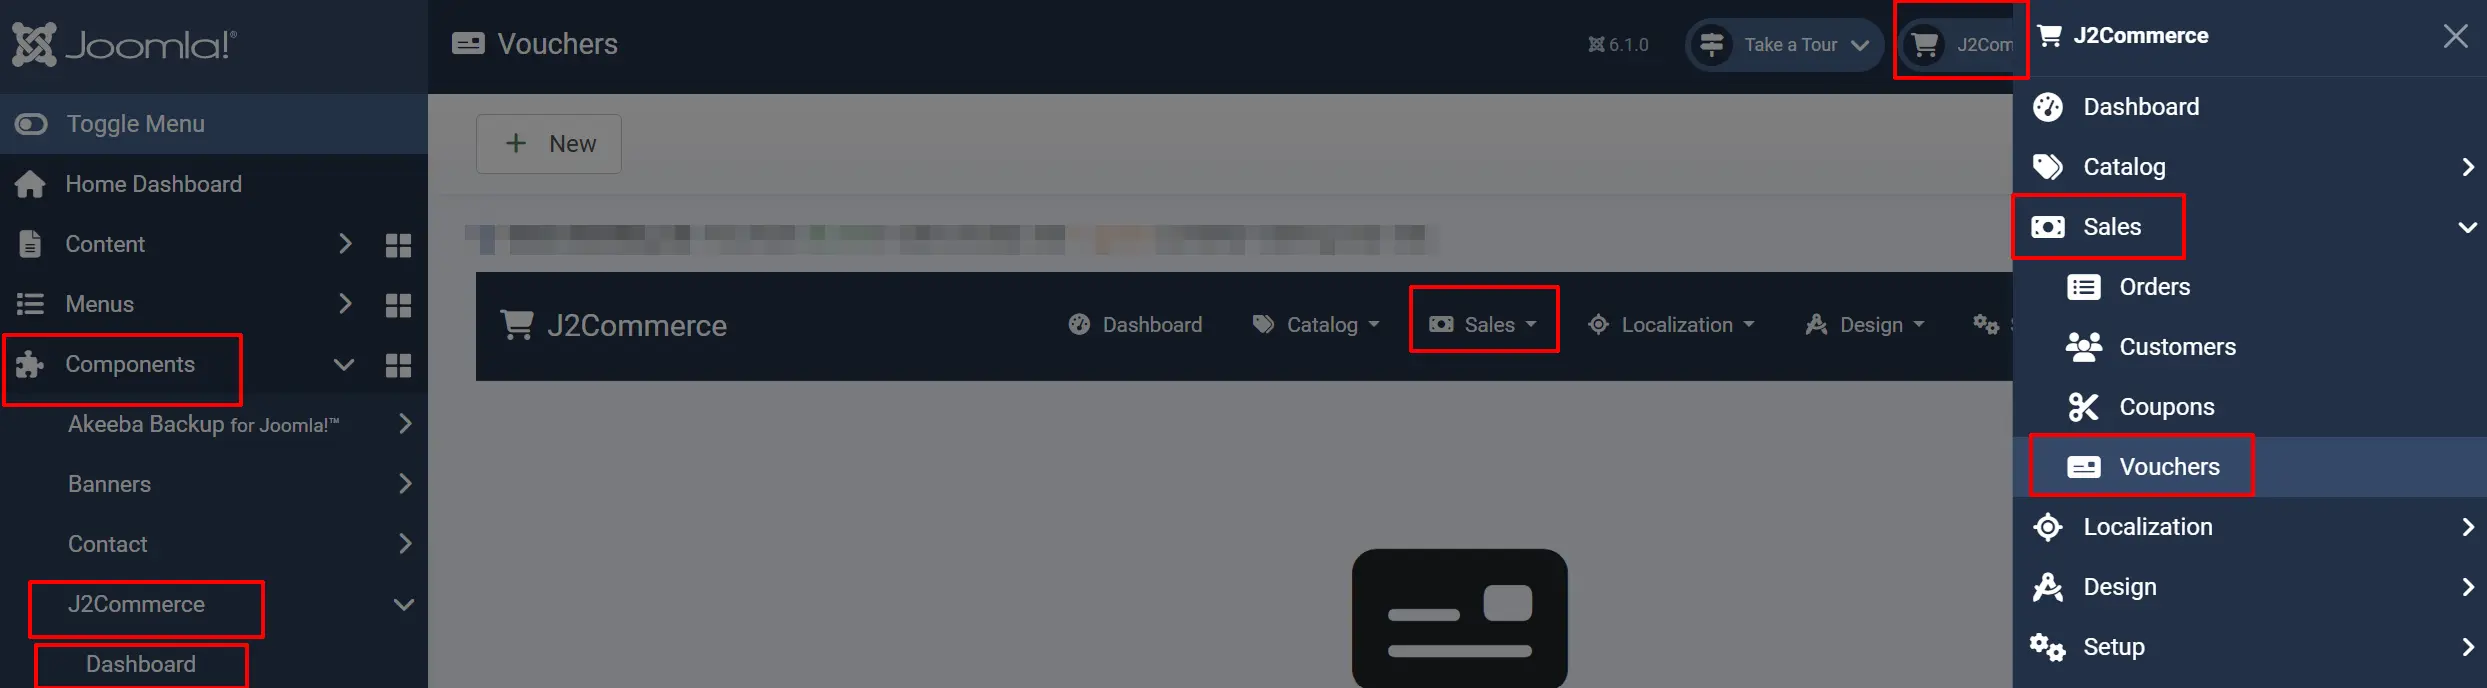
There are two ways you can access the Vouchers.
Option A: Go to the J2Commerce icon at the top right corner -> Sales -> Vouchers
Option B: Go to Components on the left sidebar -> J2Commerce -> Dashboard -> Sales -> Vouchers
Understanding the Vouchers List
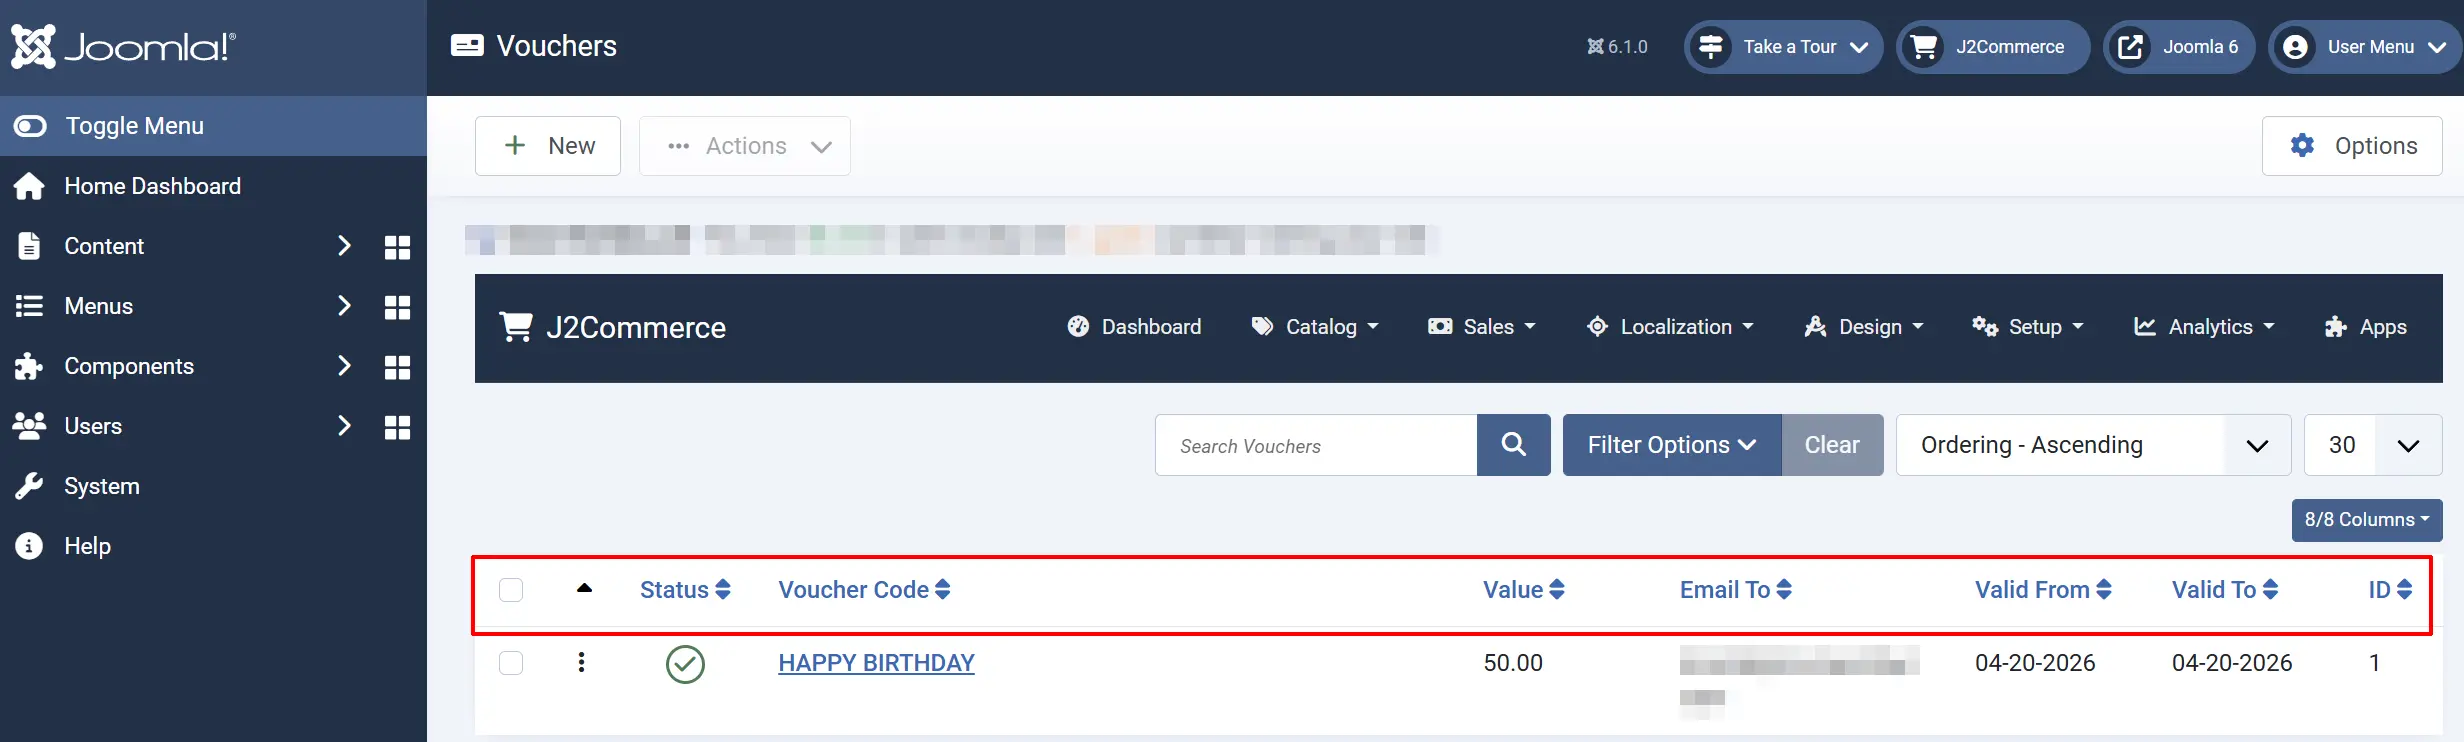
Each row in the list represents one voucher.
Status: Whether the voucher is published (active) or unpublished (disabled). Click to toggle.
Voucher Code: The code a customer enters at checkout. Click to open and edit.
Recipient: Shows the recipient's name if one is on file; otherwise the Email To address is shown.
Value: The original monetary balance loaded onto the voucher.
Remaining Balance: The voucher's current usable balance, calculated live from the original value, everything redeemed at checkout, and any manual adjustments made on the History screen.
Uses: How many times the voucher has been applied to an order.
Status Badge: A calculated status separate from the Status toggle — Active, Disabled, Expired, Not Yet Valid, or Depleted (zero remaining balance). See Understanding the Status Badge below.
Valid From / Valid To: The voucher's active date range. Empty means no restriction on that end.
Created On: When the voucher was created.
ID: The internal voucher ID number.
Understanding the Status Badge
The Status Badge tells you at a glance whether a voucher can actually be used right now, which the plain Status toggle alone cannot:
| Badge | Meaning |
|---|---|
| Disabled | The voucher's Status toggle is set to unpublished. |
| Expired | Today's date is past the voucher's Valid To date. |
| Not Yet Valid | Today's date is before the voucher's Valid From date. |
| Depleted | The voucher is published and within its valid date range, but its remaining balance is zero. |
| Active | The voucher is published, within its valid date range, and has a remaining balance greater than zero. |
A voucher can be Published (Status toggle) and still show Expired or Depleted on the badge — the toggle only controls whether it is enabled, not whether it currently has any usable value.
Toolbar Actions
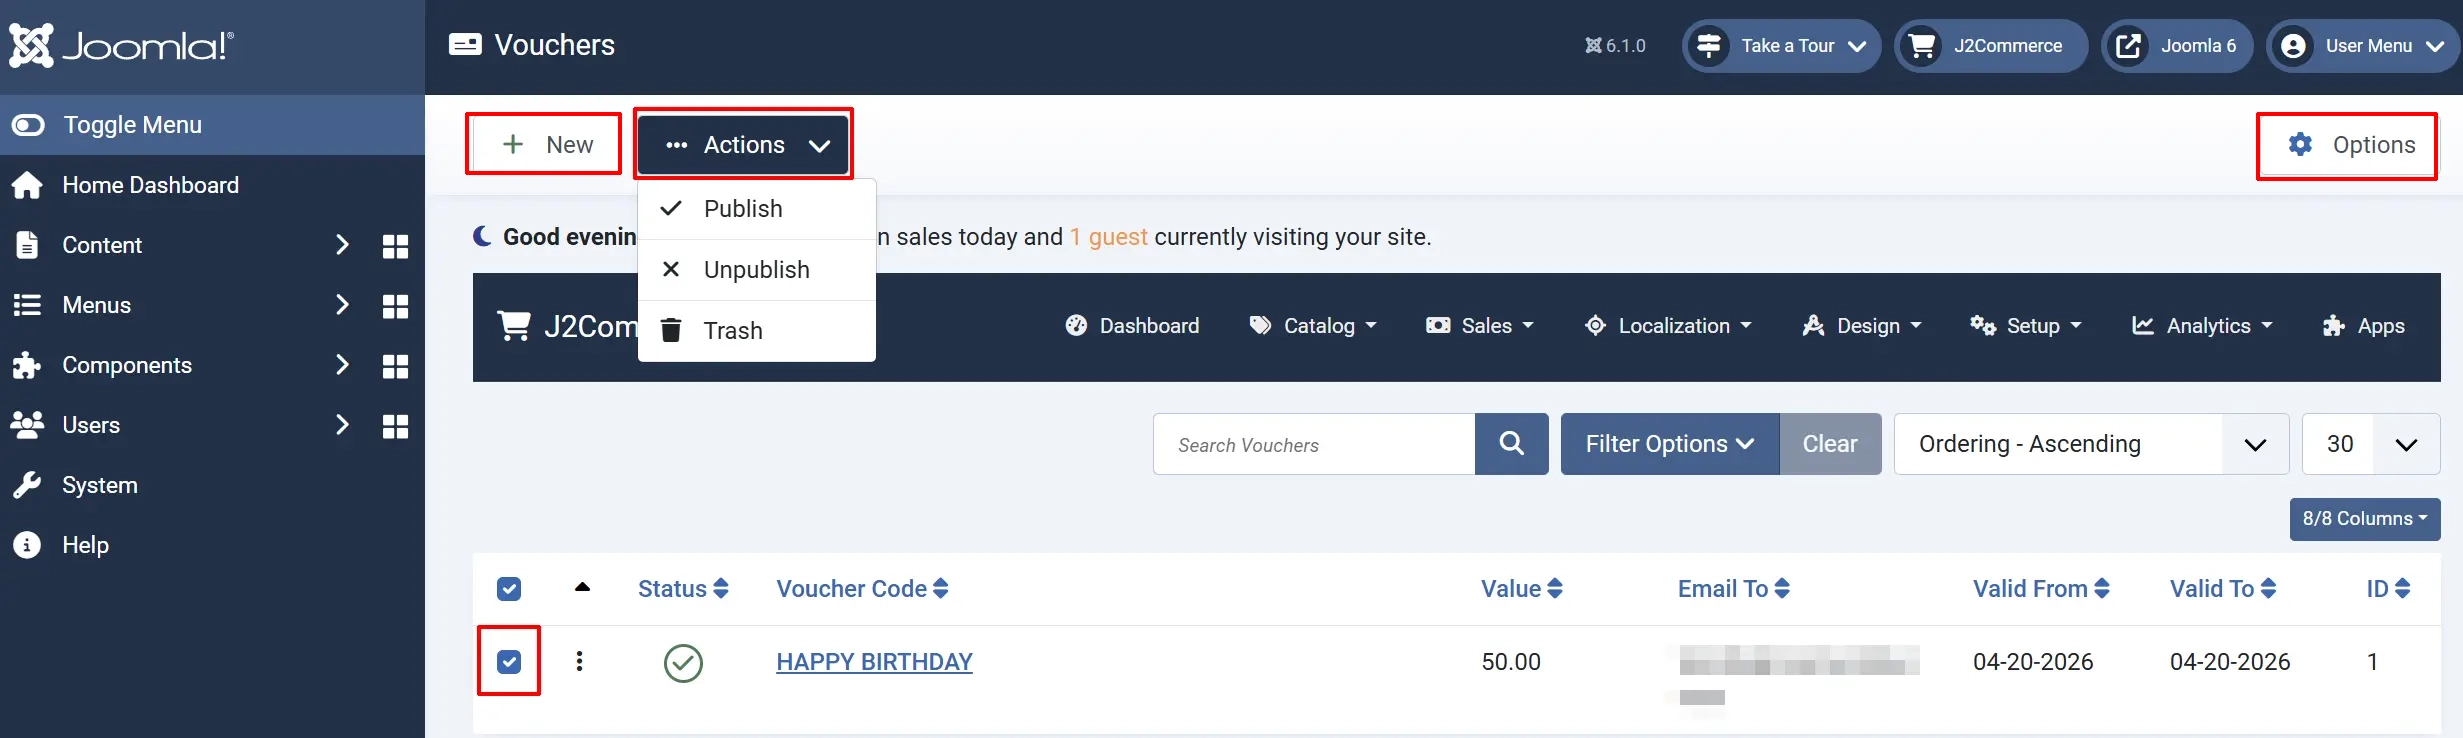
New: Opens the form to create a new voucher.
Actions: To activate the Actions button, you have to select at least one Voucher
-
Publish: Activates the selected vouchers so customers can use them.
-
Unpublish: Deactivates the selected vouchers so they cannot be used.
-
Trash: Moves the selected vouchers to the trash.
Export CSV: Downloads the currently filtered list as a CSV file. See Exporting Vouchers to CSV below.
Options: Opens the global J2Commerce configuration settings.
Searching and Filtering
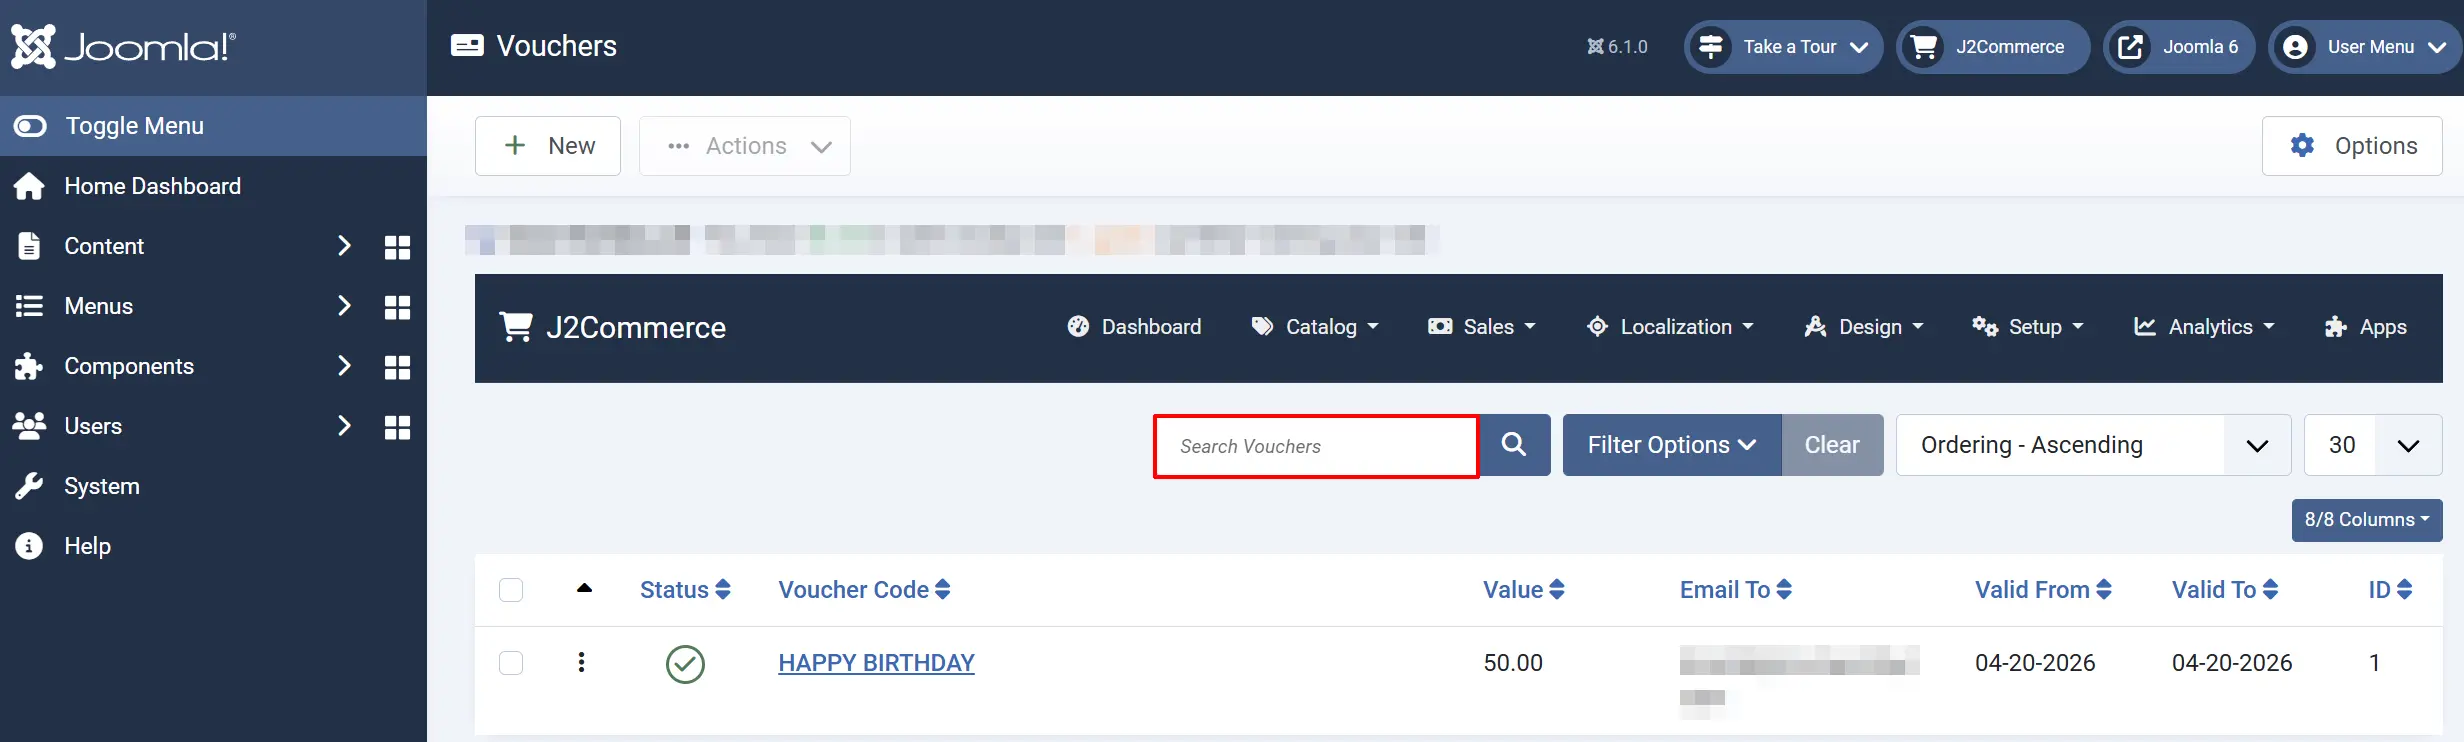
Type in the search bar to find vouchers by voucher code or recipient email address.
To search by an exact voucher ID, type id: followed by the number (e.g., id:12).
Click Search Tools to filter the list further:
| Filter | Options | What It Does |
|---|---|---|
| Status | All / Enabled / Disabled | Filters by the Status toggle (published/unpublished). |
| Voucher Status | All / Active / Disabled / Expired / Not Yet Valid / Depleted | Filters by the calculated Status Badge described above. |
| Low Balance | All / Yes | Shows only vouchers running low on remaining balance. |
| Unassigned | All / Yes | Shows only vouchers with no recipient email on file. |
Creating a Voucher
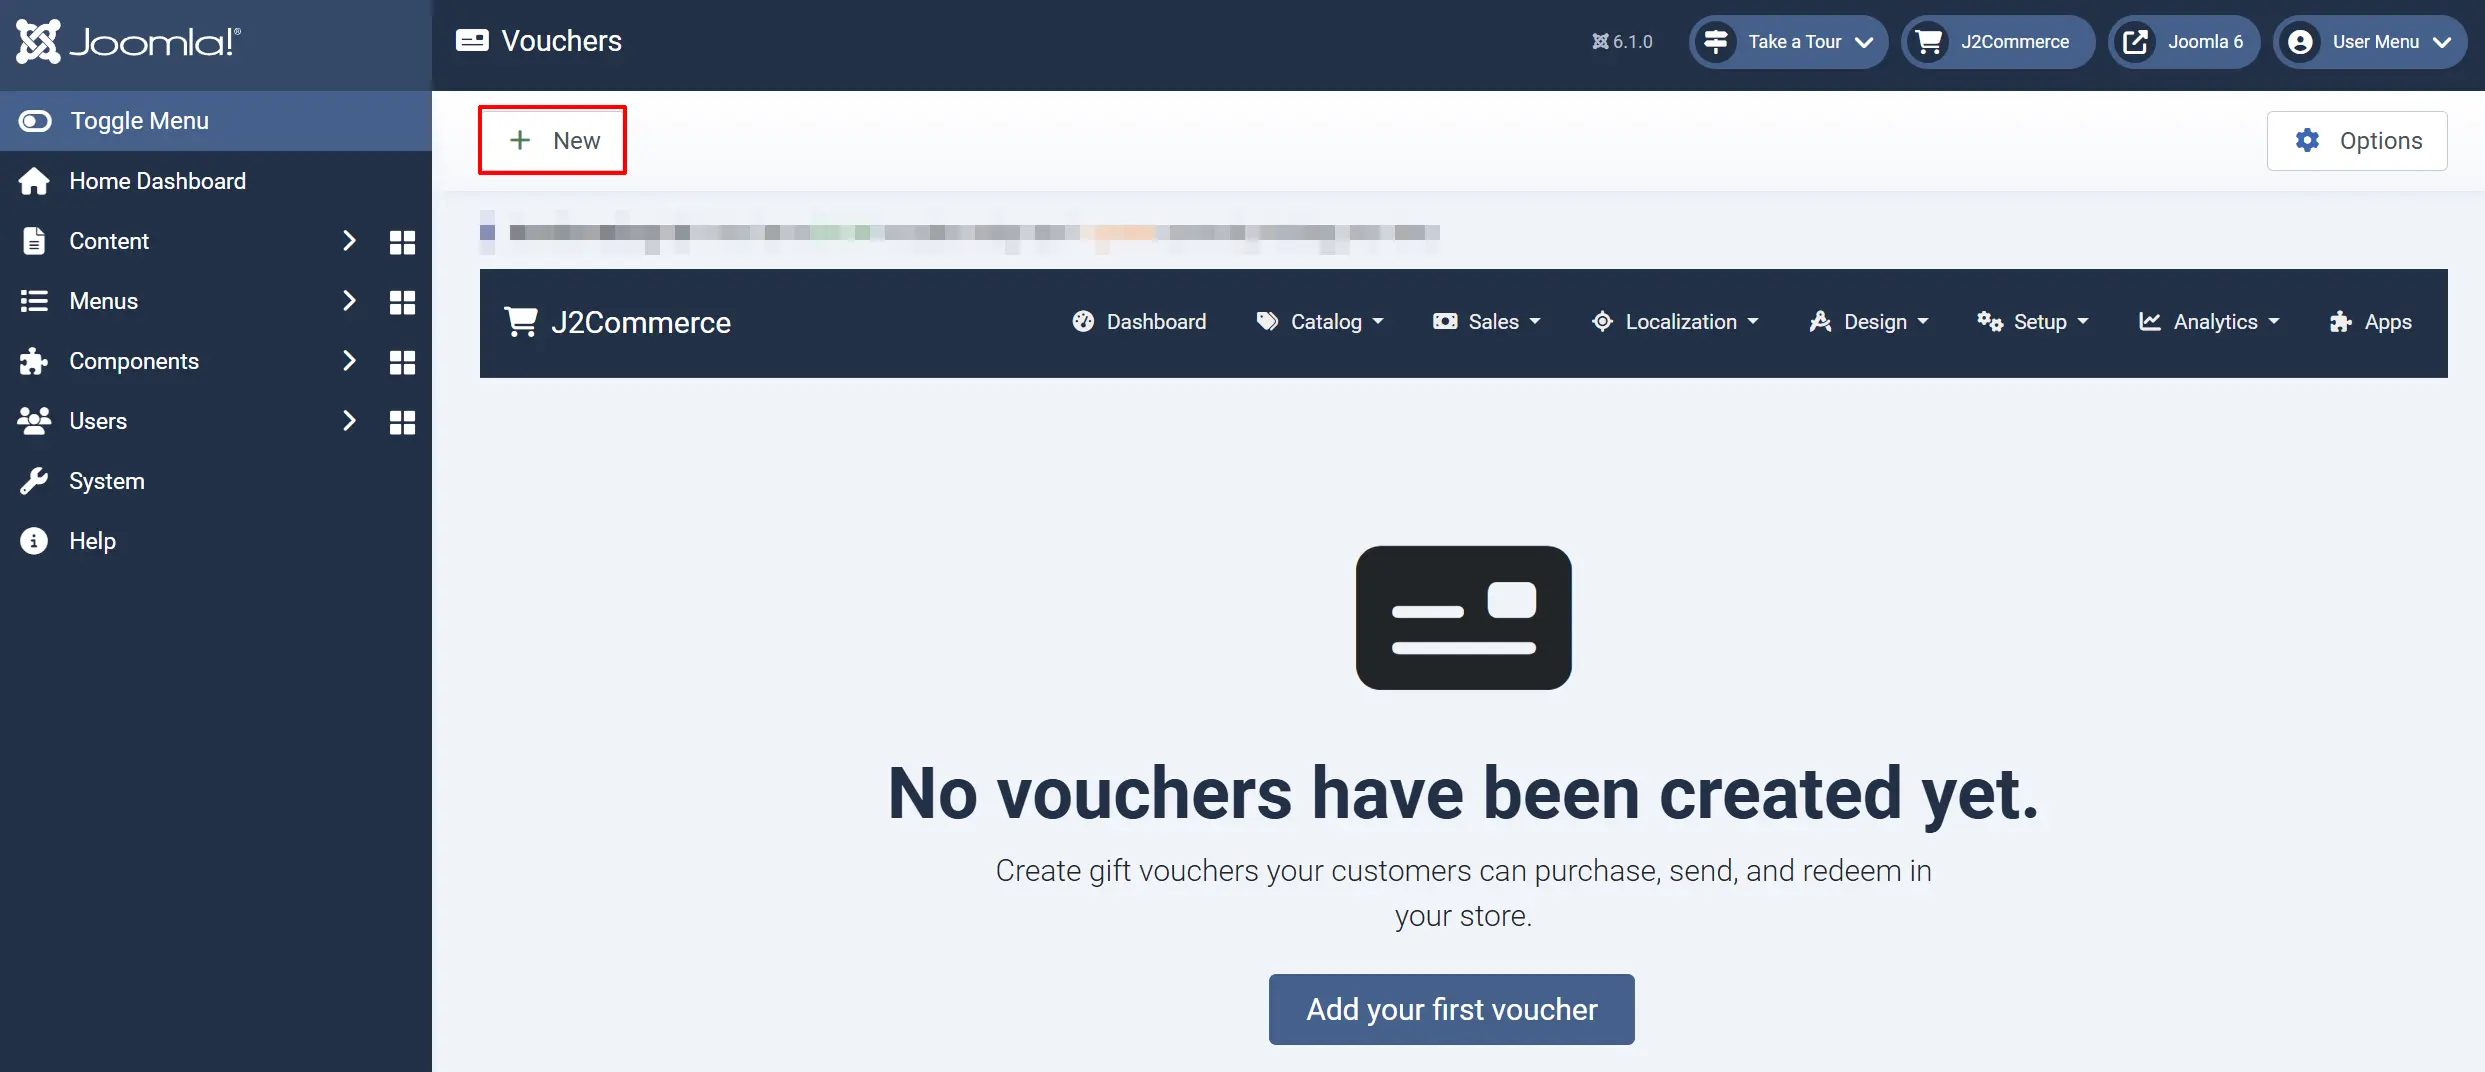
- Click New in the toolbar.
- Fill in the voucher details across the two tabs (described below).
- Click Save & Close to save and return to the list.
Basic Settings Tab
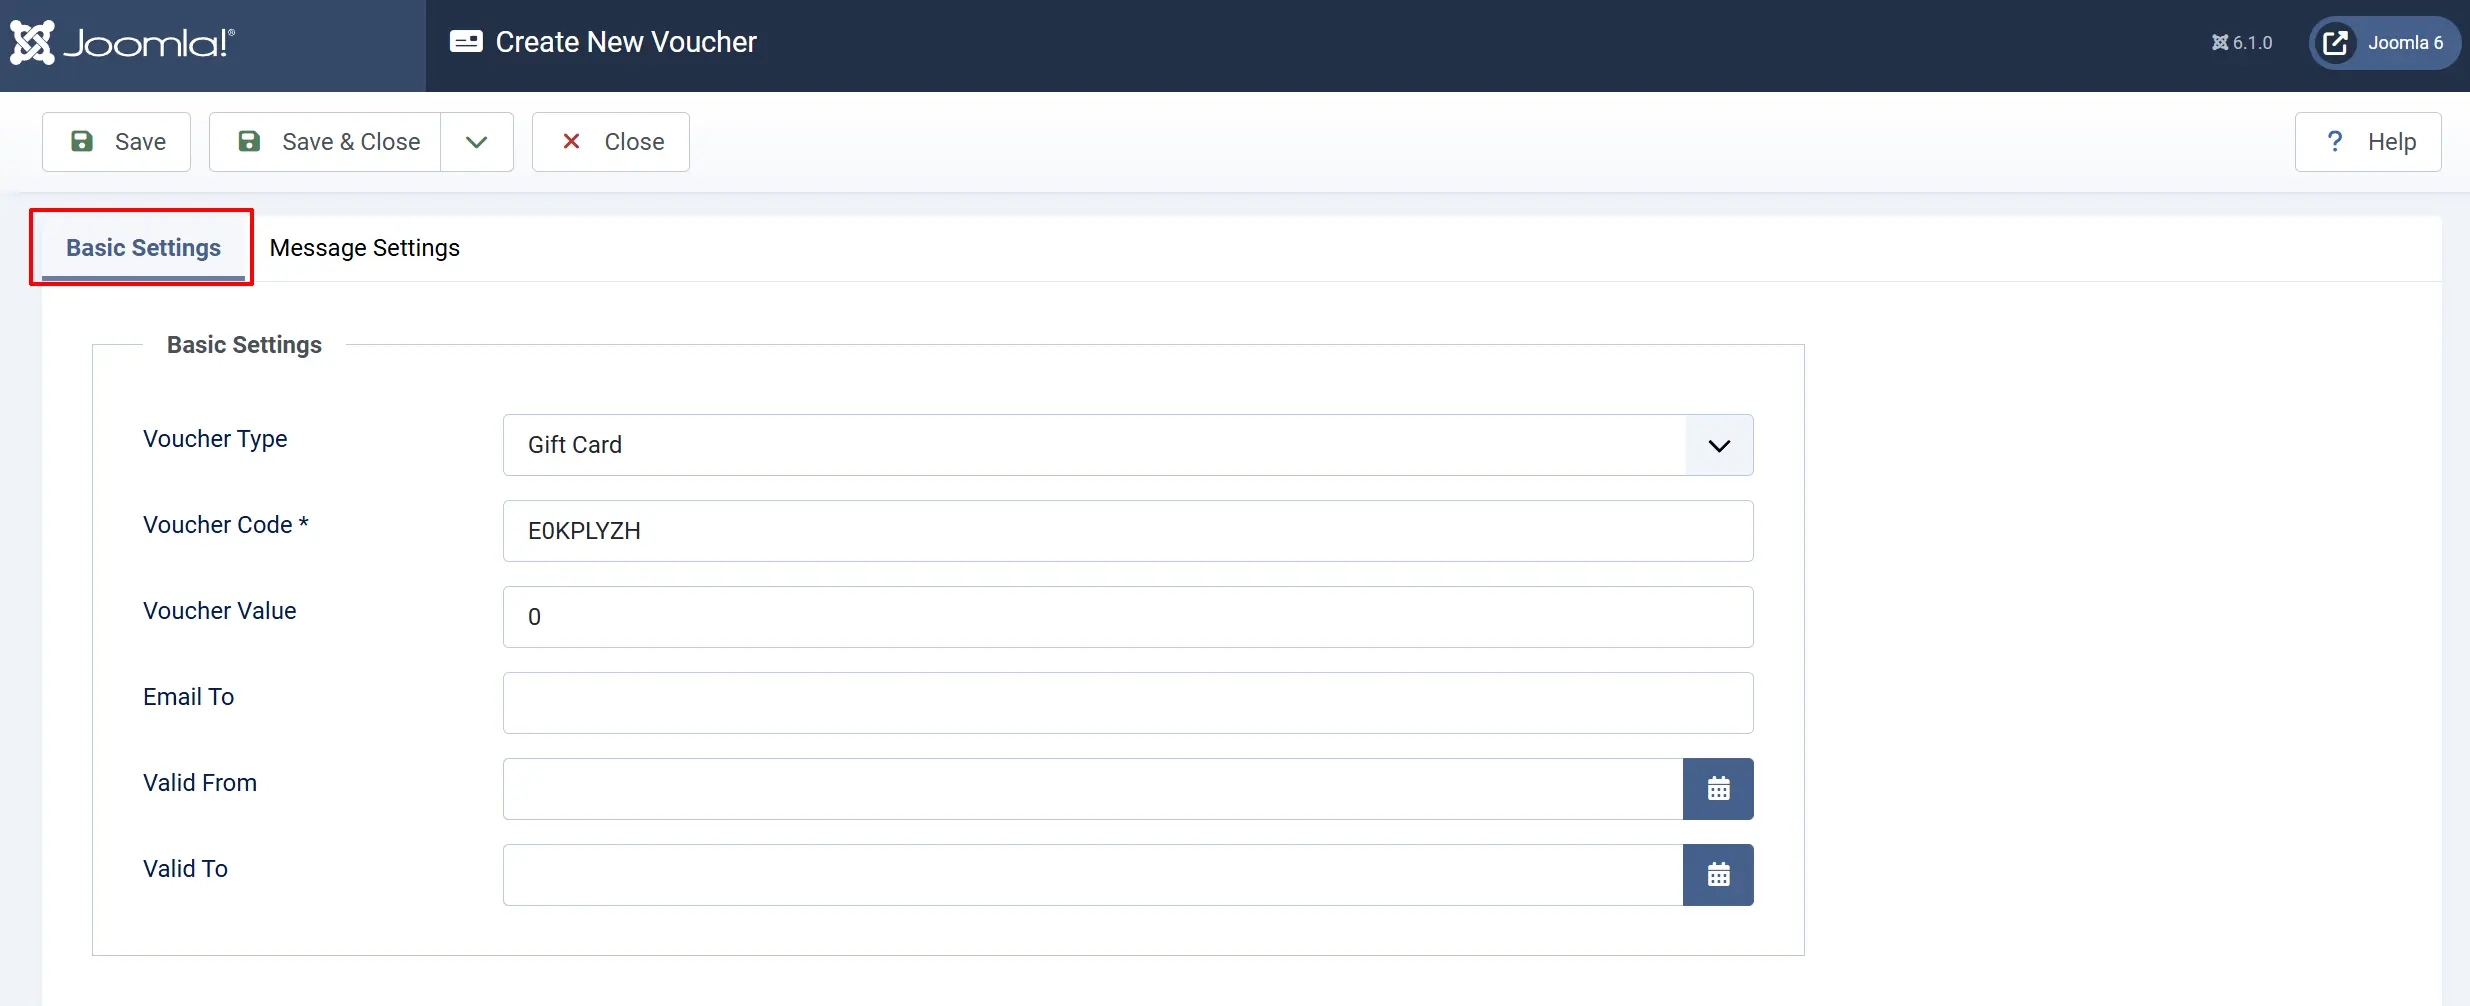
Voucher Type: Gift Card
Voucher Code: The code a customer types at checkout. A unique 8-character code is generated automatically — you can change it to anything you like.
Voucher Value: The monetary balance loaded onto this voucher (e.g., 50.00 for a $50 gift card).
Email To: The recipient's email address. Used when you click Send Voucher to email the code to the customer.
Valid From: The date and time this voucher becomes active. Leave empty for the voucher to work immediately.
Valid To: The date and time this voucher expires. Leave empty for no expiry.
Status: Set to Published so customers can use the voucher, or Unpublished to hold it until you are ready.
Message Settings Tab
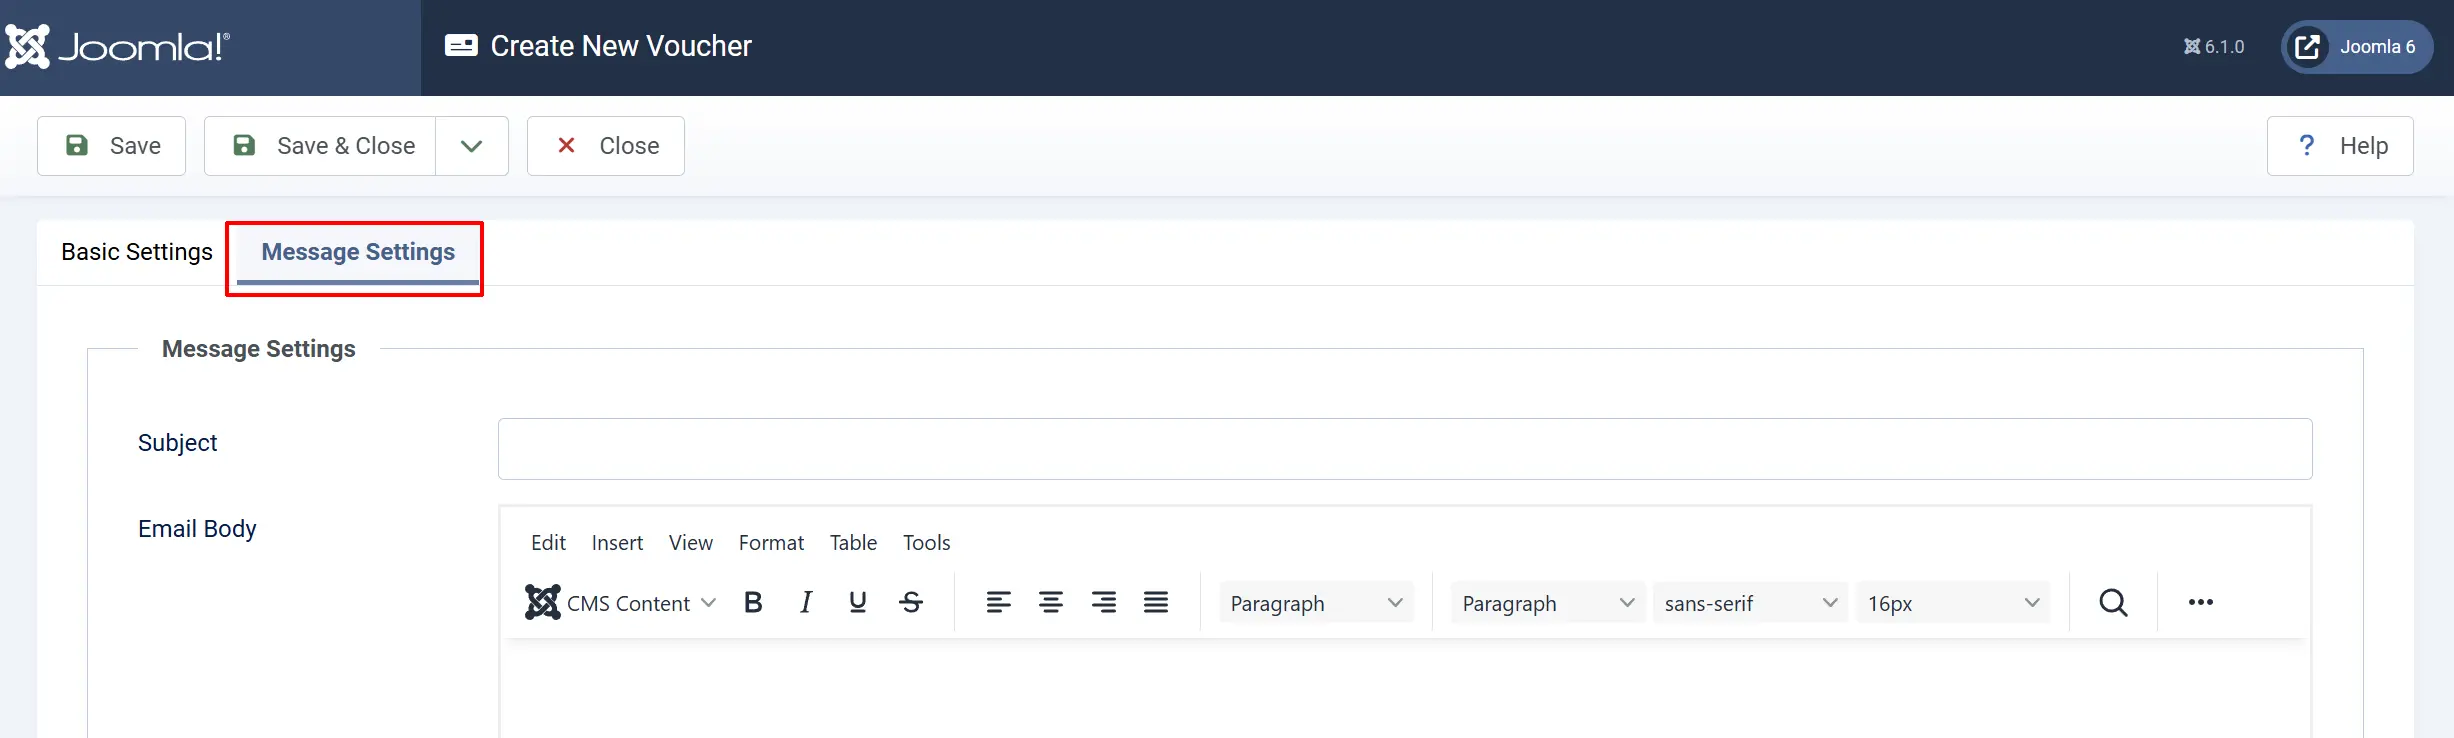
These fields control the email sent to the voucher recipient when you click Send Voucher.
Subject: The subject line of the voucher email. Defaults to "Gift Voucher" if left empty.
Email Body: The body of the voucher email. Use the editor to write a personalised message, include images, or format the content as you wish.
The voucher code is automatically generated as an 8-character uppercase code (e.g., K3RT9XBF). You can overwrite it with a custom code — for example, HAPPYBDAY for a birthday gift card.
Sending a Voucher by Email
After creating and saving a voucher:
- Open the voucher from the list.
- Click Send Voucher in the toolbar.
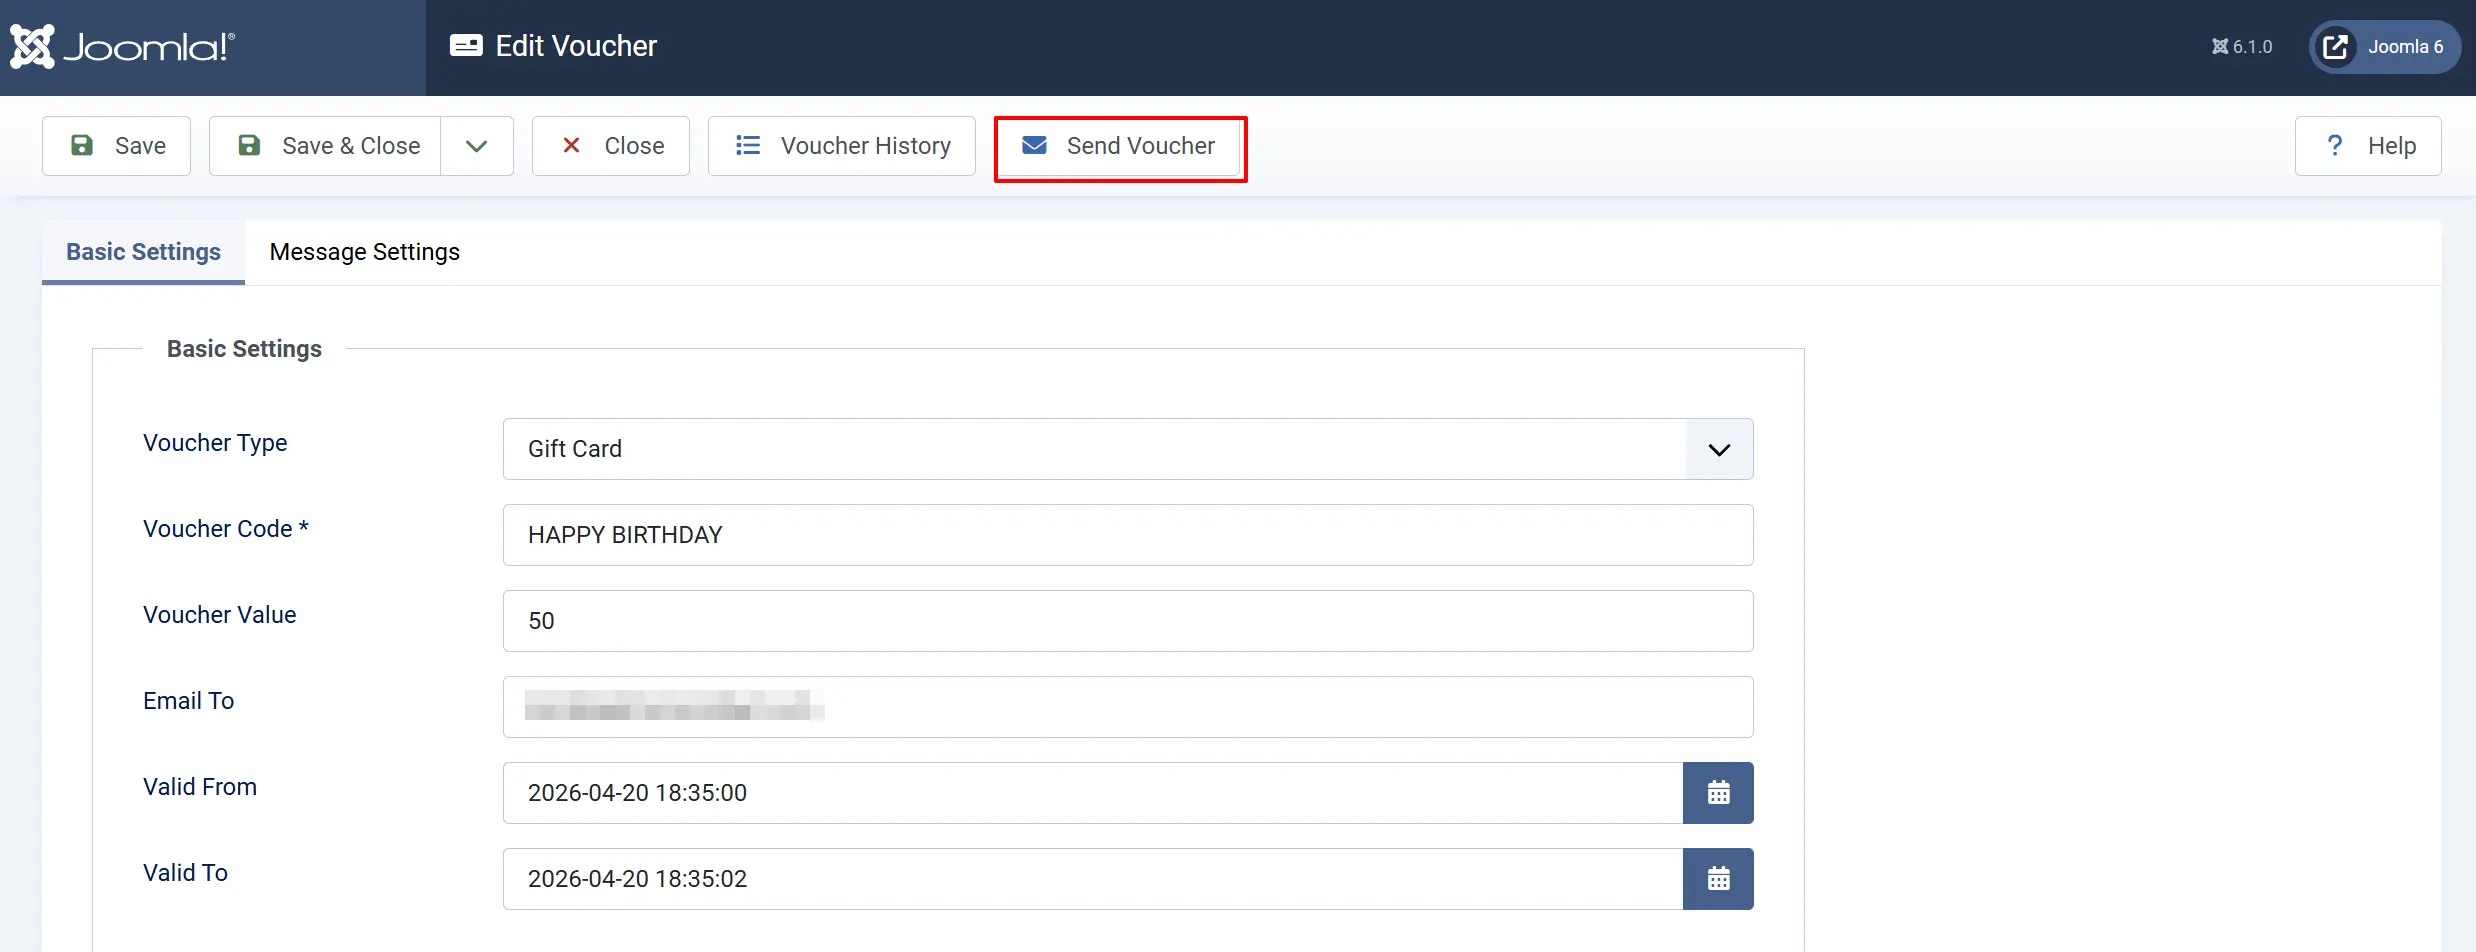
J2Commerce sends the email to the address in the Email To field using the subject and body from the Message Settings tab.
How Vouchers Work at Checkout
When a customer enters a voucher code at checkout:
- J2Commerce checks that the code exists, is published, and falls within the valid date range.
- The voucher's remaining balance is applied to reduce the order total.
- The amount used is recorded against the voucher — reducing its remaining balance.
- If the voucher balance is more than the order total, only the required amount is used and the rest remains for future orders.
- If the voucher balance is less than the order total, the customer pays the remaining amount by another method.
Only one voucher can be applied per order.
Viewing Voucher Usage History
To see a complete transaction history for a voucher — every order it has been redeemed on plus every manual balance adjustment you've made:
- Open the voucher from the list.
- Click View Voucher History in the toolbar.
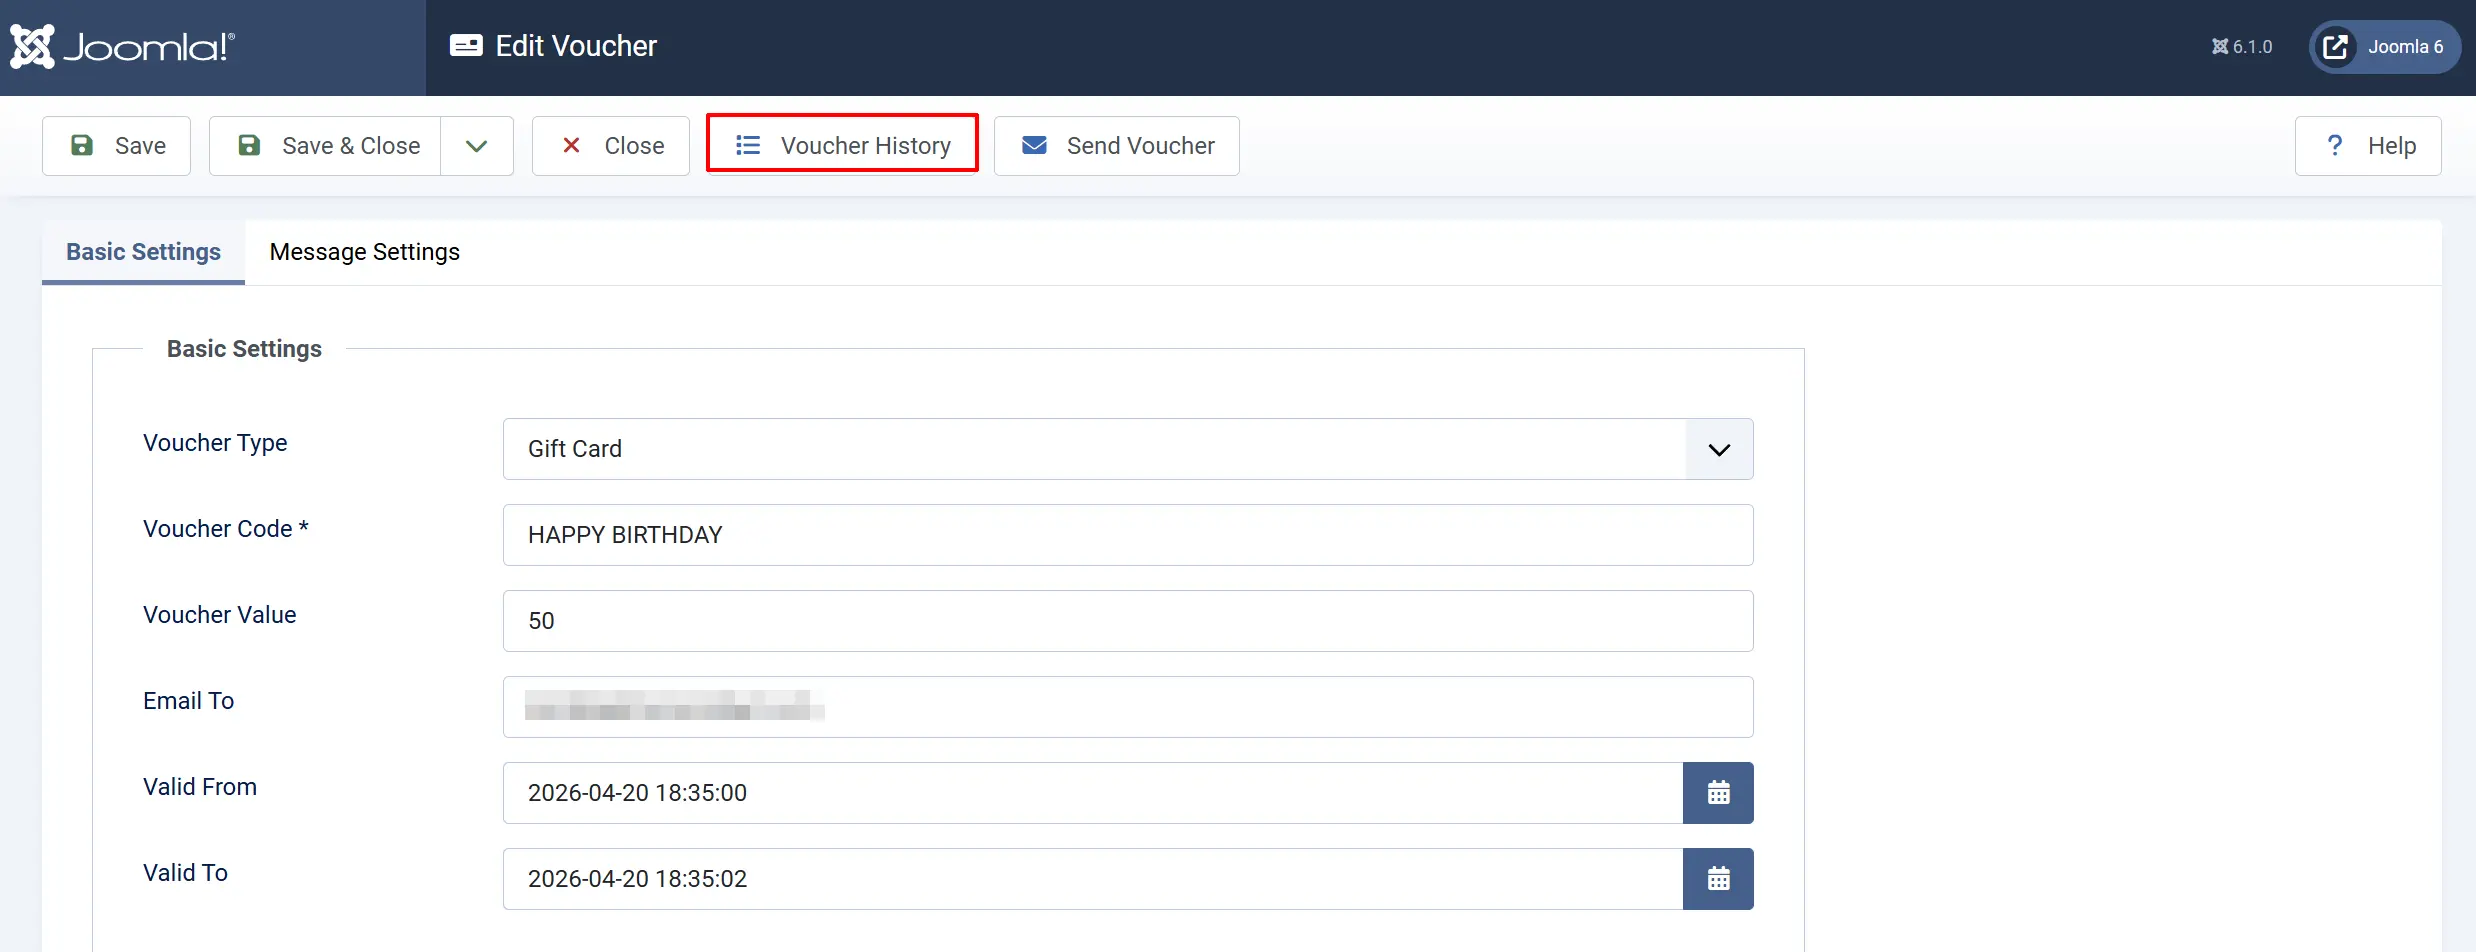
The History screen opens with four summary cards at the top:
| Card | Meaning |
|---|---|
| Initial Value | The voucher's original monetary value when created. |
| Redeemed | Total amount spent at checkout across all orders. |
| Adjustments (Net) | The net effect of every manual credit, debit, and correction you've made — positive if you've added more value than you've removed. |
| Remaining Balance | The current usable balance — Initial Value minus Redeemed, plus or minus Adjustments (Net). |
Below the summary cards is the full ledger table, newest entry first:
| Column | Meaning |
|---|---|
| Type | A badge showing whether the row is a checkout Redemption or a manual Credit, Debit, or Correction. |
| Amount | The dollar value of that entry, shown in green for additions and red for deductions. |
| Running Balance | The voucher's remaining balance immediately after that entry — this lets you audit the balance at any point in the voucher's history. |
| Reference | For redemptions, a link to the order the voucher was applied to. |
| Actor | Who made the entry — the customer's email for redemptions, or the admin user who made a manual adjustment. |
| Reason / Note | For manual adjustments, the reason you selected and any note you typed. |
| Date | When the entry occurred. |
Adjusting a Voucher's Balance
If you need to add value to a voucher, remove value from it, or correct its balance directly — for example, to compensate a customer, to reverse an error, or to top up a gift card — you can do so from the History screen without creating a new voucher.
- Open the voucher and click View Voucher History.
- Click Adjust Balance in the toolbar.
- In the modal that opens, choose an Adjustment Type:
- Credit: Adds the entered amount to the voucher's balance.
- Debit: Subtracts the entered amount from the voucher's balance.
- Correction: Sets the balance change directly — use this when you need to record an exact positive or negative adjustment rather than a simple add/subtract.
- Enter the Amount, select or type a Reason, and optionally add a Note for context.
- Confirm the adjustment.
The new entry appears immediately at the top of the ledger table with its own Running Balance, and the four summary cards update to reflect the change.
J2Commerce will not let a voucher's balance go negative. If a debit or correction would bring the remaining balance below zero, the adjustment is rejected and the voucher's balance is left unchanged.
The Adjust Balance button only appears for users with edit permission on J2Commerce.
Exporting Vouchers to CSV
Click Export CSV in the toolbar on the Vouchers list to download the currently filtered list as a CSV file. This is useful for reconciling gift card liability, auditing high-value vouchers, or sharing a snapshot with your accounting team.
A few things to know about the export:
- It exports every filtered row, not just the current page. If you have Search Tools filters applied, the export respects them; if not, it exports the entire list.
- The filename follows the pattern
vouchers-YYYY-MM-DD.csv, using the date the file was generated. - The exported columns are: ID, Voucher Code, Recipient, Value, Redeemed, Remaining Balance, Status, Valid From, Valid To, and Created On.
- The Recipient column priority is reversed from the on-screen list. On the list view, the Recipient column shows the recipient's name first and falls back to the email address. In the CSV export, the Email To address is shown first, falling back to the recipient name only if no email is on file.
- The export includes a Redeemed column showing the total dollar amount spent from the voucher — this is not shown as its own column on the on-screen list, which shows a Uses count instead.
The Export CSV button only appears for users with manage permission on J2Commerce.
Duplicating a Voucher
If you want to create multiple vouchers with similar settings (for example, a batch of $25 gift cards):
- Open one voucher.
- Click Save as Copy in the toolbar.
A new voucher is created with a new unique code and a status of Unpublished. Update the recipient email and value as needed, then publish it.
Publishing and Unpublishing Vouchers
An unpublished voucher cannot be used at checkout even if a customer has the code.
To toggle a single voucher: Click the status icon in the Status column.
To toggle multiple vouchers: Check their boxes and click Publish or Unpublish in the toolbar.
Remember that unpublishing only changes the Status toggle — it always shows as Disabled on the Status Badge regardless of remaining balance or valid dates.
Deleting Vouchers
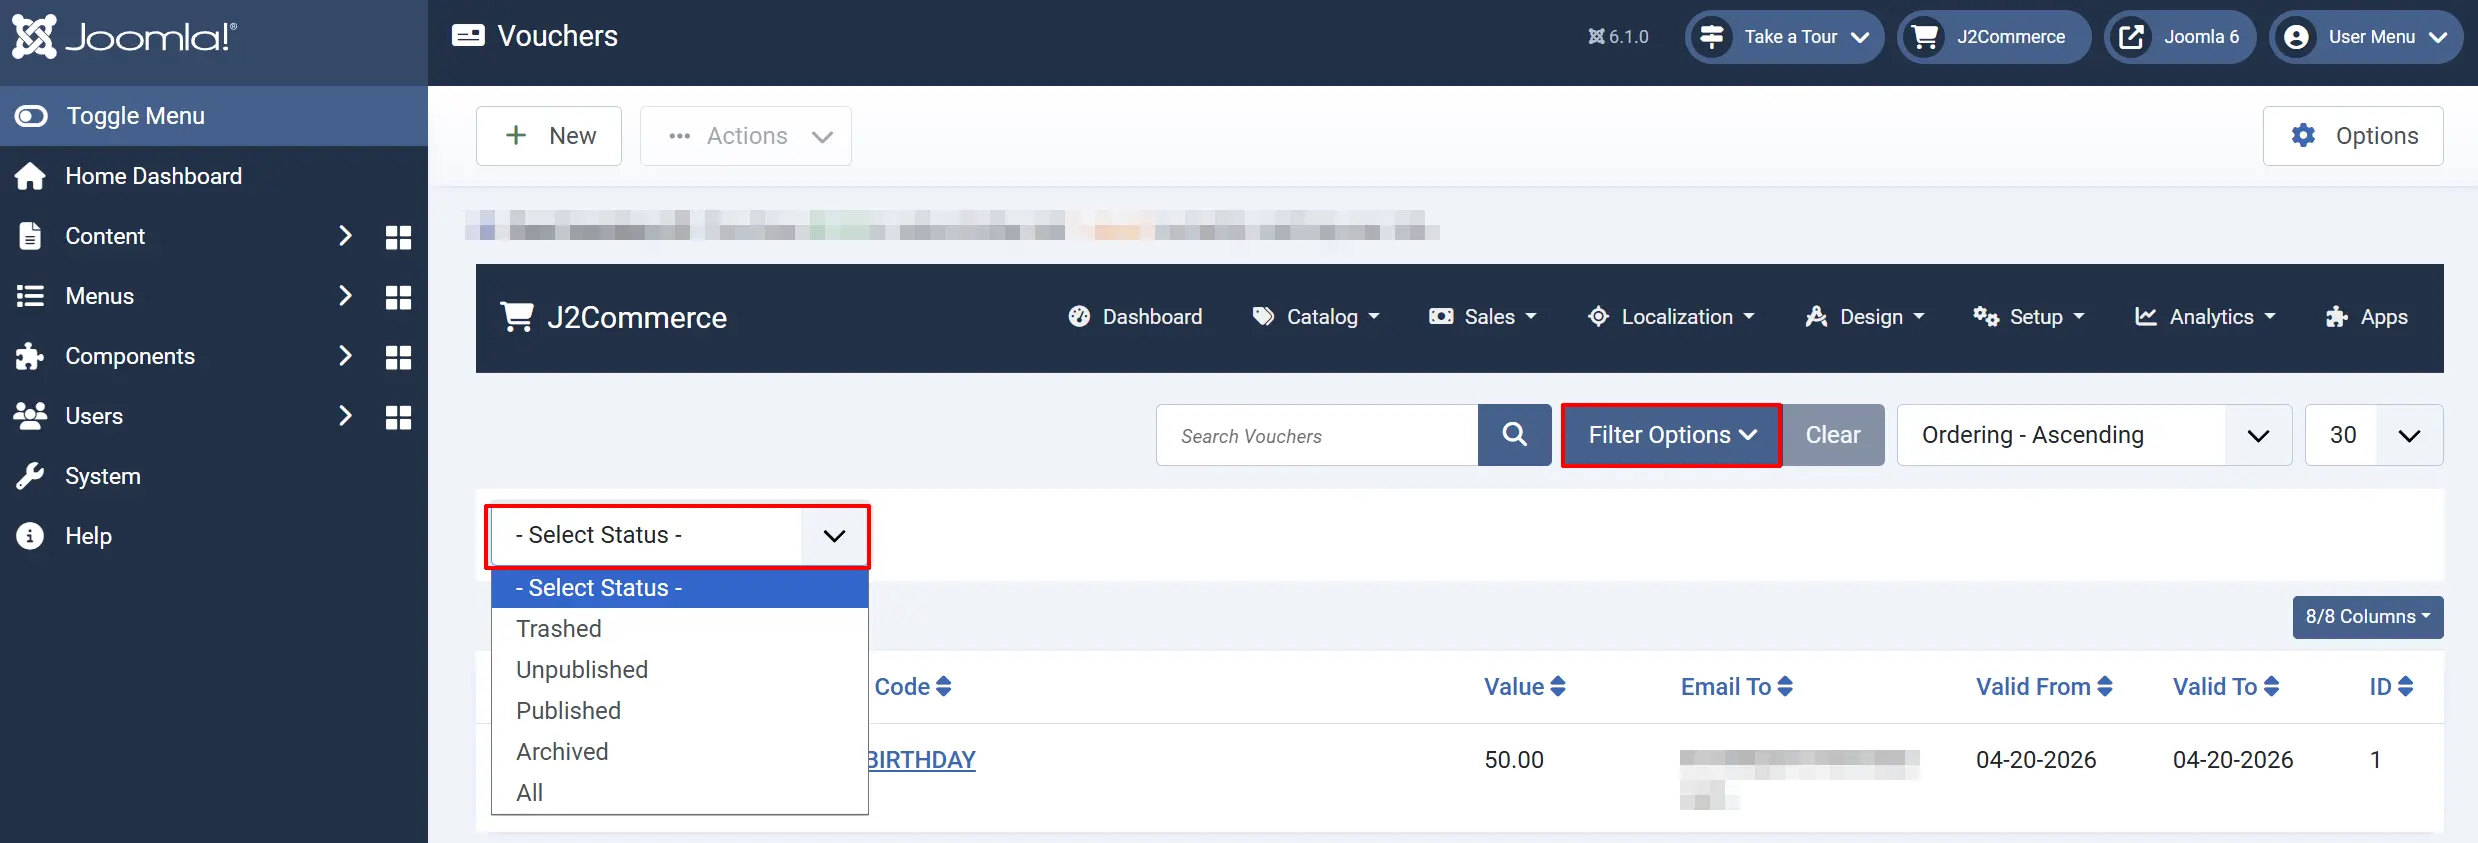
Vouchers must be trashed before they can be permanently deleted.
Step 1 — Trash the voucher:
- Check the box next to the voucher.
- Click Trash in the toolbar.
Step 2 — Permanently delete:
- Use the Status filter and select Trashed.
- Check the box next to the voucher.
- Click Delete in the toolbar.
- Confirm when prompted.
Gift Cards Tab for Customers
Registered customers can see their own gift cards from their My Profile page, on a Gift Cards tab. Each card shows:
- The voucher code, partially masked for security (for example,
****9XBF). - The same Status Badge used in the admin list — Active, Disabled, Expired, Not Yet Valid, or Depleted.
- The current remaining balance.
- The expiry date, or a note that the card never expires.
- A collapsible transaction history showing every entry on the card — date, type, amount, and running balance.
A customer's own order-linked redemption entries in their gift card history link back to the corresponding order in their account. Manual adjustment entries and redemptions on other customers' orders are shown for reference but are not clickable.
The mod_j2commerce_giftcards module can surface a summary of a customer's gift card balance elsewhere on your site (for example, in a sidebar). It is a separate add-on, not included with the core J2Commerce package — see mod_j2commerce_giftcards for details.
Tips
- Leave Valid From and Valid To empty if you want the voucher to work indefinitely with no date restrictions.
- Use Save as Copy to quickly create a batch of gift vouchers with the same value — just update the code and recipient for each copy.
- Sort the list by Value (descending) to quickly see your highest-value active vouchers.
- Unpublishing a voucher is a safe way to pause it temporarily without losing its usage history.
- Use the Voucher Status filter set to Depleted to find gift cards that have been fully spent and no longer need to appear in active-balance reports.
- Use Correction rather than Credit/Debit when you already know the exact new balance you want reflected in the ledger's running total, and want the reason recorded precisely.
Troubleshooting
A customer says their voucher code is not working at checkout
Cause: The voucher may be unpublished, expired, or have no remaining balance.
Solution:
- Go to Vouchers and search for the code.
- Check the Status column — if it is red (unpublished), click to publish it.
- Check the Status Badge — if it shows Expired, Not Yet Valid, or Depleted, that explains why the code was rejected.
- Open the voucher and click View Voucher History to review the full ledger and confirm the remaining balance.
I tried to adjust a voucher's balance and nothing happened
Cause: J2Commerce blocks any adjustment that would push the remaining balance below zero.
Solution: Reduce the amount entered on a Debit or Correction so the resulting balance stays at zero or higher. Check the current Remaining Balance summary card on the History screen before entering the amount.
The Adjust Balance or Export CSV button is missing
Cause: These toolbar buttons are permission-gated. Adjust Balance requires edit permission; Export CSV requires manage permission on J2Commerce.
Solution: Confirm the logged-in user's group has the relevant J2Commerce permission under Users > Manage > Assigned User Groups.
The Send Voucher button does not appear
Cause: The voucher has not been saved yet, or you are creating a new voucher that has not been saved.
Solution:
Save the voucher first using Save & Close, then reopen it. The Send Voucher button only appears on saved, existing vouchers.
I need to find all vouchers that expire this month
Cause: There is no date-range filter on the vouchers list.
Solution:
Sort the list by Valid To (ascending) to bring the earliest expiry dates to the top. Scan for vouchers expiring within your target date range.