Easy checkout
With online shopping moving quickly, convenience is becoming a must for customers. Overcomplicating your checkout process can result in lost sales and unsatisfied customers. One would think that fewer steps would make it easier for the customer to check out, but that is not always the case.
Here we are coming up with an Easy checkout for J2Commerce that makes the checkout process easier.
Easy checkout is nothing but a one-page checkout that displays all elements of a standard checkout, including basket contents, billing and shipping address, shipping options, and payment information on one page. Originally, one-page checkouts were put into practice in an effort to simplify the checkout process with fewer clicks and fewer pages.
It will be easier to complete as fewer steps can appeal to time-conscious customers.
Requirements
- Joomla! 4.x/ Joomla! 5.x +
- PHP 8.1.0 +
- J2Commerce / J2Store 4.x +
Purchase the Plugin
Step 1: Go to our J2Commerce website > Extensions > Apps
Step 2: Locate the Easy Checkout App > click View Details > Add to cart > Checkout.
Step 3: Go to your My Downloads under your profile button at the top right corner and search for the app. Click Available Versions > View Files > Download Now
Install the Plugin
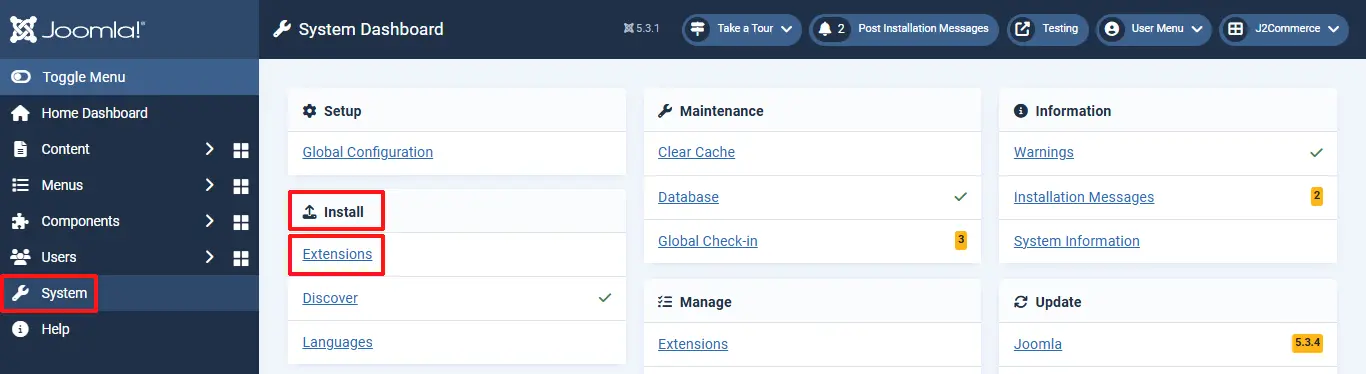
Go to System > Install > Extensions > Install the plugin
Enable the Plugin
After installing, go to System > Manage > Plugins.
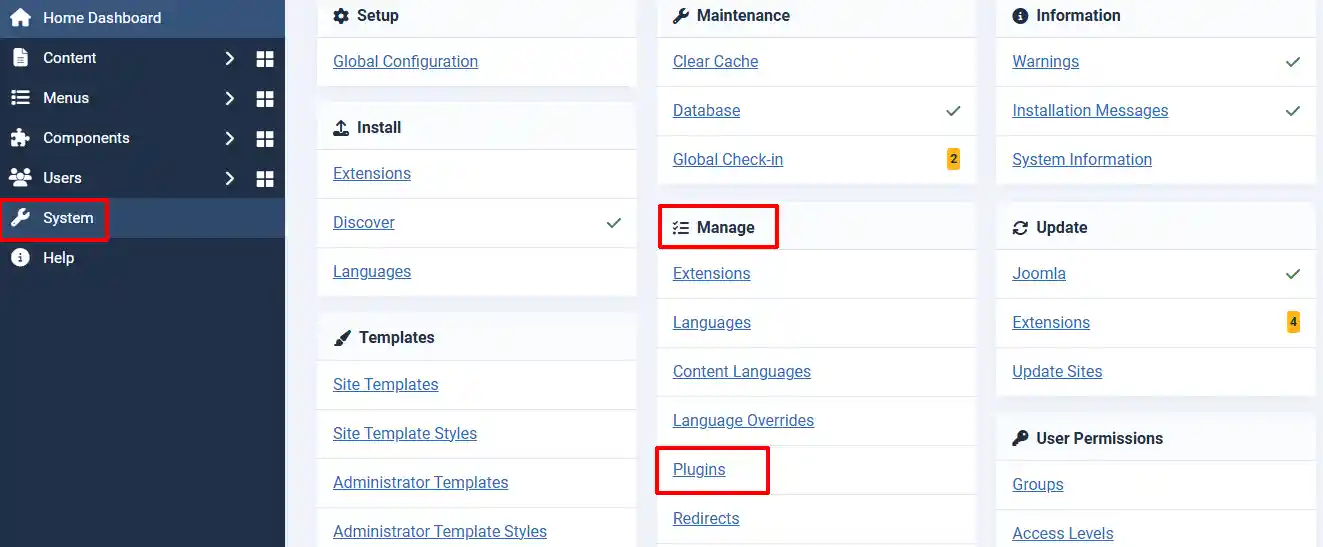
Search for the Easy Checkout Plugin
Click on the 'X' under Status to enable it.
-d5ca085d5de579fbecbc866f2a8e3905.webp)
Once you enable the system plugin, J2Commerce’s normal checkout will be replaced, and the single-step checkout will be activated. Once enabled, Easy Checkout will appear in the side menu bar under Components.

Setting up the Parameters
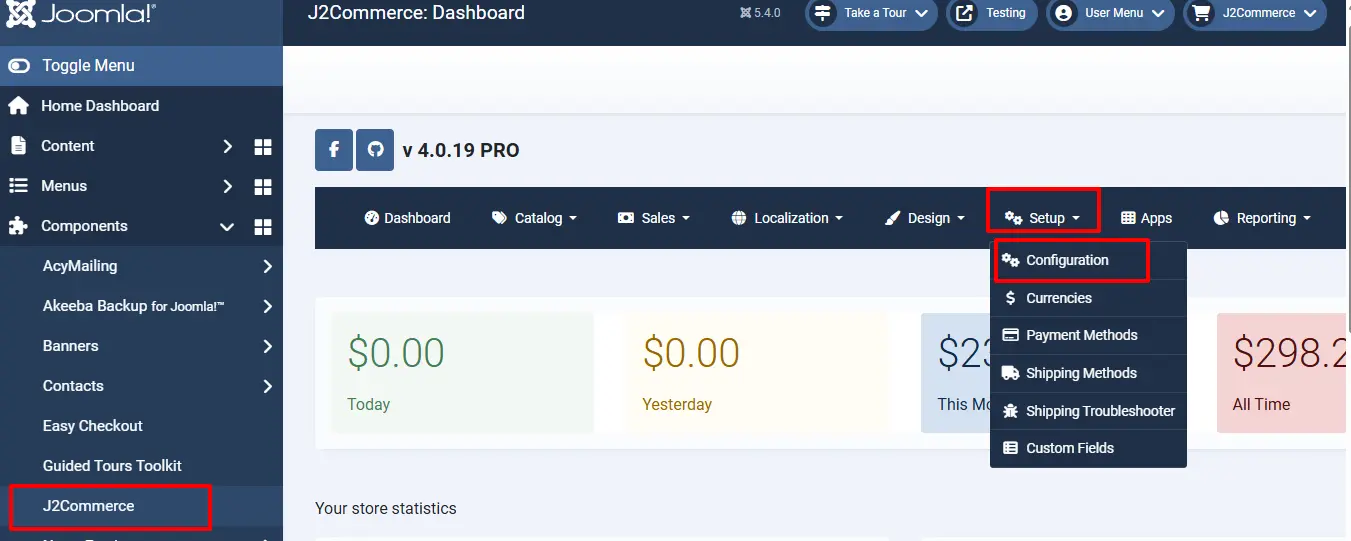
Go to J2Commerce > Setup > Configuration
Cart tab
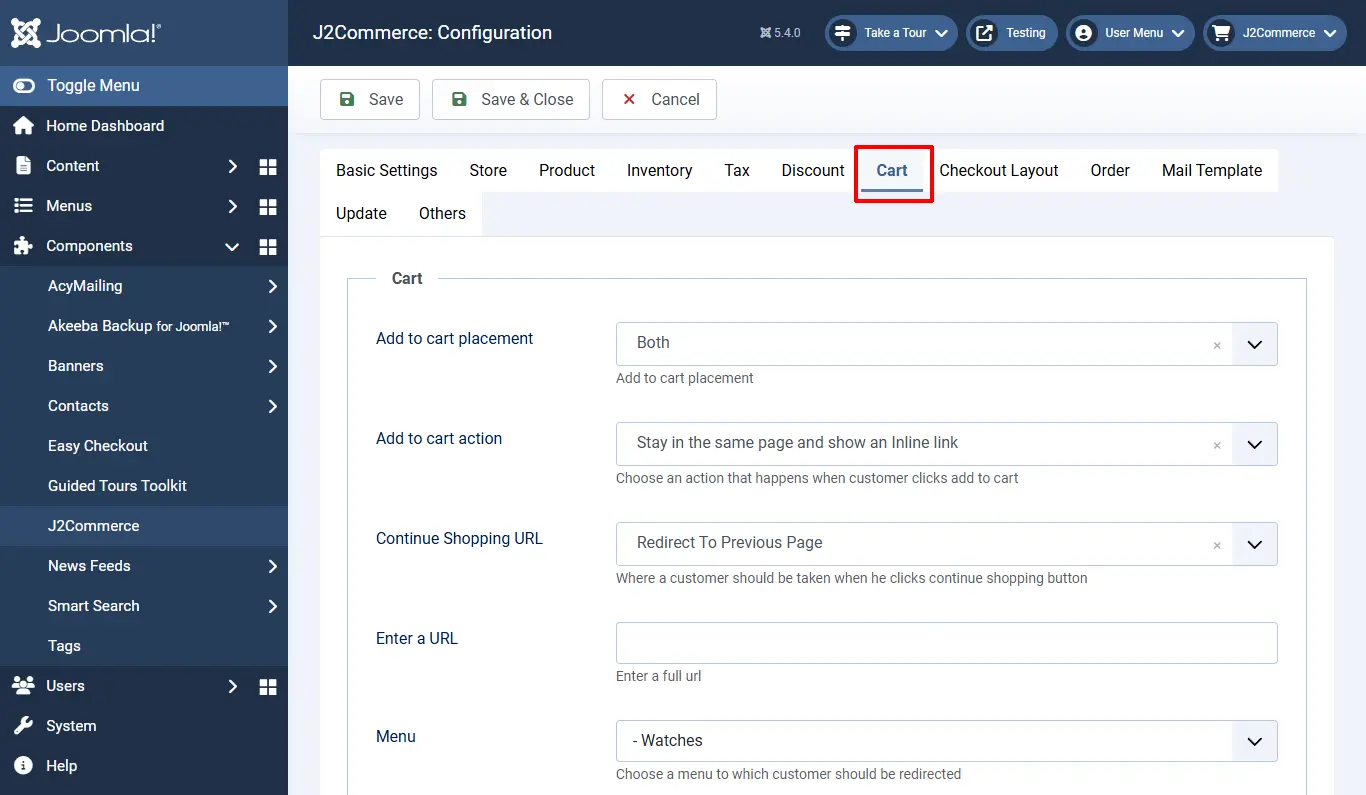
Add to cart placement: Add to cart placement
Add to cart action: Choose an action that happens when the customer clicks add to cart
Continue Shopping URL: Where a customer should be taken when they click the continue shopping button
Enter a URL: Enter a full URL
Menu: Choose a menu to which the customer should be redirected
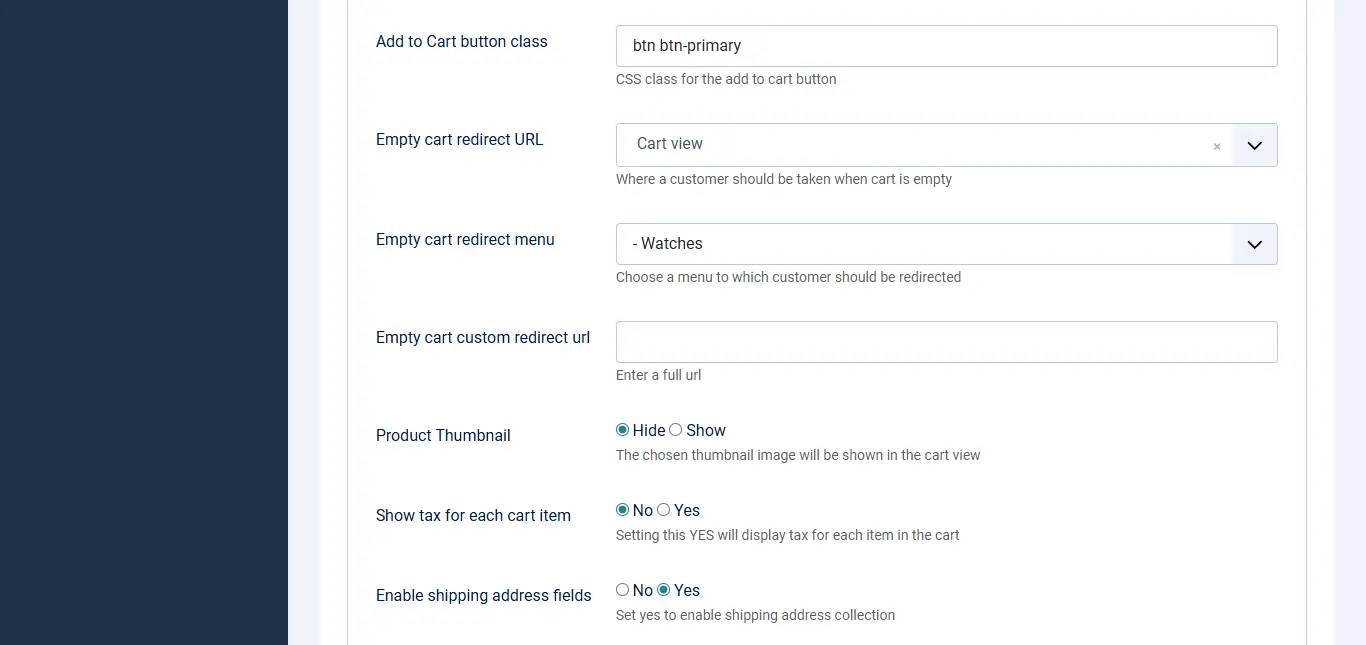
Add to Cart button class: CSS class for the add to cart button
Empty cart redirect URL: Where a customer should be taken when the cart is empty
Empty cart redirect menu: Choose a menu to which the customer should be redirected
Empty cart custom redirect URL: Enter a full URL
Product Thumbnail: The chosen thumbnail image will be shown in the cart view
Show tax for each cart item: Setting this to YES will display tax for each item in the cart
Enable shipping address fields: Set yes to enable shipping address collection
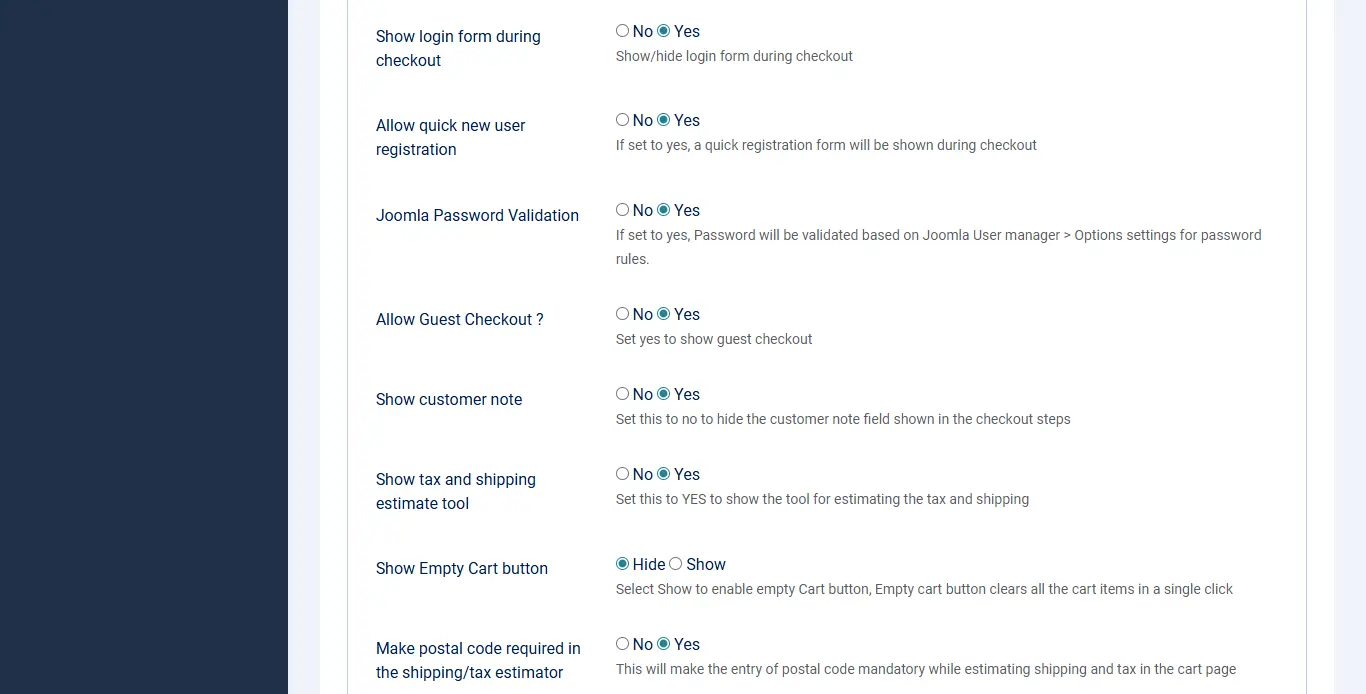
Show login form during checkout: Show/hide login form during checkout
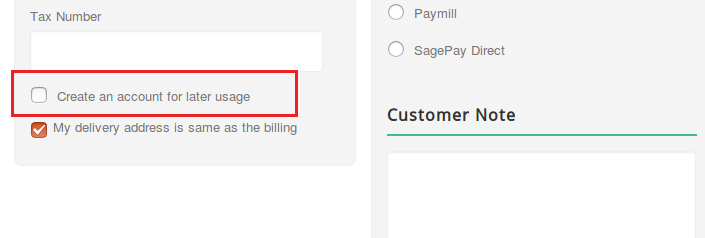
Allow quick new user registration: If the new user registration option is set to Yes, they will see a small checkbox labelled Create an account for later usage in the checkbox. This checkbox will be checked automatically. If customers don’t want to register, they can uncheck the checkbox and proceed further as a guest (Non-registered).
Joomla Password Validation: If set to Yes, the Password will be validated based on Joomla User Manager > Options settings for password rules
Allow Guest Checkout? Set Yes to allow guest checkout. The guest checkout form is a must for all online stores for customers who don’t want to have an account
Show customer note: Set this to no to hide the customer note field shown in the checkout steps
Show tax and shipping estimate tool: Set this to YES to show the tool for estimating the tax and shipping
Show Empty Cart button: Select Show to enable the empty Cart button. The empty cart button clears all the cart items in a single click
Make postal code required in the shipping/tax estimator: This will make the entry of postal code mandatory while estimating shipping and tax in the cart page
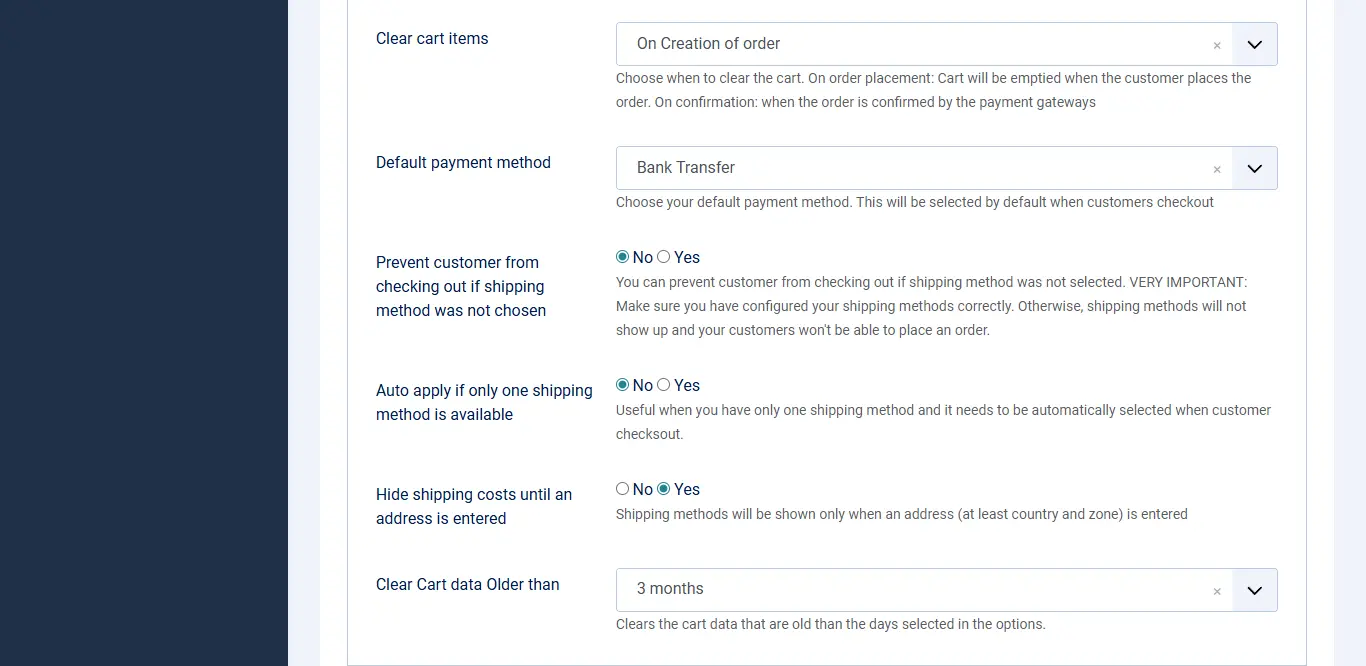
Clear cart items: Choose when to clear the cart. On order placement: The Cart will be emptied when the customer places the order. On confirmation: when the order is confirmed by the payment gateways
Default payment method: Choose your default payment method. This will be selected by default when customers check out
Prevent customers from checking out if the shipping method was not chosen: You can prevent customers from checking out if the shipping method was not selected. VERY IMPORTANT: Make sure you have configured your shipping methods correctly. Otherwise, shipping methods will not show up, and your customers won't be able to place an order
Auto apply if only one shipping method is available: Useful when you have only one shipping method and it needs to be automatically selected when the customer checks out
Hide shipping costs until an address is entered: Shipping methods will be shown only when an address (at least country and zone) is entered
Clear Cart data Older than: Clears the cart data that is older than the days selected in the options
**The screenshot below is the Frontend View
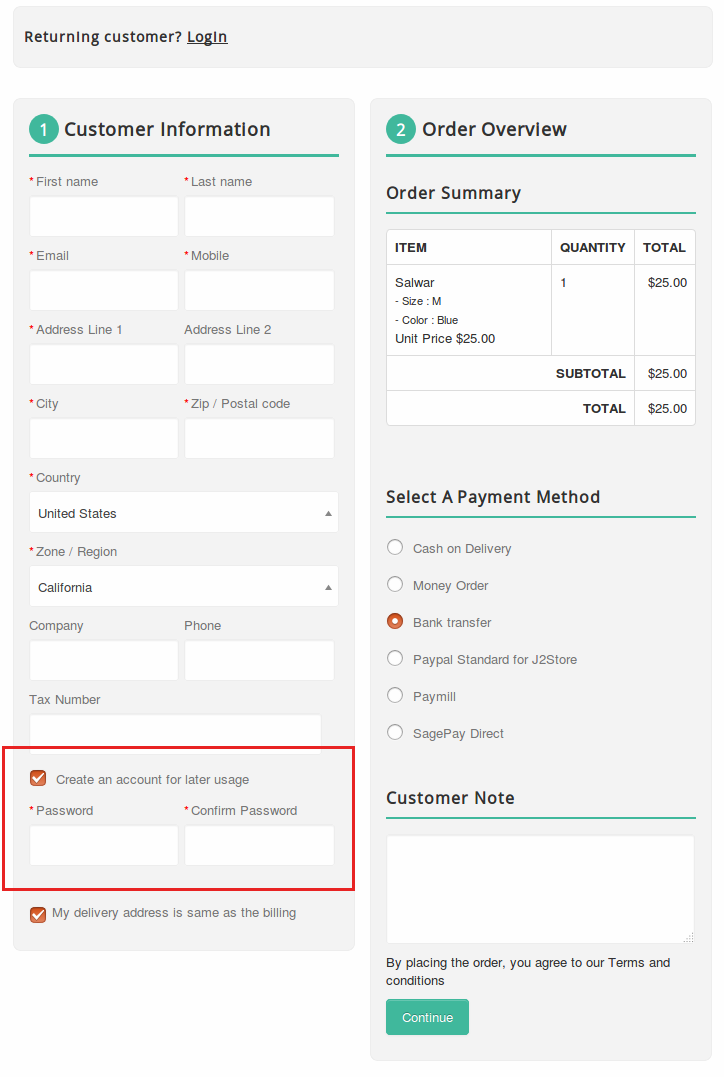
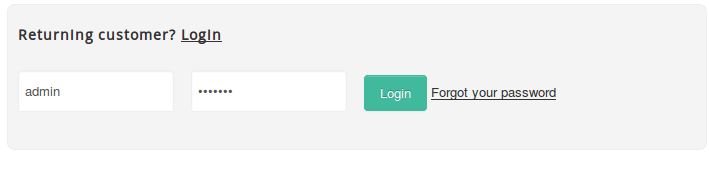
Existing Customers Login
The existing customers can place the order by using the login form. You would see the login form by clicking on Login.


Creating the Checkout Menu
The SEF is the most important one for all the online stores. Similar to the Normal checkout, the easy checkout also has the menu item type.
By using this menu type, you can have the SEF URL for the checkout page.
Go to Menus > Manage and create the menu item under Main Menu.
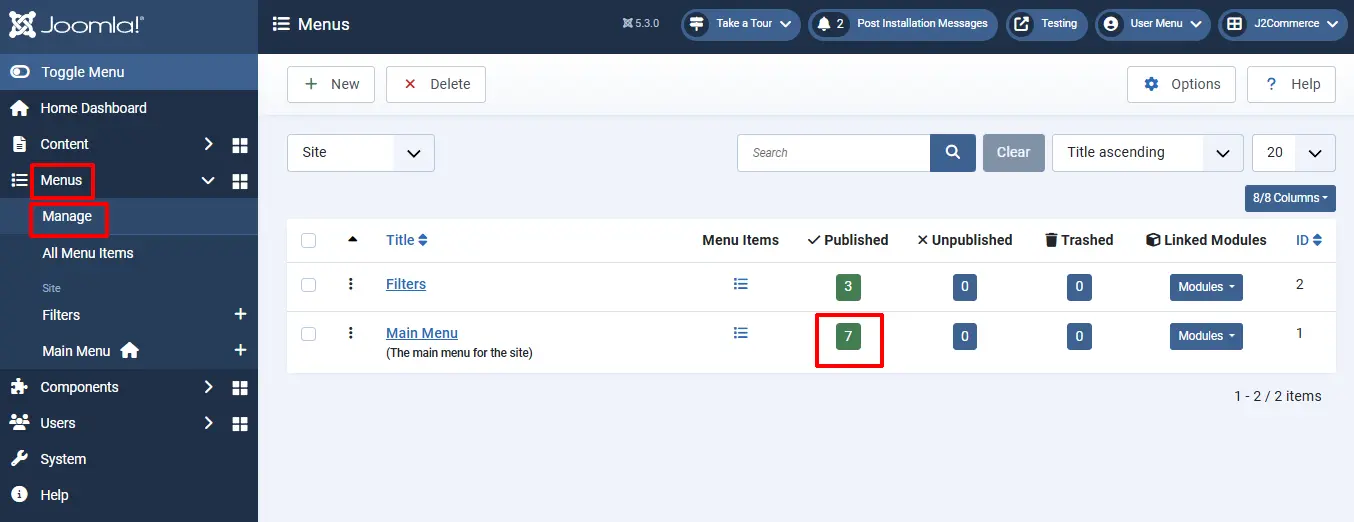
Select New and name the menu Checkout.
Menu Item Type: Select > Easy checkout > Checkout.
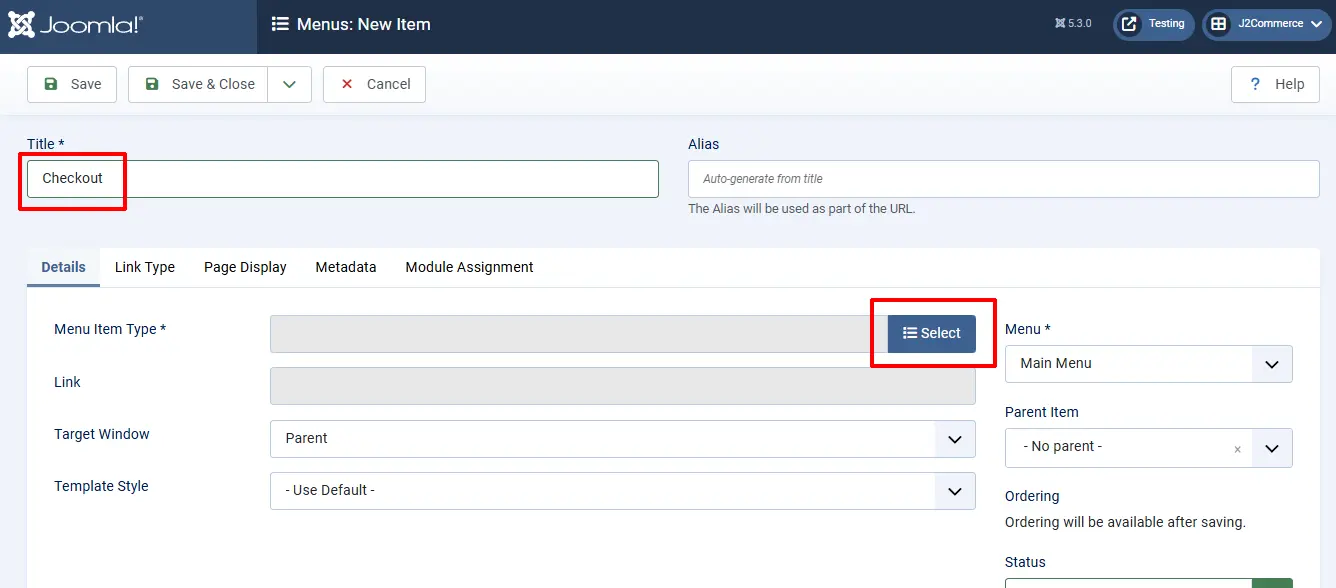
The image below is a screenshot of the option to select.

**The screenshot below is the Frontend View

Final Parameter Setup
After installing, enabling, and creating a menu for easy checkout, go to Easy Checkout > Click on the Options tab on the top right corner.
-5f4805625b94f34bec68052370388cbe.webp)
Settings tab
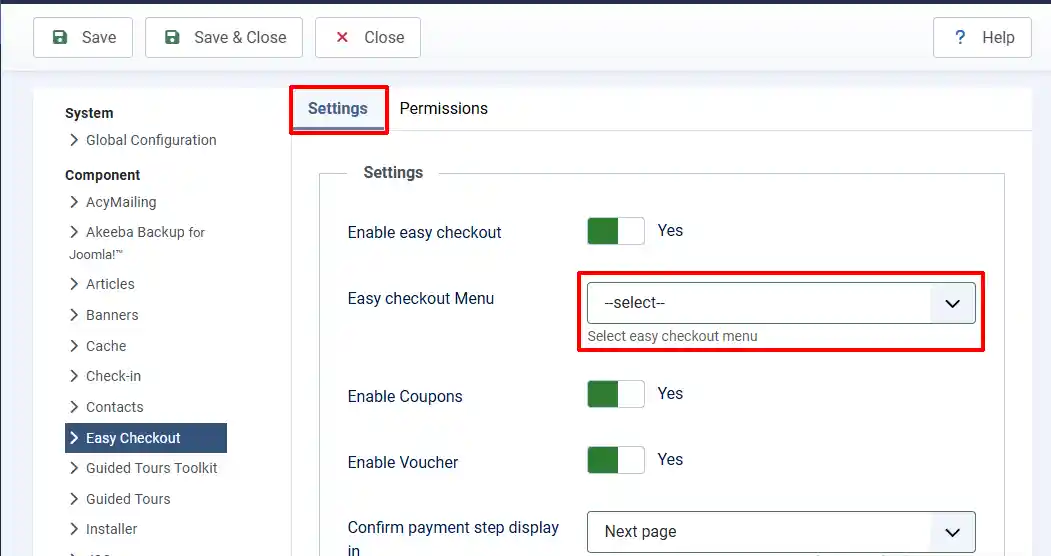
Enable Easy Checkout: Select Yes to enable the Easy Checkout on the frontend
Easy Checkout Menu: Select the Checkout option from the dropdown menu. If Checkout doesn't appear, then you skipped the previous step of creating the Menu.
Enable Coupons: Select Yes to enable if you offer Coupons
Enable Vouchers: Select Yes to enable if you offer Vouchers
Confirm payment step display in: You can select either Same page or Next page.
**The screenshot below is the Frontend View with the Coupons and Voucher set as Yes
