Advanced Cart
The Advanced Cart Module and Plugin are purchased together and are a great complement to the Advanced Checkout App.
The value of the Advanced Cart:
Download and Install the Module
Step 1: Go to our J2Commerce website > Extensions > Module
Step 2: Locate the Advanced Cart Module > click View Details > Add to cart > Checkout.
Step 3: Go to your My Downloads or My Account under your profile button at the top right corner and search for the module. Click Available Versions > View Files > Download Now
Installation: You can install this Advanced Cart Module using the Joomla installer. The following steps help you with a successful installation.
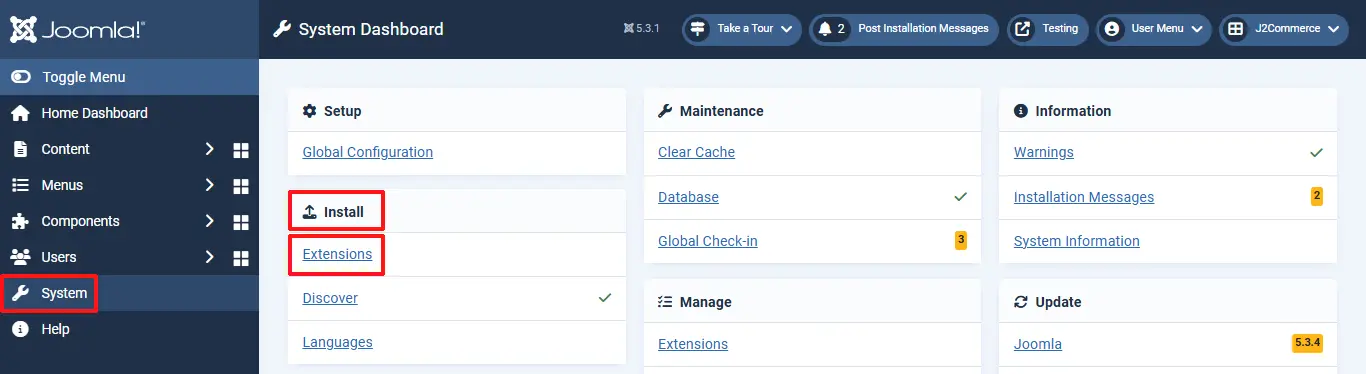
Step 1: In the Joomla admin, go to System > Install > Extensions
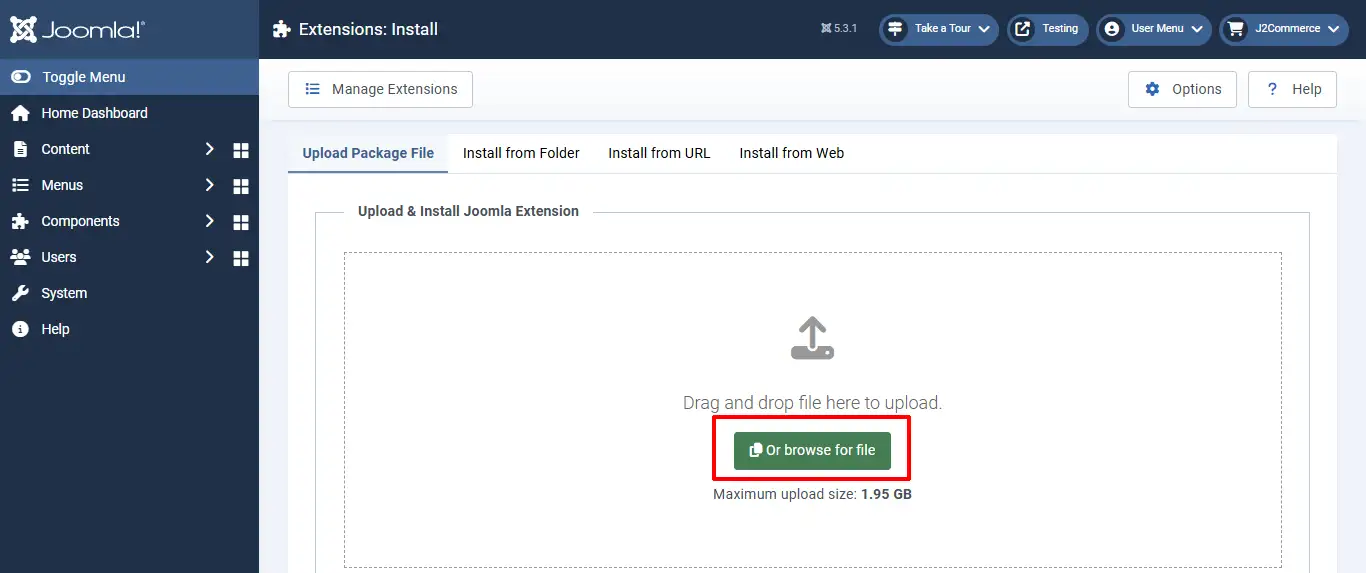
Step 2: Click on the Browse button and select the Advanced Cart zip file you saved during the download process. You will receive a message of success once installed.
Setting up the Module
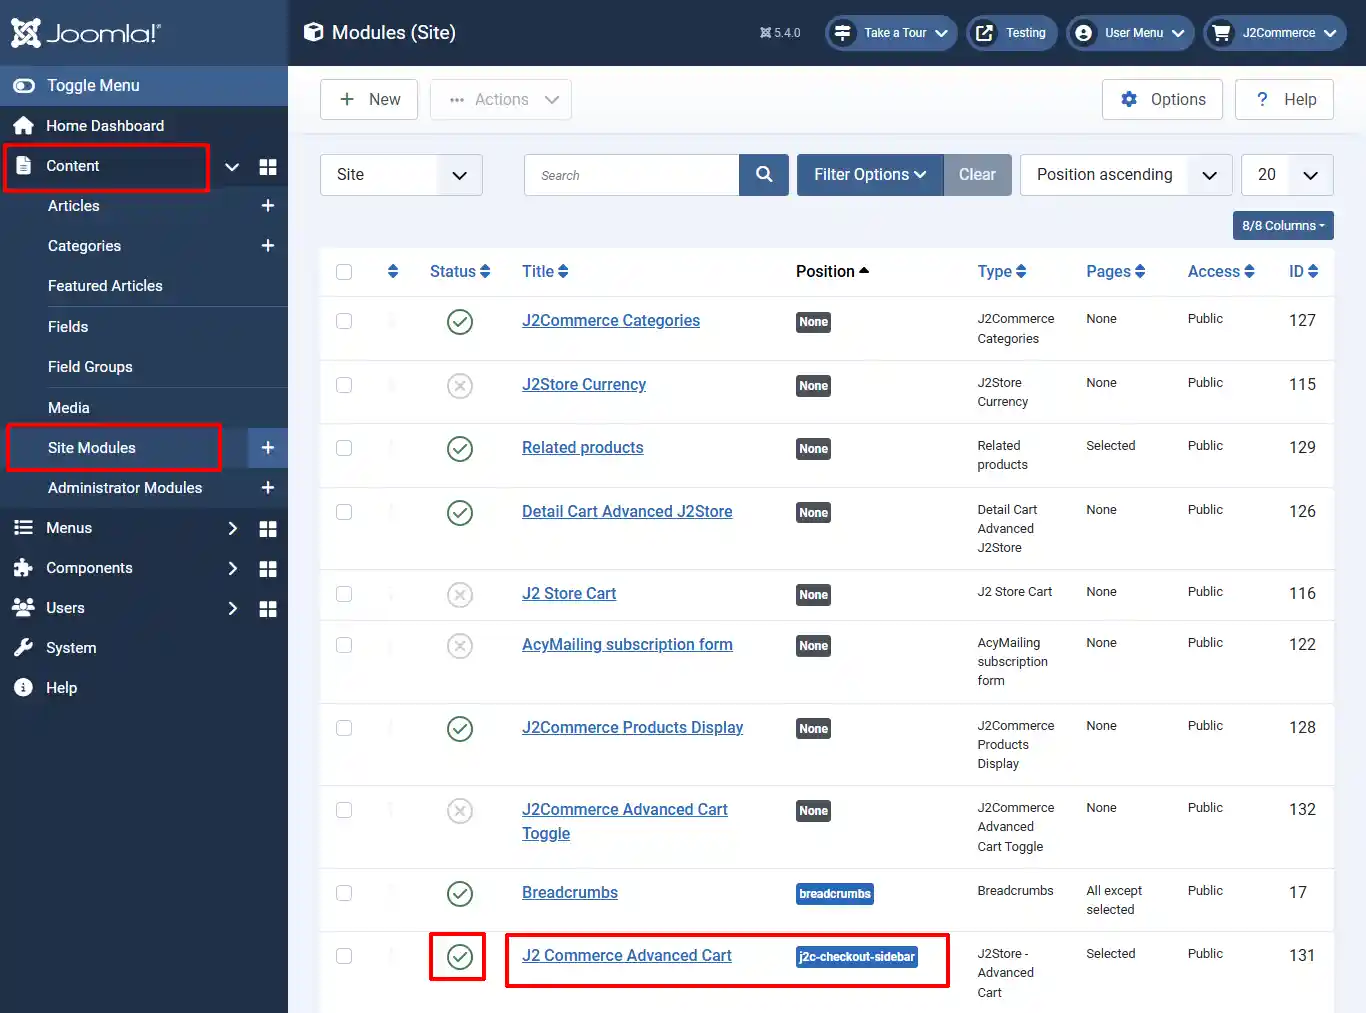
Step 1: Go to Content > Site Module > Find the J2Commerce Advanced Cart module
Step 2: Enable the module by clicking on the 'X' and it will turn into a checkmark
Step 3: Open the module by clicking on the title.
Module Tab
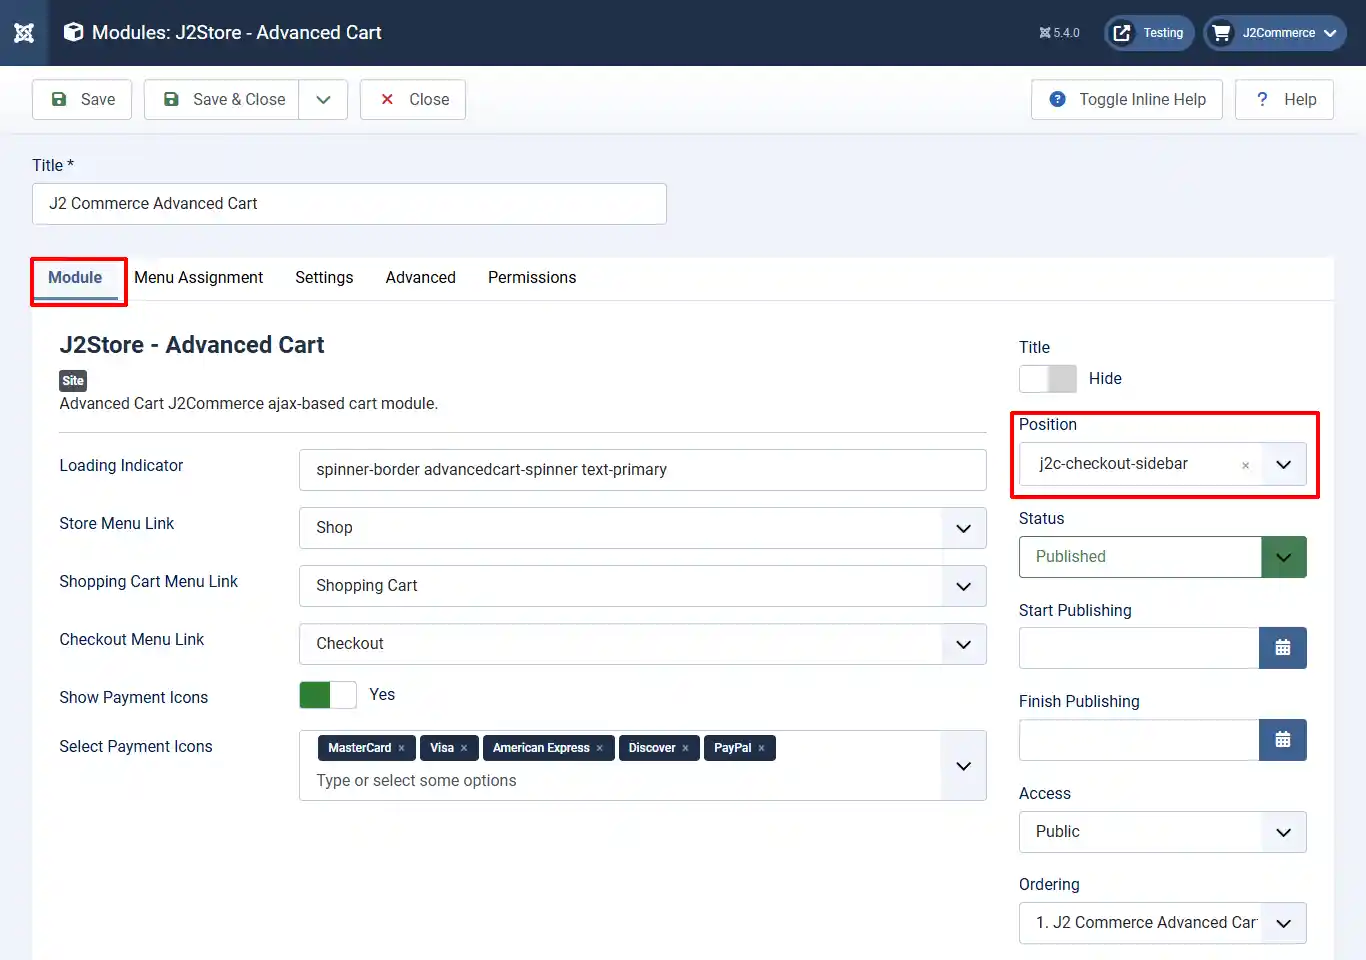
* Position: j2c-checkout-sidebar
Loading Indicator: The Bootstrap 5 spinner class is used when reloading the advanced cart contents.
Store Menu Link: Advanced Cart J2Commerce ajax-based cart module.
Shopping Cart Menu Link: Select the menu item for the shopping cart page.
Checkout Menu Link: Select the menu item for the checkout page.
Show Payment Icons: Select yes to enable payment icons (helps add additional trust endicia to the checkout process).
Select Payment Icons: Select all of the payment options you want to offer
Menu Tab
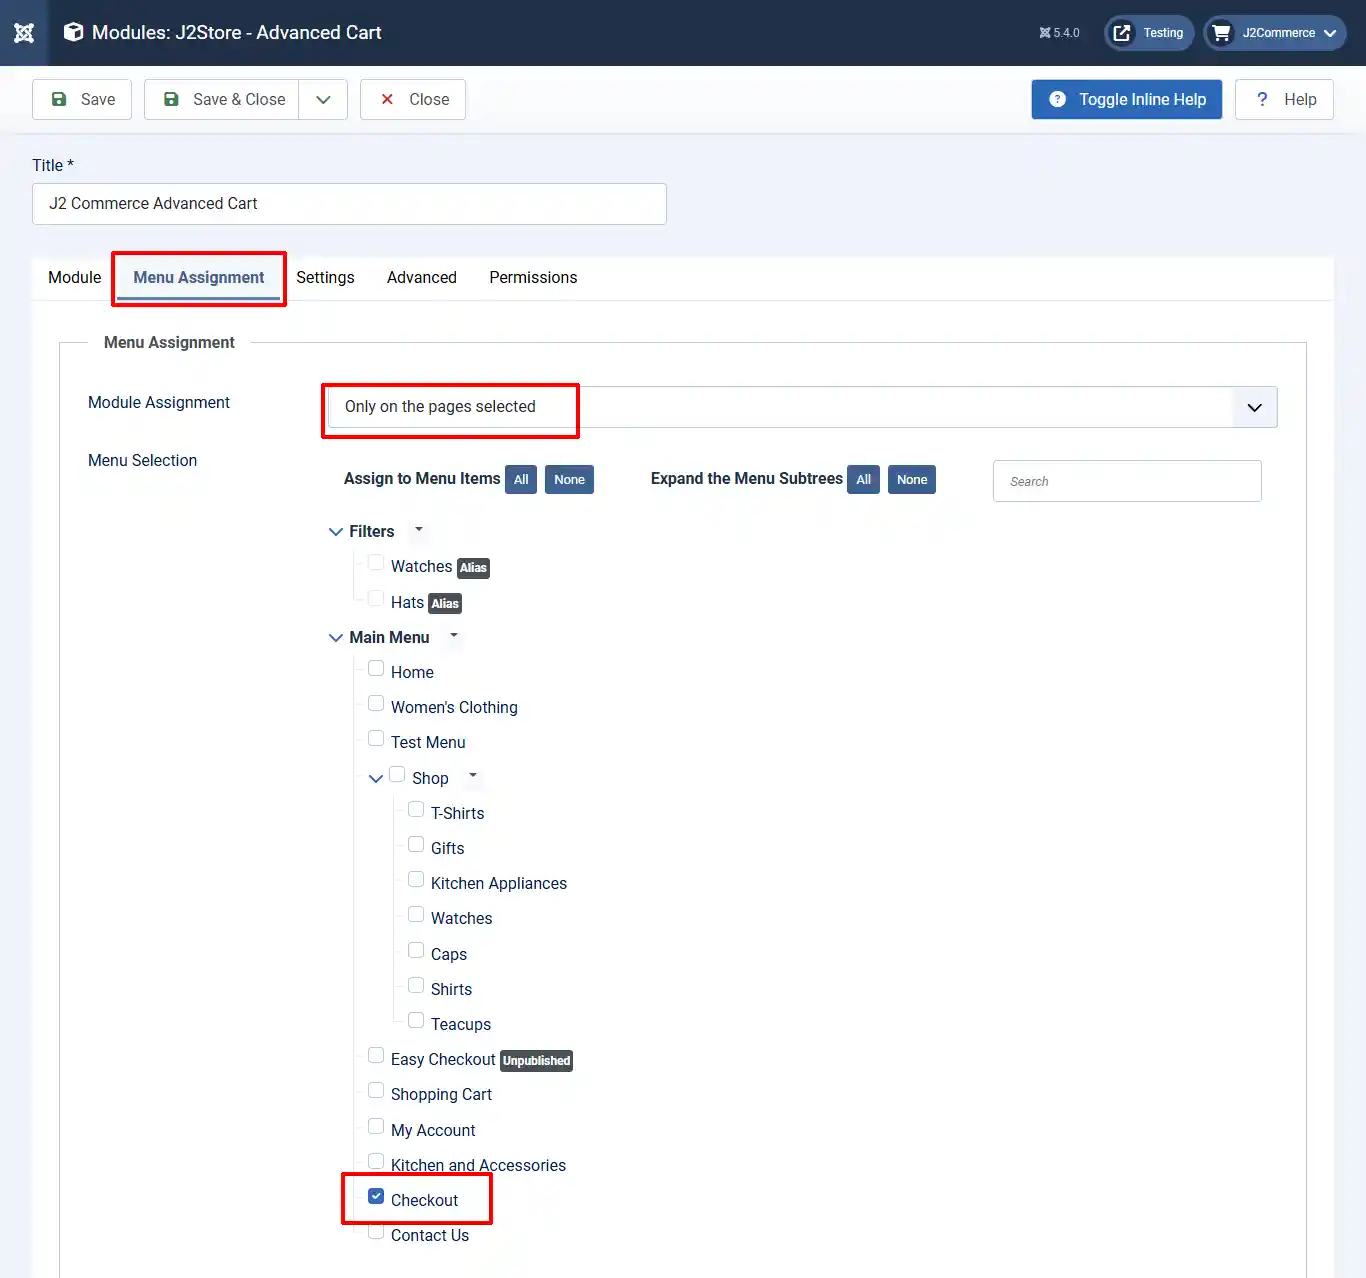
Module Assignment: Only on the pages selected
Menu Selection: Select 'Checkout'
Setting Tab
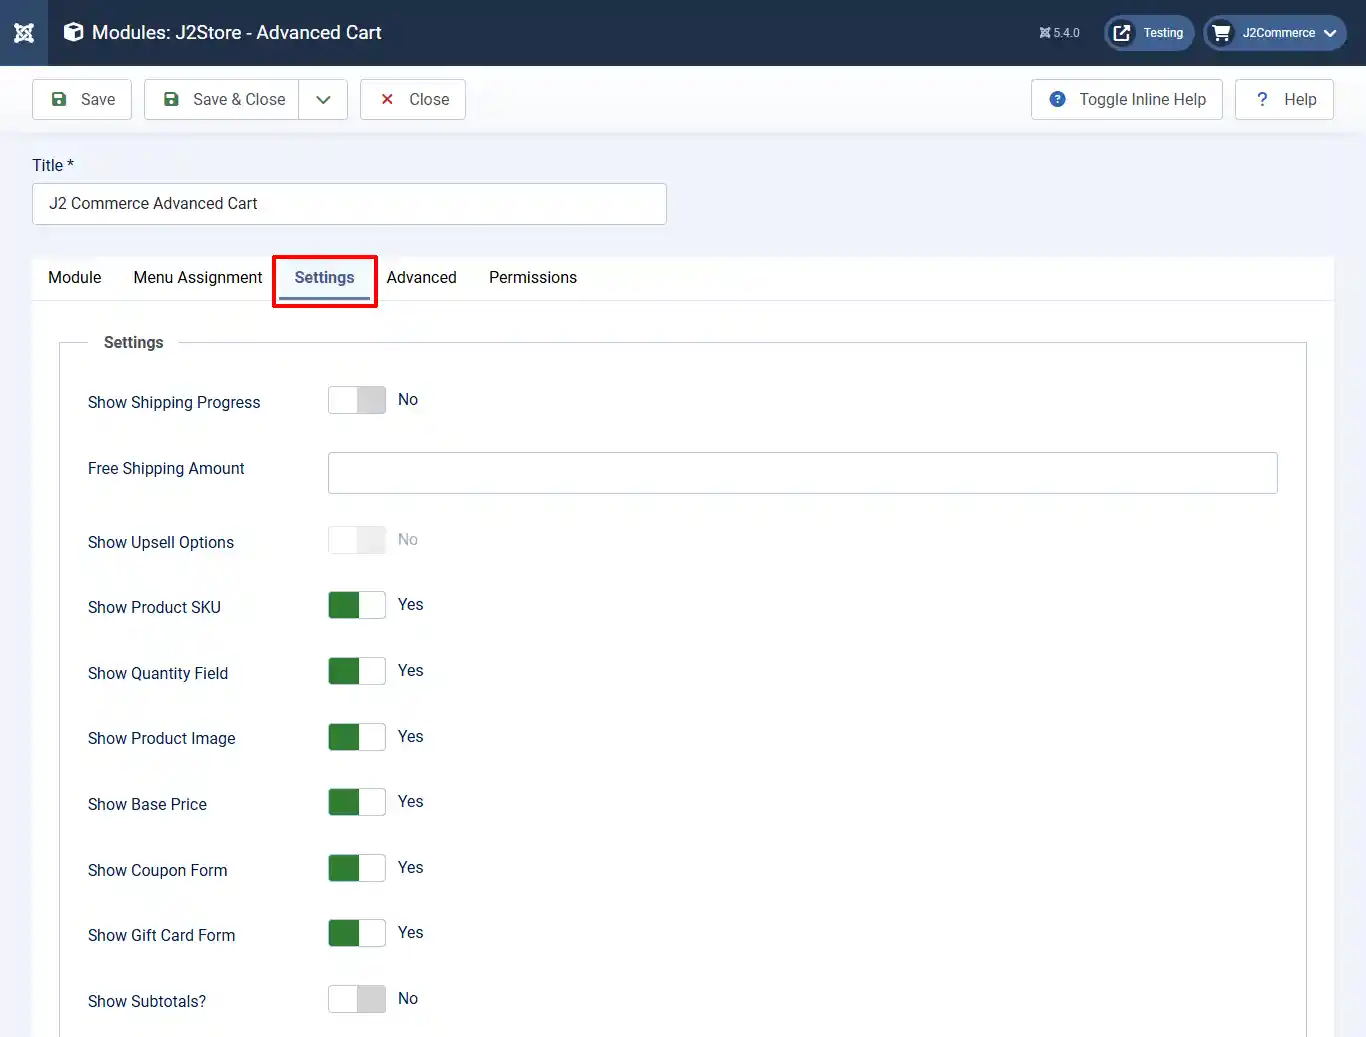
Show Shipping Progress: Select yes to show the shipping progress indicator in the modal cart.
Free Shipping Amount: Enter the minimum amount needed to qualify for free shipping. No currency sign - only number value. (No free shipping message will appear if left empty)
Show Upsell Options: Future option coming in a later version.
Show Product SKU: Select 'Yes' to display the product SKU.
Show Quantity Field: Select yes to display the quantity field. Select NO if you are selling digital products or other items that don't require quantities over 1 per item.
Show Product Image: Select yes to display the product's thumbnail image.
Show Base Price: Select yes to display the product's base price when a lower (sale) price is offered.
Show Coupon Form: Show coupon form in modal cart?
Show Gift Card Form: Show gift card form in modal cart?
Show Subtotals?: Select yes to show cart subtotals.
Advanced Tab
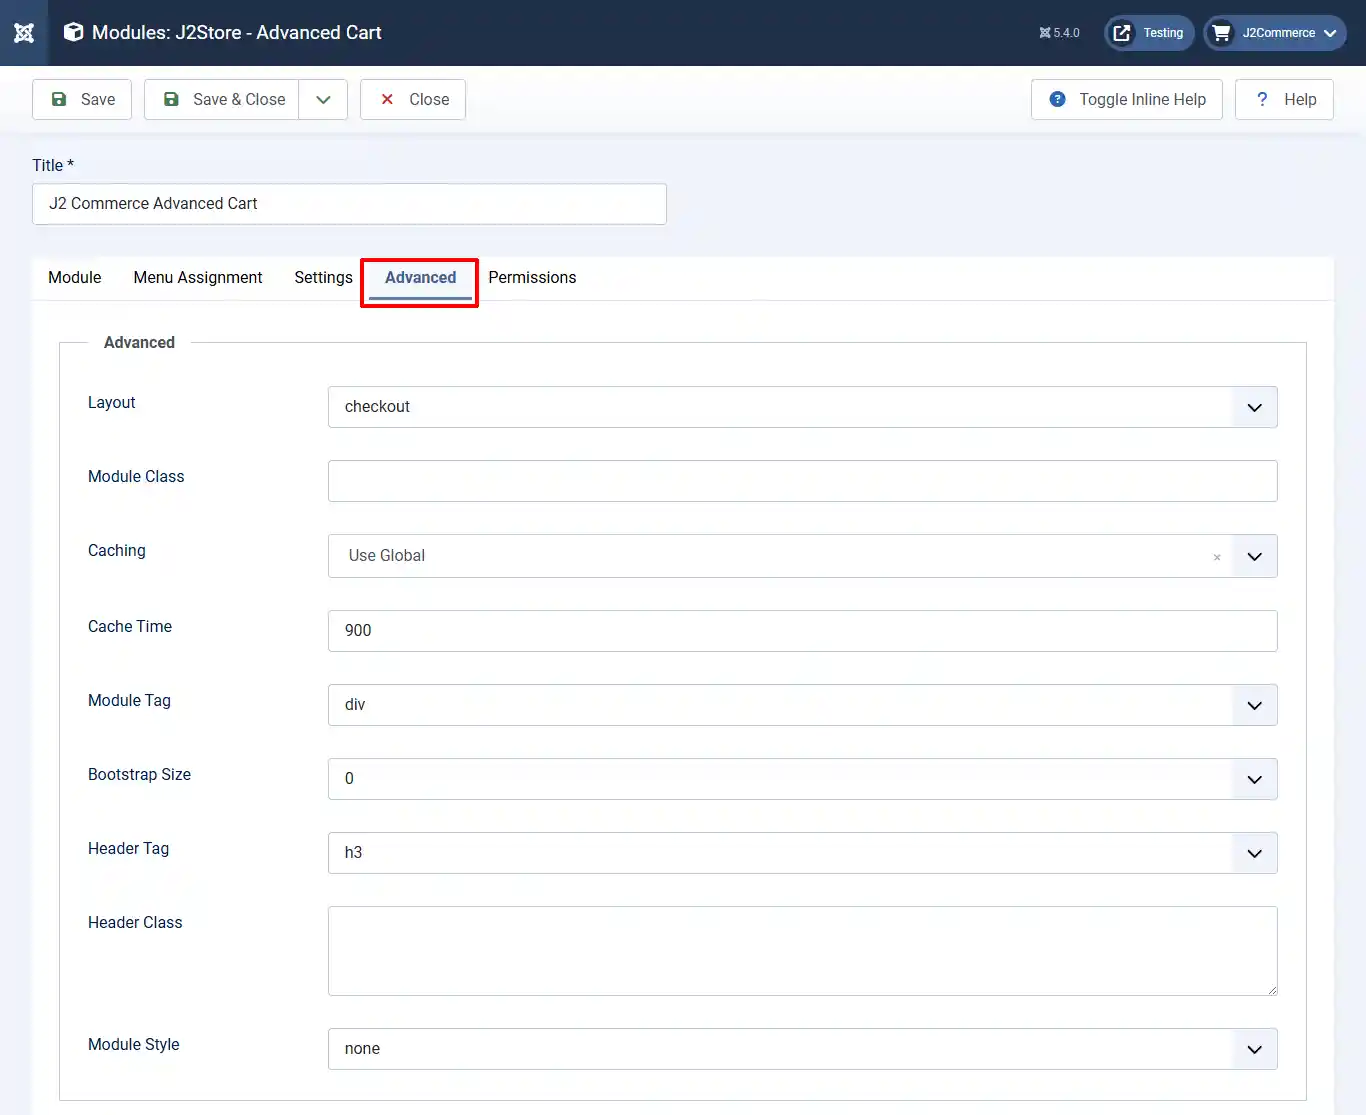
Layout: Select Checkout
Module Class:
Caching:
Cache Time:
Module Tag:
Bootstrap Size:
Header Tag:
Header Class:
Module Style: Select None
Setting up the Plugin
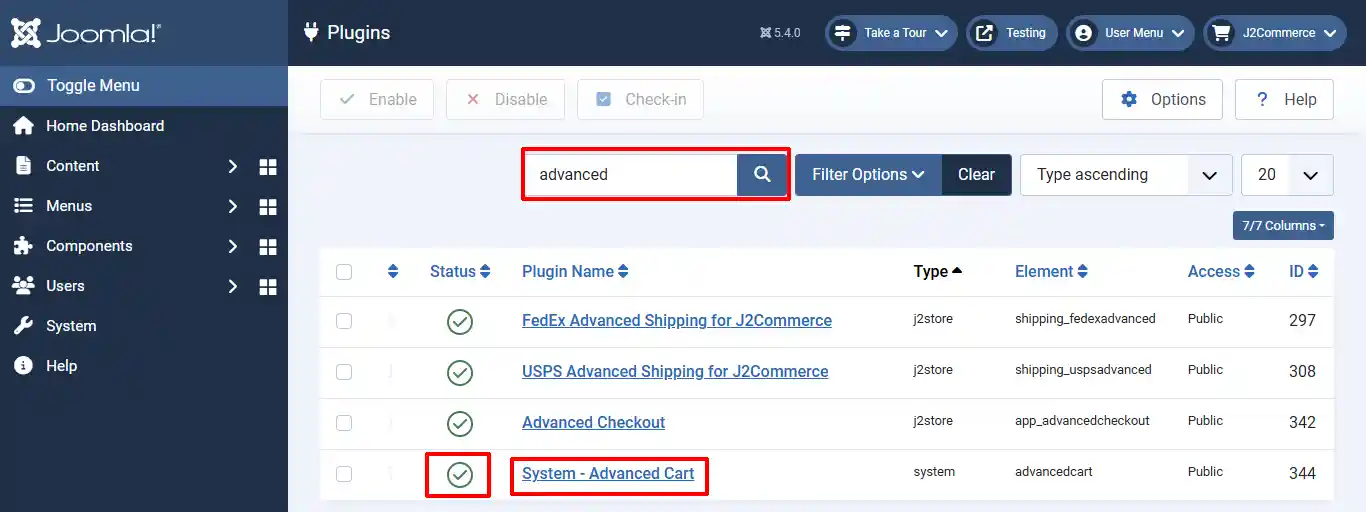
Step 1: Go to Settings > Manage > Plugins
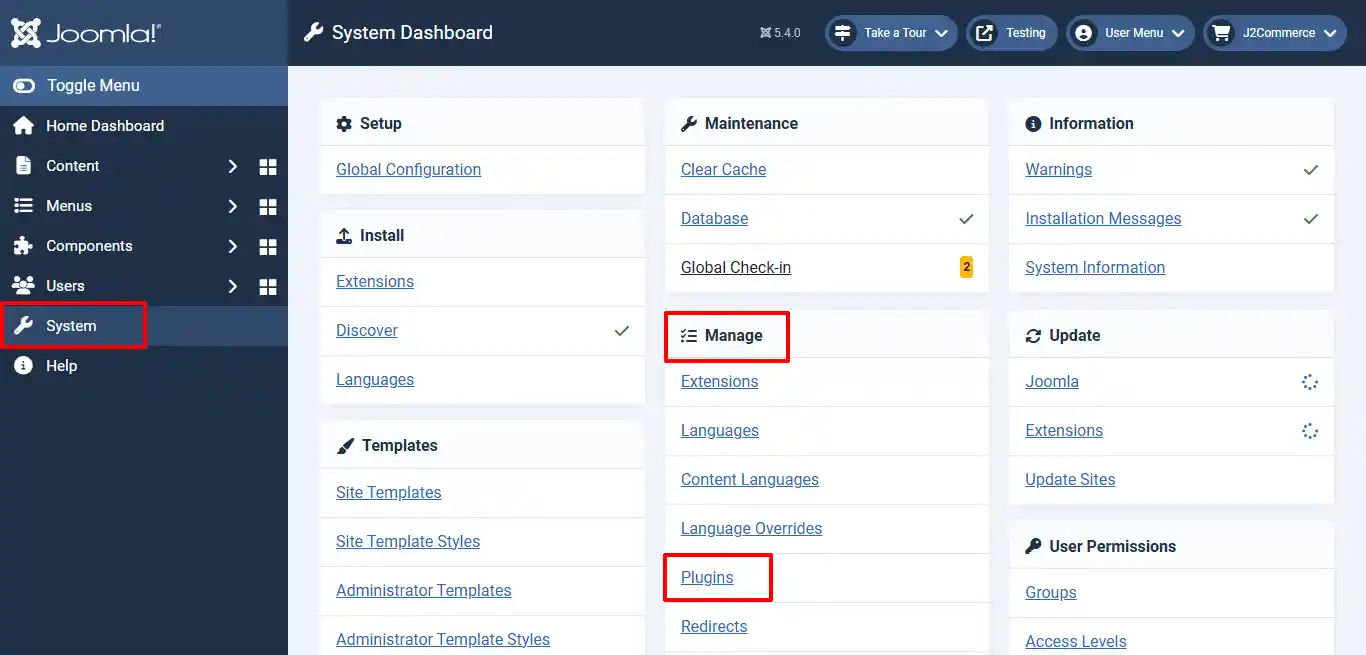
Step 2: Search for System - Advanced Cart > Enable the plugin by clicking on the 'X' and it will turn into a checkmark.
Step 3: Open the plugin by clicking on the title
Open the plugin and set up the parameters below
Plugin Tab
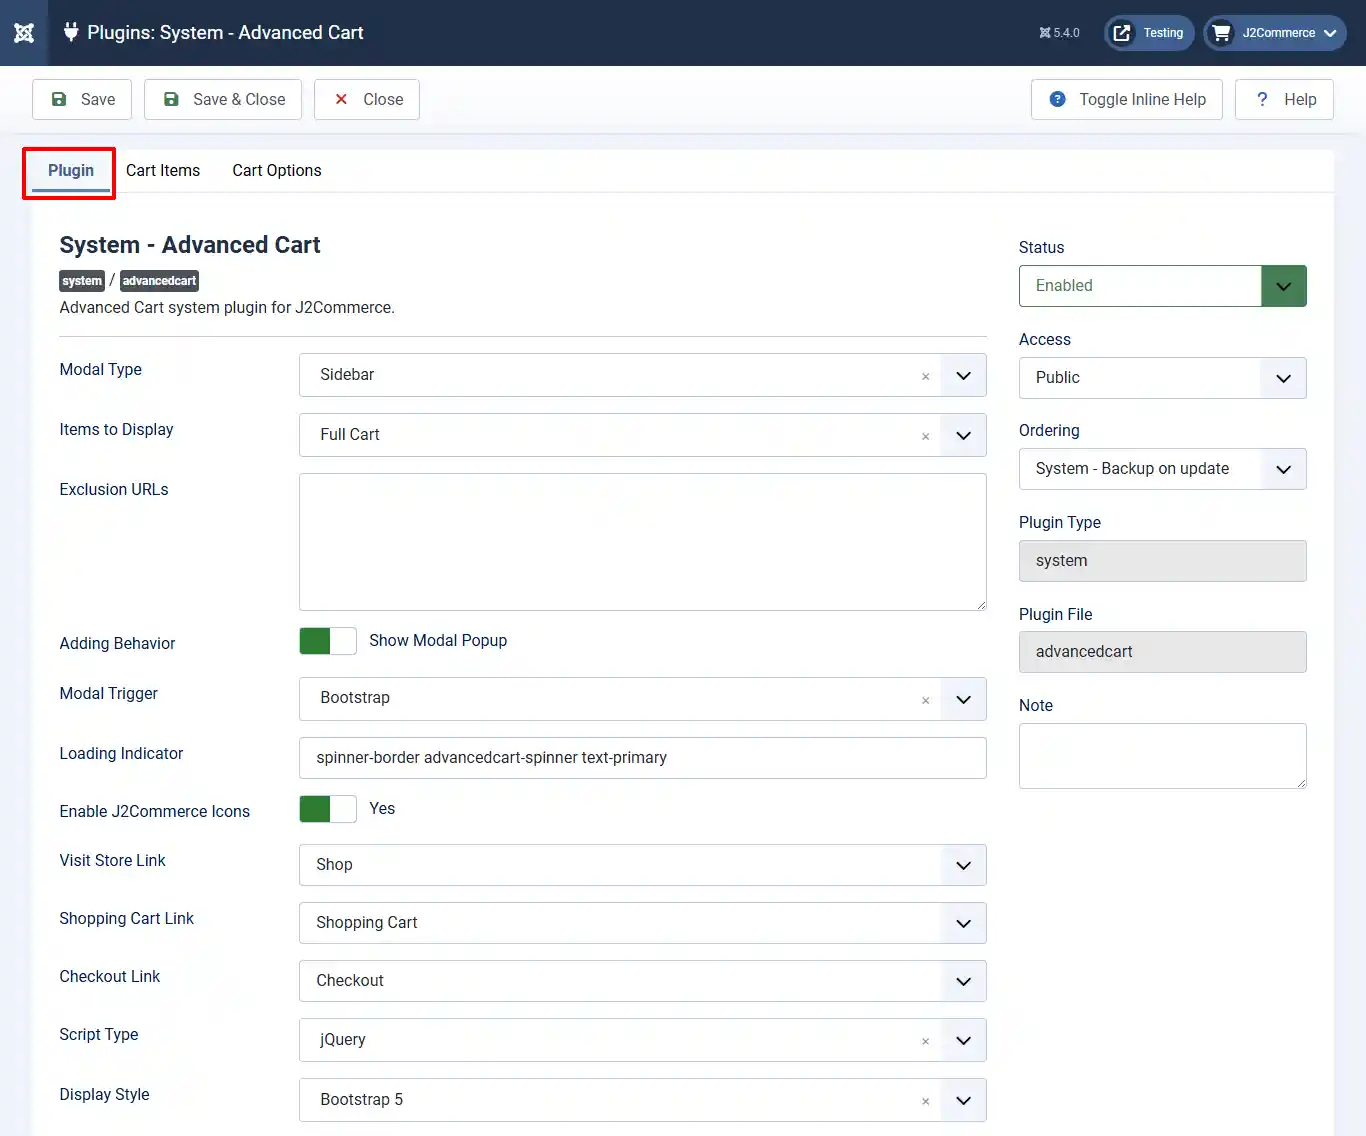
Modal Type: Select Sidebar for the modal type
Items to Display: Select Full Cart to display all items in the cart.
Exclusion URLs: Query strings of URLs to exclude from showing the pop-up window.
Adding Behavior: Select Yes to activate the cart pop-up window
Modal Trigger: Select Bootstrap for the Modal Trigger.
Loading Indicator: Class name for the loading indicator
Enable J2Commerce Icons: Select Yes to use the J2Commerce icon library (works with any template).
Visit Store Link: Enter the store link you want to display if there are no items in the cart. (No button will appear if left empty)
Shopping Cart Link: Enter the shopping cart link. Only enter a link if you plan on sending the customer to the shopping cart page before checkout. (No button will appear if left empty)
Checkout Link: Enter the checkout link to ensure the correct routing. (The checkout button will try to route to the default checkout page if left empty)
Script Type: Full Vanilla Javascript version coming in a later version.
Display Style: Select the style based on Bootstrap versions 2, 3, & 4 or Ultimate Style.
Cart Items Tab
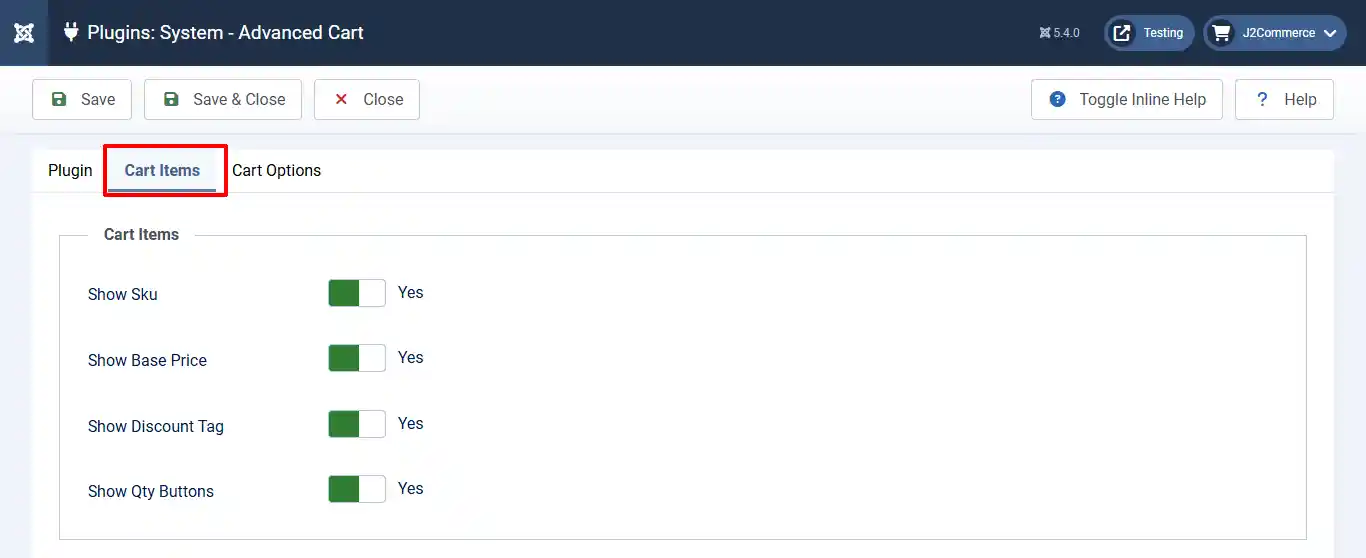
Show SKU: Select Yes to show the SKU number with the product in the cart.
Show Base Price: Select No to hide the original price and only show the sale price; otherwise, select Yes to display both original and sale prices.
Show Discount Tag: Select Yes to show the discount icon in the cart.
Show Qty Buttons: Select yes to show the +/- quantity buttons instead of the item quantity.
Cart Options Tab
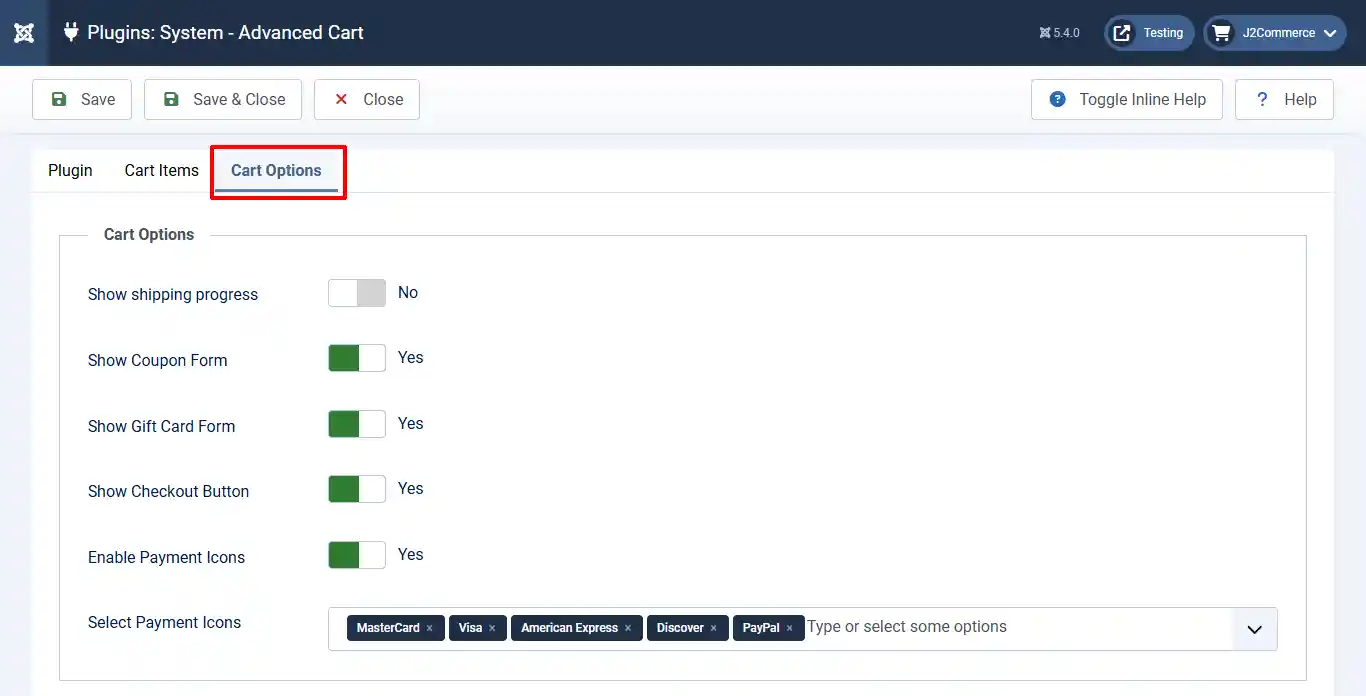
Show shipping progress: Select Yes to show the shipping progress indicator in the modal cart.
Show Coupon Form: Select Yes to show the coupon form in the modal cart
Show Gift Card Form: Select Yes to show the gift card form in the modal cart.
Show Checkout Button: Select Yes to display the Checkout button on the sidebar cart.
Enable Payment Icons: Select Yes to display payment icons at the bottom of the sidebar cart.
Select Payment Icons: Select Yes to show the payment icons that match the payment options your store provides.
Frontend View
The screenshot below shows the benefits of the module and plugin in use.
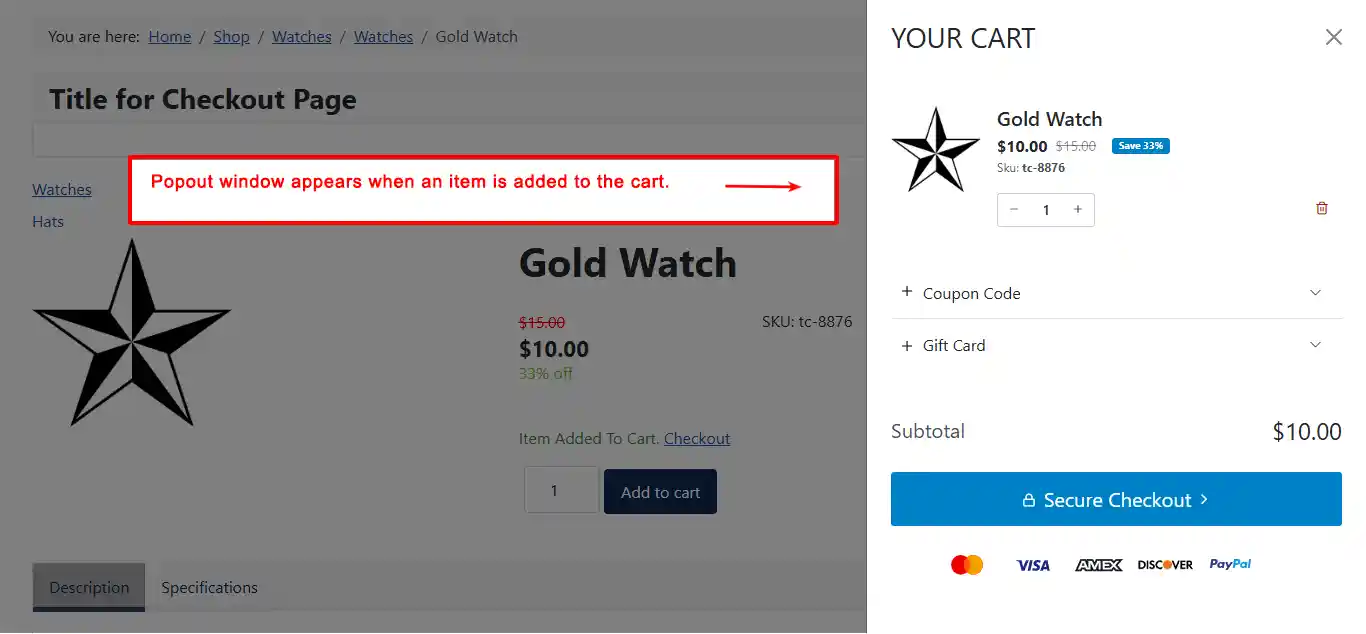
Pop-up Window:
Free Shipping Notice: If this icon appears and you don't want it to show, you can disable it