Moneris
Moneris is the most widely used payment processor in Canada, handling more credit and debit card transactions than any other gateway in the country. J2Commerce also supports Moneris US for American merchants. The plugin integrates using the Moneris Direct XML API with Hosted Tokenization — card details are entered inside a secure iframe served by Moneris, so card numbers never reach your server.
SAQ-A PCI scope. Because card data is entered inside the Moneris-hosted iframe and never passes through your server, your store qualifies for the simplest PCI DSS compliance path (SAQ-A). You do not need to handle, transmit, or store card numbers.
Prerequisites
- J2Commerce installed and active
- A Moneris merchant account (Canadian merchants use Moneris Canada; US merchants use Moneris US)
- A Hosted Tokenization profile created in the Moneris Merchant Resource Center (MRC) — this gives you your HT Profile ID
- Your Store ID and API Token from Moneris
- Your store running over HTTPS (an SSL certificate must be installed)
- The Moneris plugin purchased from the J2Commerce Extensions Store
Where to Find Your Moneris Credentials
Before configuring the plugin you need three values from Moneris. Log in to the Moneris Merchant Resource Center (MRC):
- Canada live: moneris.com
- Canada test: esqa.moneris.com
- US live: esplus.moneris.com
- US test: esplusqa.moneris.com
| Credential | Where to find it |
|---|---|
| Store ID | Shown on the MRC home screen and in the "My Store" section |
| API Token | Admin -> Store Settings -> API Token |
| HT Profile ID | Admin -> Hosted Tokenization — create a new profile or copy the ID from an existing one |
The Hosted Tokenization Profile ID comes from the Hosted Tokenization configurator inside the MRC. If you have not created a profile yet, create one there first. Once saved, the configurator shows the Profile ID — copy that value. This profile controls what the card-entry iframe looks like.
For test mode, Moneris provides separate test credentials. Test Store IDs, API Tokens, and HT Profile IDs are completely separate from live credentials. Use the test MRC to create a test profile.
Purchase and Download
Step 1: Go to the J2Commerce website -> Payment Gateways
Step 2: Locate Moneris -> click View Details -> Add to Cart -> Checkout
Step 3: Go to My Downloads under your profile button at the top right corner and search for PayTrace. Click Available Versions -> View Files -> Download Now
Install the Plugin
In the Joomla Administrator, go to System -> Install -> Extensions.
Upload the payment_moneris.zip file or use the Install from URL option.

Enable the Plugin
Once you have installed the App, you will need to enable it. There are two ways you can access the App.
Option A: Go to the J2Commerce icon at the top right corner -> Setup -> Payment Methods
Option B: Go to Components on the left sidebar -> J2Commerce -> Dashboard -> Setup -> Payment Methods

To help you narrow down the list, you can do a search for Moneris , click the X, and it will turn into a green checkmark. It is now enabled and ready for setup.
Configure the Plugin
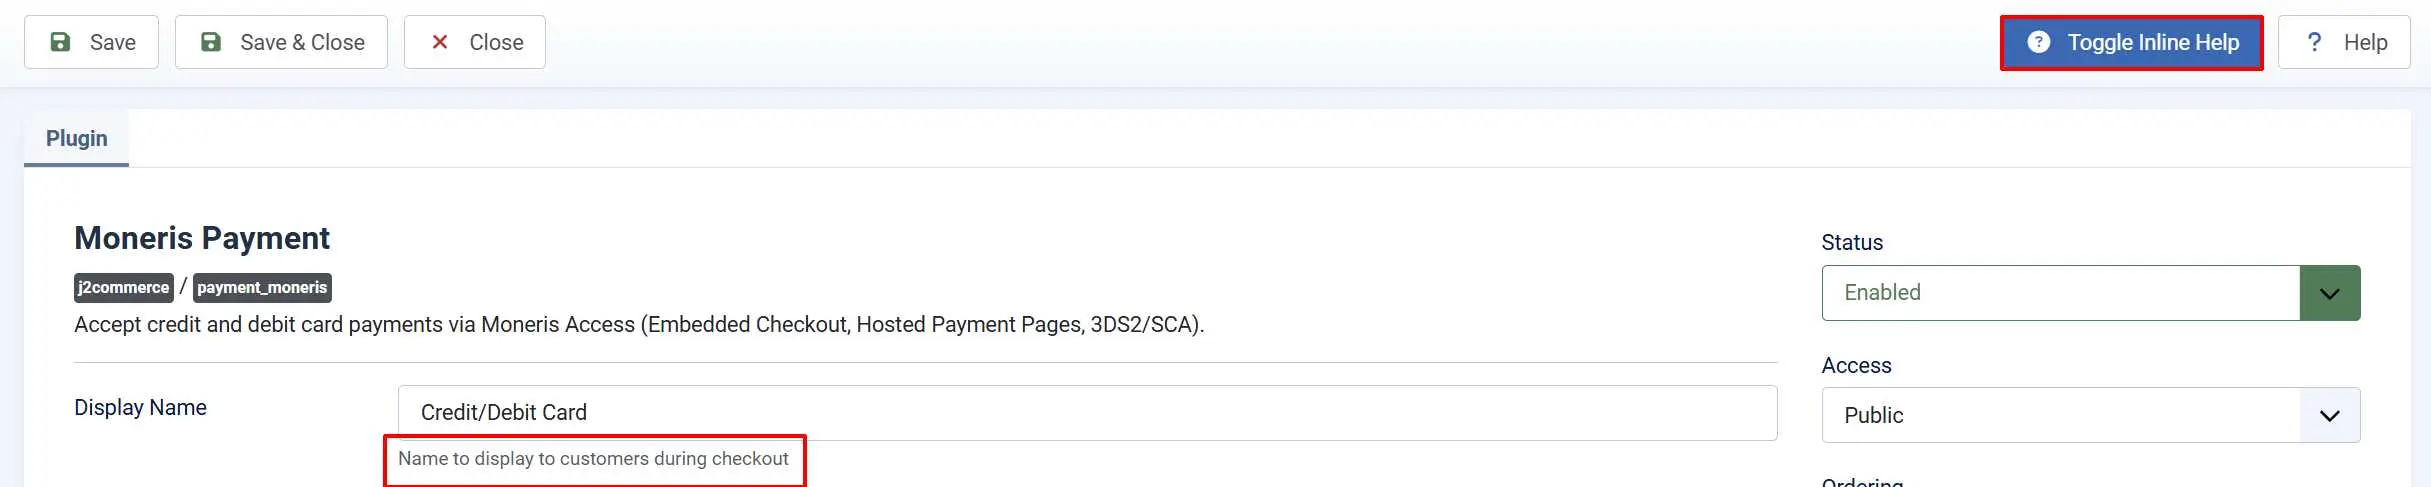
Click the Toggle Inline Help button in the toolbar and the plugin will show a description below each field as you configure it.
Display
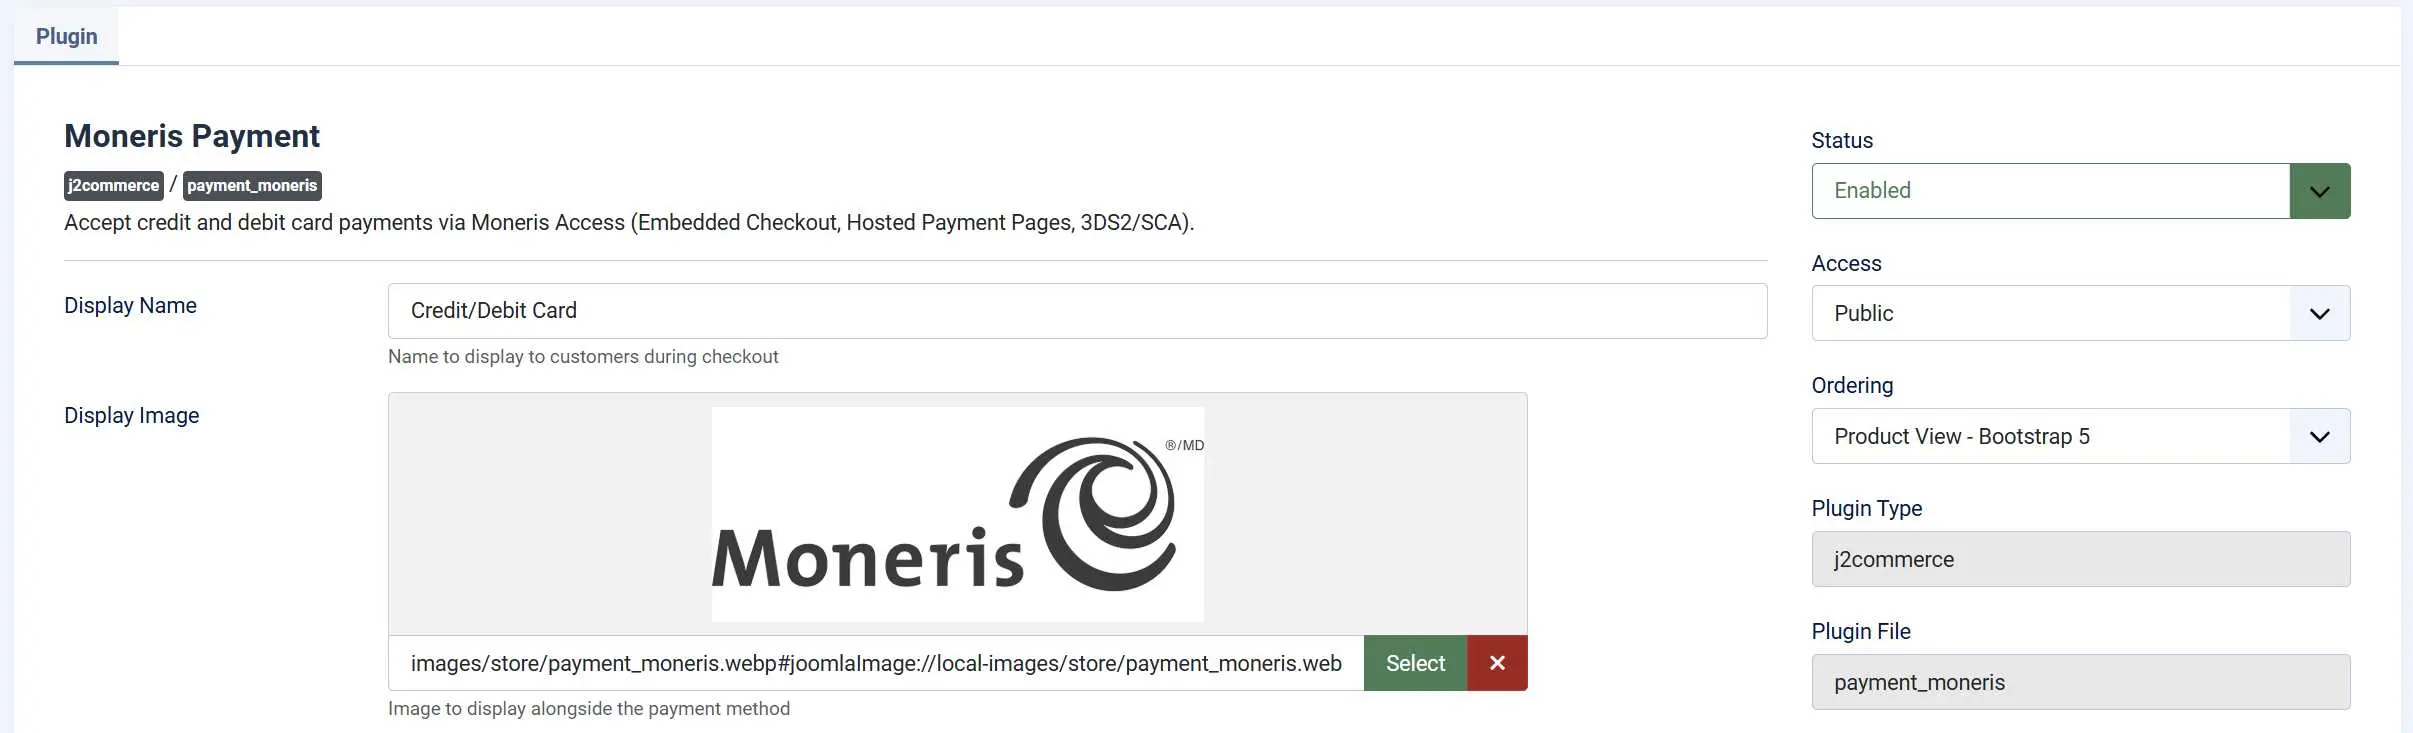
Display Name: The label customers see at checkout when selecting this payment method
Display Image: Optional logo or card image shown alongside the payment option at checkout
Gateway Settings

Set the Processing Country field to match your Moneris merchant account: For example.
- Canada — connects to the Moneris Canada gateway
- United States — connects to the Moneris US gateway
This is important: a Canadian Store ID will not work against the US gateway, and vice versa.
Transaction Type: Most stores should choose Purchase (sale).
-
Purchase (sale): Authorizes and captures the payment immediately. Funds are collected right away.
-
Pre-authorization (capture later): Reserves funds on the customer's card but does not collect them. You settle (capture) manually from the order admin screen later. Use this if you need to verify stock or fulfillment before charging.
E-Commerce Indicator
The E-Commerce Indicator (also called crypt_type) tells Moneris what type of transaction this is for chargeback liability purposes. The default, SSL-enabled merchant (non-3DS), is correct for most online stores.
-
SSL-enabled merchant (non-3DS): Standard e-commerce checkout without 3D Secure (default)
-
Mail / Telephone order — single: MOTO transactions
-
Authenticated e-commerce (3DS): Your site performs full 3D Secure authentication
-
Non-authenticated e-commerce (3DS attempted): Your site attempts 3D Secure but authentication is not guaranteed
Dynamic Descriptor: The Dynamic Descriptor field lets you set the text that appears on the customer's card statement (maximum 20 characters). If left blank, Moneris uses your merchant account's default descriptor.
Credentials
Set Sandbox / Test Mode to Yes while you are getting started. The plugin will route all transactions to the Moneris test environment, and the credential fields shown will be the test fields.

Test Store ID: Your Moneris test Store ID
Test API Token: Your Moneris test API Token
Test Hosted Tokenization Profile ID: The HT Profile ID from your test MRC
When you are ready to accept real payments, set Sandbox / Test Mode to No. The form switches to showing the live credential fields — enter your live Store ID, API Token, and HT Profile ID there.
Credit Cards and Template Style

Allow Saved Cards: Set to Yes to let logged-in customers save their card for future purchases. When a customer pays and opts in, the plugin stores a Moneris vault token (a data_key) locally. On their next visit, they can select the saved card instead of re-entering card details.
The Accepted Card Types field controls which card brand icons are displayed above the Hosted Tokenization iframe on the checkout page. This is visual-only — Moneris itself determines which card numbers are actually accepted by your merchant account.
- Available options: Visa, Mastercard, American Express, Discover, JCB, UnionPay.
Saved card support requires a Hosted Tokenization profile with vault (Res) features enabled. Verify this in your MRC before enabling this option. This feature has not yet been verified against a live Moneris account — confirm it works in your test environment before enabling in production.
Order Statuses

These fields control which J2Commerce order status is applied after each outcome:
Order Status: Moneris approves a purchase (immediate sale)
Authorized Status: Moneris approves a pre-authorization (funds reserved, not yet captured)
Capture Order Status: You manually capture a pre-authorized payment from the order admin
The Authorized Status and Capture Order Status fields are only shown when Transaction Type is set to Pre-authorization (capture later).
Change Status on Refund: When enabled, sets the order to the Refund Order Status after a full refund
- Refund Order Status: Status to apply after a full refund (only shown when Change Status on Refund is Yes)
Change Status on Void: When enabled, sets the order to the Void Order Status after a void
- Void Order Status: Status to apply after a void (only shown when Change Status on Void is Yes)
By default, issuing a refund or void does not automatically change the order status — a comment is added to the order history instead. You can opt in to automatic status changes:
If the status you want is not in the dropdown, go to J2Commerce -> Setup -> Order Statuses to create it first.

Surcharge (Optional)
If your processing agreement permits passing a fee to customers, you can add a surcharge for Moneris payments. All surcharge fields are optional — leave them blank to charge no fee.
Surcharge Name: Label shown on the order summary (for example, "Card Processing Fee")
Surcharge Percent: Percentage of the order subtotal plus shipping added as a fee
Surcharge Fixed: Fixed dollar amount added as a fee
Surcharge Tax Class: Tax profile applied to the surcharge amount
Percentage and fixed amounts combine: a 2% surcharge plus a $0.30 fixed fee both apply when both fields are filled in.
Before enabling a surcharge, confirm it is permitted under your merchant agreement and local regulations.
Geo Zone and Restrictions (Optional)

Geo Zone Restriction: Show Moneris only to customers whose billing address falls within the selected geo zone. Leave blank for all customers.
Minimum Subtotal: Hide Moneris from the checkout when the cart subtotal is below this amount. Leave blank for no minimum.
Maximum Subtotal: Hide Moneris from the checkout when the cart subtotal exceeds this amount. Leave blank for no maximum.
Geo zones are configured under J2Commerce -> Localization -> Geo Zones.
Custom Messages (Optional)
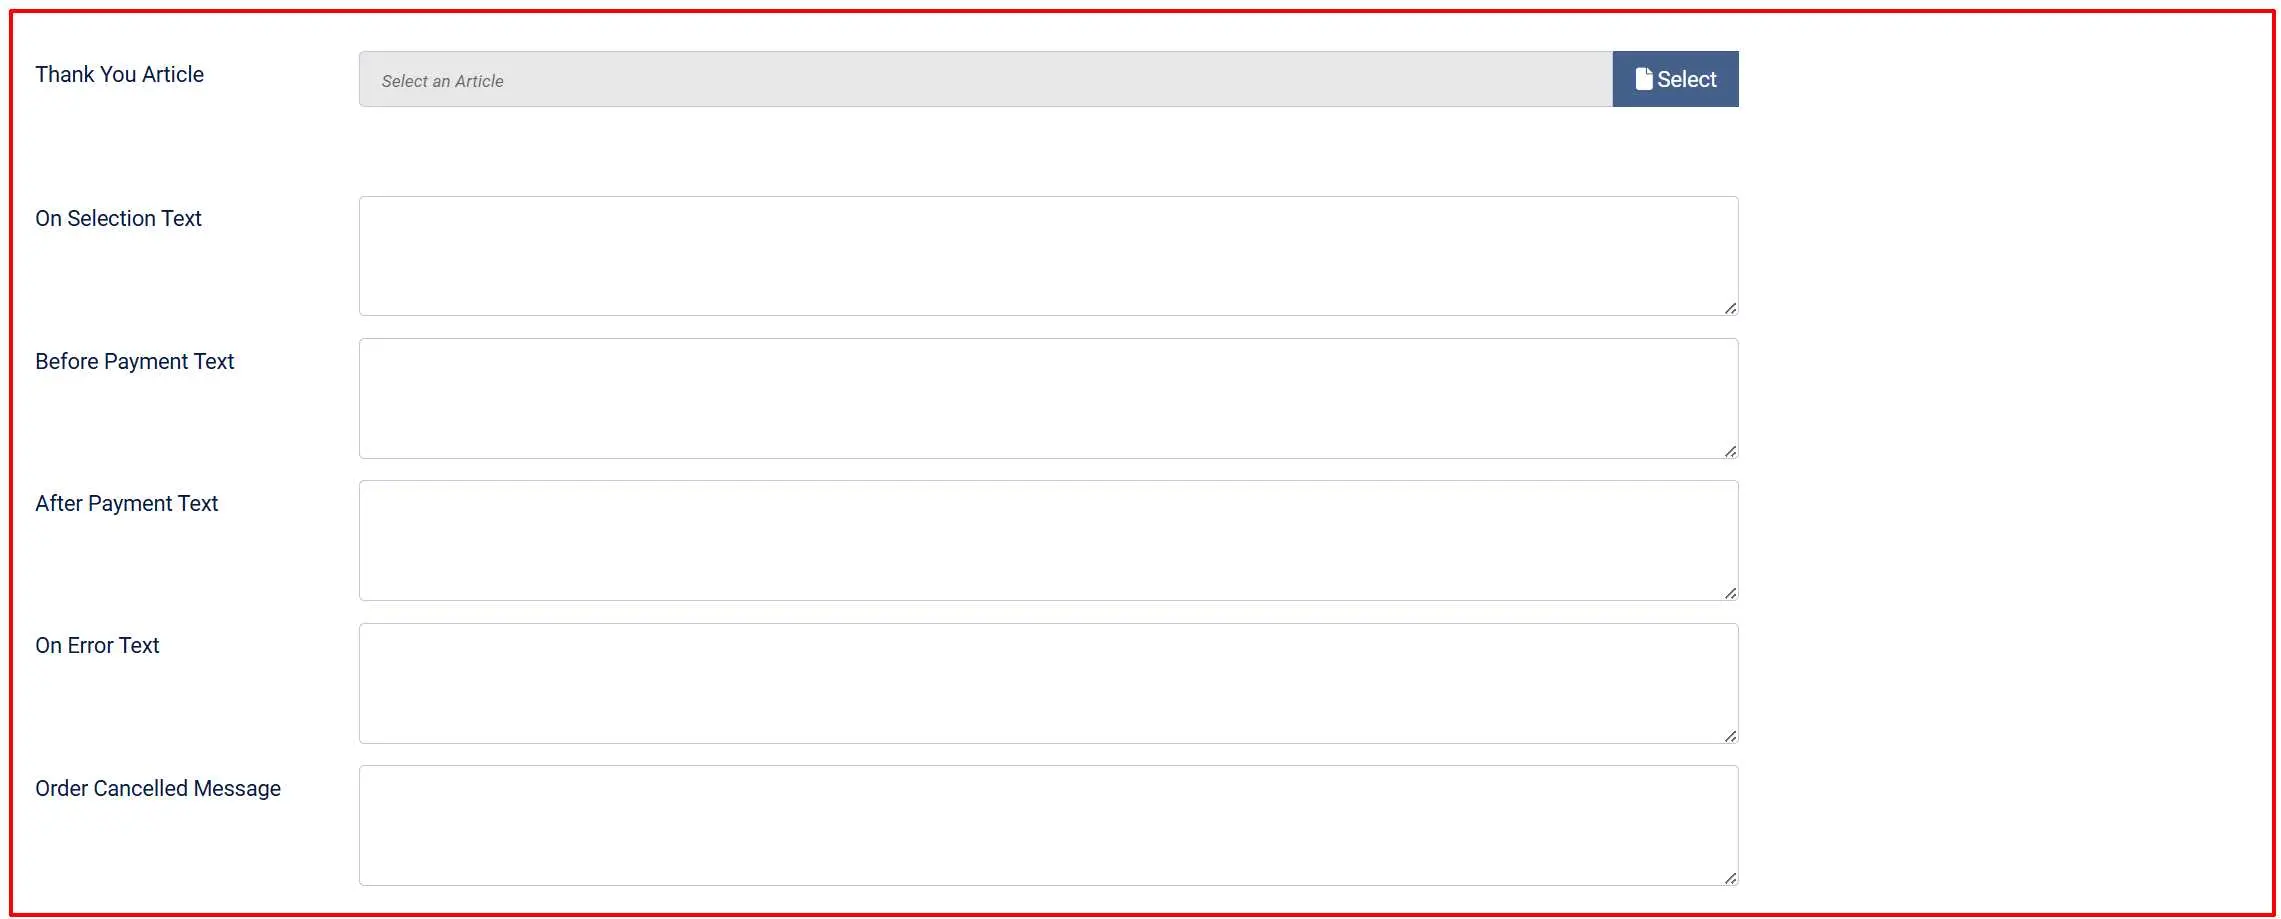
The Thank You Article field lets you display a Joomla article on the post-payment confirmation screen. This is useful for order instructions, next steps, or a welcome message. Click the article selector to browse your Joomla articles.
Customer Messages (Optional): These text fields control what customers read at each stage. The defaults are reasonable — adjust the wording to match your store's tone if needed.
On Selection: When the customer picks Moneris as their payment method
Before Payment: Above the Hosted Tokenization iframe on the confirm step
After Payment: On the confirmation screen after a successful payment
On Error: When the gateway returns an error
Order Cancel: When the customer cancels
Dashboard Icon (Optional)
Show Dashboard Icon: Add a shortcut to this plugin's settings on the J2Commerce dashboard
- Icon Label: Label for the dashboard shortcut icon
Debug Logging
Debug Mode: Write API request and response details to the Joomla log for troubleshooting. API tokens and card data are never logged.
Save and Test
- Click Save in the toolbar.
- Place a test order using the Moneris test card numbers (see Test Mode and Test Cards below).
- Confirm the Hosted Tokenization iframe loads at the confirm step, the test payment completes, and the order status updates correctly in J2Commerce -> Sales -> Orders.
- When you are satisfied the flow works, return to the plugin configuration, set Sandbox / Test Mode to No, enter your live credentials, and click Save again.
How a Customer Pays
Here is what your customers experience from the moment they reach the payment step:
The customer reaches the payment step of checkout and selects Moneris (or your configured display name) as their payment method.
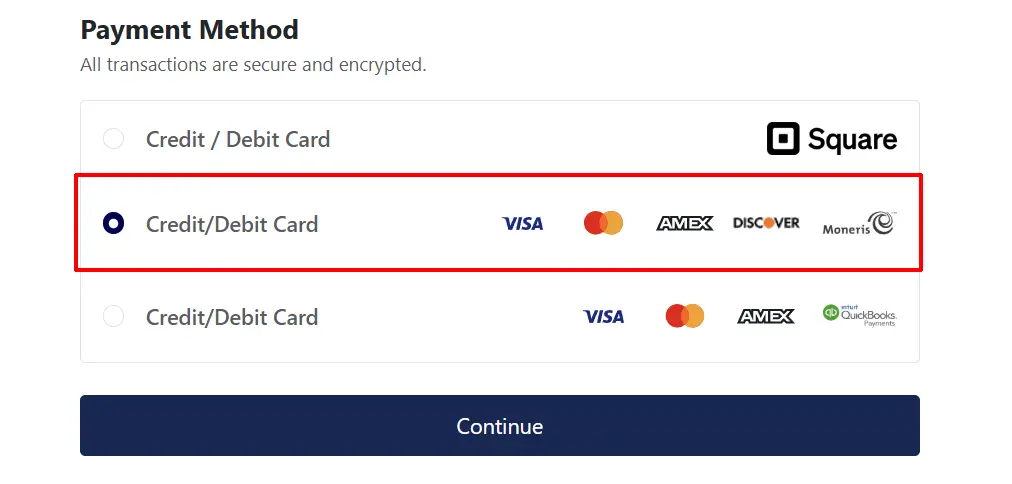
The customer proceeds to the Confirm step. J2Commerce loads the Moneris Hosted Tokenization iframe — a secure card-entry form served directly by Moneris appears on the page. The customer sees accepted card brand icons above the iframe if configured.
If the customer has saved cards and Allow Saved Cards is enabled, they see their saved cards listed above the iframe and can select one without re-entering card details.
The customer enters their card details inside the Moneris-hosted iframe. None of this information reaches your server.
The customer clicks Place Order. The plugin requests a temporary tokenization from the Moneris iframe. Moneris returns a short-lived data_key (a vault reference) back to the page.
J2Commerce submits the checkout form server-side with the data_key. The plugin calls the Moneris Direct XML API using your Store ID and API Token, submitting either a purchase or preauth transaction referencing the data_key.
Moneris processes the payment and returns a receipt. The plugin checks the response code — a code below 050 is an approval.
If approved, J2Commerce updates the order to your configured payment status, clears the cart, sends the confirmation email, and redirects the customer to the confirmation page.
If declined, J2Commerce shows the decline message to the customer and updates the order to the failed status.
Moneris is synchronous — there are no webhooks. The order result is determined entirely from the direct API response.
Admin Order Actions
When an order was paid through the Moneris plugin, the order detail screen in J2Commerce -> Sales -> Orders displays action buttons depending on the current payment state.
Capture (Pre-authorization mode only)
If you configured Transaction Type as Pre-authorization (capture later), a Capture button appears on orders that have been authorized but not yet settled. Clicking Capture calls the Moneris completion API and collects the funds from the customer's card. After capture, the order status changes to your configured Capture Order Status.
Void: A Void button appears on orders that have not yet settled (same-day, unsettled transactions only). Voiding cancels the authorization and releases the hold on the customer's card. If the payment has already settled, you must use Refund instead.
Refund: A Refund button appears on orders where the payment has been captured or purchased. You can issue a full refund or enter a partial refund amount. The maximum refundable amount is tracked to prevent over-refunding.
Security
Card data is entered entirely on Moneris infrastructure. The Hosted Tokenization integration means:
- Card numbers, expiry dates, and CVD codes are typed into a frame served by Moneris, not your Joomla server.
- Your server never receives, processes, or stores card data.
- Your store qualifies for SAQ-A PCI scope.
Additional security measures:
- Vault token scoping. Saved card vault tokens (
data_keyvalues) are stored locally in the J2Commerce payment profiles table. Each delete operation verifies the token belongs to the requesting user before removing it. Best-effort token revocation is also sent to the Moneris vault. - Safe logging. When Debug Mode is enabled, API tokens, PANs, and CVD values are redacted from all log output before writing.
- Server-side amount formatting. Amounts are formatted server-side as decimal strings and never derived from browser-submitted values alone.
Test Mode and Test Cards
Set Sandbox / Test Mode to Yes and enter your test credentials from the appropriate Moneris test MRC. All transactions go to the Moneris QA environment and no real charges occur.
Moneris provides test card numbers in their developer documentation. Common ones include:
| Card Number | Expected Result |
|---|---|
4242424242424242 | Approved (Visa) |
5454545454545454 | Approved (Mastercard) |
4005554444444403 | Declined |
Use any future expiry date (for example, 12/27) and any three-digit CVD. For the current complete list of Moneris test cards and response codes, refer to the Moneris Developer Centre documentation.
Always run at least one approval and one decline before switching to live mode. Verify the correct order status appears in J2Commerce -> Orders for each result.
Troubleshooting
Hosted Tokenization iframe does not load
The card-entry form is blank, shows an error, or does not appear at all.
Cause: The Hosted Tokenization URL could not be resolved, or the HT Profile ID is incorrect.
Solution:
- Go to J2Commerce -> Setup -> Payment Methods and open the Moneris configuration.
- Verify the Hosted Tokenization Profile ID field matches the profile ID shown in your Moneris MRC (or test MRC if in sandbox mode).
- Enable Debug Mode, save, and attempt a checkout. Go to System -> Logs and filter by
payment_moneristo see the preload attempt details. - Confirm Sandbox / Test Mode matches the credentials you entered. Test credentials only work against the Moneris QA servers; live credentials only work against the production servers.
- Confirm your server can make outbound HTTPS connections to the Moneris gateway. Ask your host to verify outbound cURL is permitted.
Payment declined — card not approved
The customer submits the payment form and receives a decline message.
Cause: Moneris declined the transaction. This can happen for many reasons — insufficient funds, an expired card, incorrect CVD, or AVS mismatch.
Solution:
- In Test mode, verify you are using the correct Moneris test card numbers. Random card numbers may not produce approvals in the QA environment.
- Enable Debug Mode and review the log for the
responseCodeandmessagefields. Moneris response codes are documented in the Moneris Developer Centre. - In Live mode, the customer should try a different card or contact their bank.
"Missing credentials" warning on the J2Commerce dashboard
The dashboard shows a red warning that Moneris credentials are not configured.
Cause: The Store ID or API Token fields are empty for the currently active mode (live or sandbox).
Solution:
- Open the Moneris plugin configuration.
- Check whether Sandbox / Test Mode is set to Yes or No.
- If Yes, fill in the Test Store ID and Test API Token fields.
- If No, fill in the Store ID and API Token fields.
- Click Save.
Void fails — "use Refund instead" message
Attempting to void an order returns an error suggesting to use Refund.
Cause: The payment has already settled with Moneris. Voids (purchasecorrection) are only possible for same-day, unsettled transactions. Once settled, only a refund is available.
Solution: Use the Refund button on the order detail screen instead.
Pre-authorization capture fails
Clicking Capture on an authorized order fails.
Cause: The pre-authorization may have expired. Moneris pre-authorizations are valid for a limited time (typically 7–10 days, depending on card network rules). After expiry, the funds can no longer be captured.
Solution: Contact the customer to re-place the order if the capture window has expired.
Debug log location
When Debug Mode is enabled, log entries are written under the category payment_moneris.
To view them:
- Go to System -> Logs in the Joomla administrator.
- Filter by Category =
payment_moneris.
Alternatively, look for payment_moneris.php in your Joomla logs directory (configured in System -> Global Configuration -> Server tab, Logging Path).
No card data, Store ID, or API Token is ever included in debug log entries. It is safe to share log output with support.